You guys know that I love to make special gifts for people. It is just fun to give. Creating gift packaging is fun and I love to use things like Mason Jars, other glass jars and I am now I love these gifts in a can.
These ideas are more fun than traditional gift wrap and bags and many times are cheaper than the regular packaging. So gifts in a can that are budget friendly? Heck yes!!
AND…everyone I have ever given these to has been so excited to pop open the can and see what is inside. It is like a little magic trick.
If you love DIY metal projects you can click here to find more metal crafts inspiration!
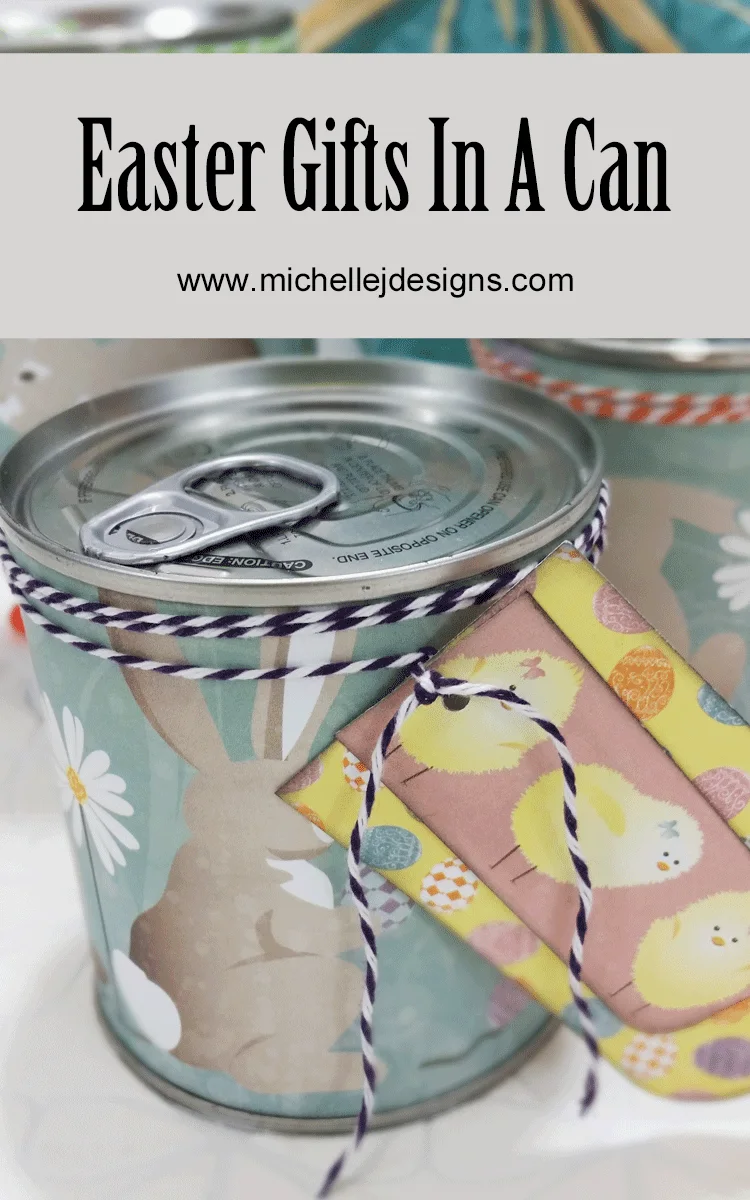
Gifts In A Can
These are always such a blast because people don’t know how on earth you got these gifts inside the can without popping the top! They figure it out but it is a mystery at first!
And these tin cans with the pop tops come in many different sizes so usually finding one to fit your small gift isn’t a problem. Okay are you ready to get started? Let’s go!
Supplies Needed:
I have included some affiliate links for your convenience. You can read my full disclosure here.
Can of fruit or veggies with pop top
Can opener (I used the Pampered Chef one but any that cuts the can without the sharp edge will work)
Scrapbook paper for decorating (I am using the new Moxxie Easter line)
Bakers Twine (I got these awesome little packs of three colors at the Dollar Store)
Hole Punch – this is my favorite hole punch. It can punch thick or several pieces of card stock and cardboard.
Powder Puff Ink (midnight confessions)
Adhesive
Super Glue
Things to put inside the can. Mine is all Easter Candy this time.
Preparing The Can
Use the can opener and open the bottom of the can! Do not pop the top at all!
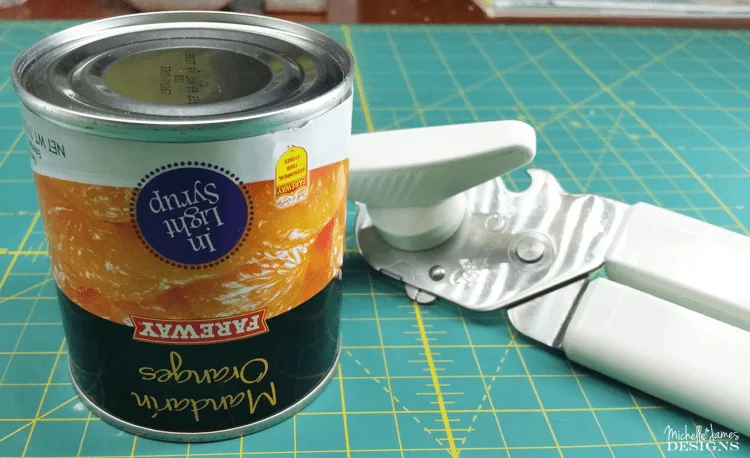
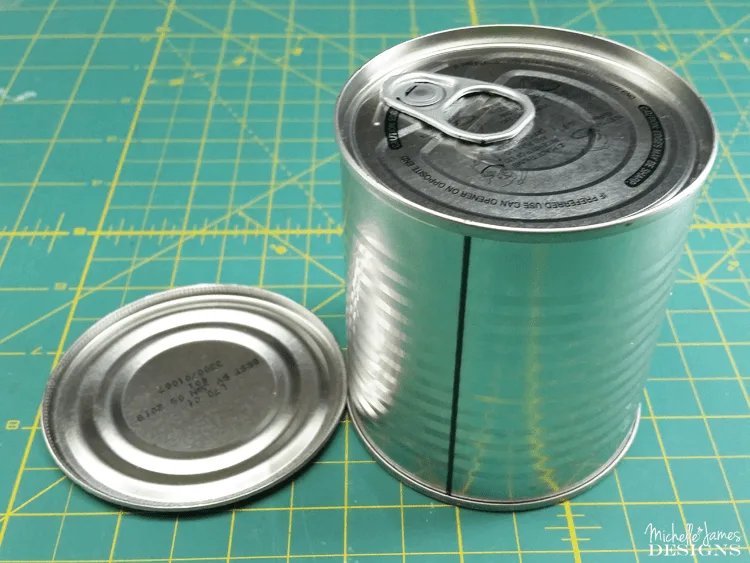
Empty the contents of the can into a bowl for later, remove the label and wash and dry the can thoroughly. You don’t want your gifts to smell like oranges or whatever was in there, right?
Then you have this!
Prepare To Decorate
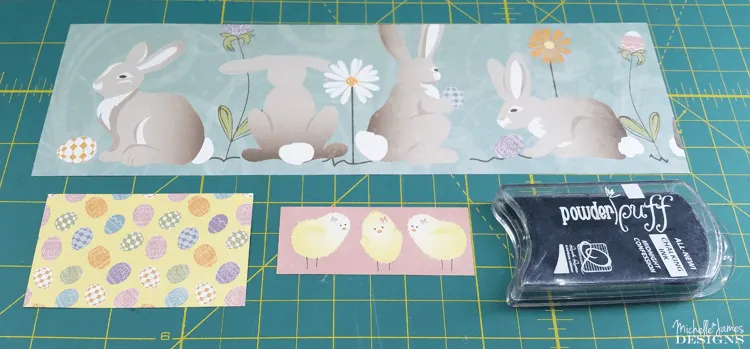
Cut a strip of paper wide enough to cover from top to bottom and long enough to wrap around the can. In my case, the bunny paper needed to be 3 inches wide and about 10.5 inches long. This gave me a nice overlap to glue.
I also cut pieces for a tag. You could use a fun sticker or a chalkboard tag, whatever you like. I am in love with this paper with the bunny border. It was perfect for this!
I also used my favorite Powder Puff ink to ink the edges of all of the pieces.
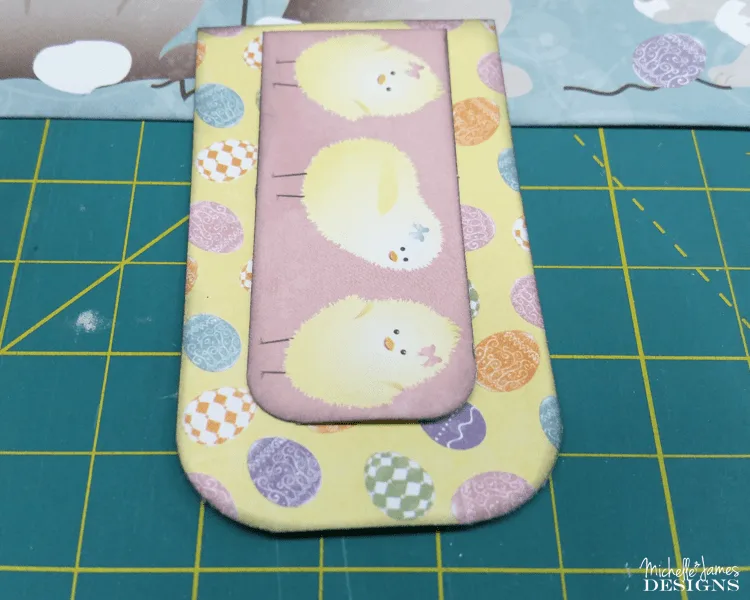
Adhere the long strip of paper to the can. I place some adhesive at both ends of the wrong side of the paper and wrapped it around. Be sure to get it right side up! I almost put it on upside down. Ooops!
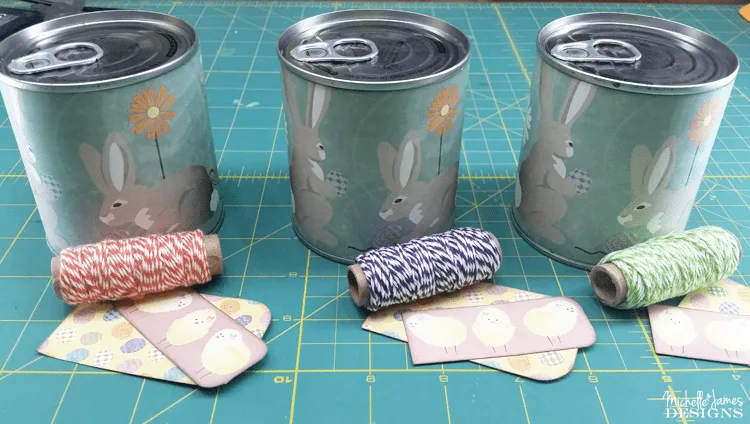
Adding The Finishing Touches
You are almost done. I wrapped some of the baker’s twine several times around the top, punched a hole in the tag pieces then tied it onto the side of the can.
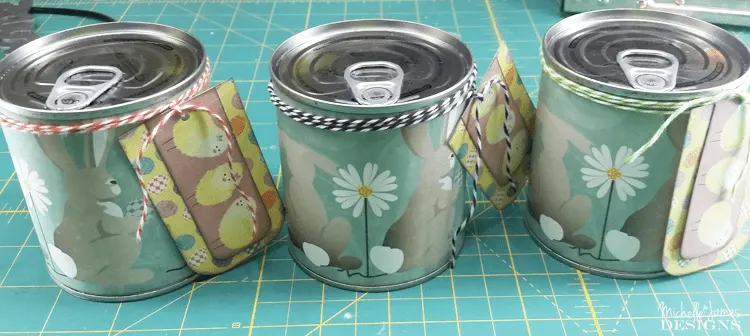
Filling them up is the next step and the fun part. Remember to put the contents in from top to bottom. I started some smaller pieces of candy, then added a plastic egg with jelly beans and placed some candy around the egg.
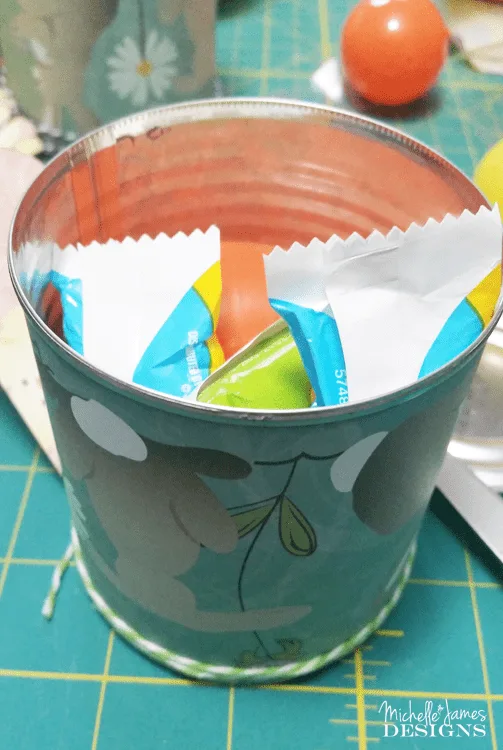
Then the Easter Grass at the top, or bottom of the can!
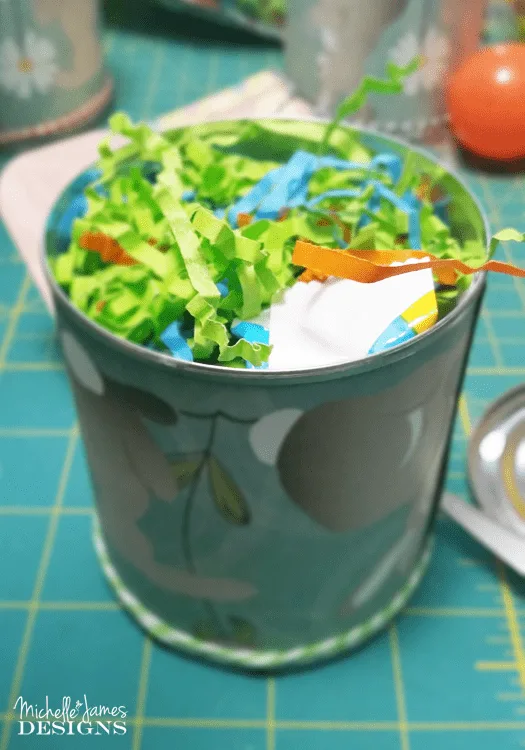
Be sure all of the stuffing is inside the can and not sticking out and super glue the bottom back on!
You are done and you have just created the cutest, little gift in a can!
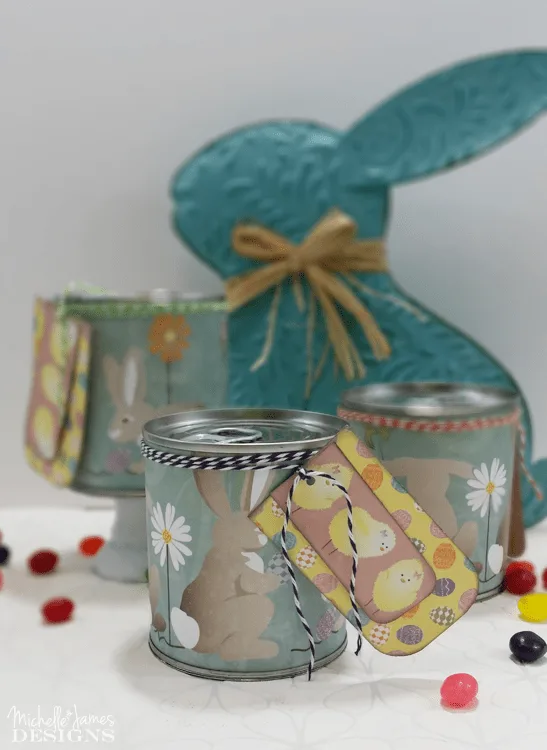
What do you think?
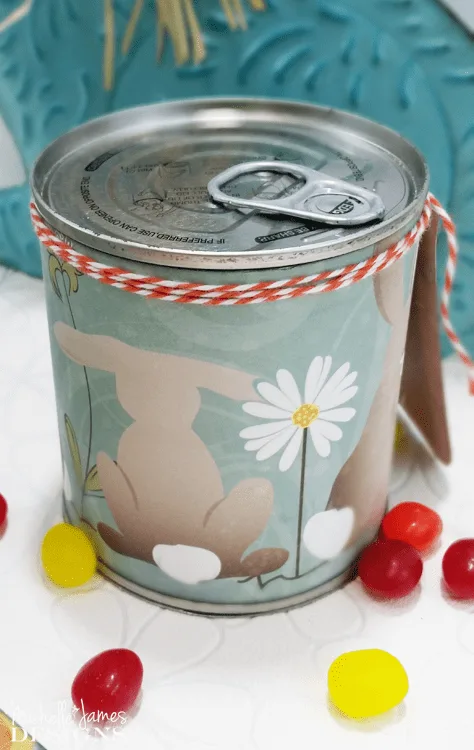
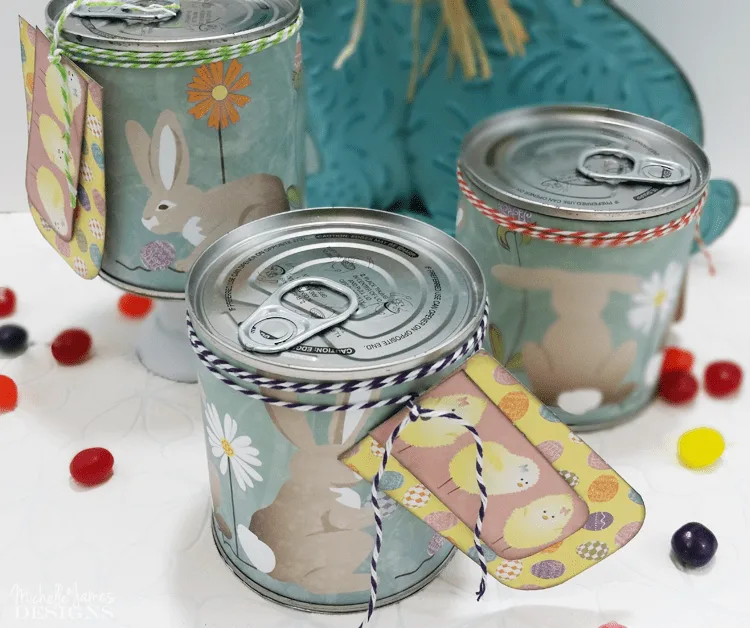
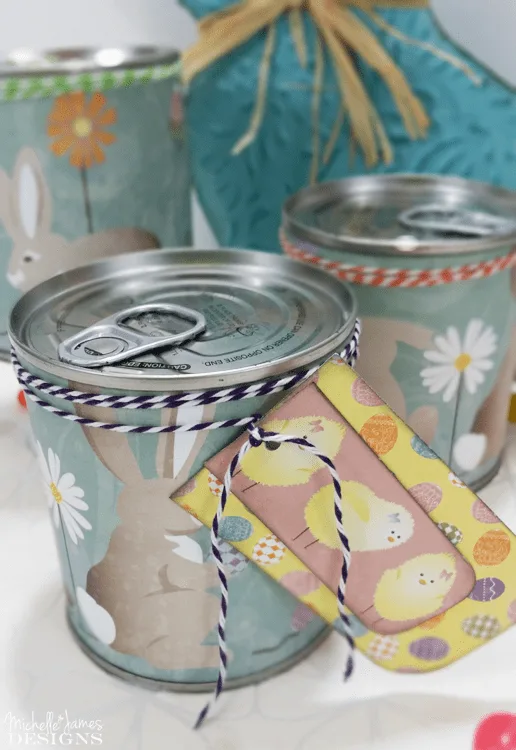
I think they turned out cute. They are for my grown kids. LOL! They still like to receive a fun gift for any occasion and I still like to give them something.
If you like this be sure to pin it for later!
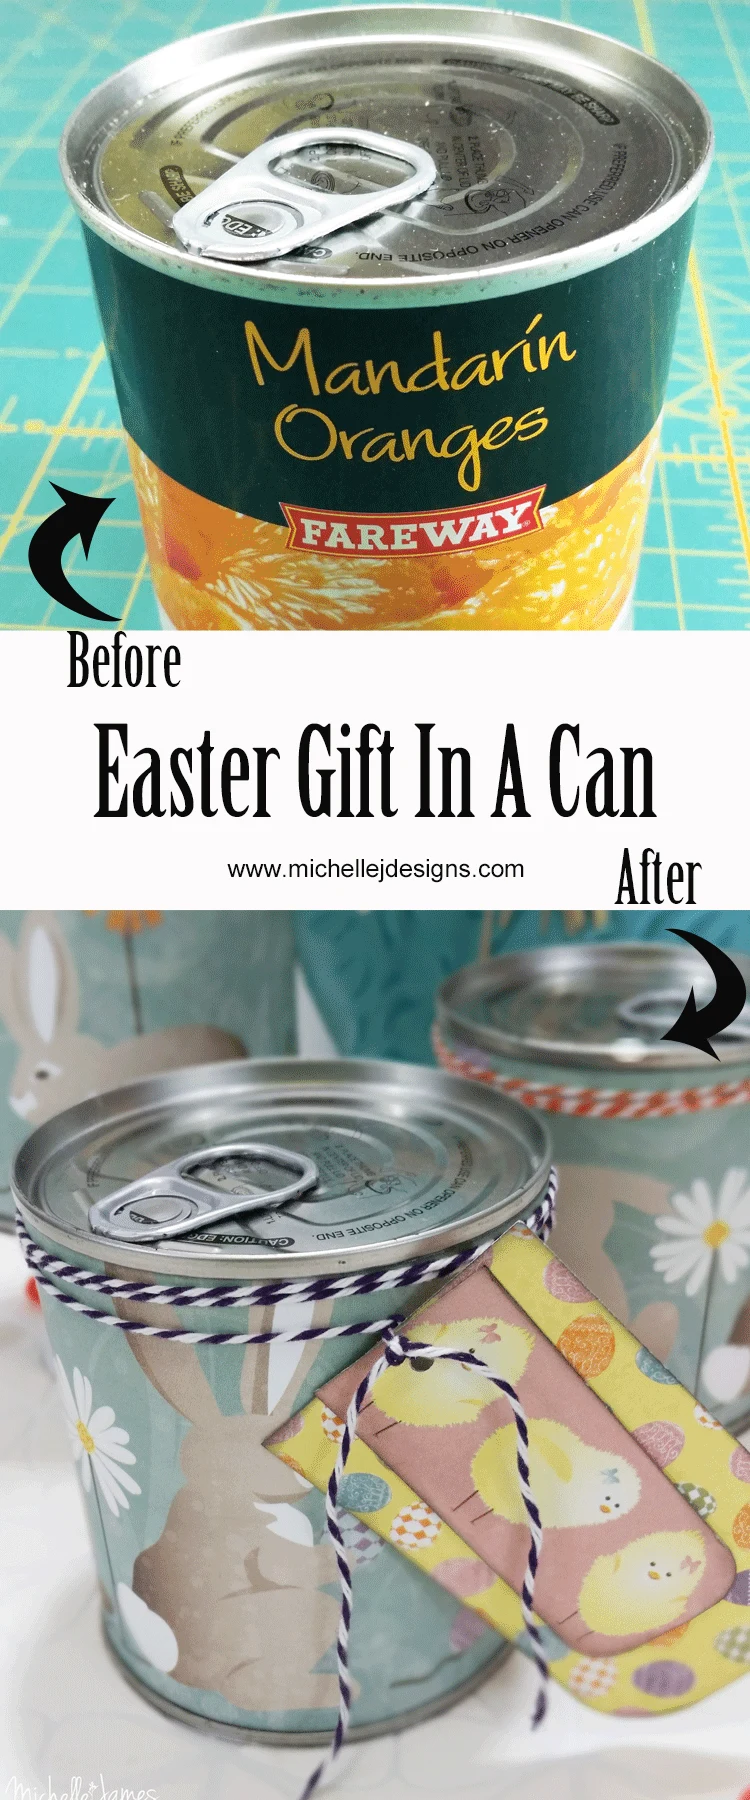
I hope you enjoyed this little tutorial about making a gift in a can. Have a great day and thanks for stopping by!
Michelle



Brenda Hagen
Thursday 9th of April 2020
I LOVE THIS IDEA!!!
Michelle
Friday 10th of April 2020
Hi Brenda! These are soooo fun. I am glad you like them.
SHARON K HARRISON
Thursday 9th of April 2020
Those are adorable!! They should be making those on "Home and Family"! I'm going to make some for my Granddaughters. We won't get to see them till this quarantine thing is over but these gifts will keep and I know they'll love them!
Michelle
Friday 10th of April 2020
Yay! Hi Sharon. I am glad you want to make some. I know your Granddaughters will love them. Happy Easter!
Susie
Thursday 27th of April 2017
You are so clever and crafty! This is totally adorable. I'll have to remember it for my guys. They'll drive themselves crazy trying to figure out how I resealed the pop-top. LOL... And I'll be laughing all the way. congrats. Susie from The Chelsea Project
Michelle
Thursday 27th of April 2017
Thanks. It is fun and they always figure it out but the look on their faces at first is the best. Have fun with it!
Sue
Monday 17th of April 2017
Most of your crafts are so inspiring. I think this one should be famous in a magazine layout or on TV. I won't soon forget it.
Michelle
Tuesday 18th of April 2017
That is a huge compliment Sue. Thanks so much. I doubt that will happen anytime soon but a person can dream, right?
Peggy Stolley
Friday 14th of April 2017
This is a favorite technique! It's a sneaky way to gift wrap, and of course, you chose the cutest paper ever!
Michelle
Friday 14th of April 2017
Hi. I really love this paper. It was so perfect for these gift cans. Thanks!