Do you love to make your own ornaments? I think it is a lot of fun but don’t make too many of my own. If you love mason jars like I do then you will love this post about making your own mason jar ornaments!
You can create so many Dollar Tree crafts and gifts and they are all inexpensive and easy to make.
A few years ago we got rid of our beautiful Christmas tree for a couple of reasons. First it took up way too much room in our house. We live in a 120 year old house and the rooms are pretty small. The tree just took up to much of our valued space.
The second reason…the cats. Did you know that cats like to climb the “trunk” of the tree and hang out on the branches? Also, they love to play with shiny things like ornaments. We would take bets as to how many of our ornaments would be all over the living room floor the next morning when we woke up.
When the boys were little we did it every year but now that they are gone Jeff built a wooden tree that is pet friendly and takes up no space at all! But, our ornaments need to be pretty small and there can’t be too many of them.
It doesn’t stop me from making some great mason jar ornaments and showing them to you for some great ideas and inspiration. Plus…these make great gifts.

Dollar Store Crafting
I have been doing a lot of Dollar Store crafting lately and I really love the projects I am making. Today’s is particularly fun. Most of the supplies came from the Dollar Tree and a few are from WalMart but all in all it is a very inexpensive mason jar ornament that looks great.
I am not the only one who loves Dollar Store crafts. I am joining up with some of my blogging friends and we are all bringing you Dollar Store inspiration for Christmas. Be sure to check out their projects by clicking on the links at the bottom of this post.
Now…onto these mason jar ornaments.
Dollar Tree Mason Jar Ornaments
I have included a video for this project. It is short and sweet and I hope you will like it.
If this is the case then I hope you will consider subscribing to my channel. There will be a lot more decor and gift ideas posted over the next 4-5 weeks and you don’t want to miss them.
Step 1: Gather your supplies
A complete list of supplies with affiliate links is provided at the end of this post but I wanted to show some pics of the supplies I got.
These are the Mason Jar ornaments and fake snow from the Dollar Tree. Aren’t they cute?

Dollar Tree has a lot of different ornaments to choose from including different sizes of the round ornaments and some that are shaped like light bulbs.
I picked up some of each…because they are $1.
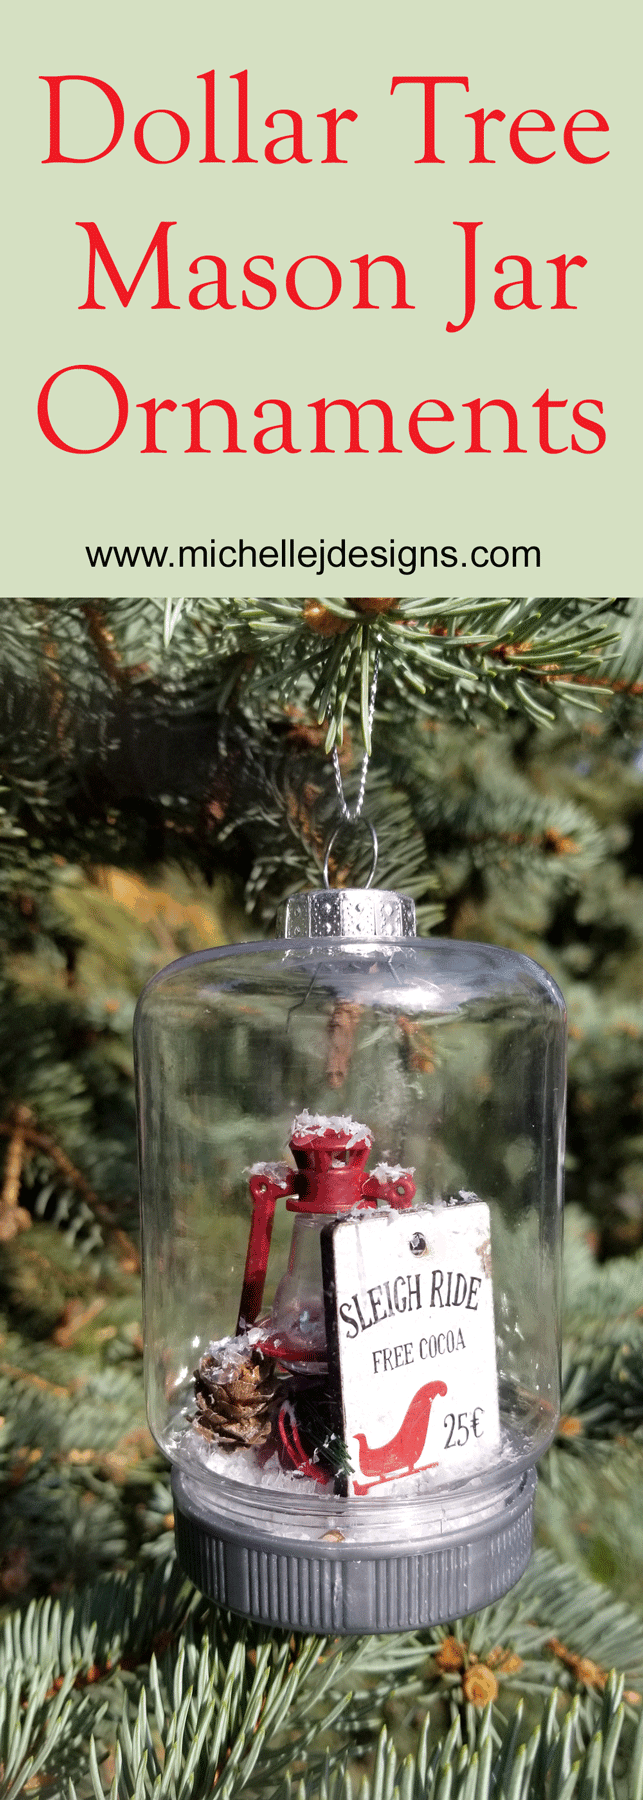
Then, at Wal Mart I got these fun red lantern and farmhouse signs mini ornaments to go inside the mason jar. I am not sure why I added the jars and the snow in this photo too. Just ignore that.

I have seen these ornaments with the small bottle brush trees in them but I wanted something different. These were $1.79 for each packet at Wal Mart. I didn’t think that was bad at all.
Step 2: Create a “platform” in the mason jar lid
This sounds weird, I know but the mason jar lid is about 1/2 inch deep and it keeps the fun pieces inside from completely showing because they are too far down.
I used some foam core pieces. The Dollar Tree has foam core but you could use some cardboard or whatever you have to achieve this.

Jeff cut these for me. Two foam pieces glued together work perfectly.
Use hot glue to glue them together then into the bottom of the lid.

Step 3: Add the mini ornaments
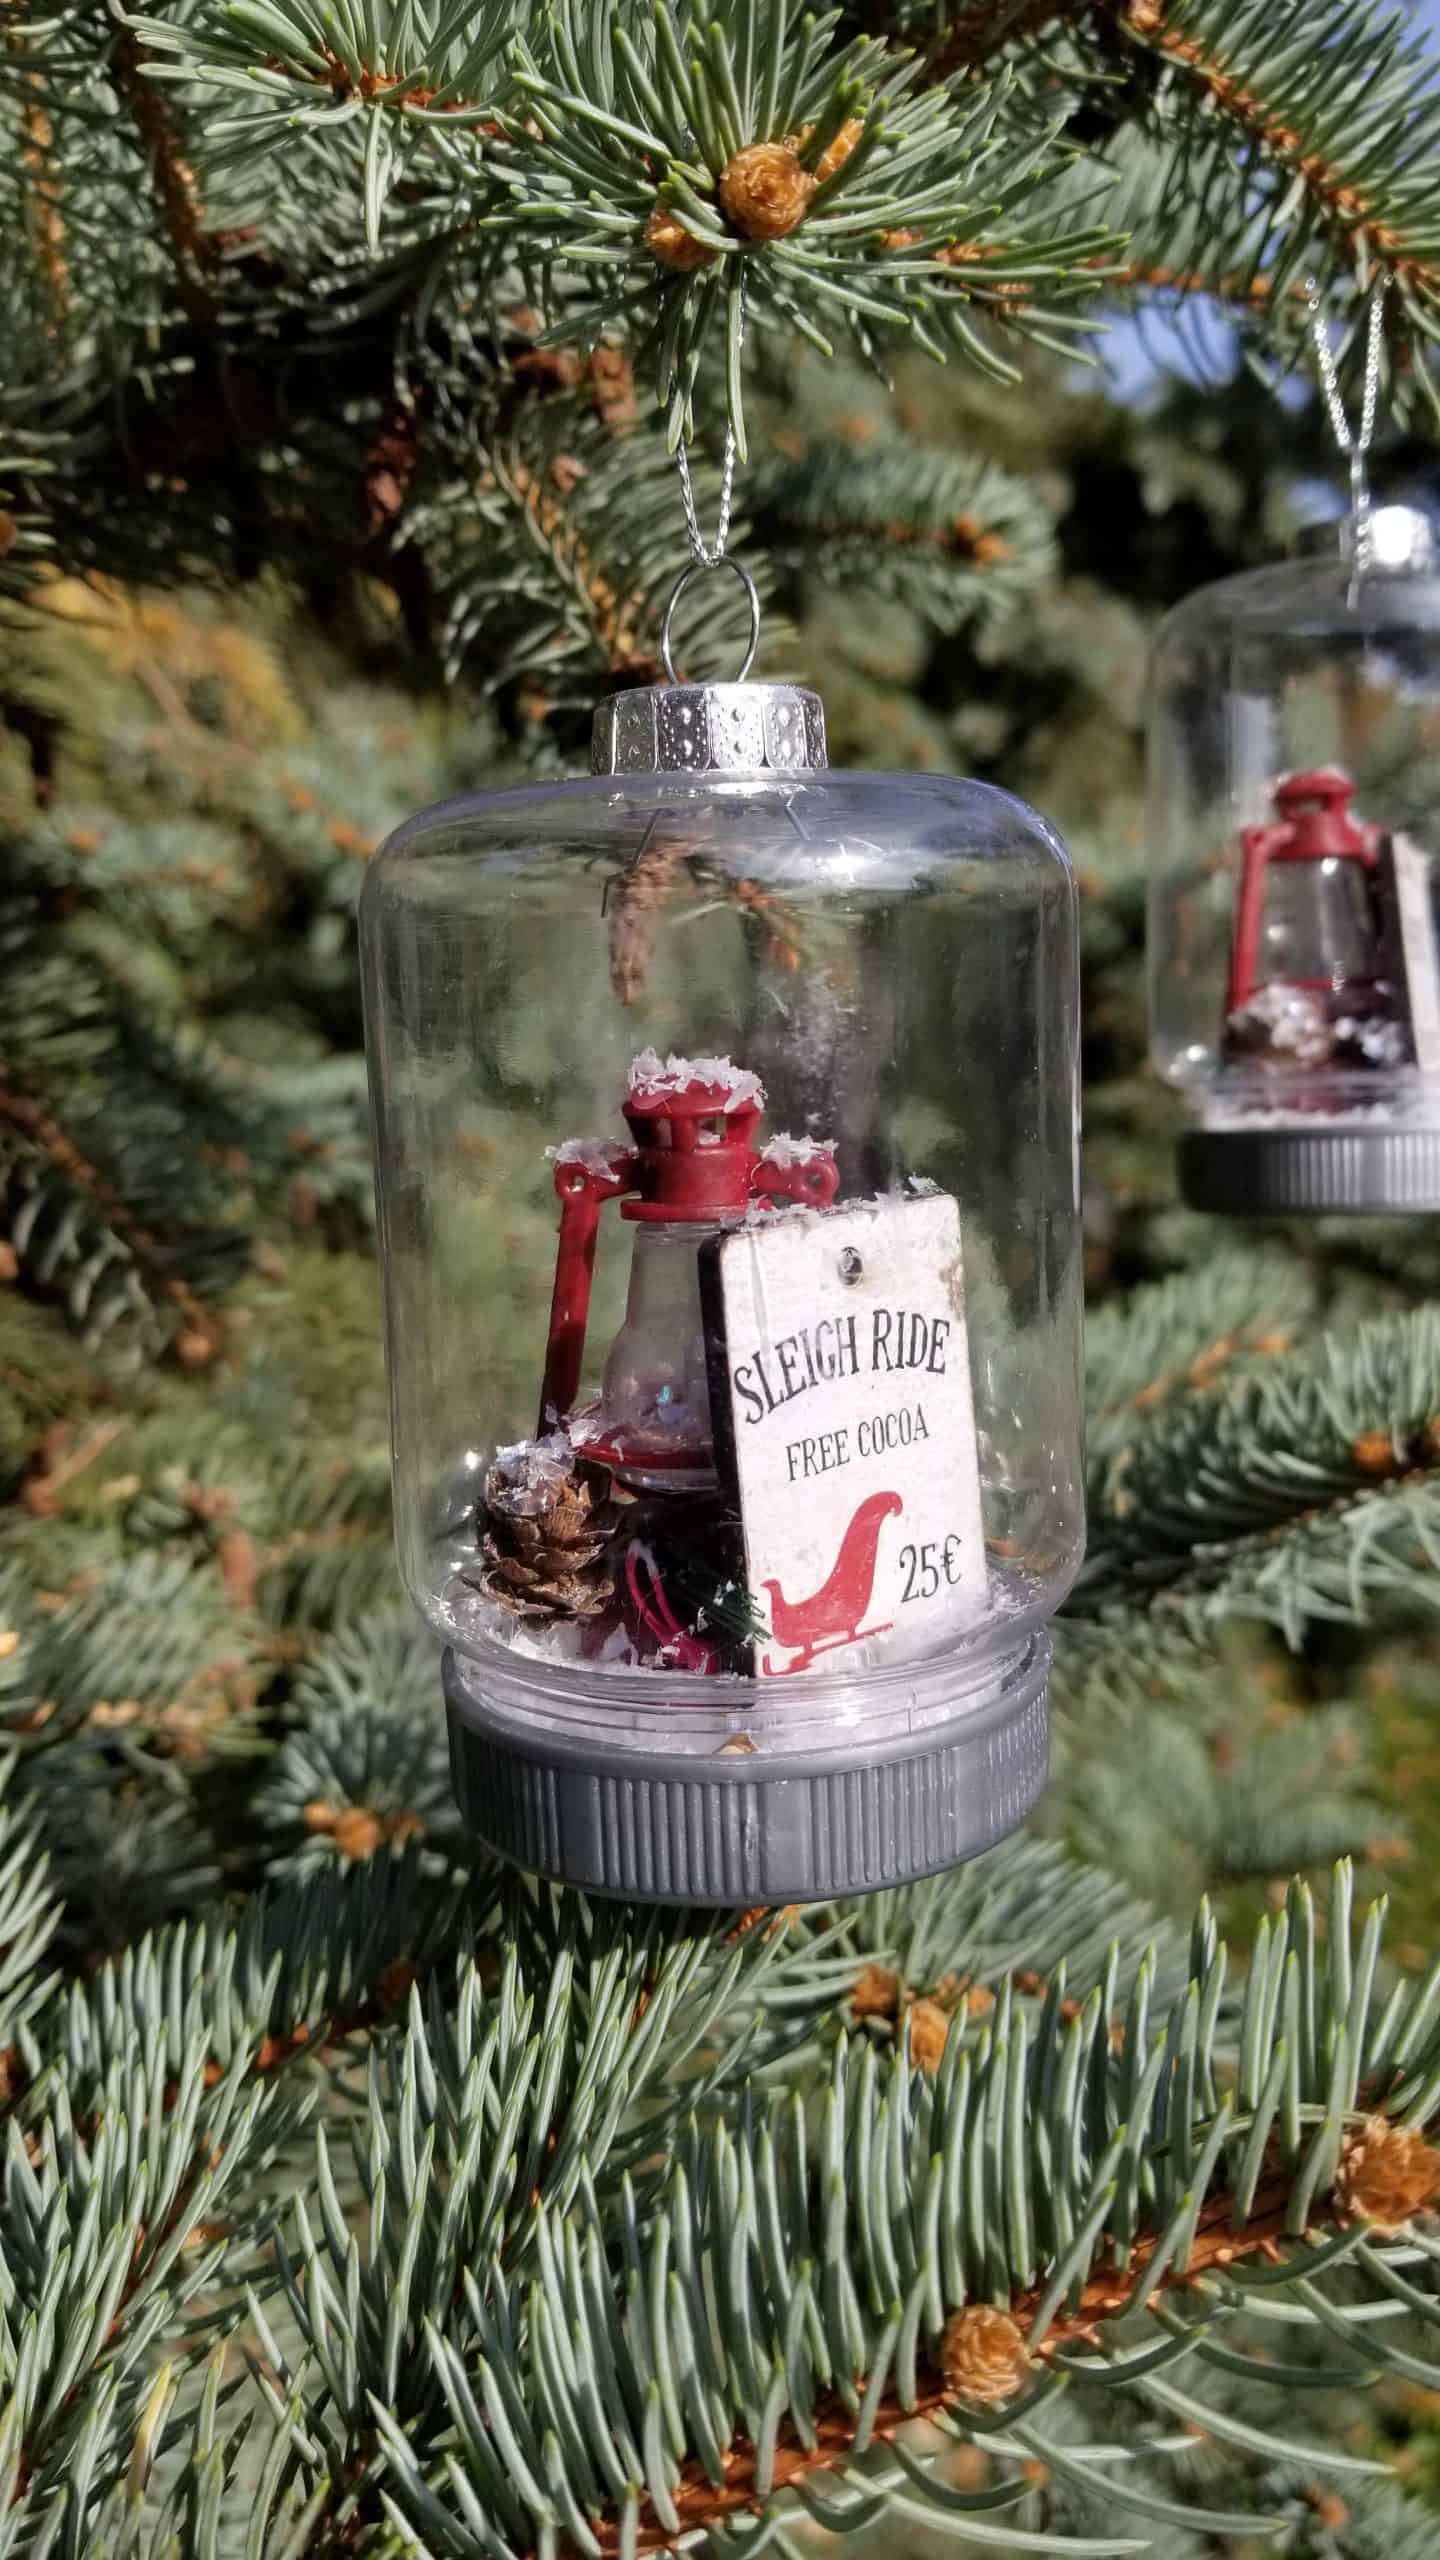
These little red lanterns and signs are so cute and I was so glad I found them. Glue the lantern in first. Be sure to place it so the “jar” part of the ornament still fits over and screws into the lid.
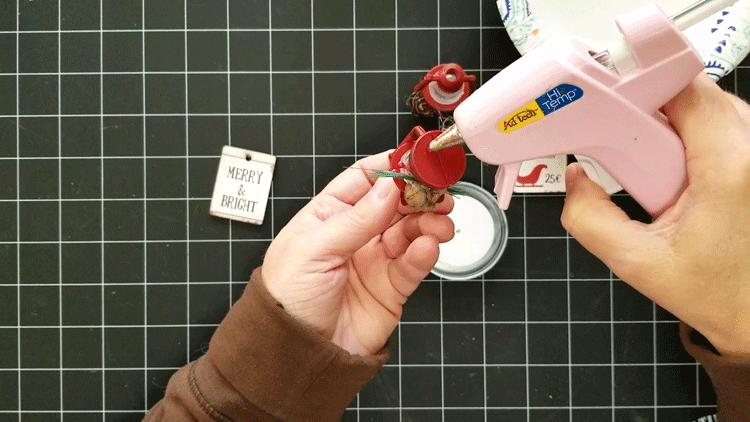
Next is the mini sign. I had some trouble getting it to sit right next to the lantern.
You can see in the photo below that the little bit of greenery is keeping it from sitting up against the lantern.
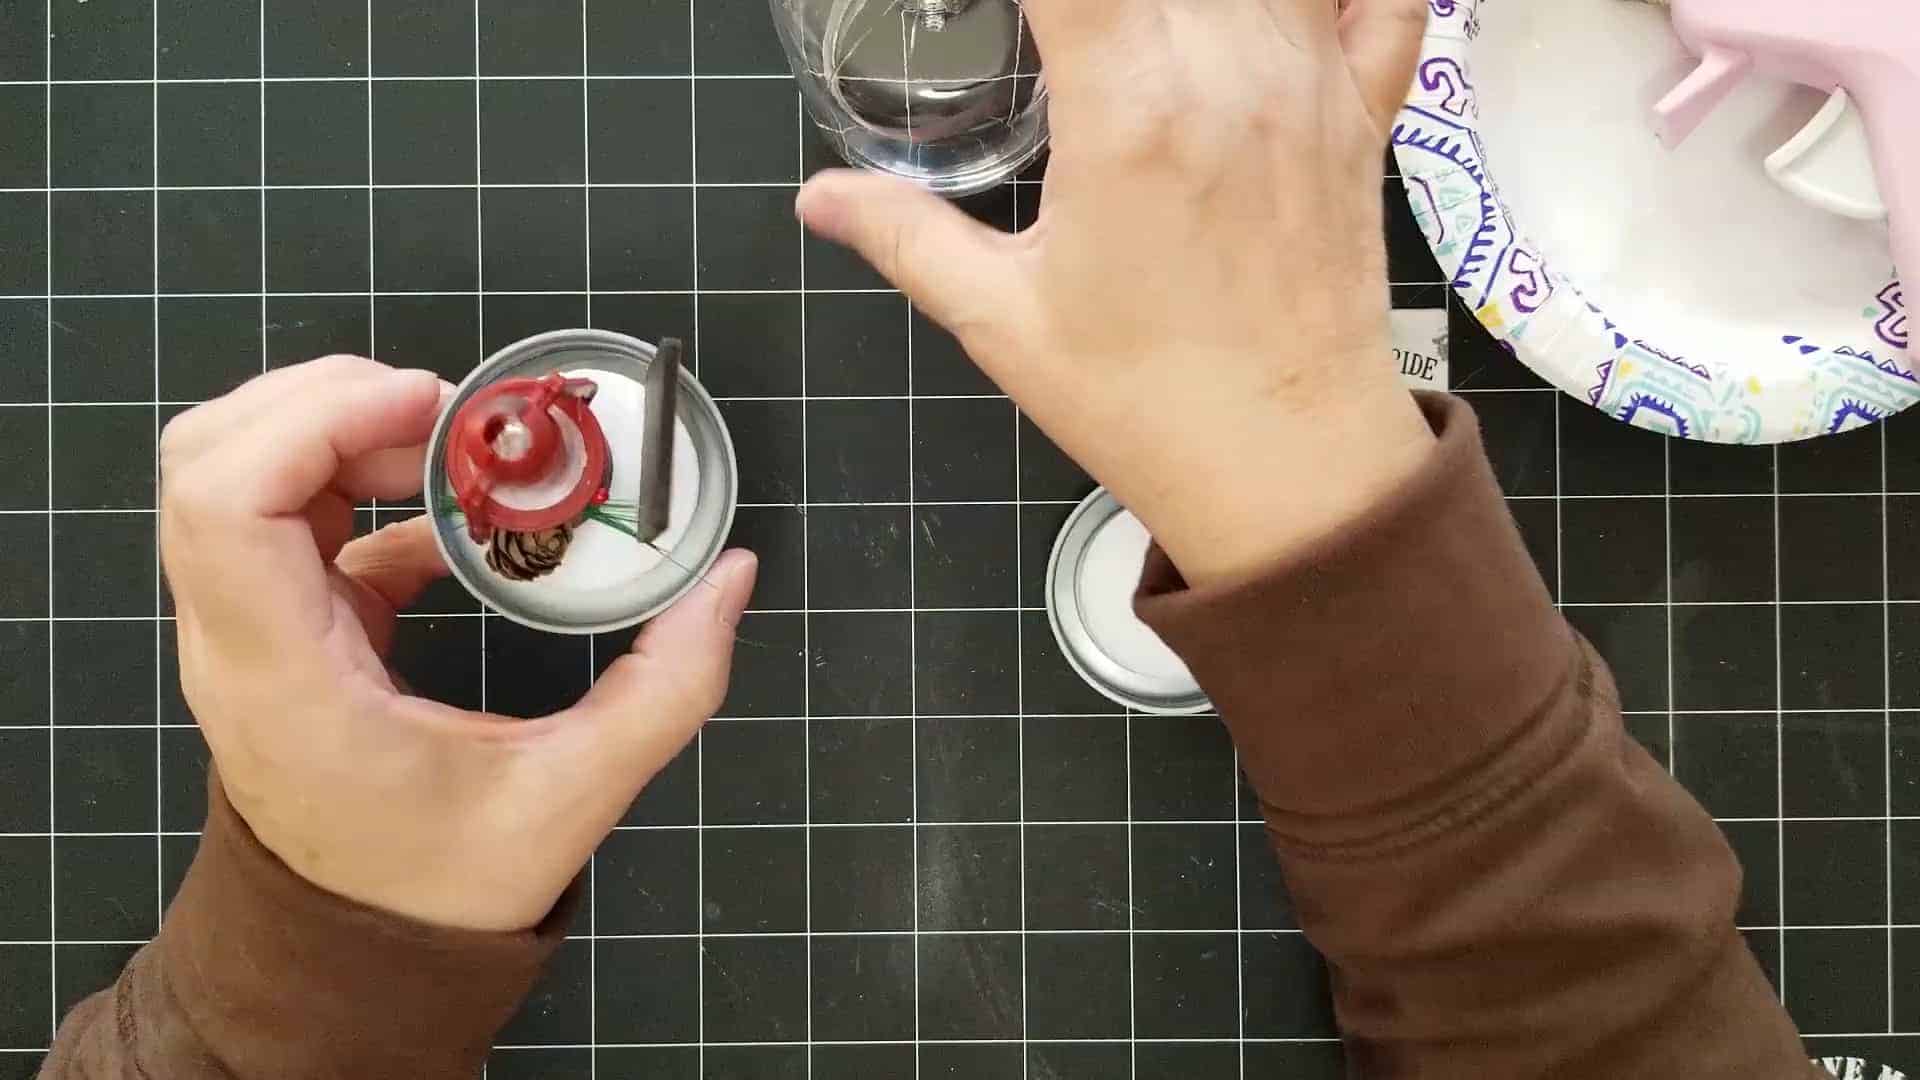
So I cut the greenery to make it shorter.

Once I did that everything fit perfectly.
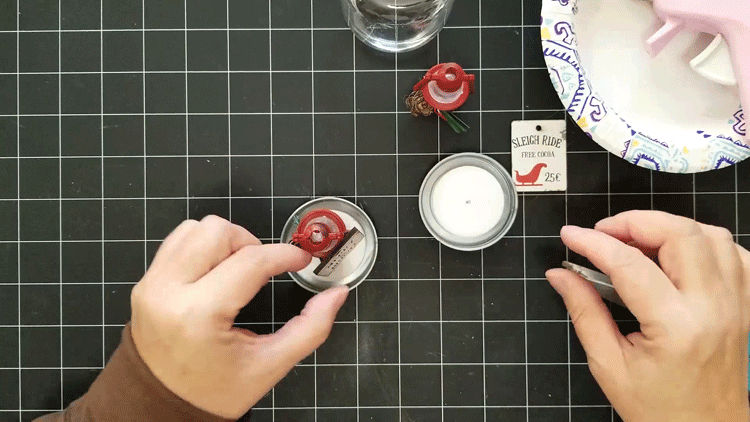
Step 4: Adding the snow
Once the mini ornaments are in place it is time to add the snow. I think this really makes the ornament. It gives it such a cute, holiday look.
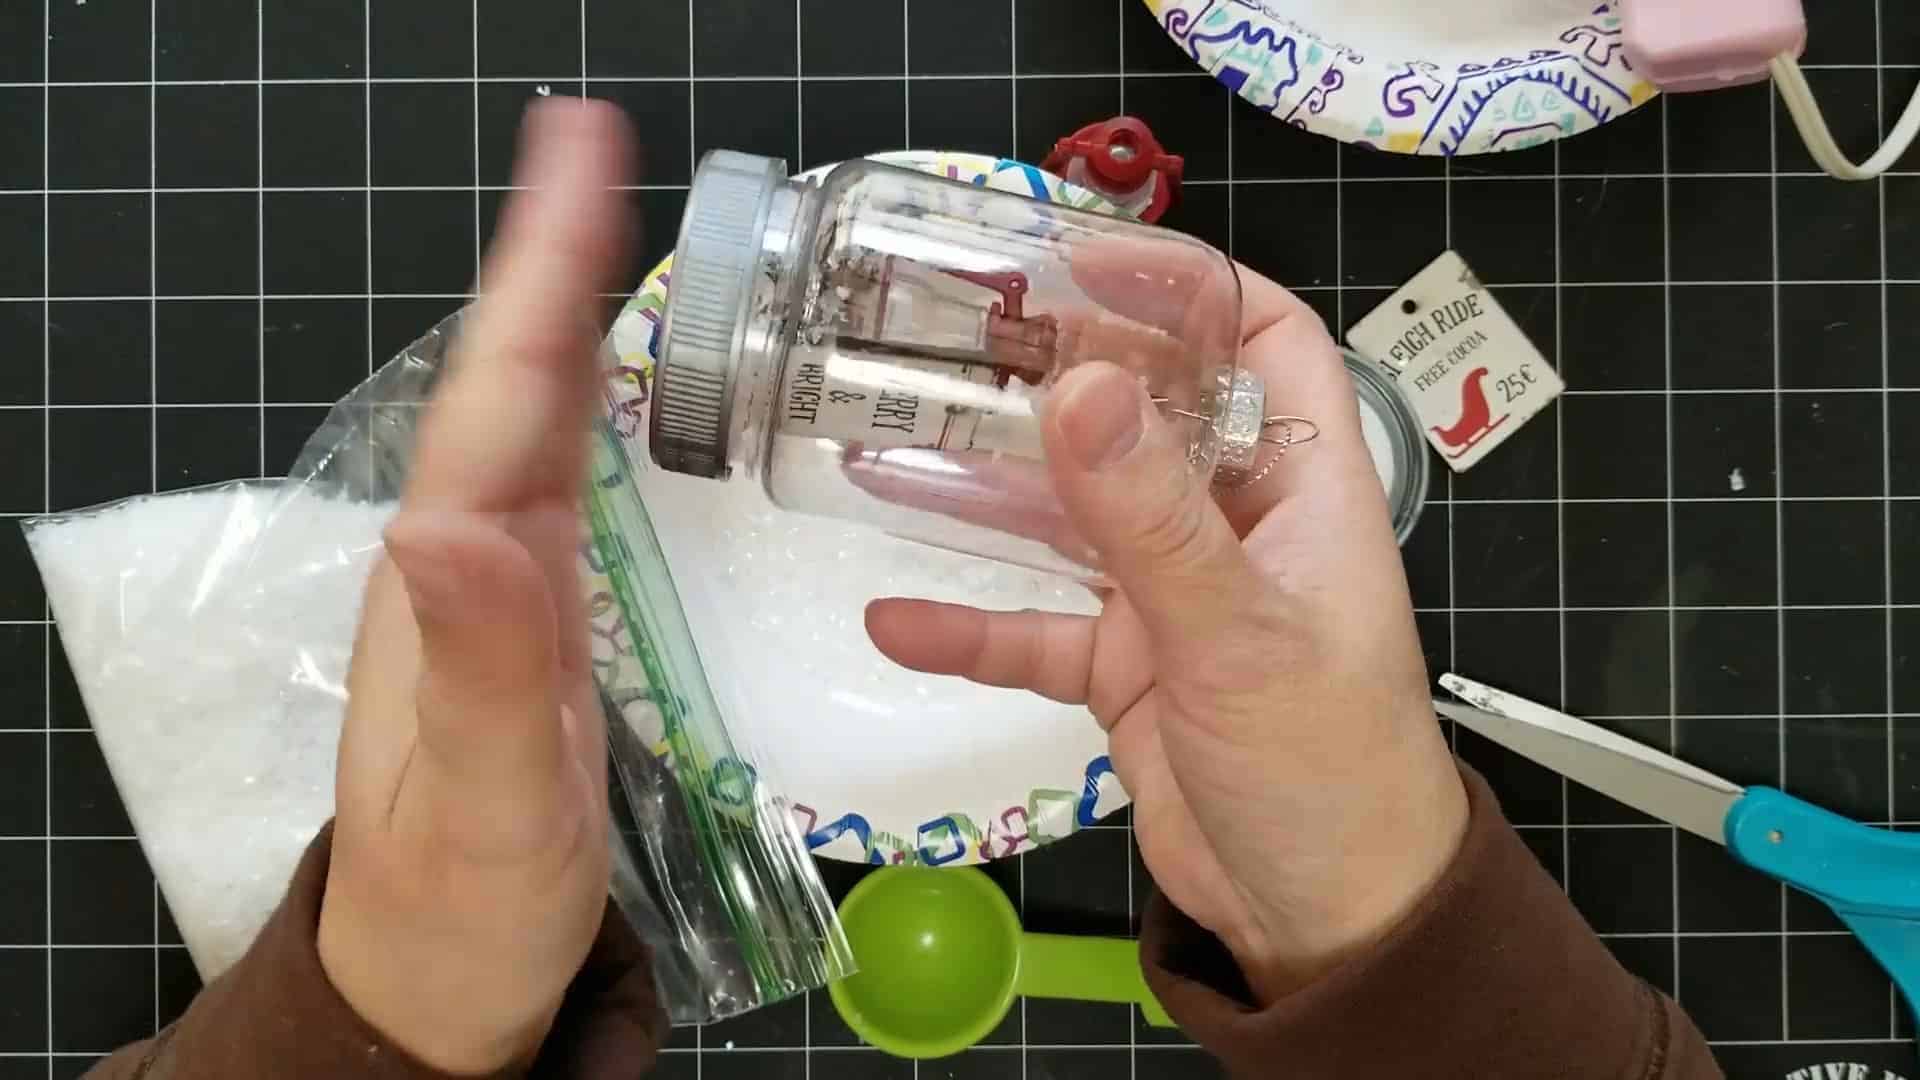
First I placed the snow into a baggie for storage and so I wouldn’t spill it all over the place. I got a measuring spoon to add it to the ornament.
Use the glue gun to add some hot glue wherever you want snow. The hot glue dries pretty quickly and you want it to be nice and sticky when you add the snow so you can add it to just a few places at a time.
I was able to add all of the hot glue at once and it worked nicely.

The snow is so pretty and sparkly. I added a whole bunch to the bottom. All that was left to do was to add the mason jar top.
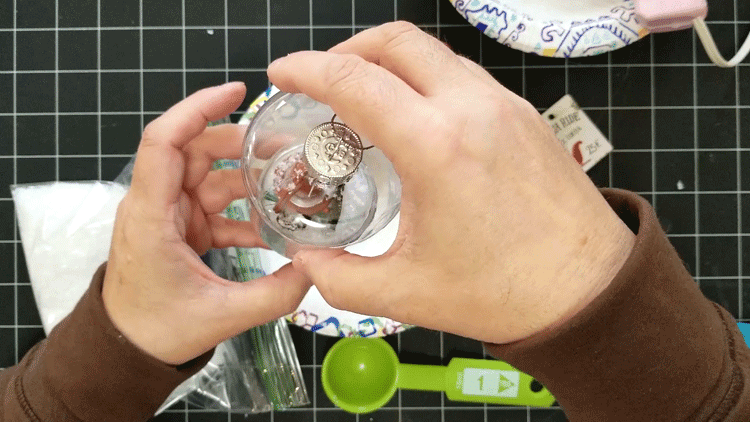
I shook it up a bit to move the snow around.
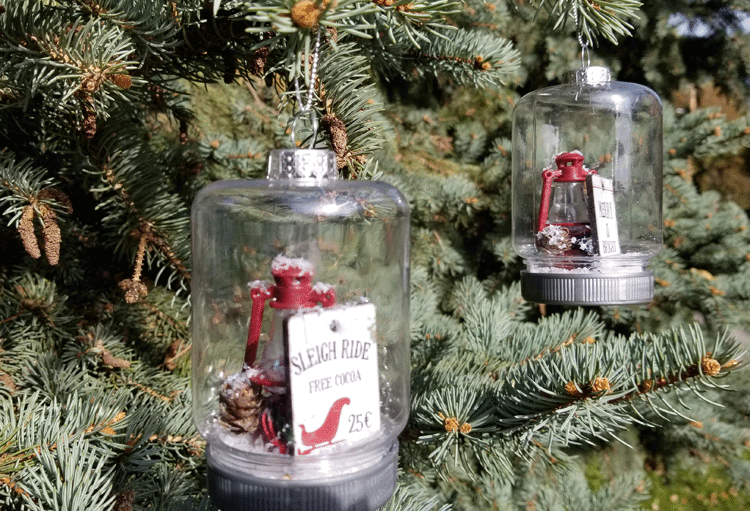
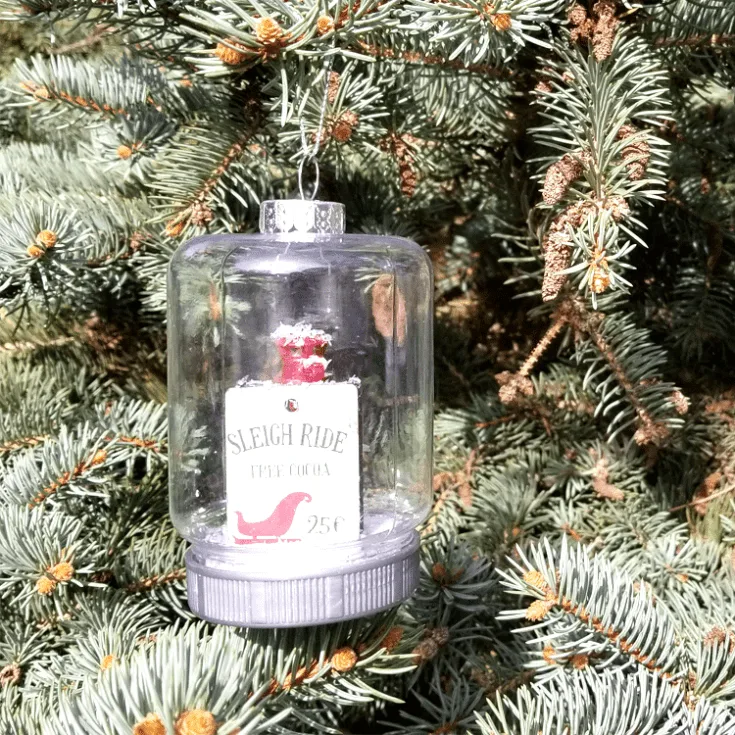
They turned out so stinkin’ cute! Do you think so too?

I took them outside for a test spin on the neighbor’s tree and they looked fantastic.
Materials used:
I have included some affiliate links for your convenience. You can read my full disclosure here.
Dollar Tree Mason Jar Ornaments

An easy and budget friendly mason jar ornament made from a Dollar Tree ornament and some WalMart mini ornaments. Just add hot glue!
Materials
- Dollar Tree Plastic Mason Jar Ornaments
- WalMart Mini Ornaments - Red Lanterns and small farmhouse signs.
- Hot Glue Gun
- Dollar Tree Fake Snow
- Foam or cardboard to add to the bottom of the jar
Instructions
- Gather your supplies and create foam/cardboard inserts for the lids.
- Hot glue the mini ornaments on top of the foam/cardboard making sure the mason jar part will fit over the top nicely.
- Use hot glue and a measuring spoon to add some sparkly faux snow where you want it.
- Replace the mason jar piece.
- Shake around a little to disburse the snow.
- Hang on tree and enjoy!

Don’t forget to visit my friends and see what Dollar Store Christmas decor they made. And be sure to check back on the third Friday of each month for another Dollar Store themed project.
Michelle at Our Crafty Mom – https://ourcraftymom.com/make-an-adorable-dollar-store-christmas-gnome/
Heather at Daily DIY Life – http://www.dailydiylife.com/coastal-christma…ents-dollar-tree/
Beverly at Across The Blvd – https://acrosstheblvd.com/farmhouse-snowy-mini-tree/
If you love to make ornaments check out my DIY wine cork ornaments. They are so fun and easy!
Thanks so much for stopping by!
Michelle


Jennifer
Sunday 1st of December 2019
I’m actually interested in the comment you made about having a wooden Christmas tree because of your cats. I have the same issue. I’m interested in pictures of the tree. I hung garland around my living room with lights & ornaments instead but miss having a tree.
Michelle
Monday 2nd of December 2019
https://michellejdesigns.com/diy-wood-christmas-tree/ Hi Jennifer. Here is a link to my tree post. There are pics for you to look at. it is flat and just hangs like a picture. LOL! I like it because our room is really small too.
Beverly
Monday 18th of November 2019
I love how you used the dollar store jar ornaments, Michelle. The sleigh ride signs are super cute!
Michelle
Monday 18th of November 2019
Hi Beverly! Thanks so much. I love how they turned out. Those little farmhouse signs were such a good buy.
Christina Woodcock
Friday 15th of November 2019
These are so cute! What an unique way to make ornaments.
Michelle
Friday 15th of November 2019
Thank you Christina. I am glad you like them. They are inexpensive too!
Nancy Lou
Friday 15th of November 2019
The possibilities are endless with this project, aren't they?! Really adorable, Michelle!
Michelle
Friday 15th of November 2019
Thank you Nancy. Yes. There are so many things that could go inside these ornaments. For you...that red, vintage truck!