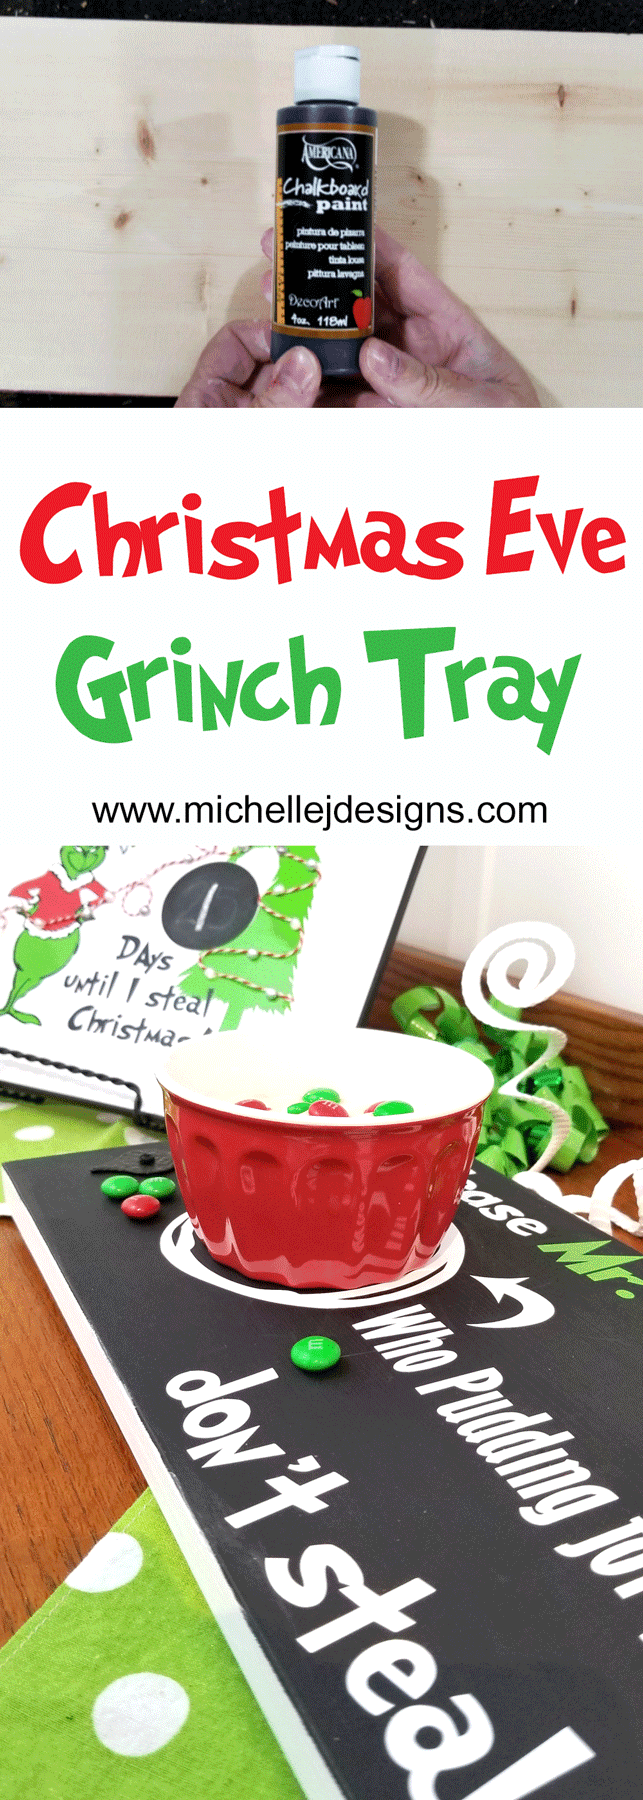
Hello and welcome back to the blog! I am super excited about my project today. The first are some wood party serving trays and the second is a Grinch Christmas Eve tray.
Wood trays are so much fun. I made a long, wood table runner last year and I just love it. This year I am adding to the decor. I created a couple of trays for appetizers and a Christmas Eve Grinch tray.
They are unexpected and a little different which I love and it is fun to have something new for my family who visits each year.
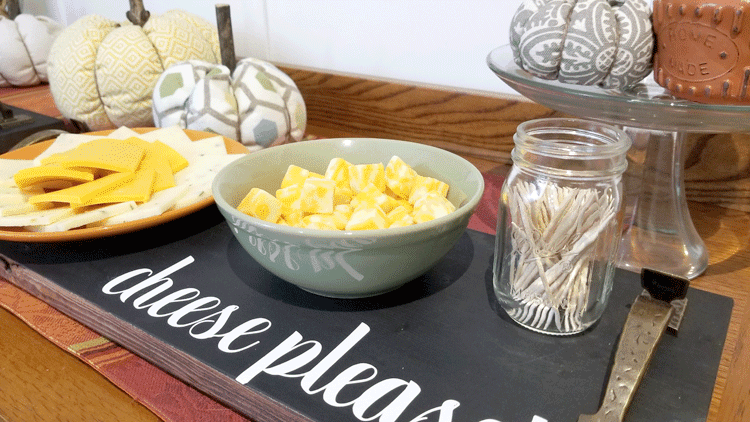
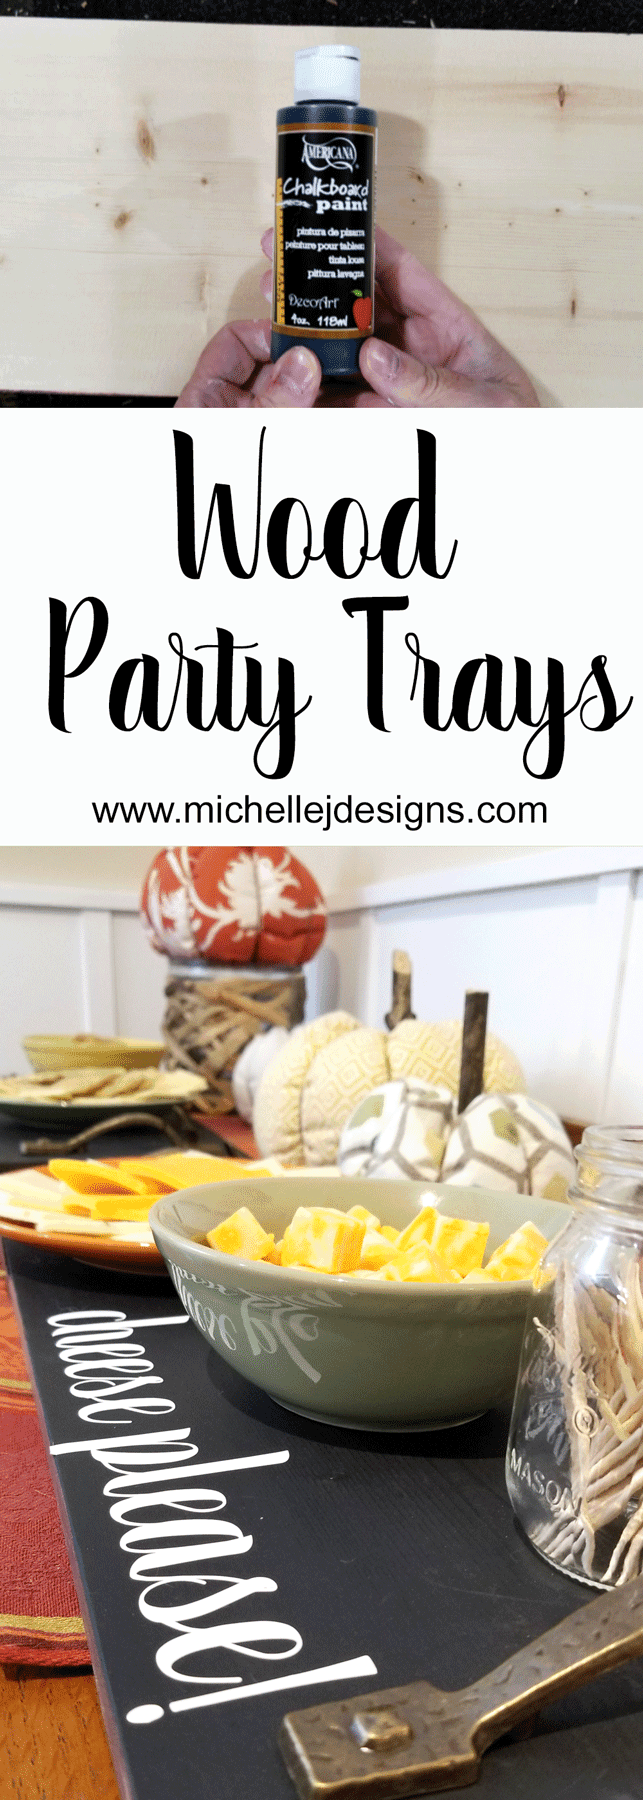
The trays are painted with Chalkboard paint. They will not be food safe so you must use a bowl or plate as I will show in the final photos.
They turned out really nice and were easy to make. I have a full tutorial below and a step-by-step video tutorial too.
The Grinch cut files are available in my Etsy shop and the party tray cut files are available for free in my resource library.
If you like to make your own Grinch crafts and decor then you have come to the right place!
Let’s get this party tray started!

Wood Party Serving Trays
The full tutorial for these wood trays is available for you to watch anytime. Just click the video below! The video includes the buffet serving trays and the Grinch tray since they were made in the same way.
You can find a full, printable list of materials toward the end of this post!
Step 1: Cut and Prepare the Wood Boards
I had a long piece of 1×8 that I knew was perfect for this project. I was able to get 3 – 24 inch pieces.
My goal was to create two for appetizers for any occasion. Thanksgiving and Christmas are the two main holidays that I host. This year I have more than usual as I have invited some friends as well.
Appetizers are always a good idea for a hungry crowd so why not create a fun way to display them? Right?
After the boards were cut I sanded them using the palm sander.
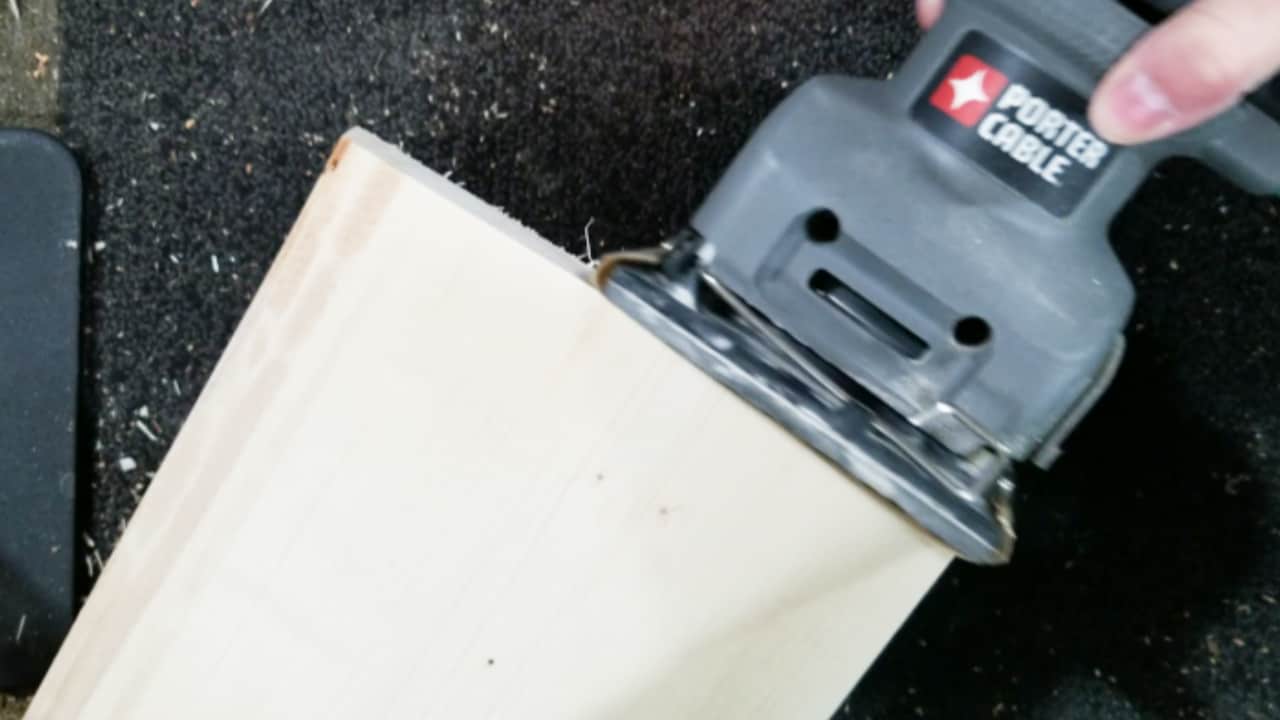
The boards need to be smooth for painting and sanding. If you don’t own a sander, you could rent one, or borrow one from a friend. If these are not options then you can use regular sand paper.
Staple a piece to a wood block and it is much easier to use and easier on your hands.
Then sand or paint the sides and bottom of the pieces.
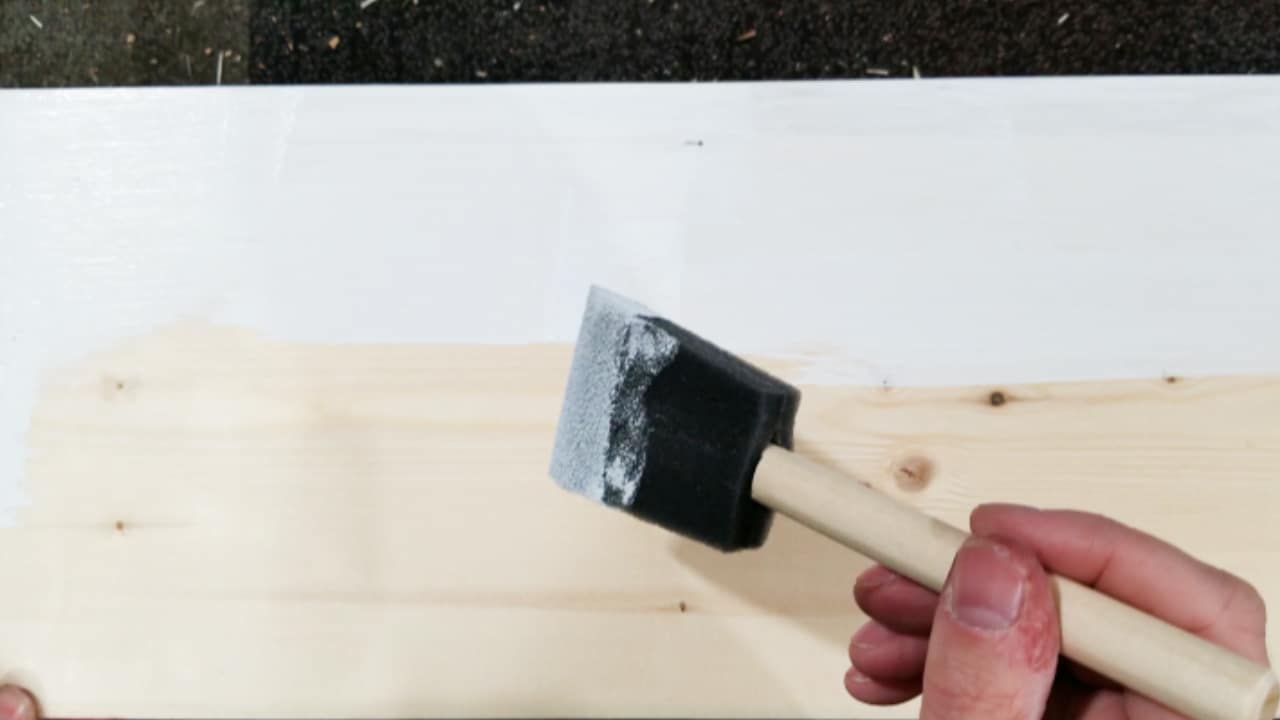
I used stain on two of them and white chalk paint on the Grinch tray.
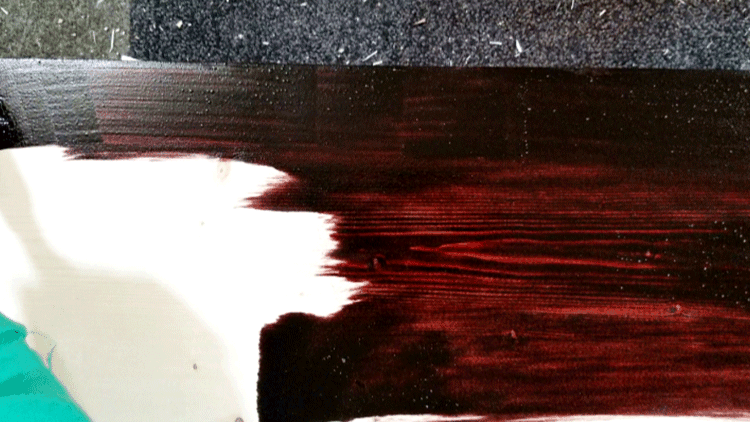
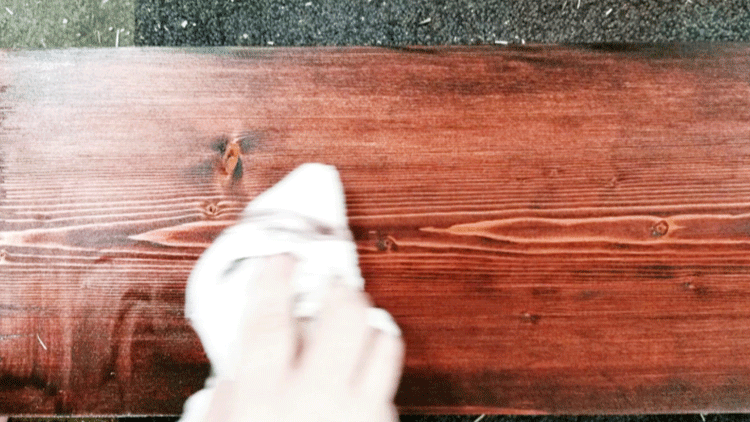
Brush on the stain. I like to use a foam brush. Then wipe it off with a cloth.
I applied 2 coats of the white chalk paint to the Grinch tray.
Sit back and let the paint and the stained boards dry.
Step 2: Add the Chalkboard Paint
I used chalkboard paint for the tops of all of three trays. It is fun to be able to write the names of foods, wines, etc on the boards.
It only took one coat of the paint.

Step 3: Cutting the Designs
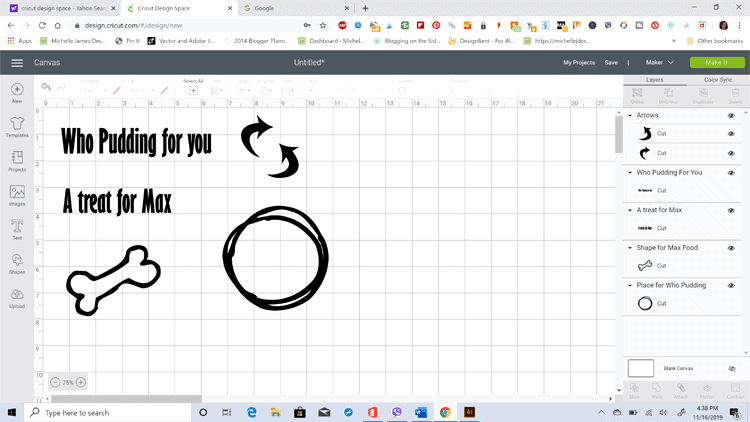
While the paint is drying, go ahead and cut your designs. I used the Cricut Maker for this step.
You can find the free buffet tray designs in the resource library and the Grinch Christmas eve tray in my Etsy store!
Here are my screen shots before cutting out the designs.
All of the white is a matte finish and the red and green are glossy vinyl. All of the vinyl is from StyleTechCraft.

Once the pieces are cut apply transfer tape to each one.
Step 3: Laying Out the Design
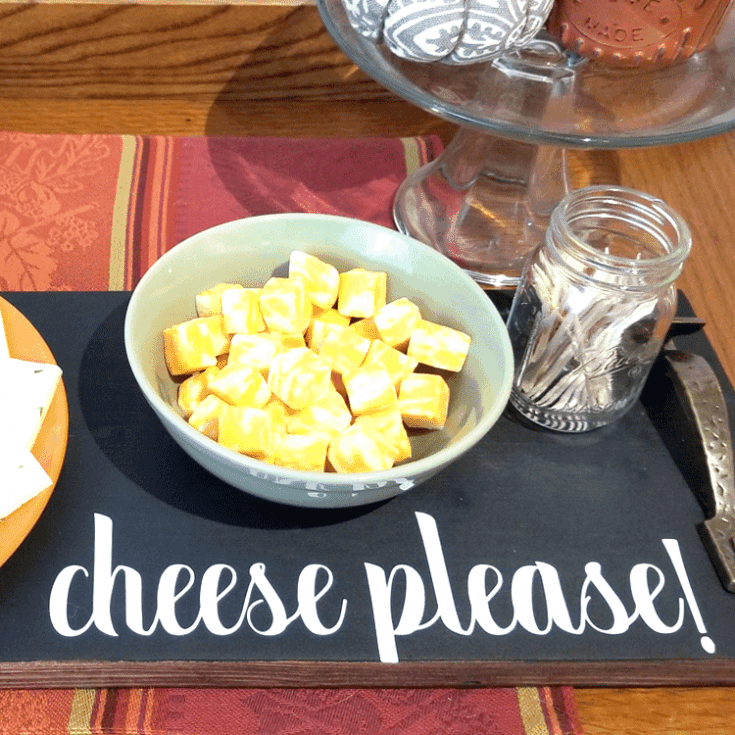
The wood party serving trays were easy because I just wanted one saying on each tray.
But there was a slight problem to deal with. I wanted the letters to be fairly close to the bottom of the tray but the letters that went below the line such as f’s and p’s made it difficult to place the words.

So, I decided to be a rebel and place them exactly where I liked and cut off the ends of those letters.

Some of you may hate this idea but that is the beauty of making your own. You can do whatever you like. The words can be sized smaller or you can place them in a spot you like.
I am a “off the page bleed” kind of person.
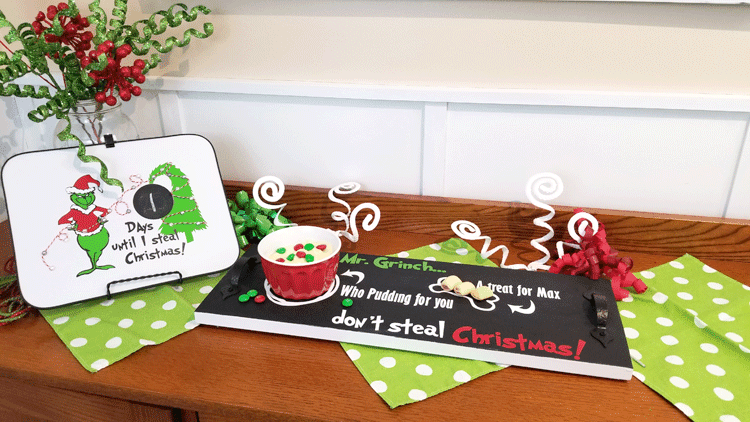
The Grinch tray took a little more positioning.
Get the Grinch SVG Cut file on Etsy

This is the layout I decided to keep.
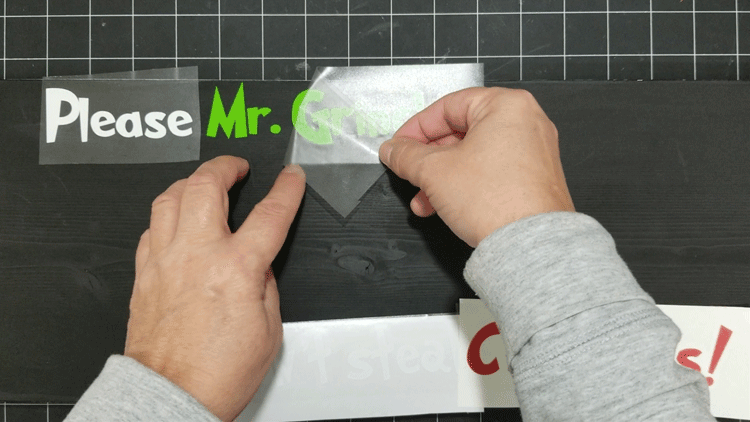
Step 4: Placing the Vinyl
Once I decided on my layout it was time to place the vinyl.
If you don’t have a cutting machine you could use the chalkboard surface and trace or draw your own Grinch design.


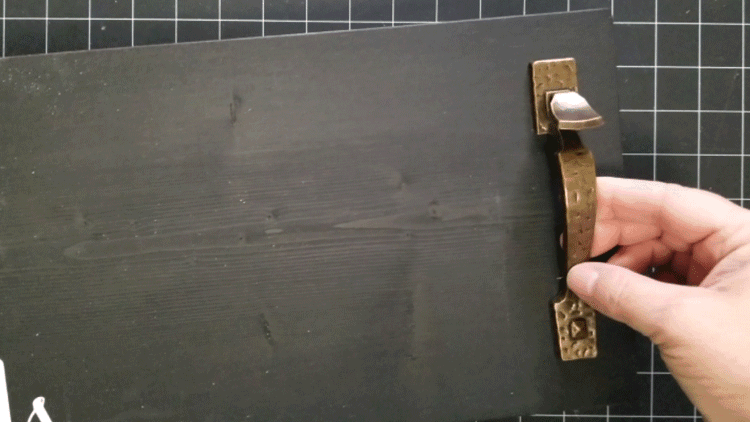
Step 5: The Finishing Touches
The last thing I did was add the handles. Jeff helped me with this by drilling holes then screwing the handles onto the tray.
I got these handles at a garage sale and I didn’t realize that some of them require screwing them in from the back.

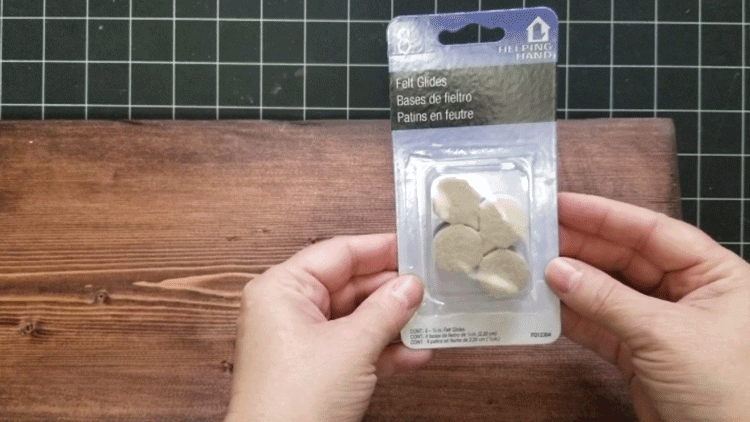
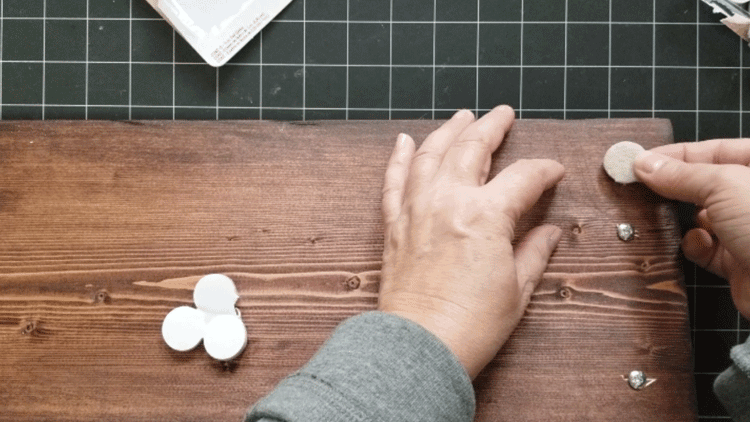
Since they were sticking up I decided to add some felt pads to the bottom of the wood trays. This turned out to be a great idea even if there weren’t screws on the bottom.
They lifted the tray up slightly which I liked and they will protect any surface.
When you finish this step…you are all done! Yay you!
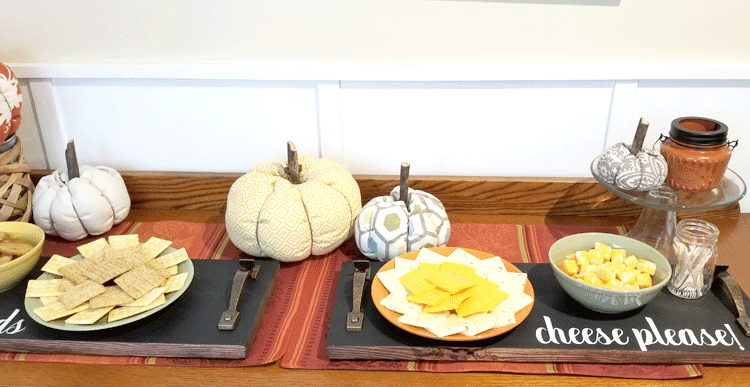
I think they are so cute and turned out so nice.
What do you guys think?
Materials Needed:
I am including some affiliate links for your convenience. You can read my full disclosure here.
Wood Party Serving Trays

Wood serving trays that can be used for parties and events. The chalkboard top allows labeling foods easy and fun.
These are not food safe so be sure to use plates and bowls to put your food in.
Materials
- Wood pieces - 1x8 boards cut into 24 inch lengths
- Wood Stain
Wood Party Serving Trays
Wood serving trays that can be used for parties and events. The chalkboard top allows labeling foods easy and fun.
These are not food safe so be sure to use plates and bowls to put your food in.
Materials
- Wood pieces - 1x8 boards cut into 24 inch lenghts
- Wood Stain
- Chalkboard Paint
- Handles
- Felt Pads
- SVG Wood Tray Designs Cut File
- White Vinyl
- Transfer Tape
Tools
- Foam Brushes
- Cricut Machine
- Scissors
- Palm Sander or Sandpaper
Instructions
- Cut the boards to 24 inch lengths. Sand them til smooth then stain the bottoms and the sides of the boards.
- When the stain is dry, paint the top of the board with Chalkboard paint.
- Cut the designs using your Cricut or Silhouette cutting machine
- Use transfer tape to apply the design to the chalkboard paint top of the board.
- Add handles to the sides of the tray.
- Apply felt pads to the bottom of the tray to protect surfaces.
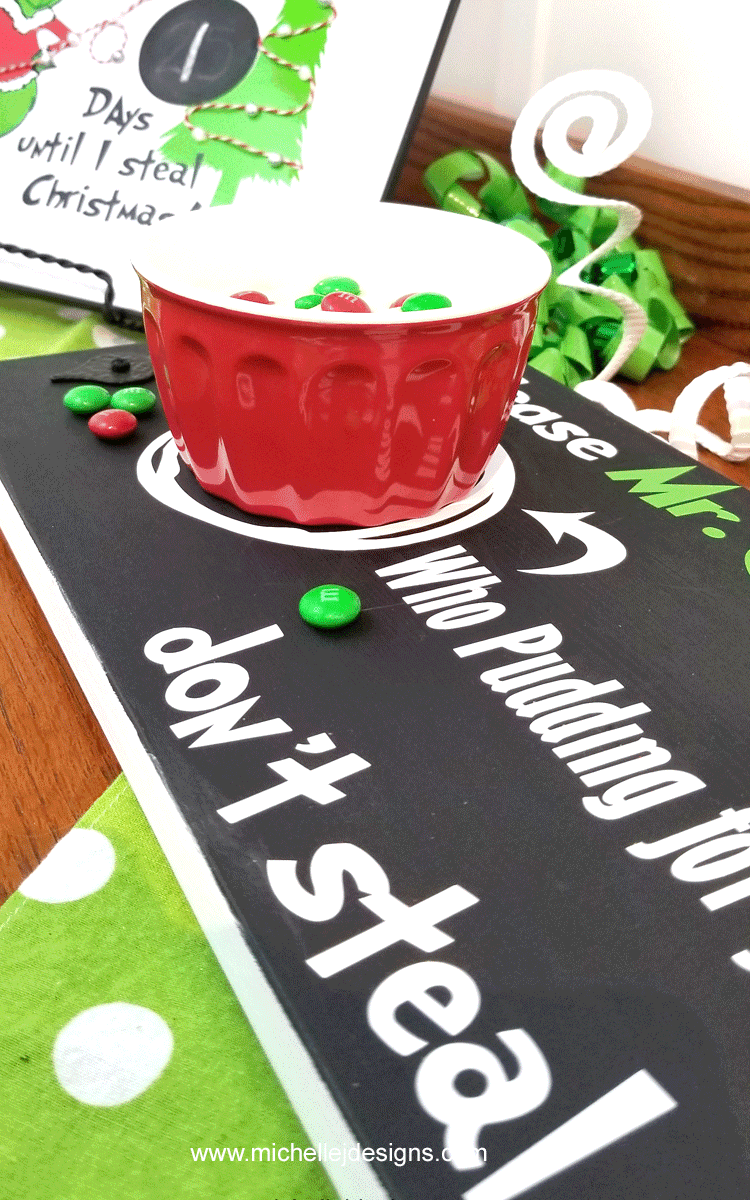
Grinch Christmas Eve Tray


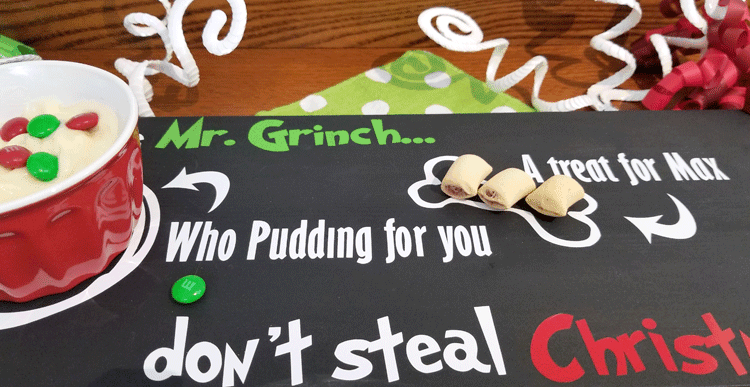
If you have a Grinch theme at Christmas maybe the Grinch will visit instead of Santa. Ask Mr. Grinch not to steal Christmas and give him a Who snack and a treat for his dog, Max.
Materials
- Wood piece - 1x8 piece cut at 24 inches in length.
- White Paint
- Chalkboard Paint
- White Vinyl
- Green Glossy Vinyl
- Red Glossy Vinyl
- Transfer Tape
- Handles
- Felt Pads
- Grinch Christmas Eve Tray Cut File
Tools
- Foam Brushes
- Palm Sander or Sandpaper
- Cricut Cutting Machine
Instructions
- Cut a 1x8 inch board to a 24 inch length. Sand the board with a palm sander or sandpaper until smooth.
- Paint the bottom and the sides of the board with the white chalk paint. Mine took 2 coats of paint.
- When the white paint is dry, use the chalkboard paint to paint the top of the board.
- Cut the pieces from the Grinch Christmas Eve SVG files using a Cricut or Silhouette cutting machine.
- Weed and apply transfer tape to the cut designs.
- Layout the design onto the board.
- Remove the transfer tape and apply all the pieces.
- Drill holes and screw the handles onto top of the board close to each side.
- Add felt pads to the bottom of the board
- Add some Who Pudding or your favorite Who snack and some dog treats for Max on Christmas eve and HOPE that Mr. Grinch will not steal your Christmas!
Enjoy!
I can’t wait to have this out for Thanksgiving! These serving trays should be a big hit!


Related Content:
Since we won’t have kids here this year on Christmas Eve I will just set this out or give it to Ian and Hailey for Harper. She will only be 7 months old so next year will be more fun.
I love the design though and can’t wait to use it when she gets a little older. Right now…it makes me happy!


Related Content:
Thanks so much for stopping by!
Michelle


Nancy Lou
Wednesday 20th of November 2019
Harper has such a fun, cool Grammy! She'll grow up to love what you've done for her.
Michelle
Wednesday 20th of November 2019
Haha. Thanks Nancy. I feel like I need to see her a lot more so she remembers me.