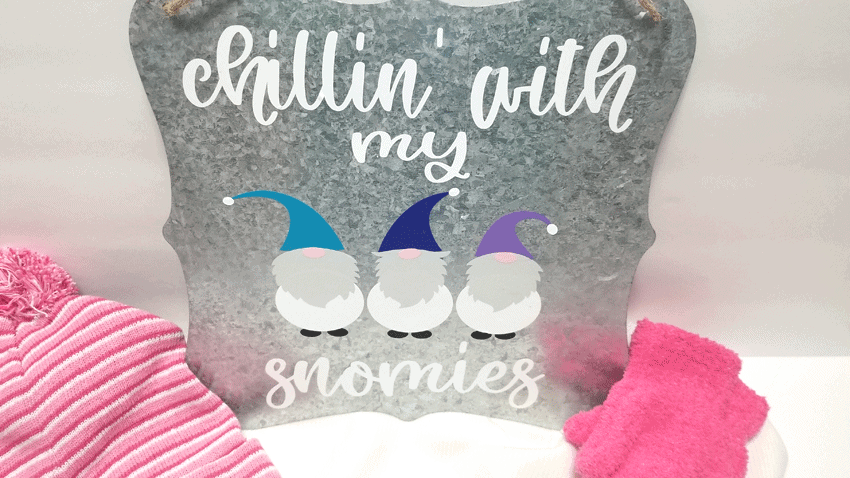
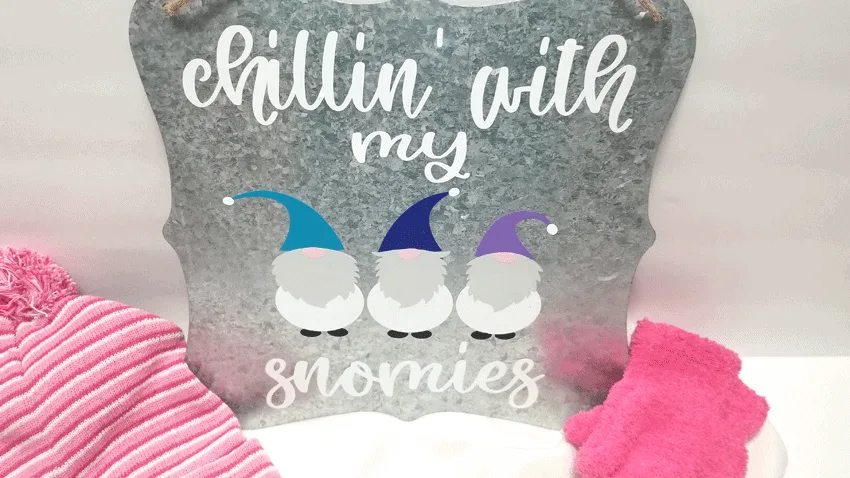
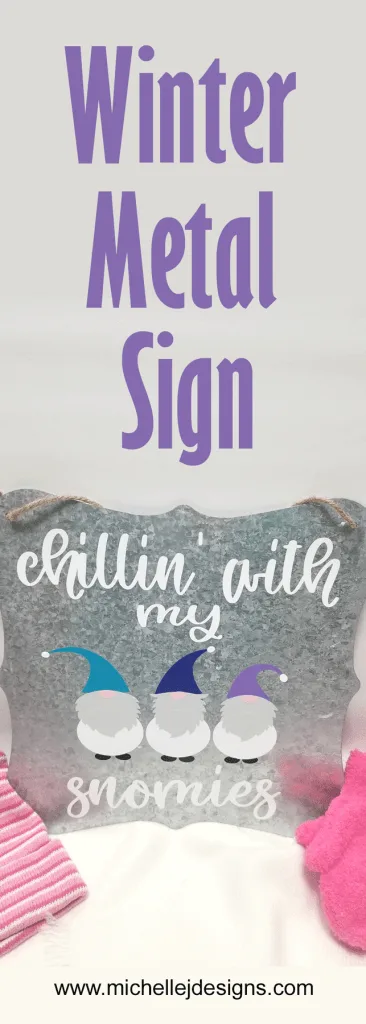
Create a galvanized metal winter gnome sign using layered vinyl. This is perfect for the transition from Christmas to winter decorations.
Hi there! Welcome back to my little DIY world. As much as I love creating my Christmas decor I like to create fun things for winter.
This is one of those projects that I was originally thinking would be a gift. And it still might be but I love it so much that I just might want to keep it for myself. LOL!
Gnomes are so popular and I have yet to make anything “gnomy” until I made this
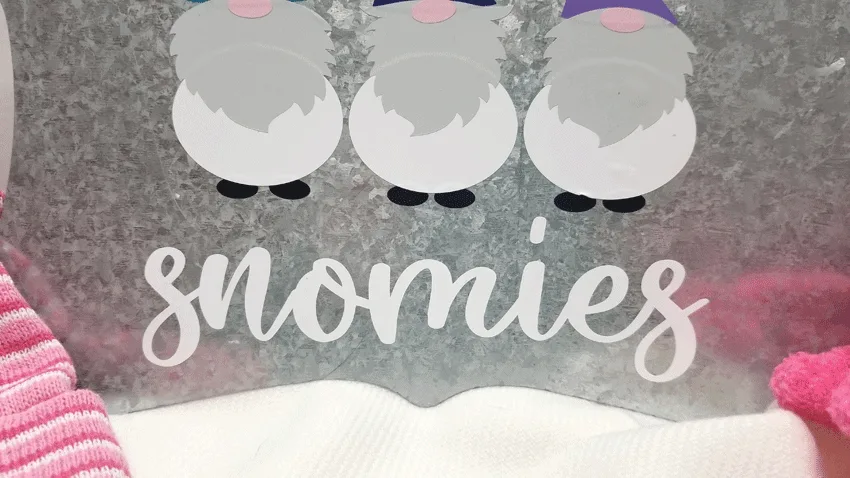
I added a gnome beard and hat to a snowman body. This is how I got snomies. A snowman gnome. How fun is that?
If you love DIY metal projects you can click here to find more metal crafts inspiration!

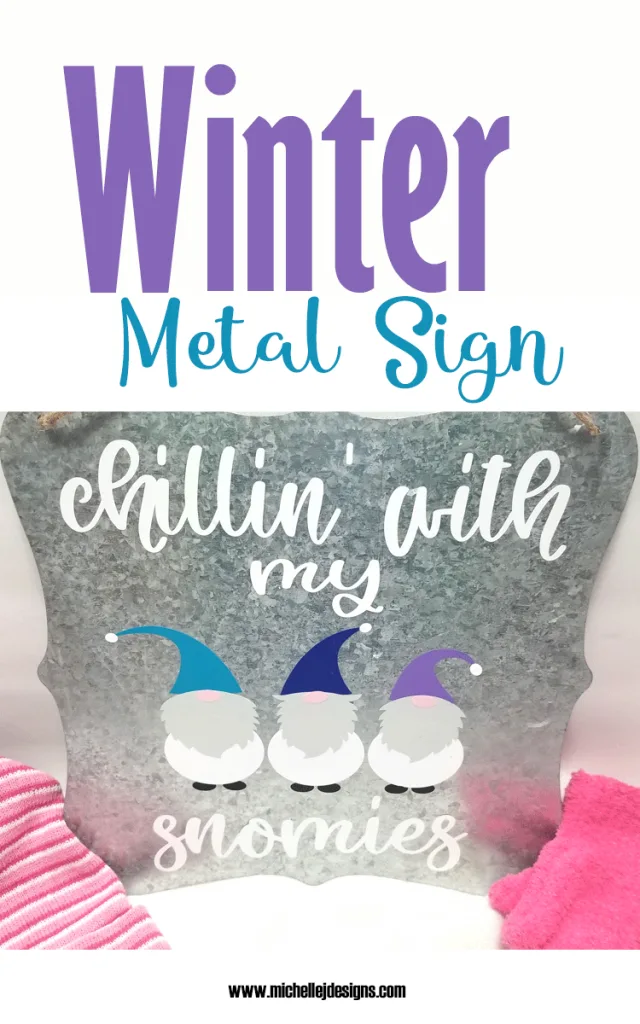
Galvanized Metal Winter Gnome Sign
This is a sponsored post from StyleTechCraft. You know I love their vinyl. The glossy craft vinyl is my favorite because there are so many colors to choose from but also it is so easy to work with.
They have tons of colors and different kinds of vinyl but I always seem to go back to the glossy craft.
For this winter metal gnome sign you will need the following supplies:
- Galvanized Metal Sign
- Chillin’ with my Snomies cut file – Get this free by signing up for my email/newsletter in the box below. Note – if you are already on my email list go ahead and fill in the form. You will receive the download but you will not be put on the email list twice.
- Glossy Craft Vinyl – White, silver (gray) black, blue, royal blue, purple
- Cricut Maker
Step 1: Setting up the design in Cricut Design Space
Download the SVG file and upload it into Design space.

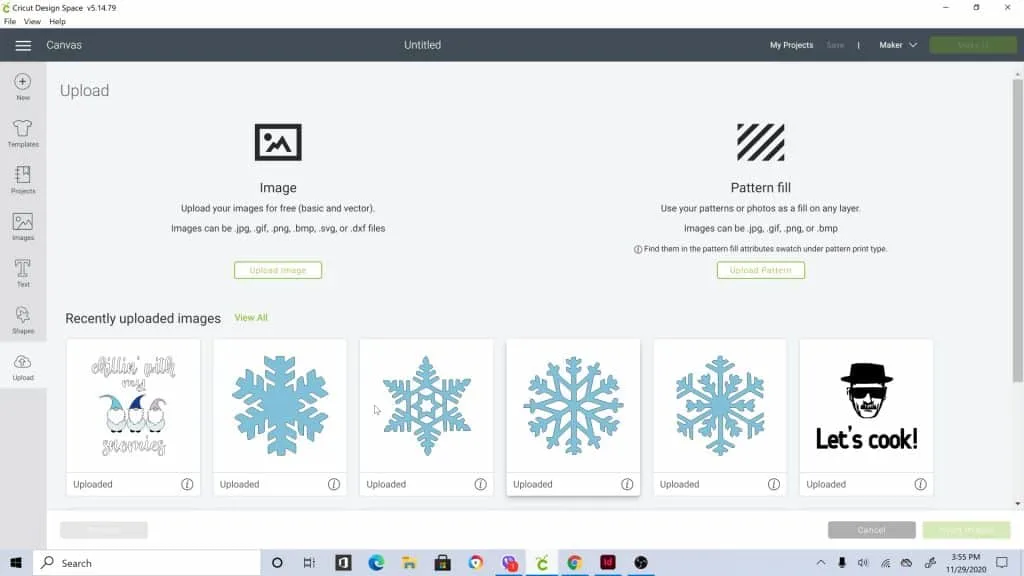
Click on the design and click on the green button in the lower right corner, “insert images”.
Once you do this the design will open in the design space.
Click on the little padlock up at the top between the size boxes. This will unlock the sizes so you can re-size as you like.


My metal sign was about 10″x10″ so I wanted my design to be at least 9″x9″.
Once you get it sized properly, un group all of the parts in the layers panel on the right side of the screen.
When you ungroup the items they become a single piece and will be separate when moving to the next step of cutting.
Most of the time I like to group the same colors together and choose to Attach them. When you do this they will stay in the same alignment as shown in the original design.
This is a great thing when you need to keep everything aligned but in this case, I knew it wouldn’t be too hard to get them back to their design after cutting out the colors.


I did not change the color of the beards though and they were not going to be white so I needed to separate them from the text and the little white balls for the hats.
You can move things around in this step in design space. Just click on the piece you want to move. It will add the box with the handles around it. Then just drag it to the place you want it.
I this case I moved the two beard pieces from the top next to the other beard and moved them all down so there was enough room in between.
Now I was able to place a piece of white vinyl at the top and silver or gray vinyl under the white.
It worked perfectly.


Step 2: Place and layer your design onto the metal sign
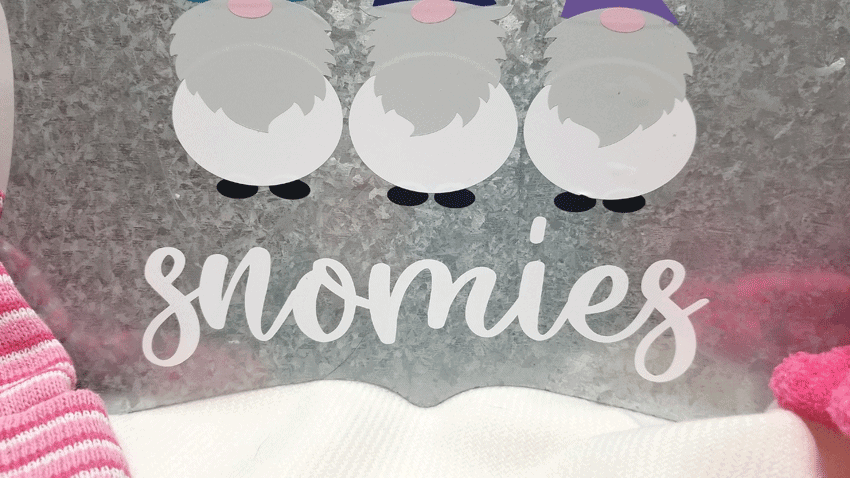
I started with the text at the top and the bottom the added the snowmen gnomes.
I kept the little bodies together after they were cut to use them as a spacer for the feet.


Then you can layer the bodies over the feet.
I kept layering until I was all done.
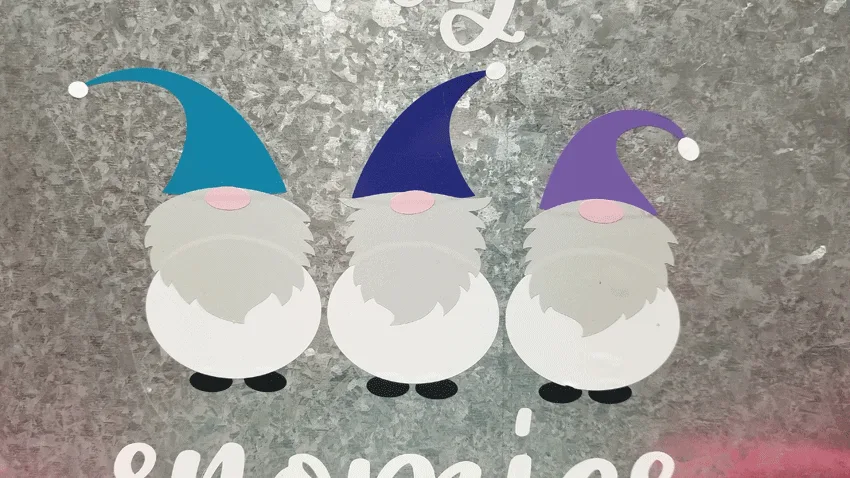
But remember to add the hats before pressing the beards down too much. They hats go under the top part of the beard.
You can see from the photo below that the lighter blue hat should have been placed a little lower but I didn’t want to mess with it too much.

Once all of your little guys are layered your are all done! Easy peasy!
What do you think?


I think it turned out really cute!
Thanks for hanging out with me for a little bit!
Happy crafting!
Michelle


Susie Bentz
Thursday 17th of December 2020
Super cute! I love the colors you used - not limited to just Christmas.
Michelle
Thursday 17th of December 2020
Thank you Susie! I love the pinks and blues for winter.
Sue Eldred
Monday 7th of December 2020
Fun project and great tutorial.
Michelle
Tuesday 8th of December 2020
Thank you Sue. I love it. Now I have to decide to keep it or give it as a gift. It's so hard. LOL!