It’s that time again….back to school! I always think of those commercials with moms purchasing back to school supplies singing “It’s the most wonderful time of the year”. That is how I thought of back to school too and purchasing those supplies was always fun. Wait til you see this crayon holder that I have for you today.
Summers were hard because I worked full time outside of the home so it meant finding daycare when they were little and when they got older we never had enough food, food, food! LOL!
I am sure these are the issues that all families deal with but it was always nice when we got back into a rhythm and a more structured schedule.
The little kids usually LOVE going back to school and the project I am going to show you today is for them. But it would also work in the summer because they love activities and coloring. Take a look at my DIY crayon holder carousel! All you need to go with it is a kids table and some activity books!
If you love these you will probably love more painted glass crafts!
DIY Crayon Holder Carousel
This post is sponsored by StyleTechCraft. They have supplied with all of the vinyl in this post. But you know I would never recommend anything that I didn’t already love and I know you will love this vinyl too.
I have included some affiliate links for your convenience. You can read my full disclosure here!
Step-by-Step Video
If you like to watch step-by-step video instead of reading the instructions below you are in luck! I created a video of how I put this project together. Please be sure to subscribe to my channel too!
Let’s Get Started!
If you would rather read than watch then keep on scrolling. First I will show you what materials I used to make this activity space.
The free cut file is available through my Resource Library! If you already have a password you can head over to the Password Page.
DIY Crayon Holder Carousel
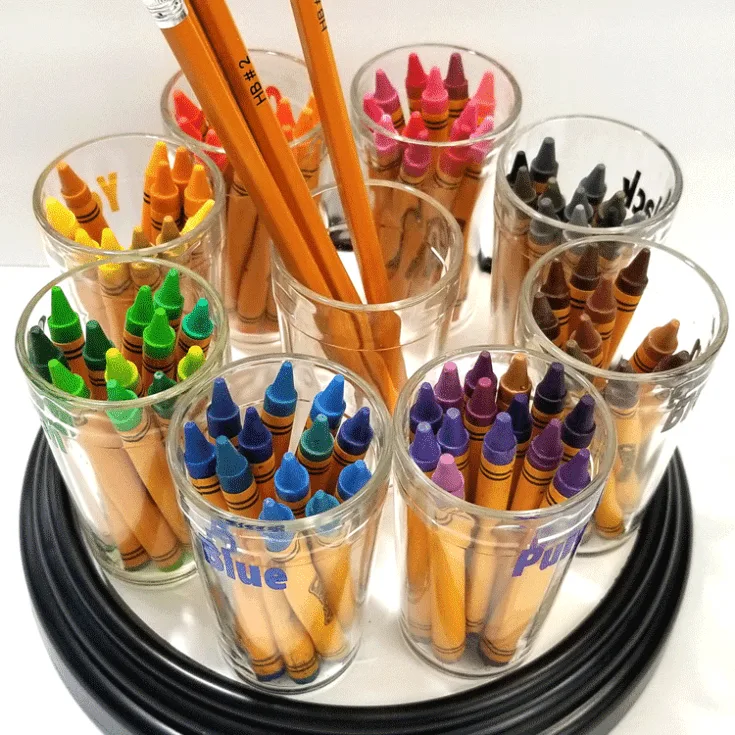
A DIY crayon holder carousel project to keep crayons and pencils organized by available for kids to work on activities whenever they want.
Materials
- Plastic or glass juice cups
- Various Colors- Glossy Vinyl
- Transfer Tape
- Crayons
- Lazy Susan
- Downloadable Text File - Colors
Tools
Instructions
- Download the cut files. If using a Silhouette use the png file with the Trace feature in the Design Space. Here is a video showing you how to do this. https://www.youtube.com/watch?v=ZkTM0bXvHEM&feature=youtu.be
- Cut out each word in it's color. (ie: purple in purple vinyl)
- Weed the pieces then apply transfer tape to each piece.
- Apply each word to a clean cup.
- Put that color family of crayons in each cup.
- Place the cups on a lazy susan so the kids can spin it around to find the color they like.
Step: 1
Download the free cut file from my Resource Library.
If you don’t already have the password and would love to have it, just complete the form to sign up for my email list. You will receive your password in a separate email very quickly and can start downloading!
Open your Silhouette or Cricut design space and arrange all of the words on the same mat. If you are using a Silhouette you will use the png files then trace the image to make it a cuttable file. Then copy and paste the words to one “mat”.
If you need a little lesson on how to trace the png files to make them “cuttable”, you can watch my very short video on how to do that. It is a really easy process but it is another step.
Here is a screen shot from my Silhouette Design space.
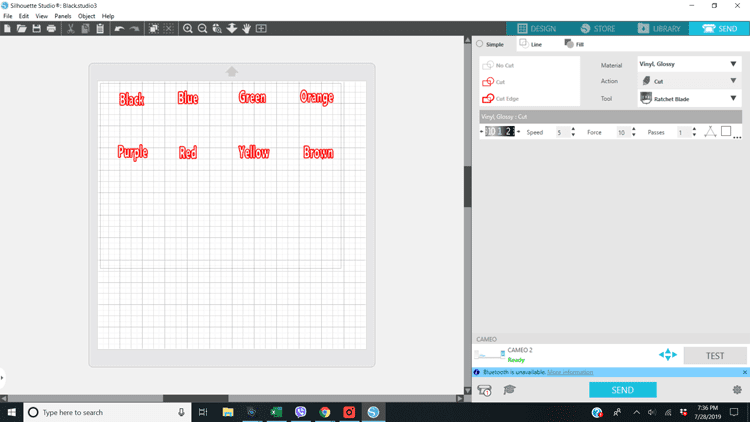
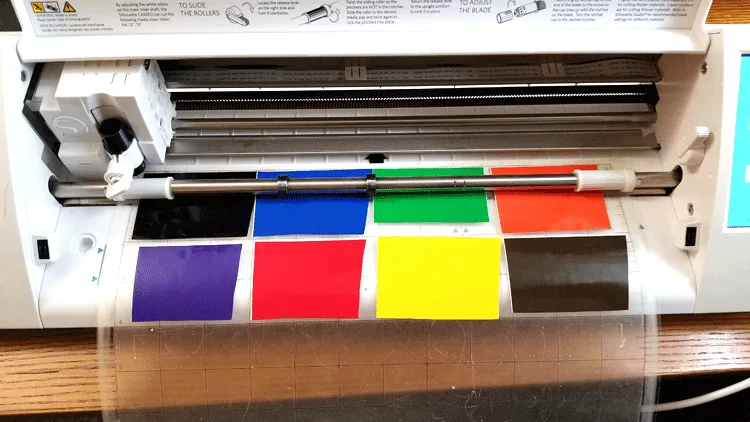
Then I cut small pieces of the vinyl colors and laid them on the mat to align with the mat in design space. This is how I cut all of the text at one time.
Step: 2
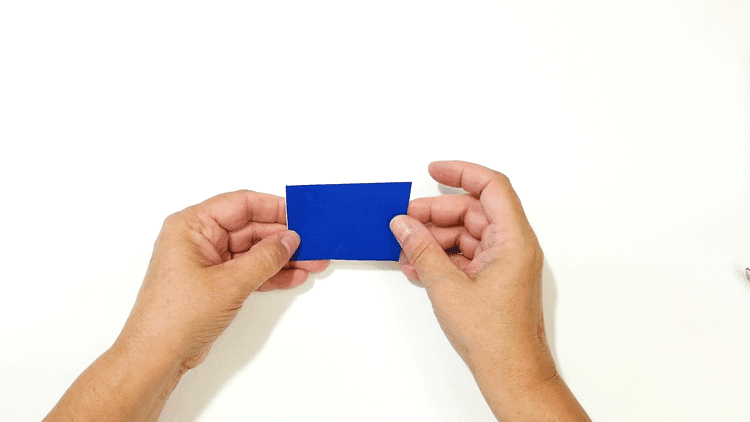
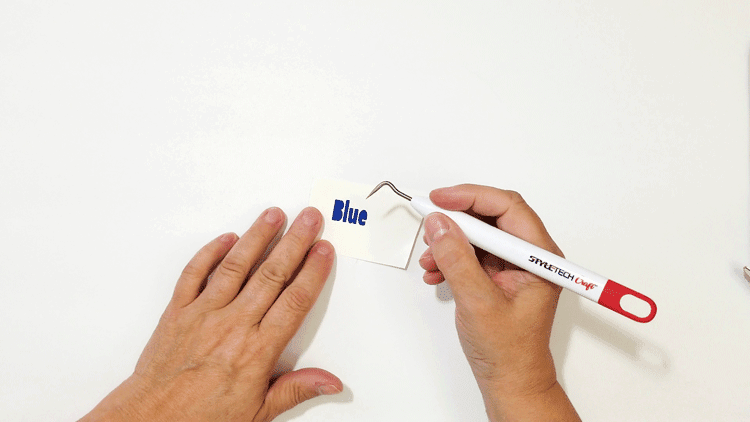
When the text is cut, remove the extra from around the word and weed as needed.
Step: 3
Cut small pieces of transfer tape to fit over the words.
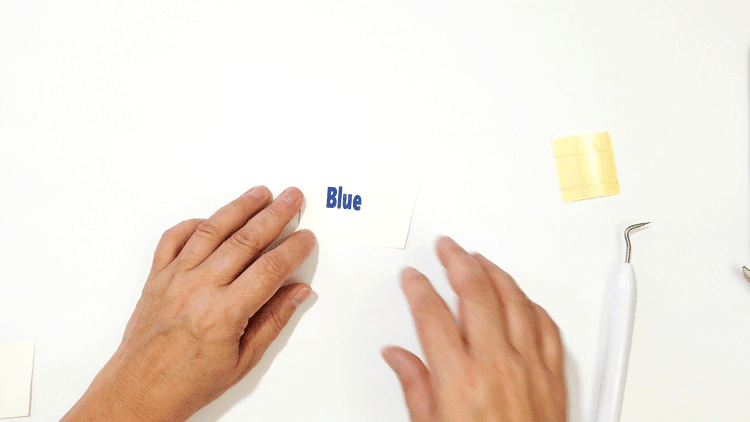
Remove the transfer tape with the word and place it onto the cup.
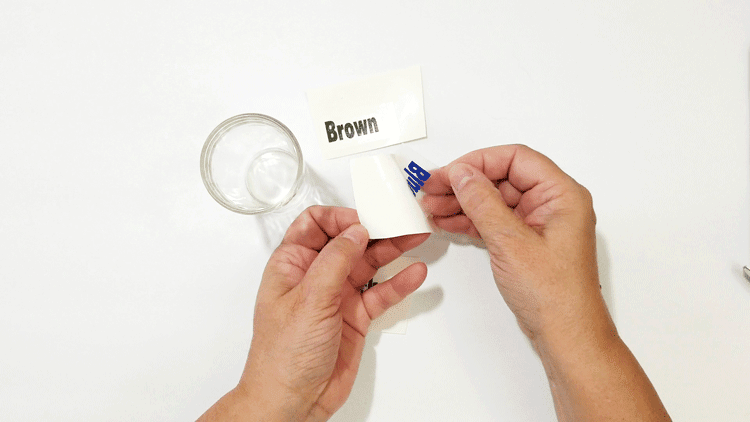
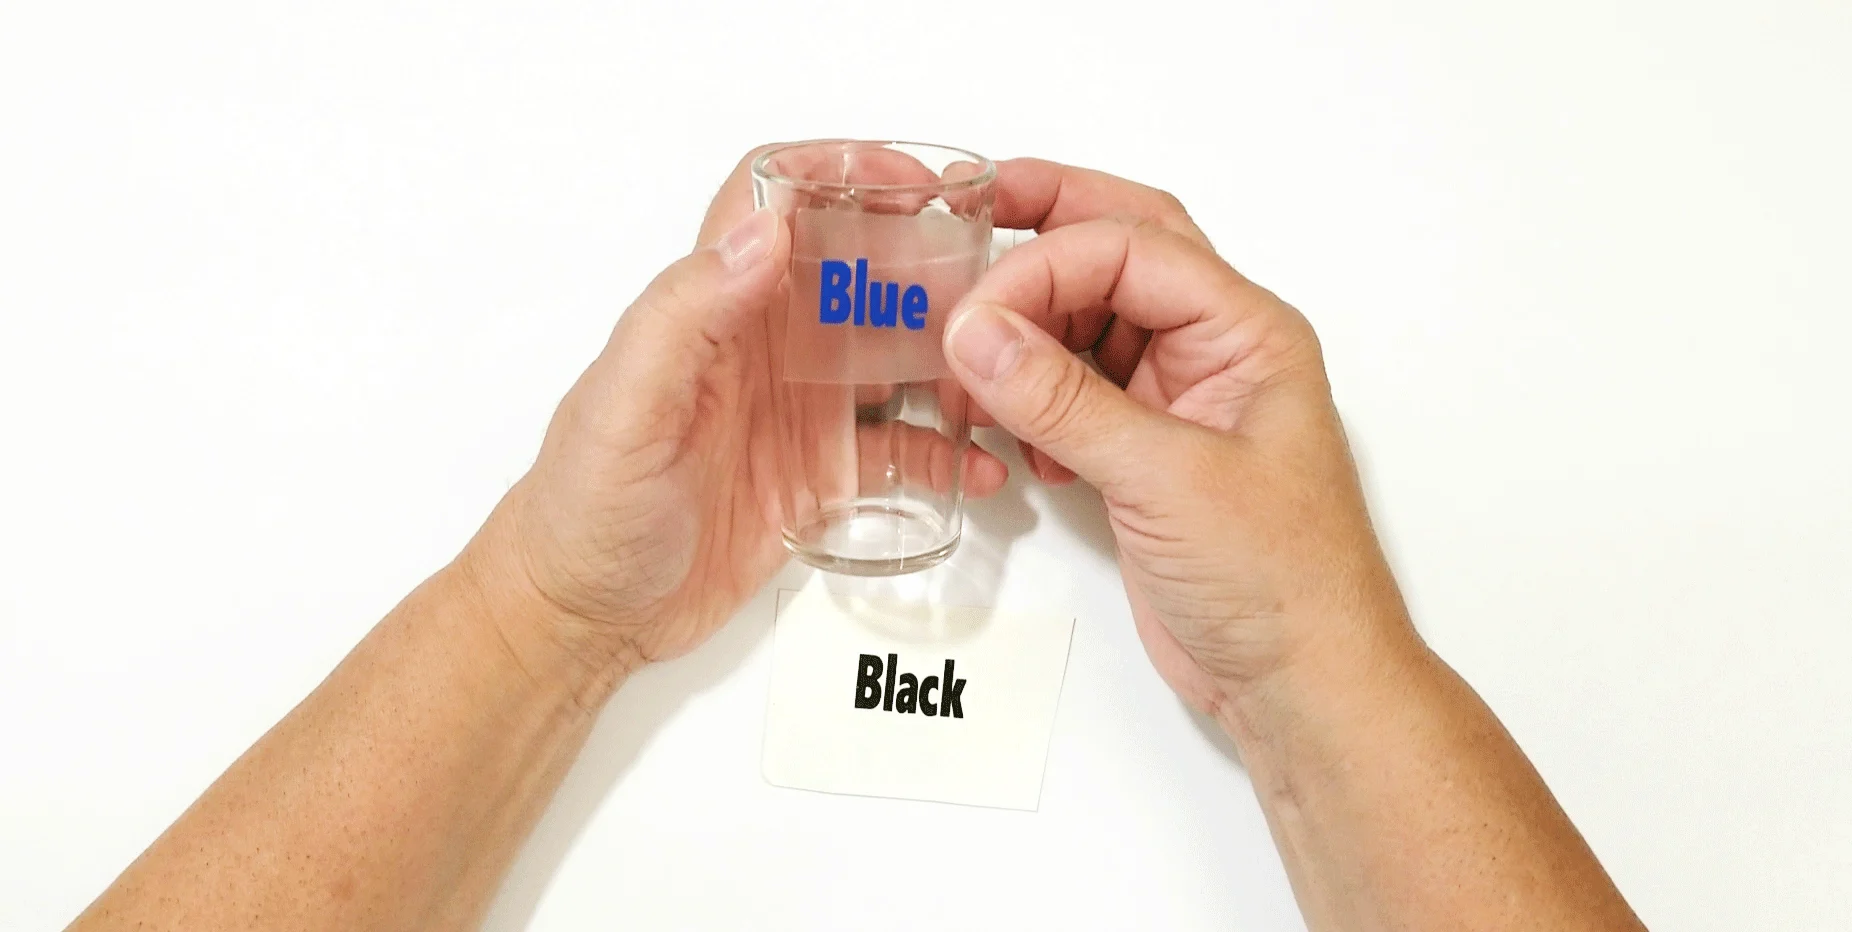
Then remove the transfer tape.
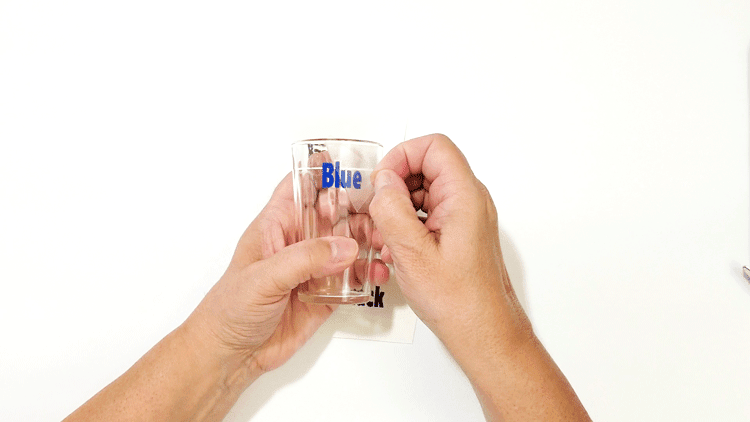
Continue this process with all of the words.
Step: 4
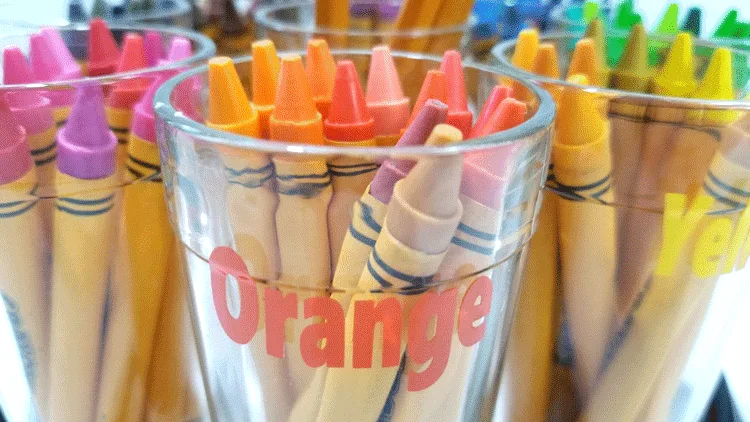
Add your crayons to the glasses.
I placed all of the red family crayons in the red glass. So pinks went in as well.
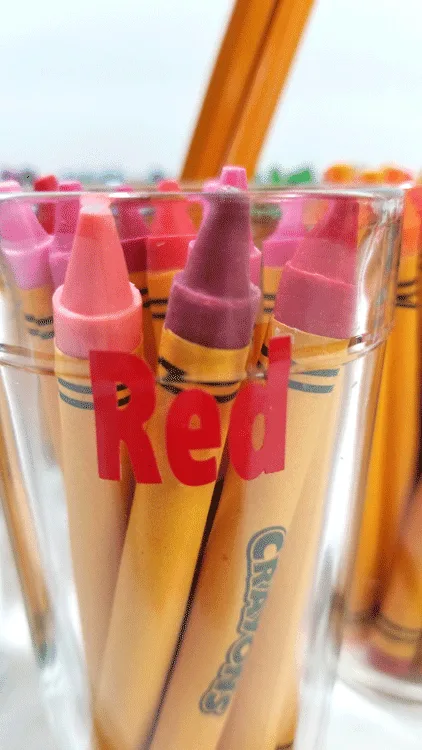
Continue until all of the crayons are in all of the cups.
Step: 5
Place the cups in a circle on a lazy susan. I added one more cup in the center for pencils.
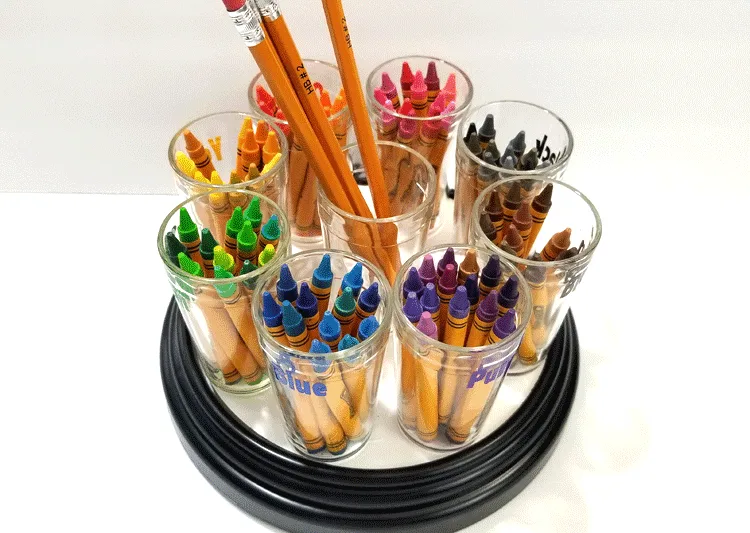
It spins! And it is so pretty.
It needs a kids table and some activity books. Then we would be all set.
Isn’t this is just fun? I can’t wait until my grand daughter is old enough to sit and color and craft with me and I hope the enjoys it as much as I do.
Don’t forget to follow StyleTechCraft on social media. You can click on the links below to get there!

Thanks so much for stopping by! Don’t forget to check out some of my other Silhouette projects!
Related Content:
Calendar with Seasonal Wall Art
Rae Dunn Inspired Craft Storage
Michelle

