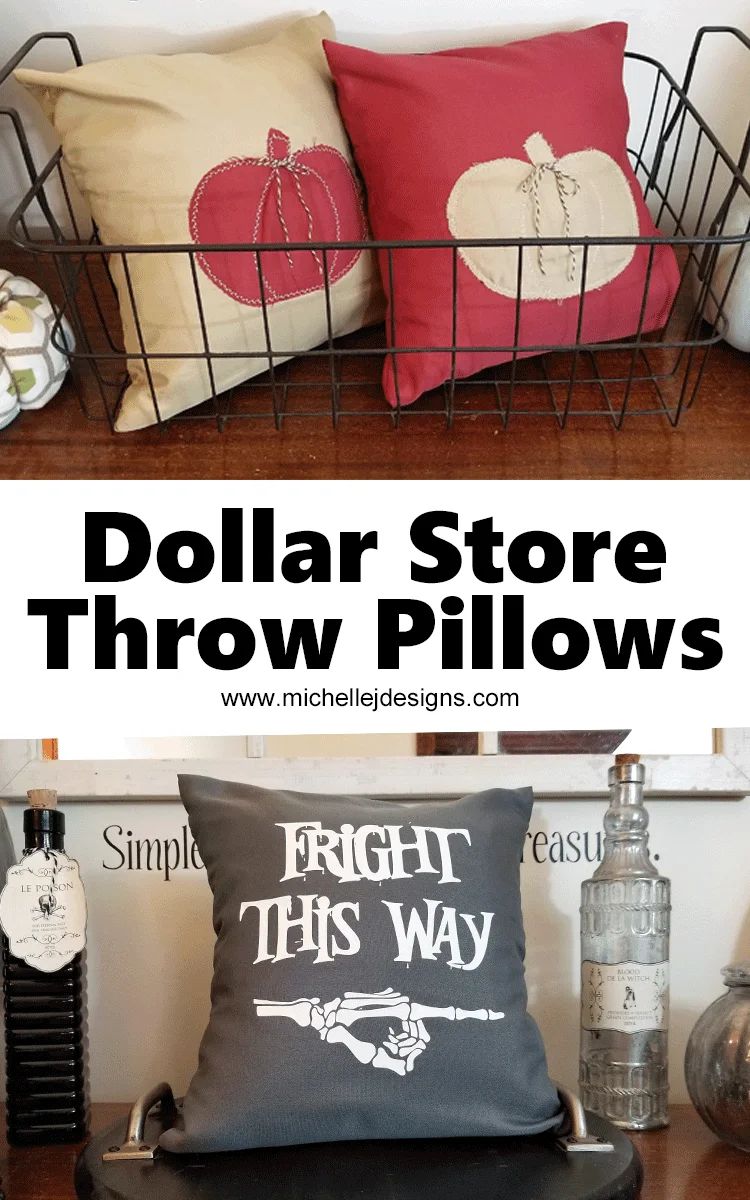
Dollar Tree pillow cases are a great option for throw pillows. These easy Halloween and fall throw pillow covers turned out great.
You guys know how much I love the Dollar Store right? Today there are six of us sharing great fall decor ideas using dollar store items. I love this kind of thing and it is so fun to see what others create. I am showing you how to make a fall throw pillow covers using pillow cases from the Dollar Tree!
I am always making some sort of Dollar Tree craft or gift. They are easy on the brain and the budget! And, they look fantastic!
When I went looking for some fall items at my (semi) local Dollar Tree there wasn’t much out yet. There were two employees stocking shelves and hanging fall decor but they had just started and I didn’t want to stare and stalk them as they worked. So, I decided I would walk around and see what I could find then wander back and see their progress.
As I was walking around I found some pillow cases that I had never noticed before. There was a tan, a rust-ish color and a gray. I bought all three thinking they would make great fabric for some fall throw pillows!
I was right! They turned out super cute!
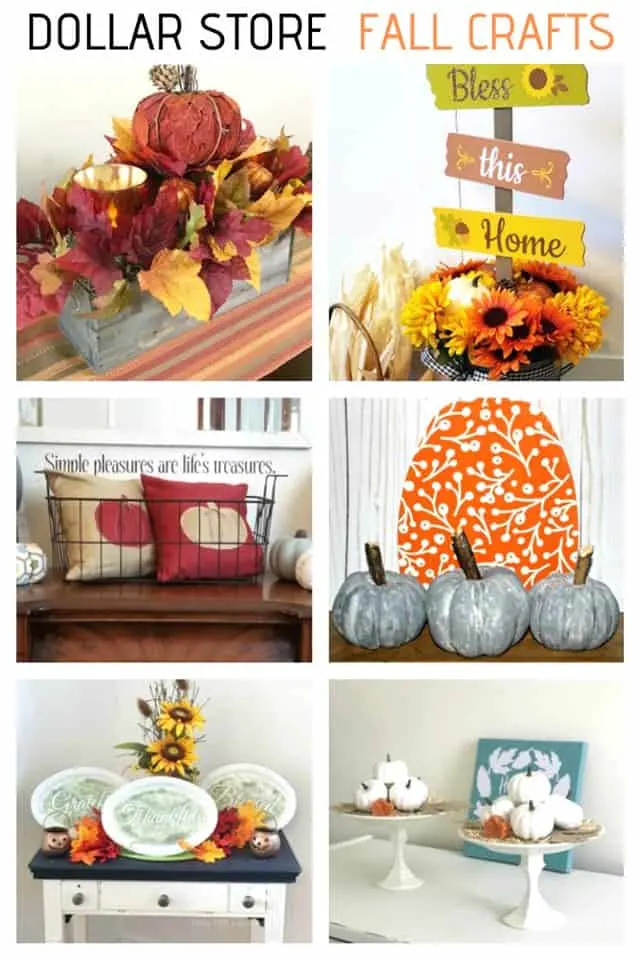
You can see a full round up of Fall Dollar Store Craft ideas that I have created. They are so fun!
Dollar Store Divas
Hello and welcome! I love teaming up with blogging friends to share great crafts and DIY’s with you. Today there are six of us all featuring fall decorating ideas using Dollar Store supplies.
Here are the creative co-hosts participating in this Dollar Store blog hop:

And because we all love crafting with Dollar Store items, we will be back every month with a themed Dollar Store blog hop. We have a snazzy new name-Dollar Store Divas-and even a fancy graphic created by Michelle James Designs:

We hope to inspire you to craft and create with us and look forward to seeing you on the third Friday of every month for all things Dollar Store. At the end of the post, you can click on the links to see the rest of the fall inspired DIY’s!
Let’s get started!
I love projects that don’t include a ton of materials. I have included some affiliate links for your convenience.
Dollar Store Fall Throw Pillow Covers
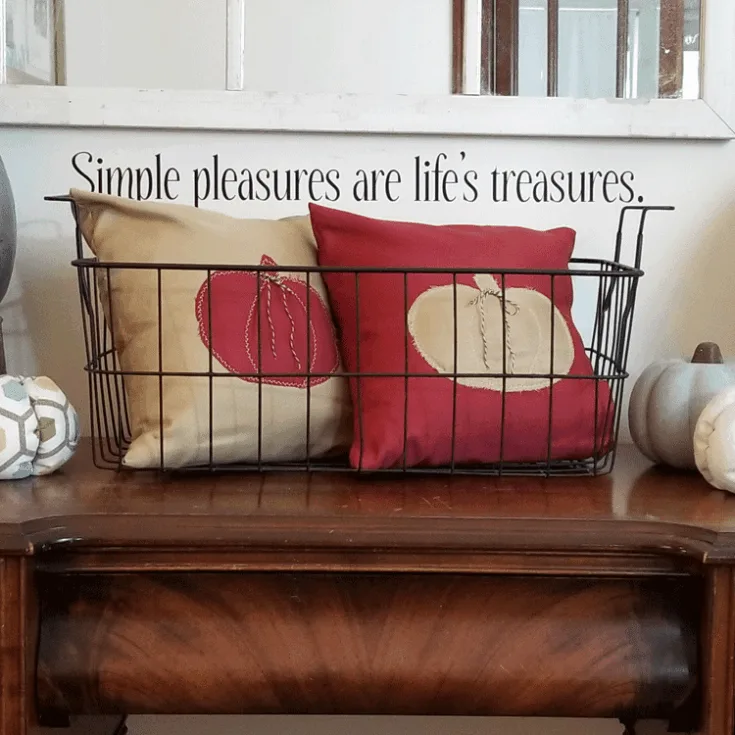
Create easy, inexpensive fall throw pillows using dollar store items.
Materials
- Pillowcases from the Dollar Store
- White Iron On Vinyl
- Brown Bakers Twine
- Pillow Forms (12x12)
Tools
Instructions
- Open and iron the pillowcases to get them ready to cut.
- Measure and mark 13 inches from the long side the length of the entire case
- Cut the side off along the marked line. This is the new size for your throw pillow cover.
- Use a paper pattern to cut out a fabric pumpkin from the left over fabric or cut your design from iron on transfer.
- Fold the pillow cover to find the front center where your design will be.
- Pin or stick your design down then open the fabric so you don't stitch all the way through
- Stitch your pumpkin down or use an iron or a Cricut Press to press it down.
- Refold your fabric with right sides together.
- Stitch the two sides of the pillow cover
- Turn right side out and iron as needed!
I have two different projects going on here. The throw pillow covers are the same procedure, but I will show both ways I decorated the fronts.
Step 1: Open and iron the pillowcases
These pillow cases are the perfect choice for small throw pillow covers. They are $1 each and I purchased all three colors.
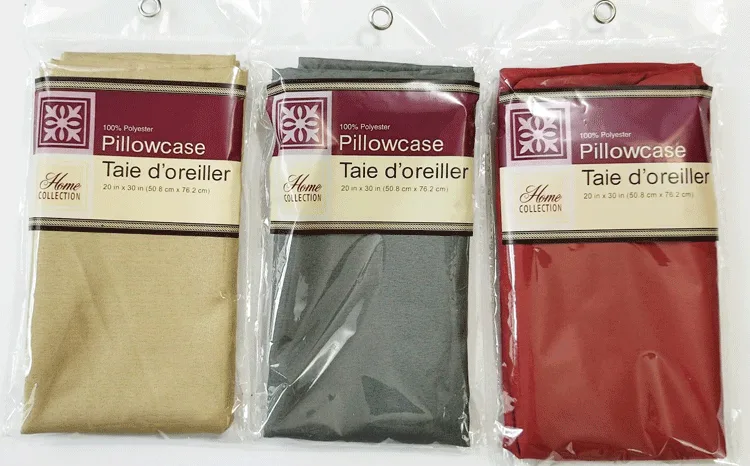
They were pretty wrinkled when they came out of the package so ironing helps a lot.
Step 2: Draw and cut the lines for the pillow cover
I already had some 12 x 12 pillow forms that I used for my Valentine pillow covers. So I knew I could re-use them for these new fall pillow covers. So my measurements are for this size.
The width of the fabric needed to be 13 inches wide to include half inch seam allowances on each side. I measured along one side and drew a cut line.
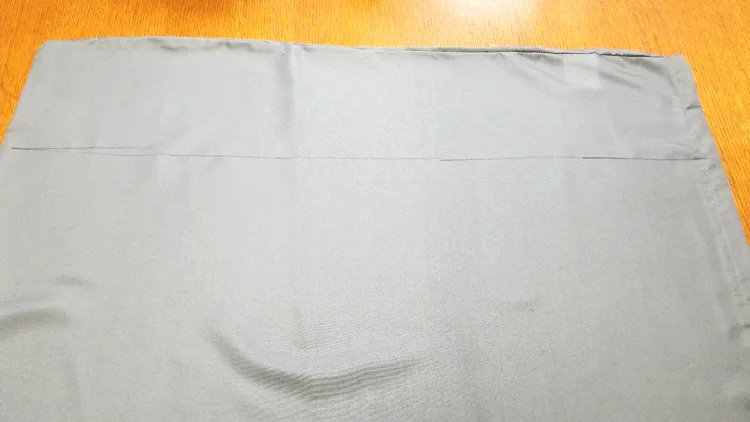
Cut along the line. Save this extra fabric to trace the pumpkins for the next step.
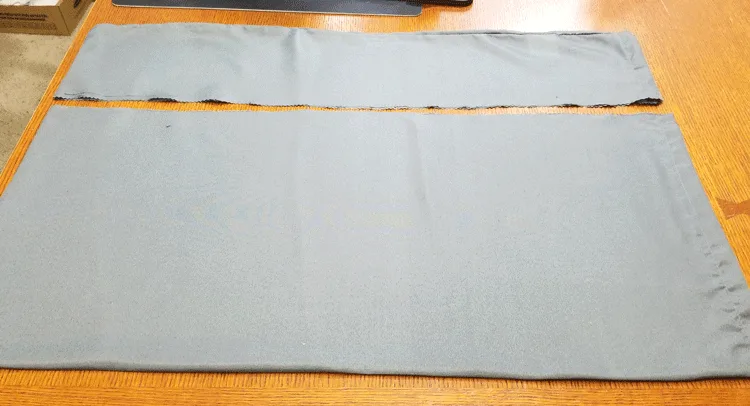
Step 3: Cut the pumpkins for the fall pillow covers
Using a piece of paper draw or trace a pumpkin to use as a cut pattern.
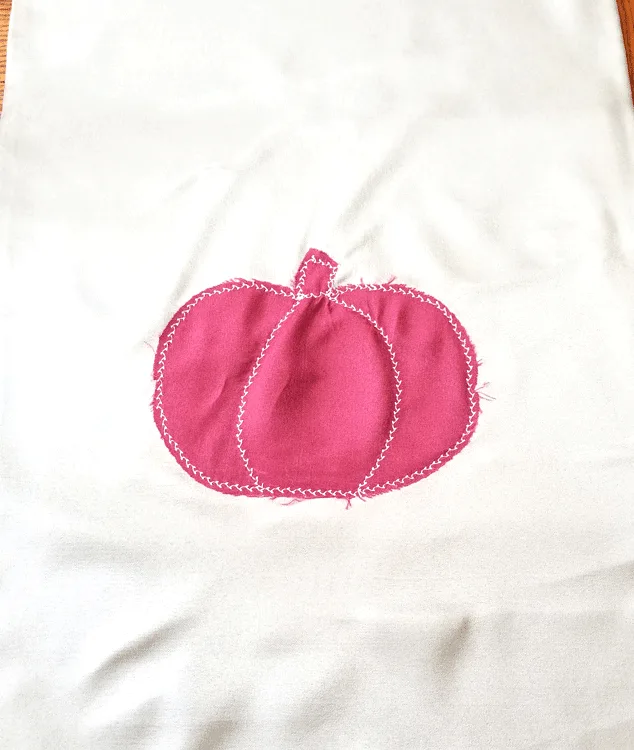
Trace one pumpkin on the tan fabric and one on the rust fabric and cut them out.
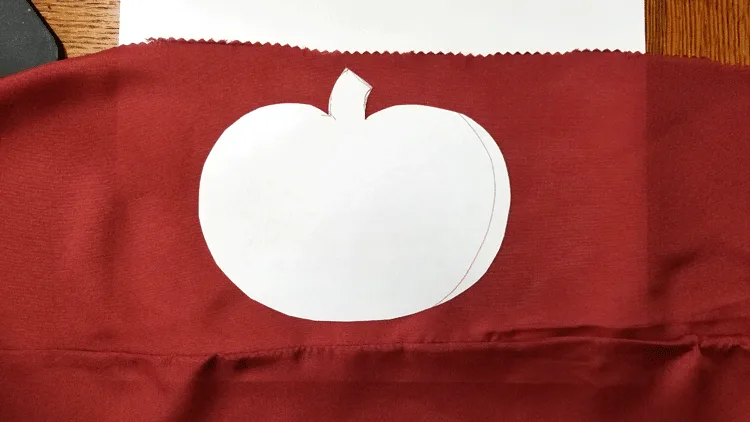
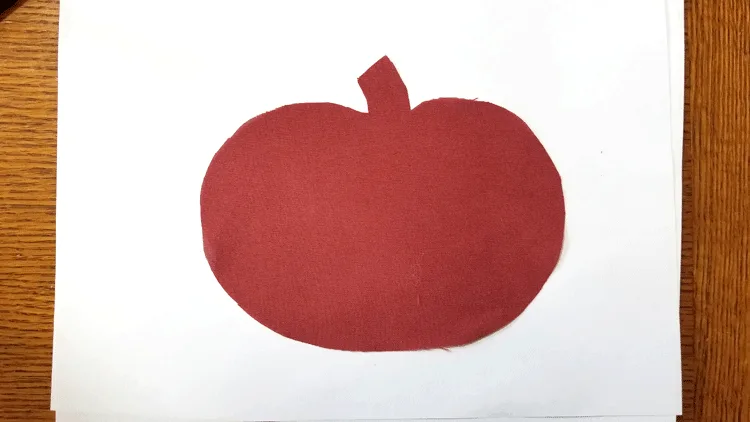
One more step is to lightly draw the curved lines onto the pumpkin for stitching. This adds detail to the design.
Step 4: Stitch the pumpkin onto the pillow cover
Before adding the pumpkin to the center, fold the ends of the cover in to overlap until it measures 12 x 12 from top to bottom. The width should still measure 13 inches because it is not stitched yet.
Once you have the pillow folded to the correct size pin or clip the sides in place just until the pumpkin is placed exactly where you want it. Pin it in place but just to the top layers. You don’t want to stitch it all the way through and close the envelope.
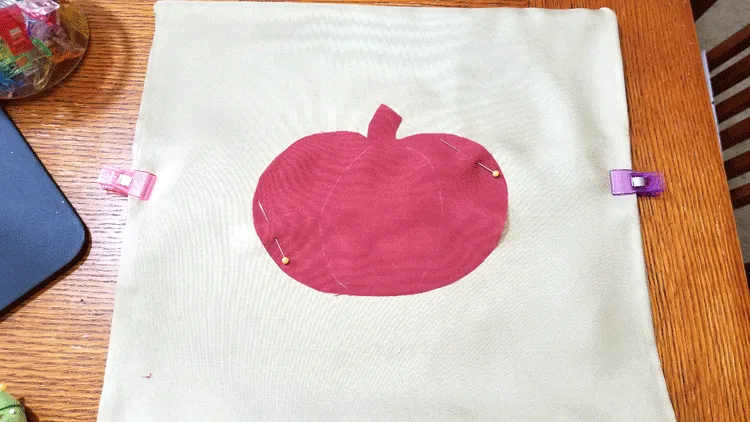
Stitch around the edge then on the curved, detail. I used my new Singer sewing machine and used a fancy stitch for the first time ever! It was so fun.
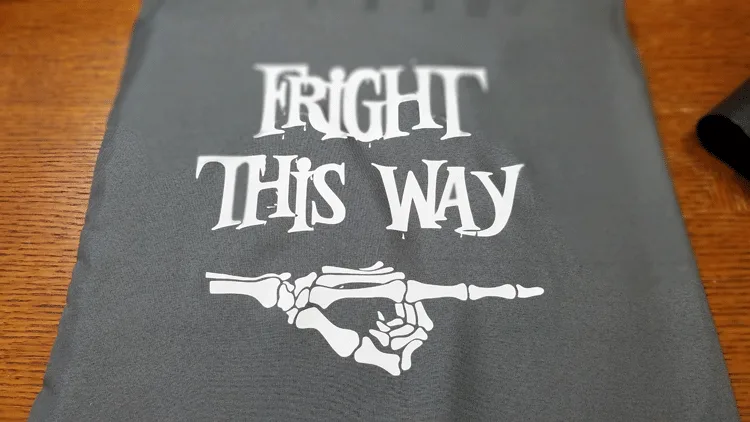
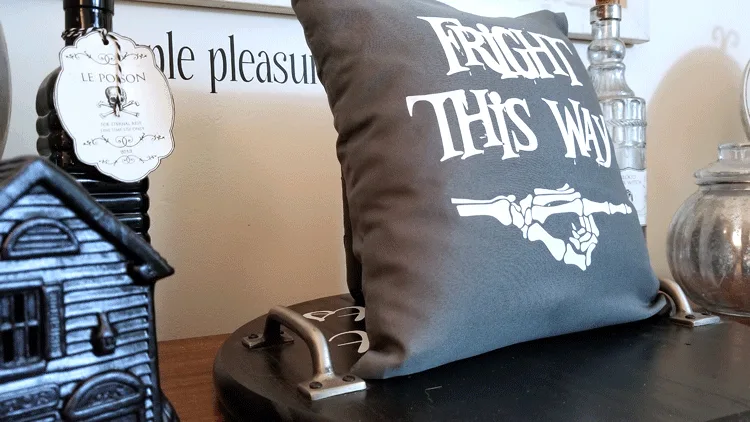
“Fright This Way” Pillow And Free Cut File
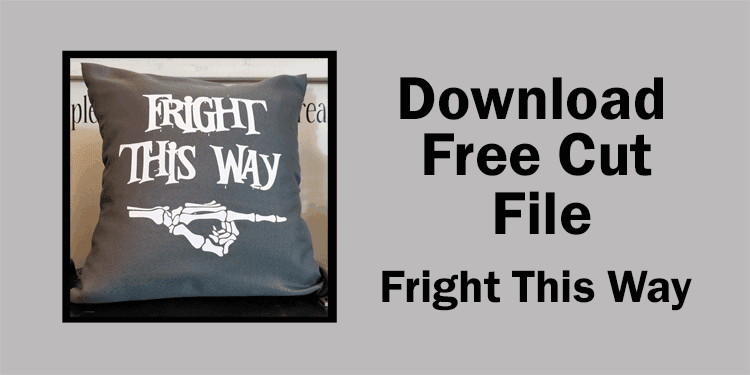
For this pillow I created a free cut file. It is available in my resource library for you to download. If you are already on my email list and have the password you can click on this link: Library
If you don’t have the password and would like it you can click the button/photo below:
Once you download the cut file bring it into the Silhouette or Cricut Design space. If you are using a Silhouette and a png file you can watch this video to see how to trace the design and make it work.
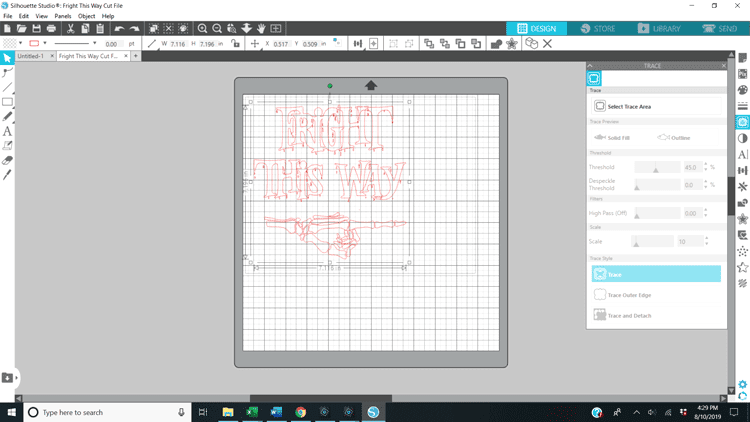
Be sure to mirror the image for the iron on vinyl design.
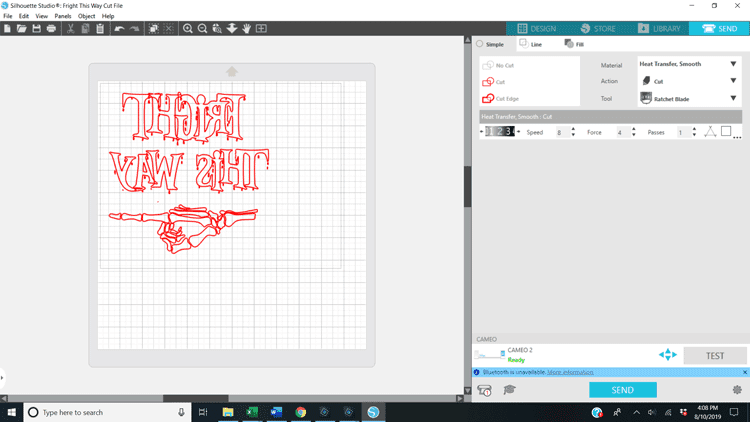
Once your design is cut, weed away the extra vinyl. Follow the steps above to center it on the pillow front.
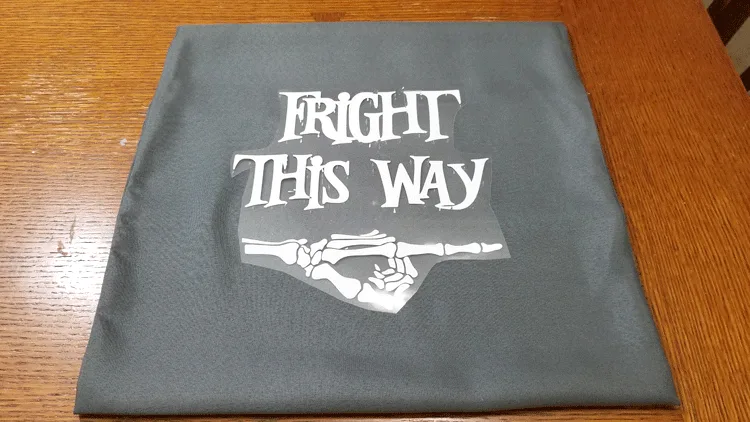
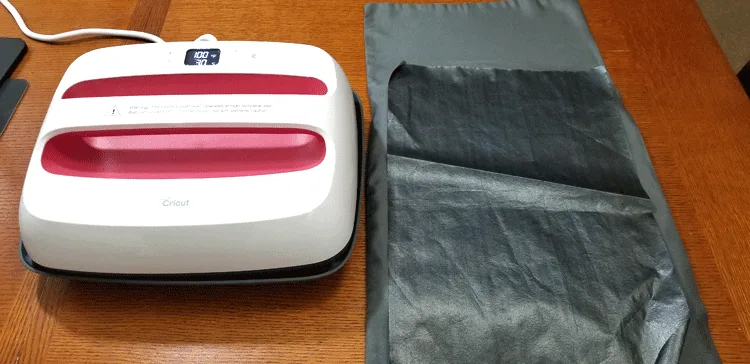
Use an iron or Cricut Press to adhere it to the fabric. This fabric is polyester so I heated my press to 315 degrees. My cheat sheet for times and temperatures said 30 seconds but I actually had to do the 30 second press 4 times. The last time I let it cool before trying to remove the backing. It came out so nice.
Step 5: Complete the sides of the pillow to make the envelope
Once the designs are completed on the front of the covers we an fold them right sides together with the backs overlapping to form the envelope. This allows you to remove the pillow form when ever you want and wash them or change them out for different seasons.
So, fold it with right sides together. Your design will be inside. Use pins or clips to hold it in place while you stitch.
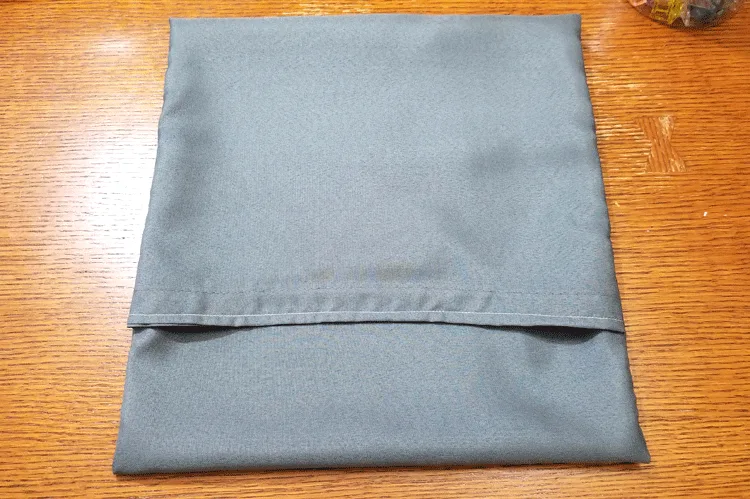
Stitch down each side.
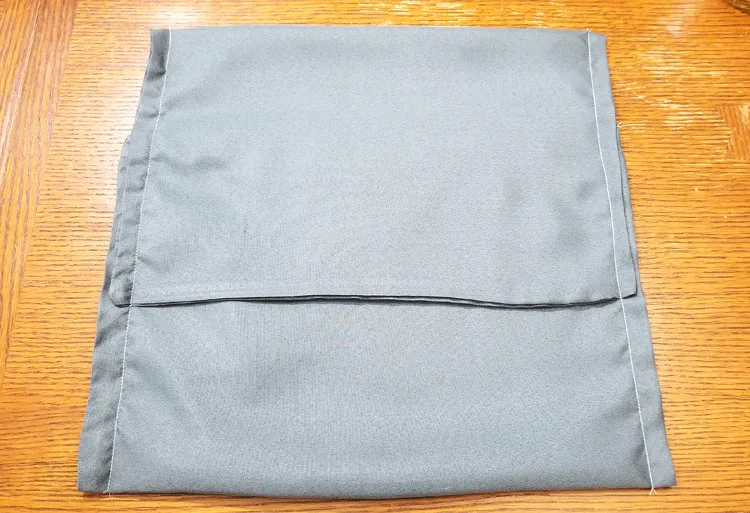
Turn it right side out to reveal your design on the front then add the pillow form through the opening on the back.
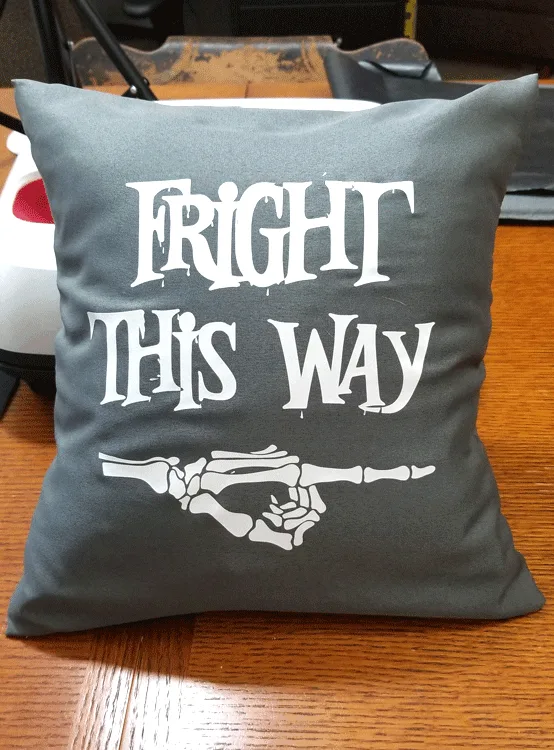
I love the way these all turned out. And if you love them you will also love this Dead and Breakfast Shadow Box!
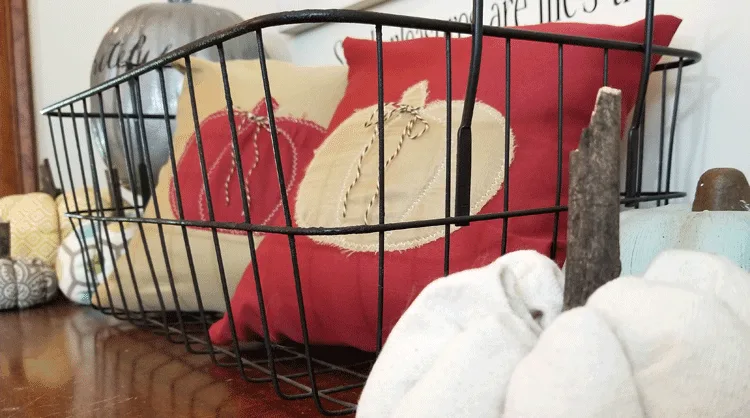
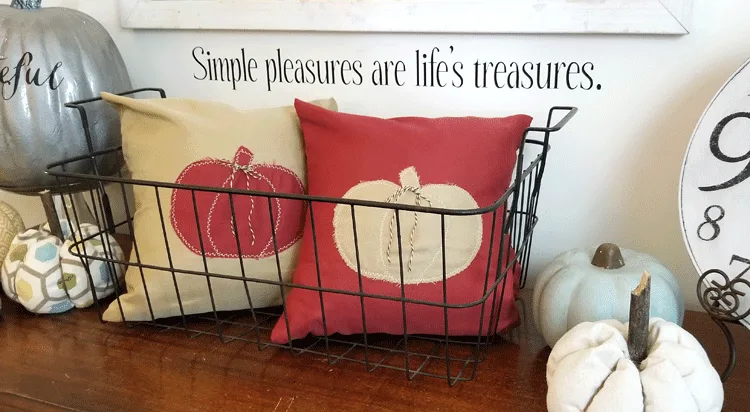
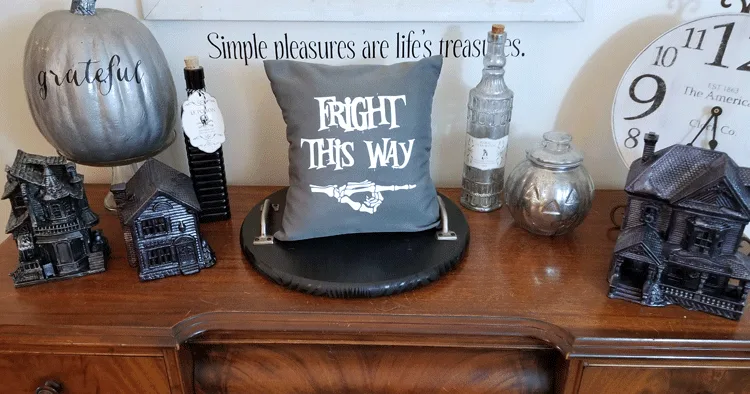

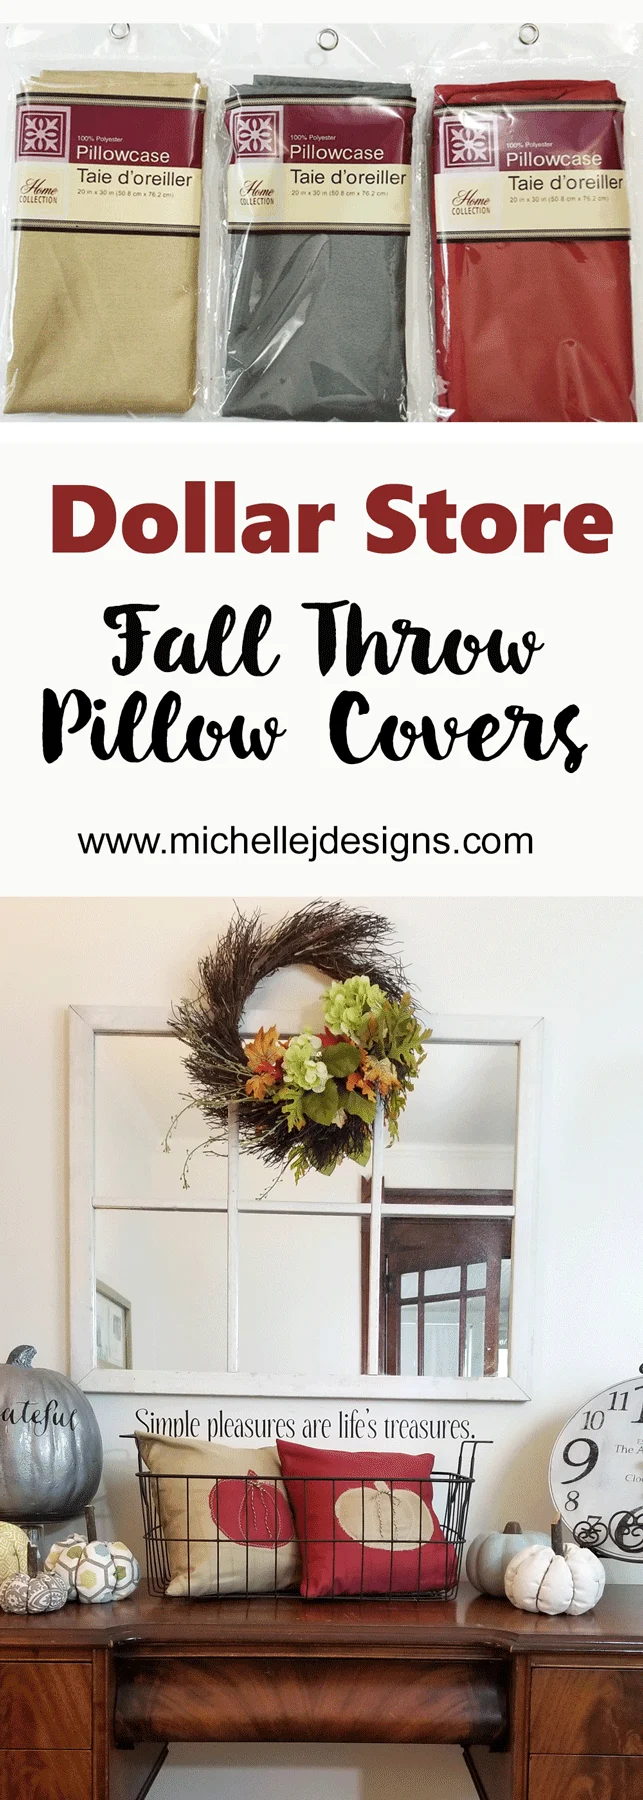
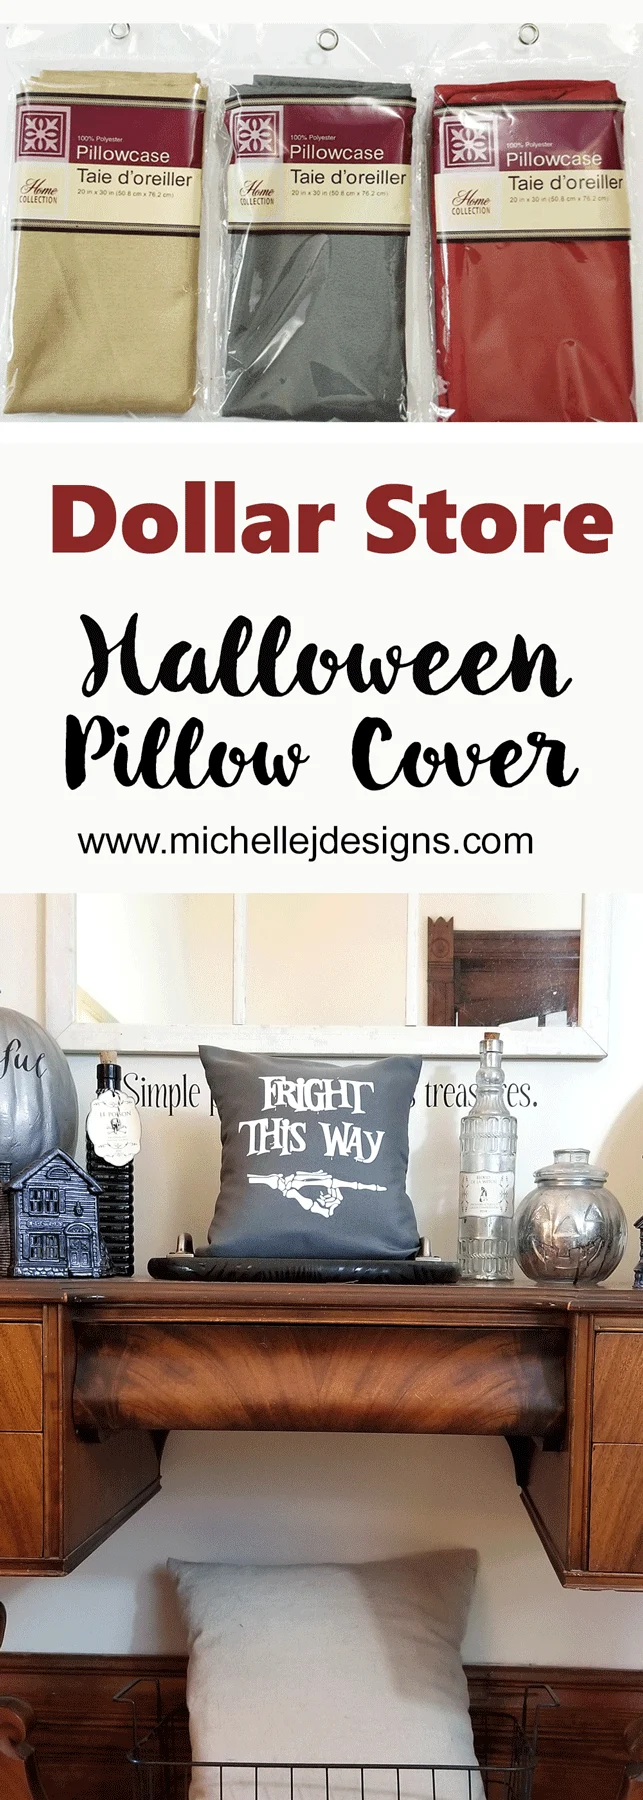
Here are several images! Feel free to pin one or all of them!
Please check out more amazing fall Dollar Store DIY’s on our Dollar Store Divas blog hop!
- Michelle from Our Crafty Mom – Faux Dollar Store Concrete Pumpkins
- Beverly from Across The Boulevard – Dollar Store Pedestals With Pumpkins
- Michelle from Michelle James Designs – Dollar Store Fall Throw Pillow Cover
- Heather from Daily DIY Life – Affordable Fall Decor
- Shirley from Intelligent Domestications – Fall Centerpiece
- Toni from Girl, Just DIY – Dollar Store Fall Flower Bucket DIY
Thanks so much for stopping by!
Michelle



Beverly
Monday 19th of August 2019
What a great way to use dollar store pillow cases! The designs look fabulous and they are perfect for fall and Halloween.
Michelle
Monday 19th of August 2019
Thanks Beverly! I love finding new things at the dollar store!
Toni | Girl, Just DIY!
Friday 16th of August 2019
My dollar tree does not have pillow cases. I guess i need to star driving a little farther to the bigger one. Anyhoo I love your pillow covers, and that you designed the vinyl detail. Perfect for Fall and Halloween too.
I need to get some of that htv and one of those fancy irons LOL Great job, love the pillows.
Michelle
Saturday 17th of August 2019
Thanks Toni. I hadn't seen the pillow cases until recently but I am not sure if I just missed them or if they just started carrying them. Anyway, I do love the way they turned out and....yes...you need a Cricut Press! You should put it on your list for Santa!
Gail
Friday 16th of August 2019
It's amazing what you can find at the dollar store and you really hit on something finding these pillowcases! Your throw pillows turned out fabulously - just perfect for fall!
Michelle
Saturday 17th of August 2019
Hi Gail! Thank you so much. I do love the dollar store. I went back today so I can start making some fun gifts!
Heather Northington
Friday 16th of August 2019
Wow! Who knew Dollar Tree had pillowcases? Not me. These are just perfect for fall and so much more. This is a fun and easy project, I love it! Thanks for sharing.
Michelle
Friday 16th of August 2019
I had no idea! LOL! But I was glad to find them. They were easy to deal with and since I had all of the other supplies these pillows only cost me $3. Such a bargain.
Shirley Wood
Friday 16th of August 2019
Michelle! Oh My Goodness! I love to find new ideas and this is one using those Dollar Tree pillow cases! I have not noticed those in the store either and the colors are perfect for Fall decor. Envelope pillow covers are the best way to change out decor as the seasons change. I love those fancy stitches on my Singer too and am always try to find a way to use them. Adding the pumpkins to the pillow covers with a fun top stitch is a nice touch.
Michelle
Friday 16th of August 2019
Thank you Shirley! Now when I go to the Dollar Store I look closely at things and try to notice things I haven't seen before. It is great what you can find. Are you a sewer? I love it but I am not that good at it. I try. LOL!