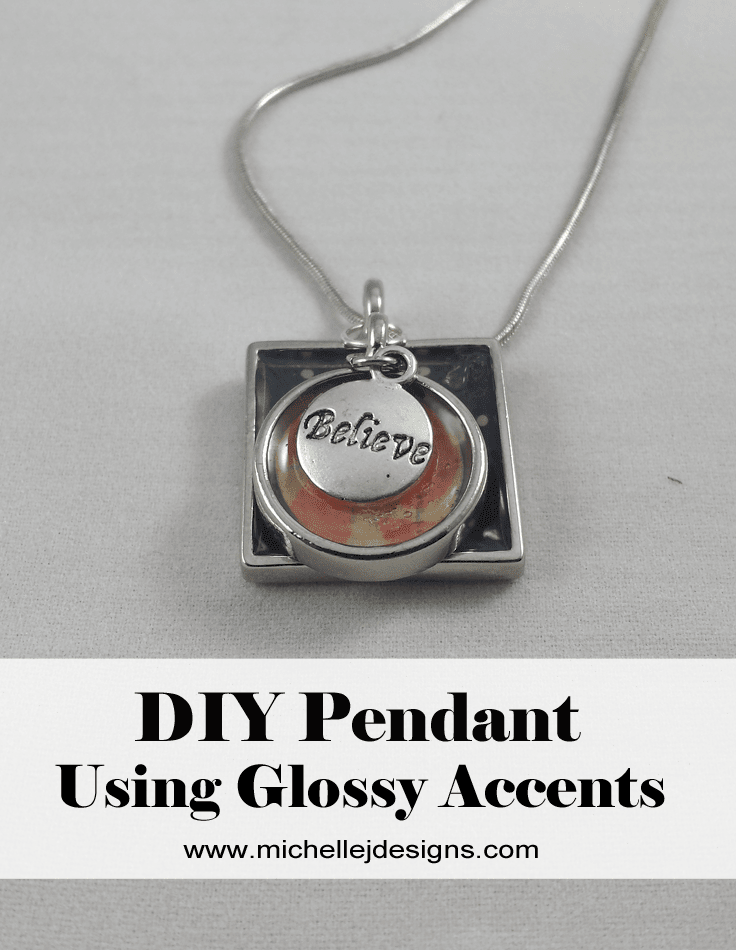
I love the small projects that produce such great results. This DIY pendant will probably be one of my all time favorites along with my cork key chain. I really need to make more of those. Sooo easy!
DIY Pendant
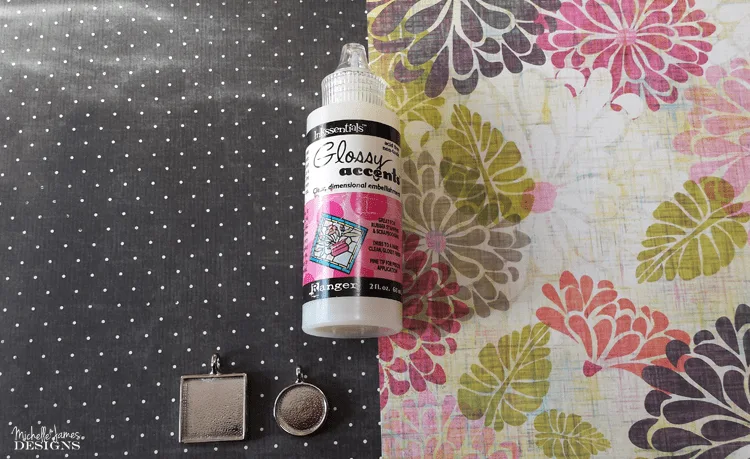
If you are a scrapper/card maker then you probably have some of the supplies for this DIY pendant project on hand.
The links below are affiliate links. If you click on a link and make a purchase I will receive a small commission at no extra charge to you. I appreciate these because they help me to keep this blog running! Thanks so much. You can see my full disclosure here.
You will need:
Scrapbook paper (2 designs)
paper trimmer and circle punch or a cutting machine such as my Silhouette
Pendants (one round, one square)
chain
round nose pliers and wire cutters
jump rings or wire to make your own jump rings
adhesive
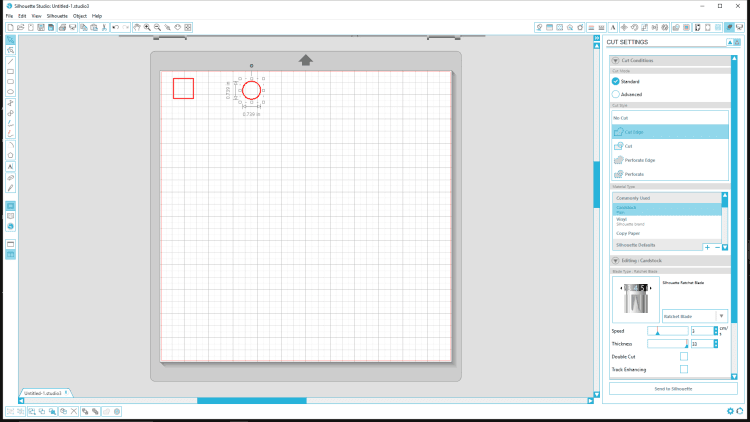
I started by measuring the inside of my pendants to create the shapes I needed in the correct sizes.
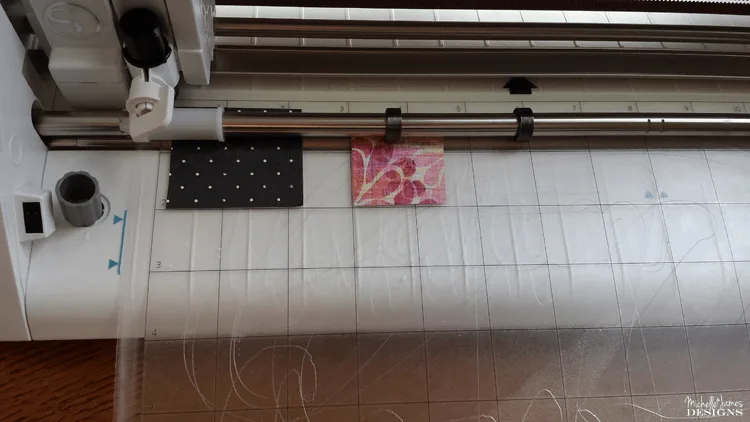
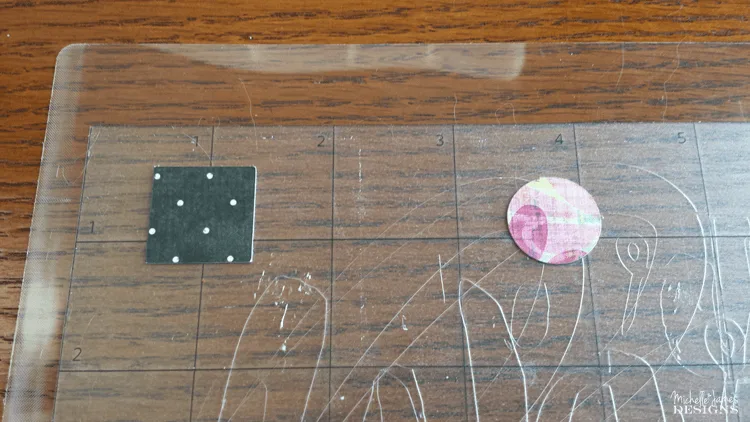
I set up my Silhouette to cut the sizes on two different pieces of scrapbook paper. Then you lay your paper in the same places on the mat as it shows on the computer screen. Be sure to have your grid lines showing on your screen. To do this go to View>show grid. They correspond with the lines on the cutting mat.
This is how the small pieces of scrapbook paper looked before cutting.
I obviously didn’t measure the circle correctly the 1st or 2nd time but the 3rd attempt came out perfect! Geez! What is wrong with me? So the final product ended up with a similar, but different design. Oh well the entire piece of paper was pretty so it wouldn’t have mattered too much.
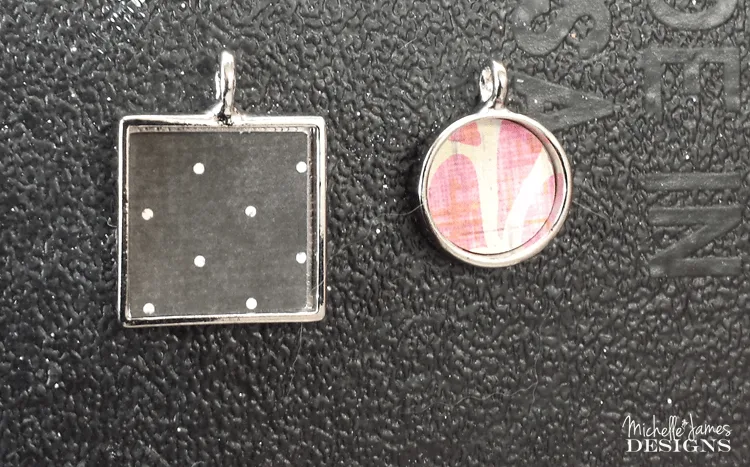
I put some adhesive on the back of the paper and set them into the pendants.
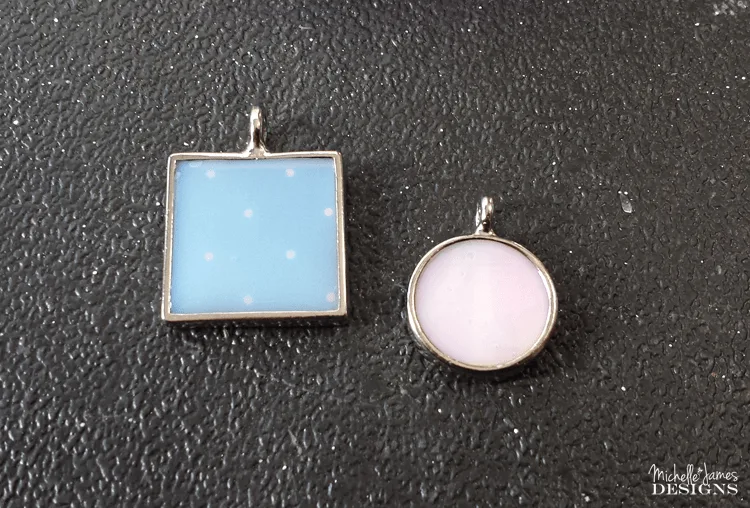
Then I added the Glossy Accents. It goes on pretty cloudy but dries clear. Don’t worry.
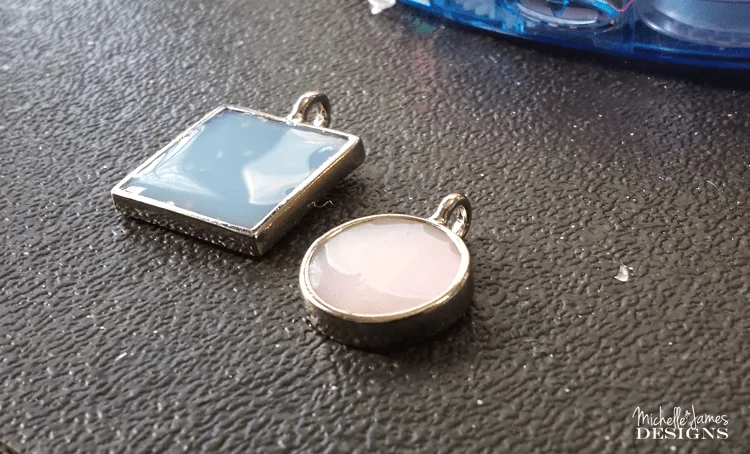
This is sort of a side view. I pretty much filled up the space in the pendant.
I did not see the air bubbles but they appeared when I checked on them a couple of hours later. I had never had air bubbles before so I wasn’t sure what to do. I used a straight pin and popped it then filled it in with some more of the glossy accents. I wasn’t sure how it would come out but it is not very noticeable at all. I was relieved.
After the Glossy Accents has dried completely, all day or all day and all night to be safe, just add your chain and a charm or some beads if you like.
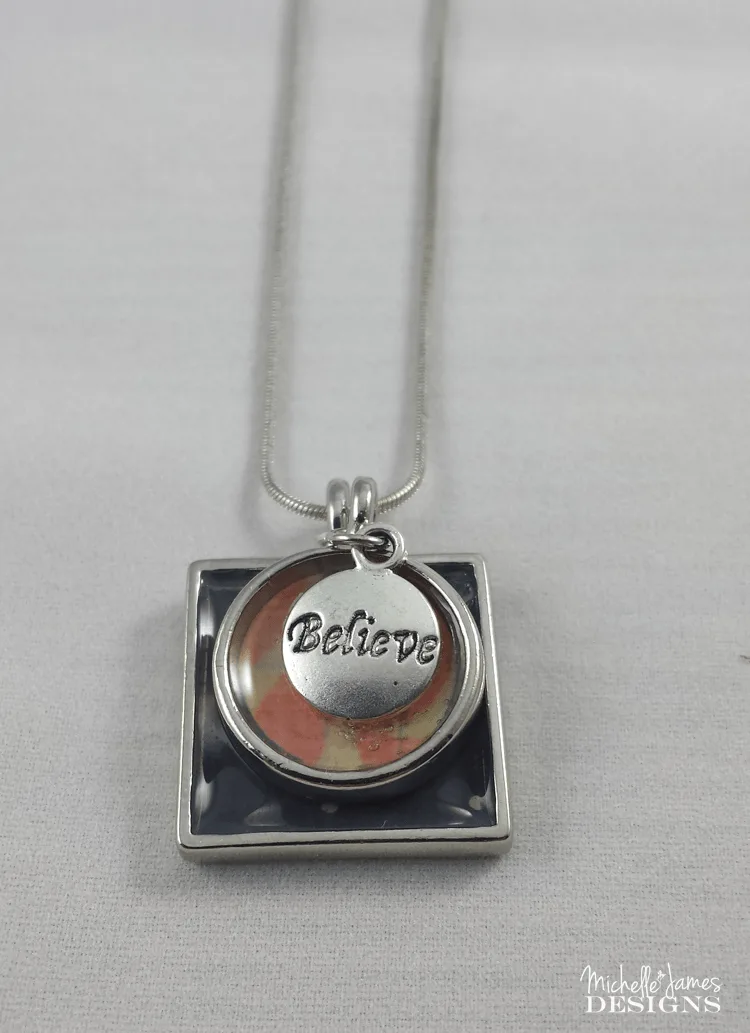
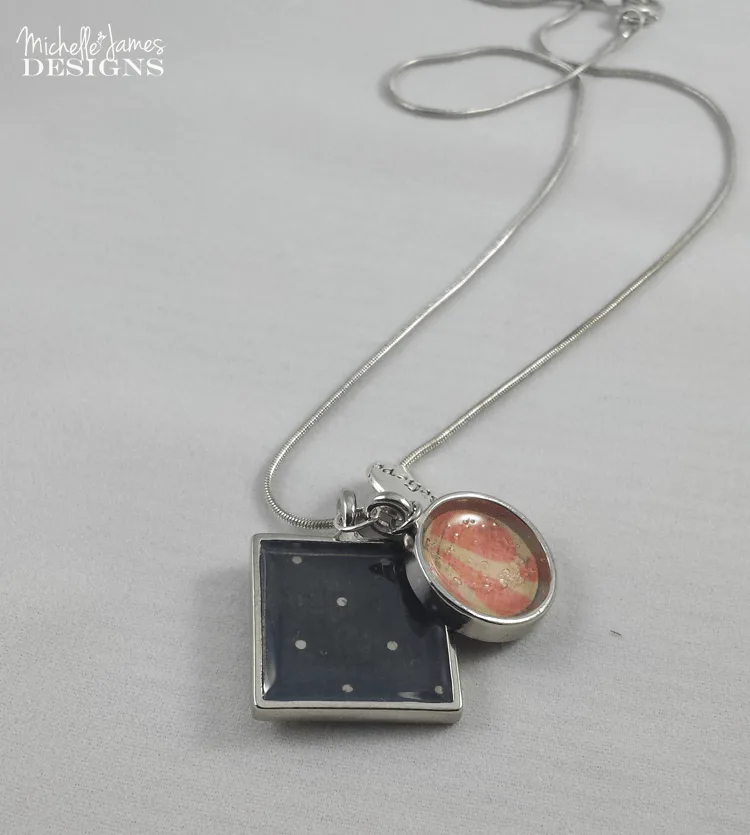
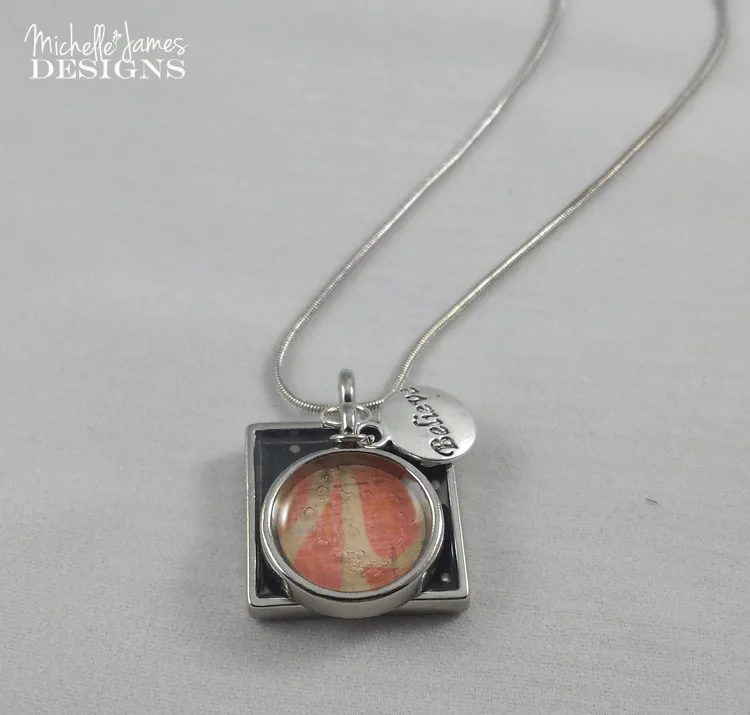
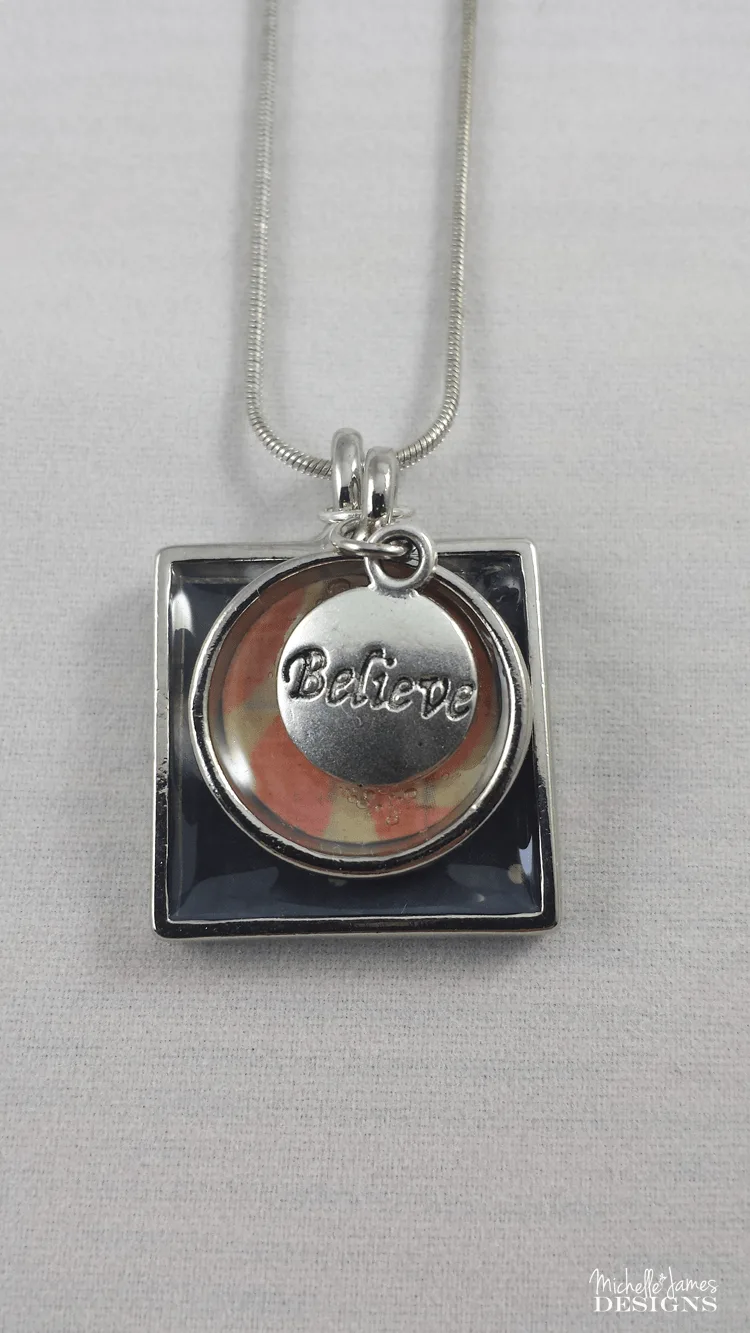
To add the charm I opened the jump ring that came with the charm and added it to the top of the circle pendant. Then I added a jump ring to the circle pendant in order to hang it from the square pendant.
I think it turned out pretty nice and I can’t wait to wear it. You can see the air bubbles in these close up pics but I don’t think they will be seen when I am wearing it.
Here is the piece with the black polka dot paper.
And the pink flower paper. You can really see the small bubbles in this pic. I did not do anything about these. They were small and the Glossy Accents had dried too much by the time I noticed them. Good thing the charm covers most of them.
What do you think? Here is an image you can pin if you like it! And follow me on Pinterest. I love to connect with new friends.
If you like to make your own jewelry check out this fun post on how you can make some terrific gifts by adding personal touches using your Cricut machine.
Thanks so much for stopping by today. Remember to sign up for my email/newsletter below so you don’t miss a post.
See you next time,
Michelle



Carolann
Friday 15th of April 2016
You are so creative! I love how you made this. I want that machine so badly!
Michelle
Saturday 16th of April 2016
Thanks Carolann. I love these things and they are so easy to make!