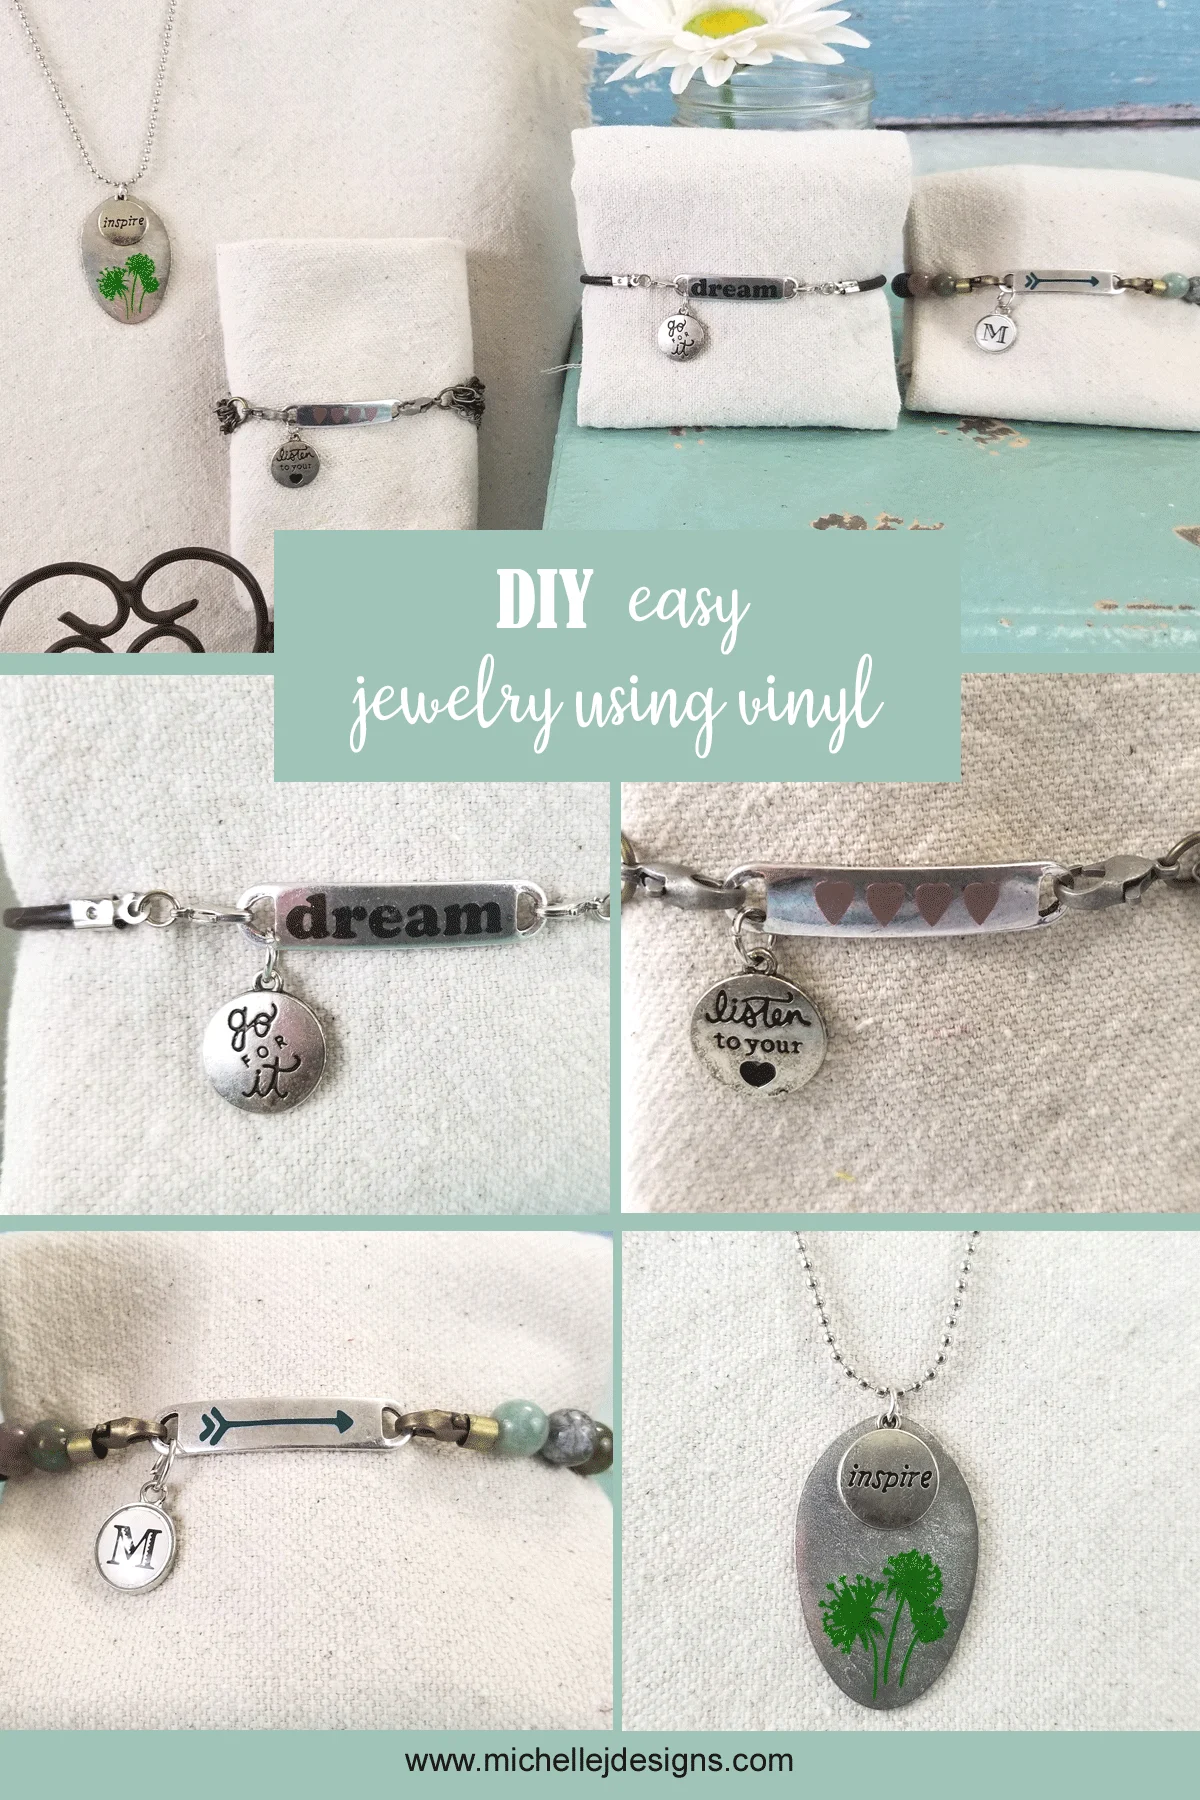
Hi guys. I love to create my own jewelry but I am definitely not an expert jewelry maker by any means. I purchase supplies…add to them…then put them together to make a fun, one-of-a-kind piece. These easy unique bracelets and pendants did not disappoint! I am so happy with they way they turned out.
All you need is a few basic supplies and you are ready to create your own diy jewelry for yourself or as gifts. I have been gathering supplies for a while but I use most of the same things over and over so you don’t need to spend a fortune to get started.
In this post I am using my Silhouette Cameo and some of my StyleTechCraft vinyl to add detail to jewelry blanks. This is a sure fire way to create unique jewelry that nobody else owns. The designs on these were pretty small but the vinyl I used along with picking the right designs will help you be successful making your own bracelets, earring, pendants and more even if they are tiny designs.

StyleTechCraft Vinyl For Success
Related Content: Upcycled Tiered Craft Organizer
Related Content: Create Scrapbook Digital Photo Art
![]()
![]()
This post is sponsored by StyleTechCraft. I am on their 2018-2019 Design Team and they have supplied the vinyl I am using in this post. I love their vinyl and this is 100% my own opinion.
This project took some tiny designs and I wasn’t sure how the vinyl would work. I thought there would be some ripping and tearing. But…if you select designs that are meant for tiny bits of cutting this vinyl works like a dream.
I have sprinkled some affiliate links in the post for your convenience. You can ready my full disclosure here.
You can find the StyleTechCraft vinyl at ATSM Craft.
Fee free to follow them on Facebook too!
Easy Unique Bracelets and Pendant Using Vinyl
You can print these instructions for later if you like. The affiliate links are located within the materials and tools list.
Easy Unique Bracelets and Pendant Using Vinyl

Create easy and unique bracelets and pendant using your silhouette and vinyl to add pretty accents.
Materials
- Bracelet Blanks
- Pendant Blank
- Connector Bracelet
- Beaded Connector Bracelet
- Chain Connector Bracelet
- Initial Charm. I used M but couldn't find it to link. Here is the N.
- Assorted Other Charms
- Jump Rings
- Ball Chain Spool
- StyleTechCraft Transparent Vinyl Dark Teal
- StyleTechCraft Glitter Transparent Vinyl Black
- StyleTechCraft Glossy Vinyl Rose Gold
- Transfer Tape
Instructions
- Create your designs in the Silhouette Design Studio or bring in your own designs. Make sure the lines are thick if you are using a font and use graphics that don't include intricate detail. These bracelets and pendant are too small for that.
- Cut your designs from the StyleTechCraft vinyl in various colors.
- Weed any parts of the vinyl that need it and apply transfer tape to each design
- Apply the vinyl to the bracelet and pendant blanks
- Add a charm using the jewelry pliers to help open and re-close the jump ring
- Add the blank to the bracelet or add ball chain to the pendant.
Notes
Choose designs and fonts that are simple and don't have a lot of detail or skinny lines. These need to be cut really small so the simpler the design the easier it will be to cut and apply.
If you like to watch a video demonstration you can see my step-by step tutorial by clicking on the video below.
Be sure to subscribe to my channel while you are there!
If you like a written tutorial keep reading!
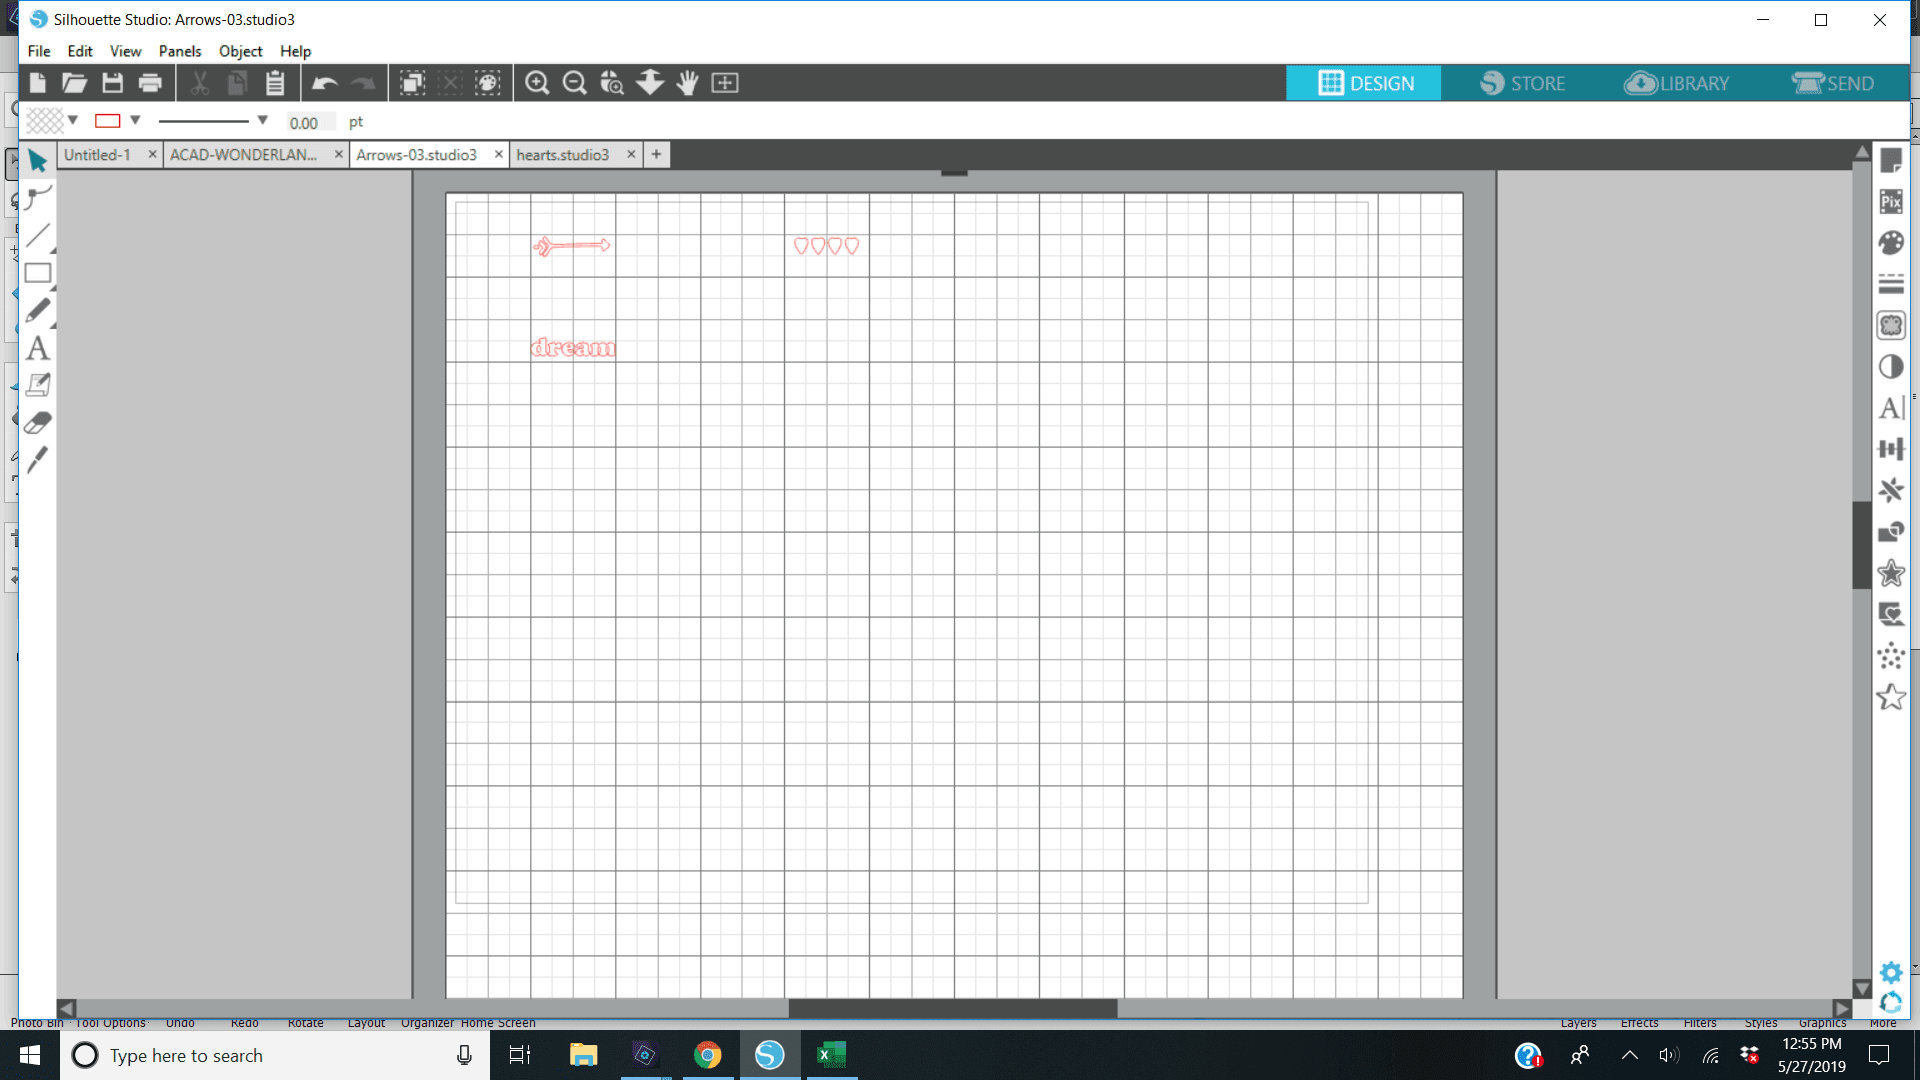
Step 1: Create designs with the Silhouette Design Studio
These designs are TINY. They are about 1 inch across and 1/4 of an inch at their tallest part. So be sure to choose designs that are bold, solid, and chunky. These will give you the most success when cutting the vinyl.
Here are my screen shots of my designs. This one shows the three bracelet designs. You can see how small they are.

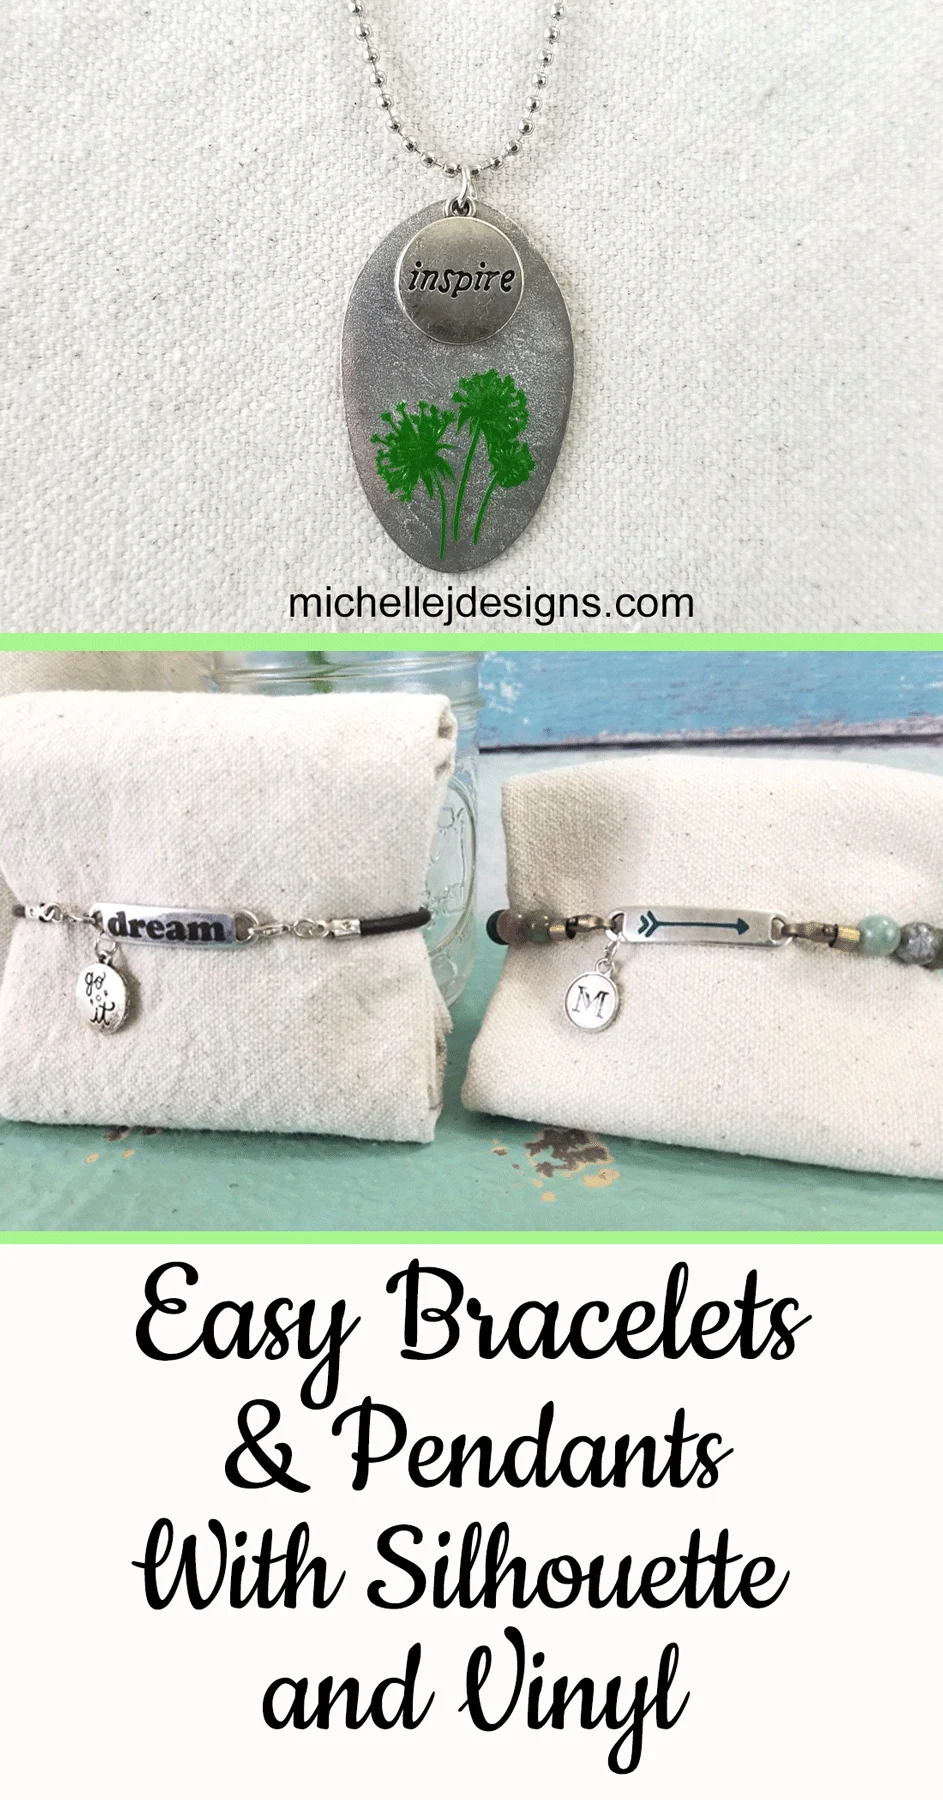
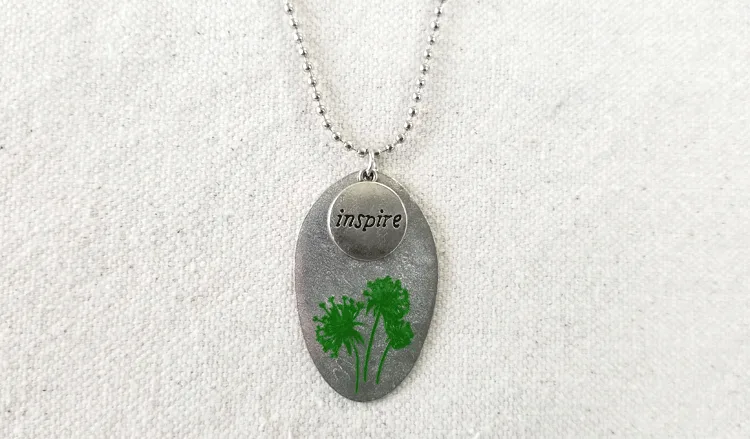
This one is the dandelion that I added to the pendant. I didn’t think it would cut very well but it did. Except for the flying dandelions. They were a bit too small so I left them off.

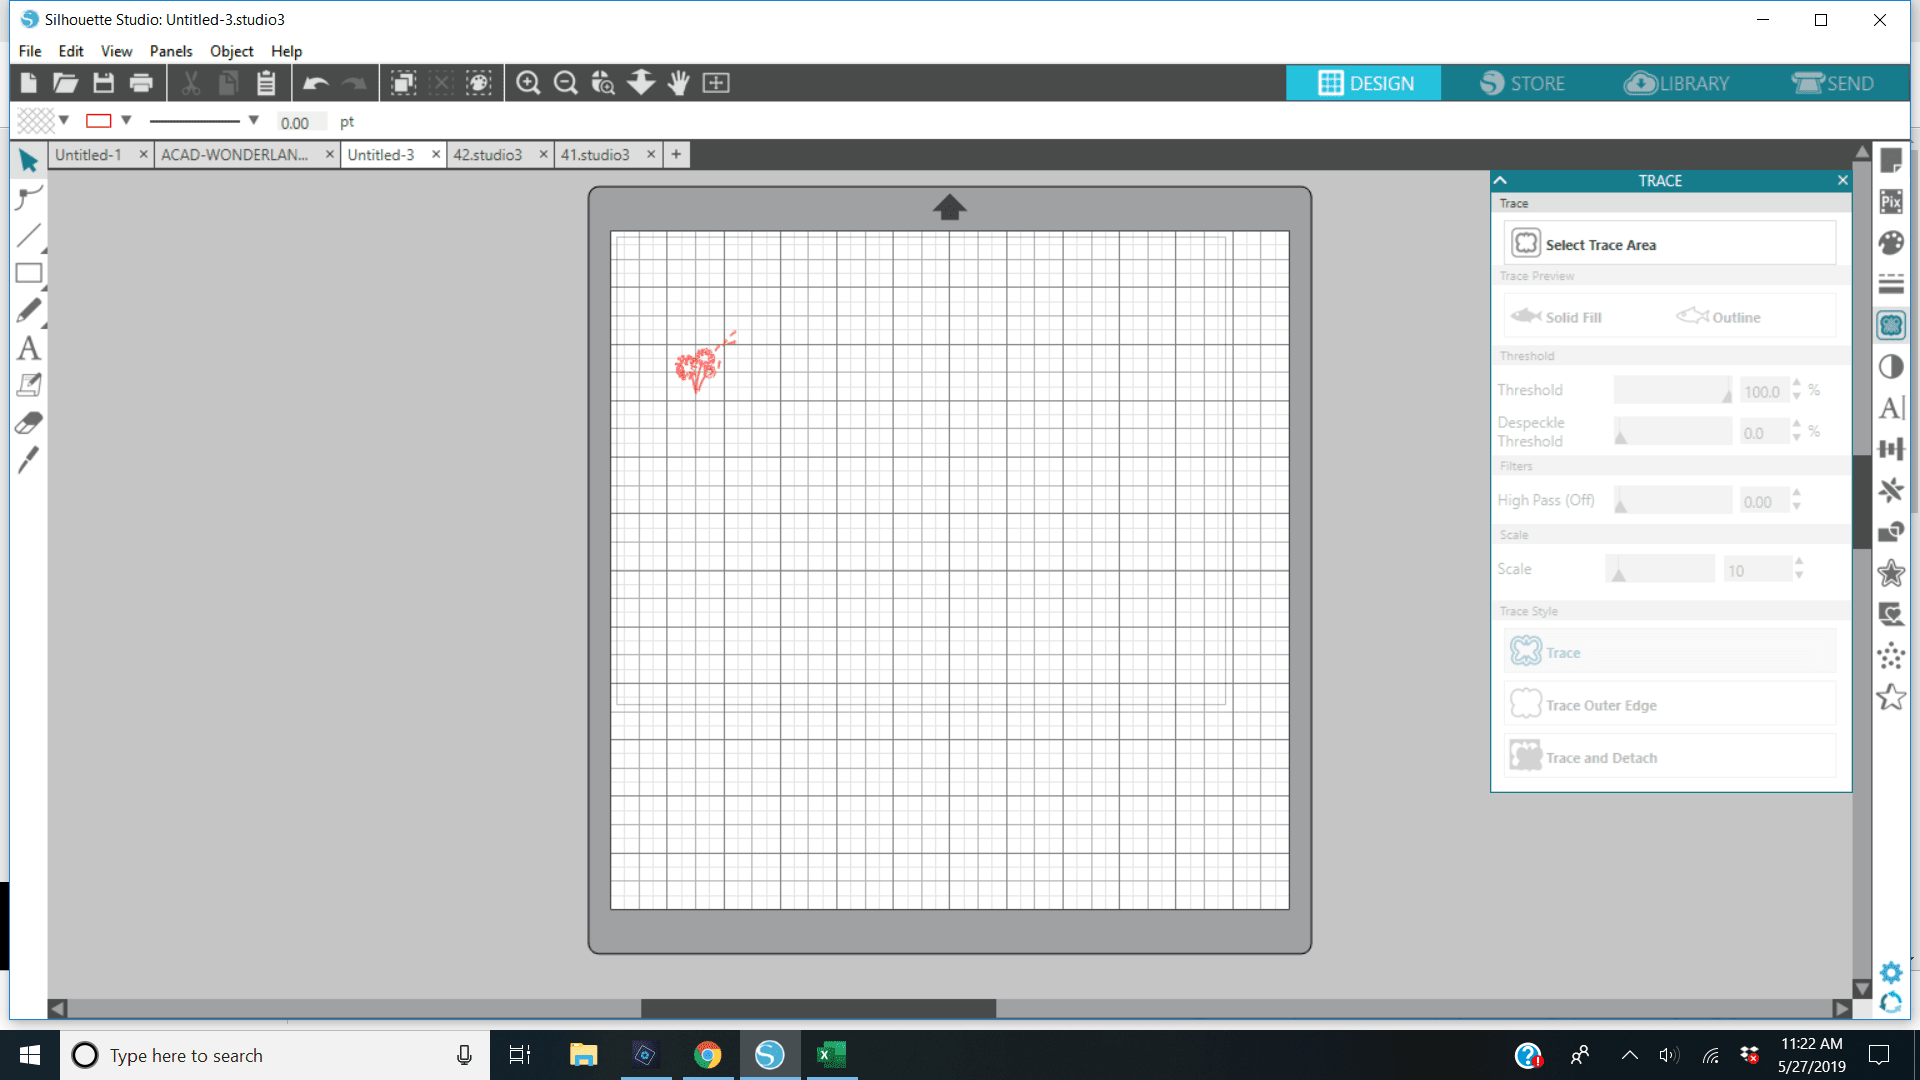
Step 2: Cut the designs with the Silhouette
Use your regular methods to cut out your designs. I used transparent vinyl, transparent glitter and glossy vinyl for my diy jewelry and they all worked perfectly using the blade on the number 2 setting.
Step 3: Start adding the designs to the jewelry blanks
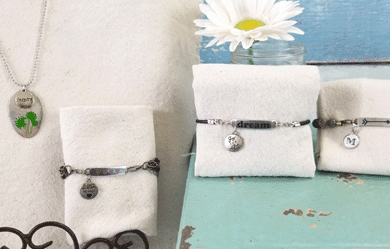
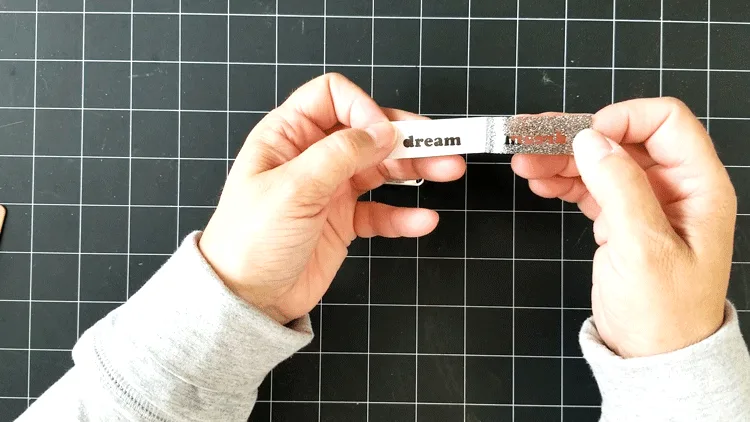
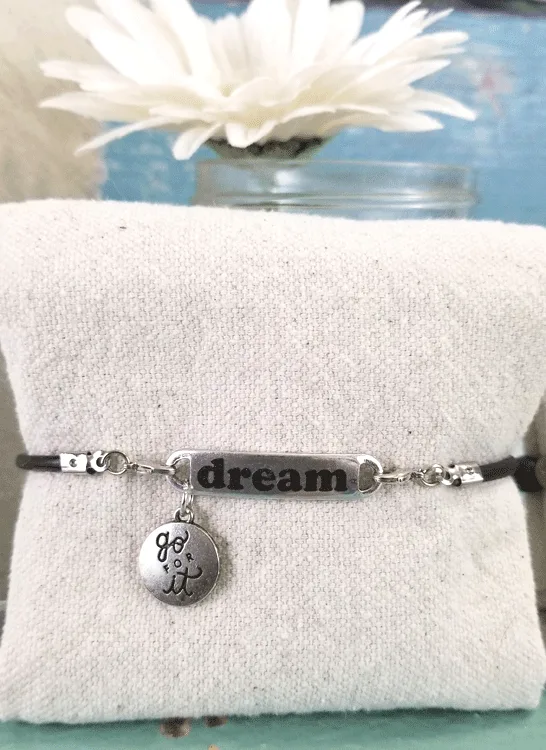
The “dream” design was cut from the transparent glitter. These designs will be added to the bracelet blanks.
There are so many blanks to choose from at Hobby Lobby. I decided on bracelet and pendants because that is what I like to wear but there are rings and earrings too. And, I could have looked in the jewelry section much longer than I did.

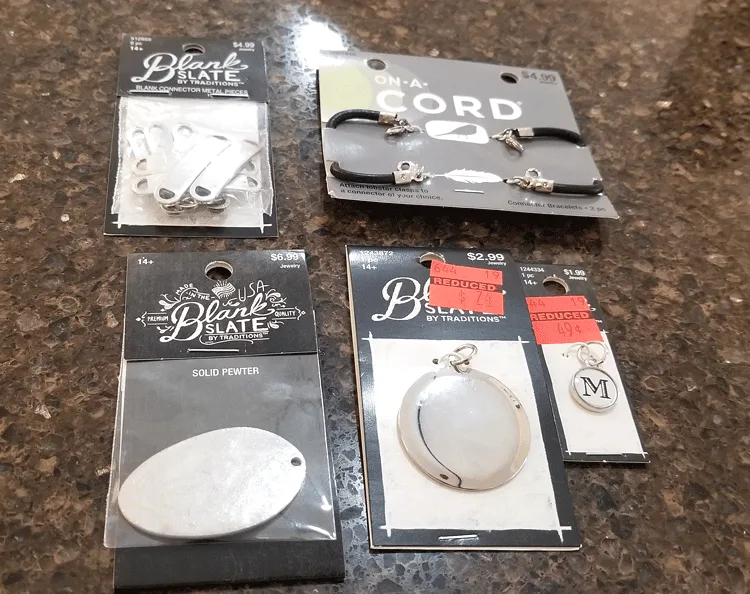
These are so fun to make and since I didn’t use all of these blanks or charms I will most certainly be using them soon. I actually went back to Hobby Lobby and purchased more of the bracelet part that clips to the blanks on the sides. You can see them in the final photos.


Weed the design if needed.

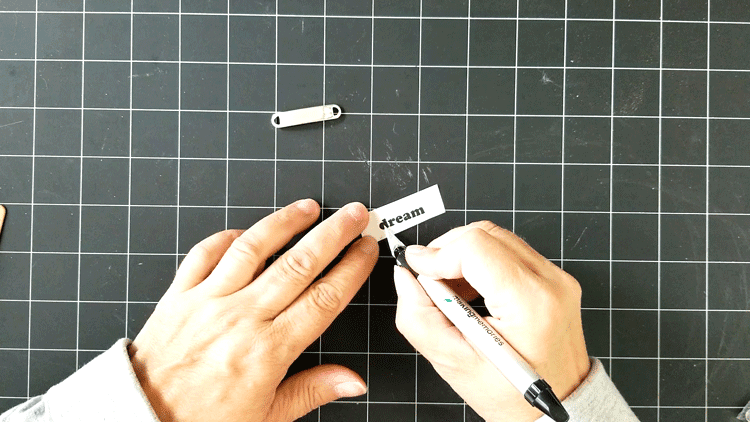
Add the transfer tape.

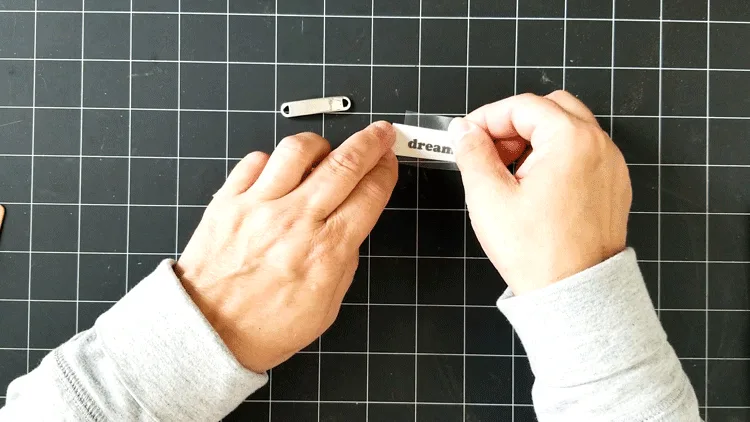
Apply the design to the bracelet blank.


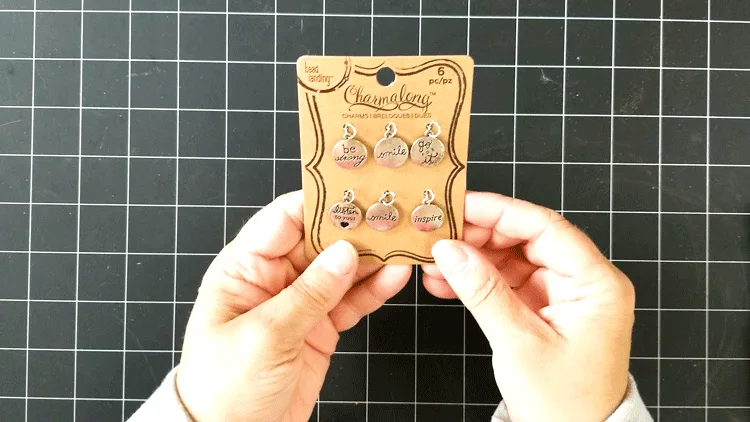
Step 4: Add a charm
These are from Michael’s. They have tons of charms and I love anything with sayings and words on them.

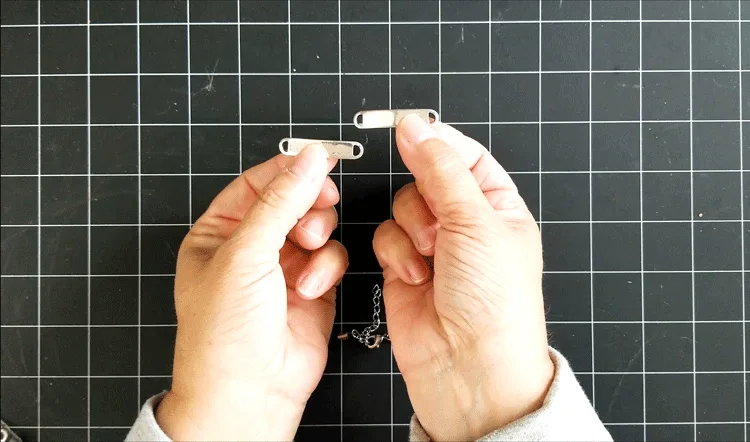
My fat fingers won’t allow me to open the jump rings without jewelry pliers so I use 2 pair to make this job a bit easier.


Attach it to one of the holes in the bracelet blank. I had already clipped the bracelet blank to bracelet but you can do this after adding the charm if you want. It all comes out the same in the end.


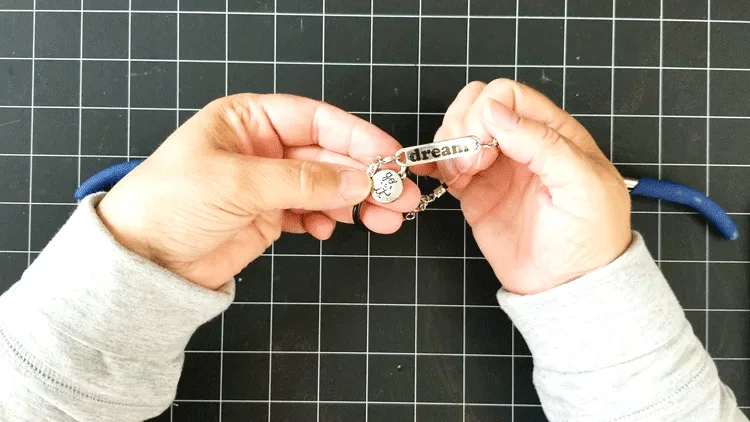
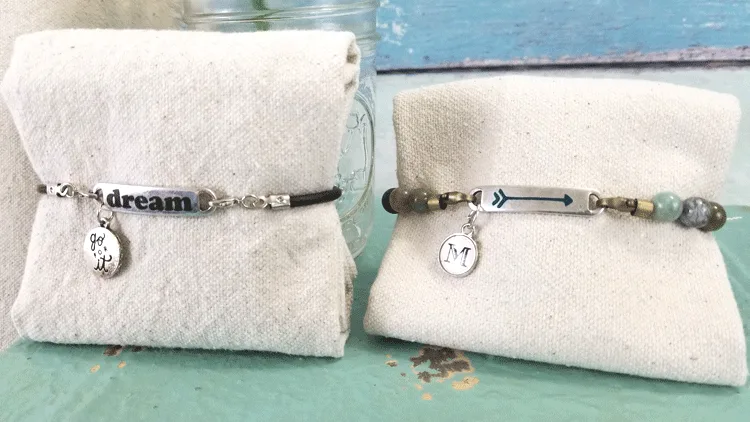
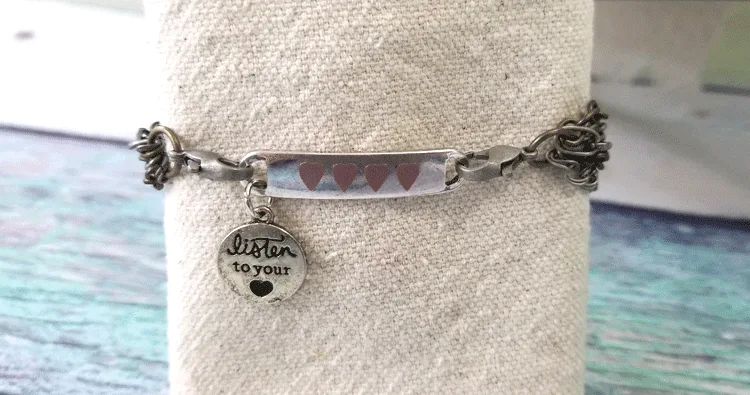
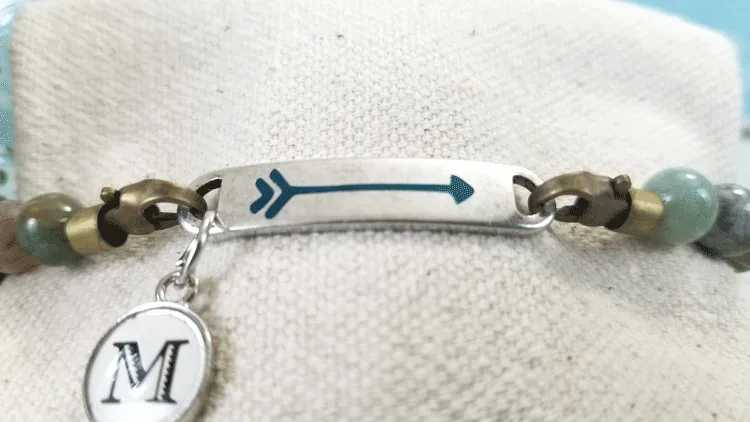
I followed these exact instructions when I made the hearts bracelet, the arrow bracelet and the pendant.
The only thing I did differently was add ball chain to the necklace after I added the charm.
The Pendant

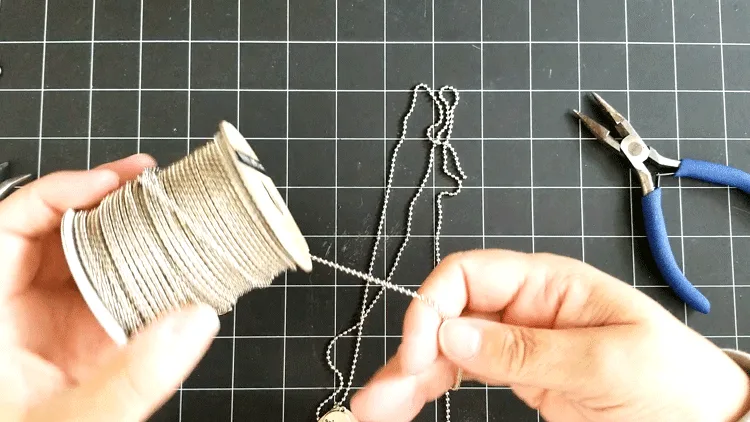
It comes on a spool and with a certain number of clasps. I think eight clasps but I am not sure about that.
Measure out the amount you want to use for your necklace and us an old pair of scissors or some wire cutters to cut it off of the spool.
Thread the chain through the jump ring then add the clasp.

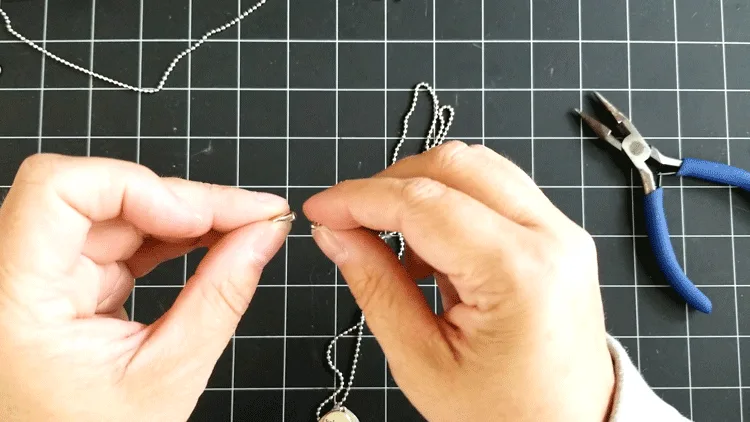

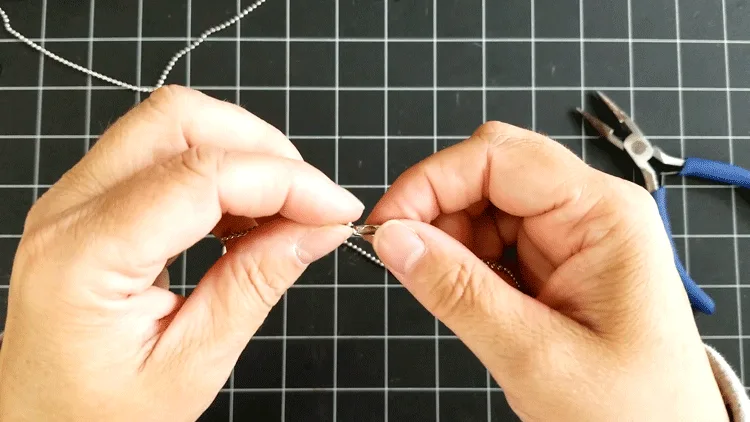
Once this is done…you are done.
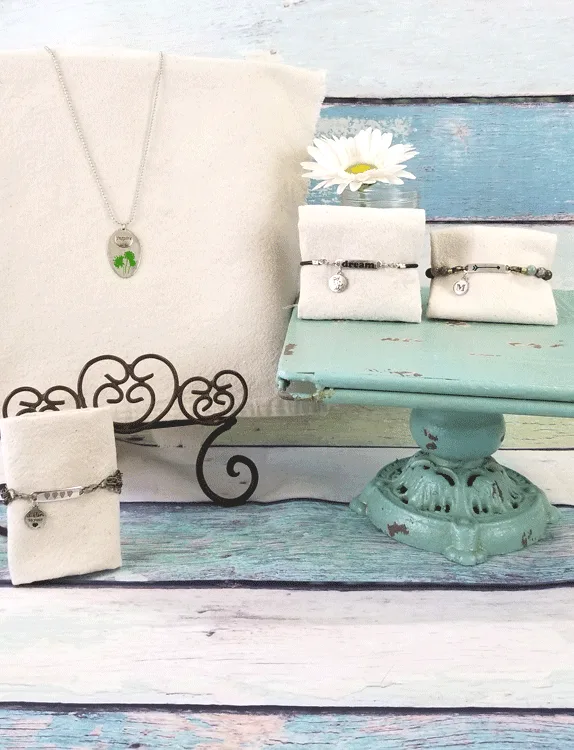
What do you think?


I just love everything about this post and the fact that these took almost no time at all to make is just a perk! Making more is definitely on my priority list. DIY jewelry can be great gifts and with inspirations sayings they can be even better.


If you make any of these unique bracelets or pendants I would love to see them. You can post them on the Michelle James Designs Facebook page.


Thanks so much for stopping by!
Michelle
If you are looking for gifts check these out!