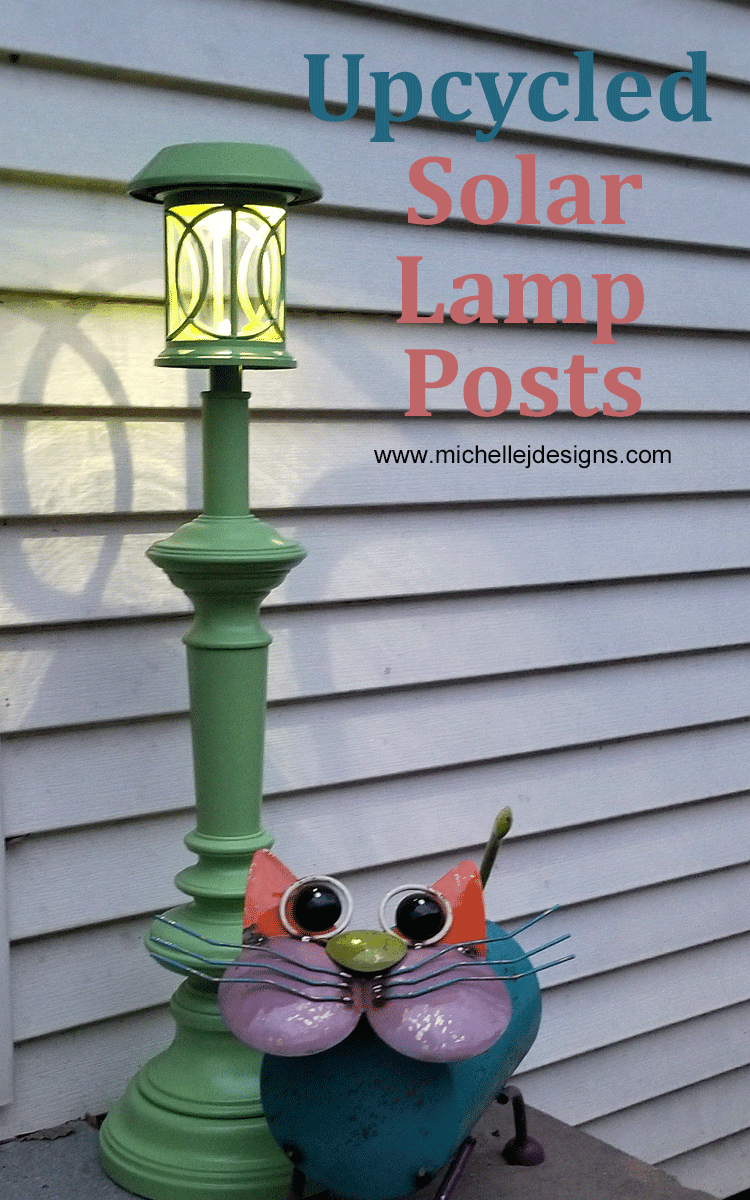
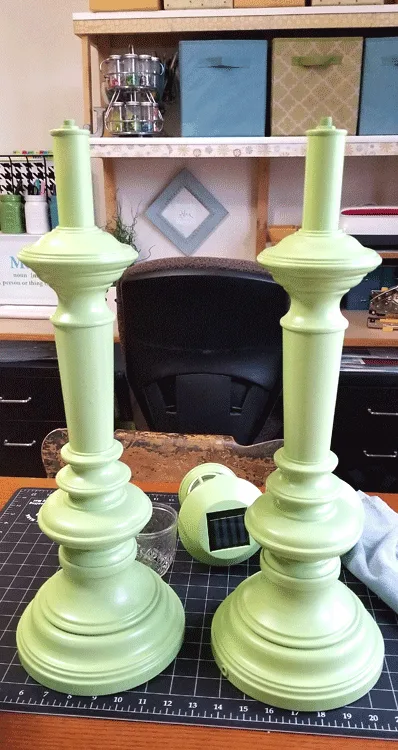
Hi everyone and welcome back to another Thrift Store Upclycle Challenge post. This is one of my favorite posts each month. I am happy to be participating along with so many talented bloggers. Today I am excited to show you my upclycled solar lamp posts.
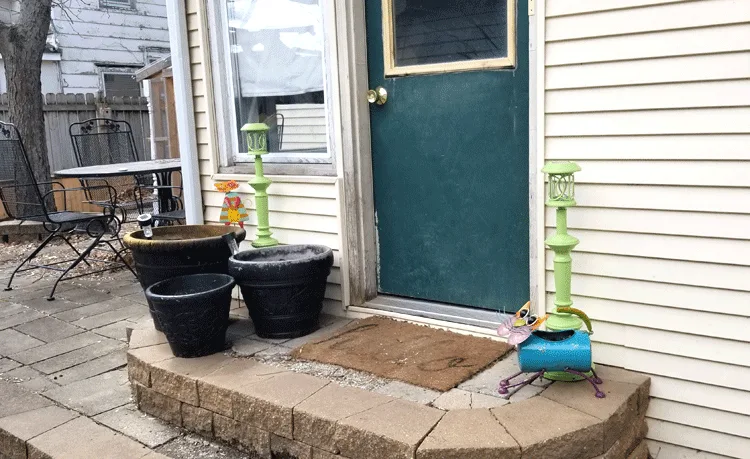
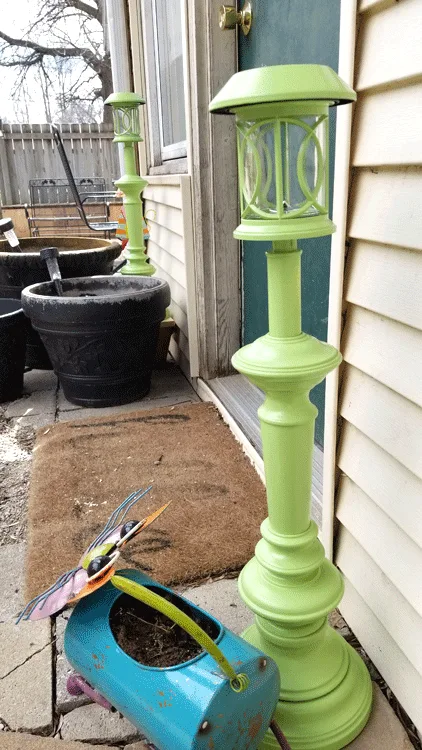
These turned out so cute and I love having them by my back door as people come up to the house. Solar lights are perfect for the summer and I love that they don’t take any electricity. I usually get mine from the dollar store but this time I purchased some fancy lights from Menards.
I really do think the dollar store lights are great but for this post I wanted a lamp post so the dollar store lights didn’t really have the look I wanted. These were perfect and I didn’t have to spend too much. They were on sale for $4.99 each.
If you like solar lights as much as I do then check out these related posts when you are done reading this one. I think you will find something you like and all of these are easy to make on your own.
RELATED CONTENT: Hanging Mason Jar Fairly Lights
RELATED CONTENT: Dollar Store Vases Into Outdoor Lighting
If you love DIY metal projects you can click here to find more metal crafts inspiration!

Thrift Store Upcycle Challenge
The Rules:
- Upcycle an item(s) from a thrift store, resale store, or garage sale into a new piece of decor.
- There’s no monthly theme.
- There’s no budget to stick to.
Upcycled Solar Lamp Posts
Solar lamps are all of the rage and these were easy to make. The tricky part was getting the solar light onto the top of the lamp and having it stay there.
You will see in the tutorial we got creative and made our own part but I think the correct size of PVC or dowel would do the trick.
Watch my step-by-step video tutorial below!
Supplies Needed for this project:
I have included some affiliate links for your convenience. You can read my full disclosure here.
Upcycled Solar Lamp Posts


How to upcycle lamps and solar lights into cute, solar lamp posts for your outdoor space.
Materials
- Upcycled Lamps
- Solar Lights
- Rustoleum Apple Green Spray Paint
- Painter's Tape or Washi Tampe
- 5 Minute Epoxy
- PVC or Dowel - small piece to fit the lamp and the solar light
Tools
- Wire Cutters
- Sanding Block
- Cloth for cleaning
- 3D Printer (optional)
Instructions
- Remove the electrical parts from the lamp by cutting the electrical cord and pulling it completely out and removing the light bulb holder and the shade holder.
- Clean off the lamps if needed with a soft cloth.
- Sand the lamp to scuff it up a bit to get the paint to adhere better.
- Take the yard stake out of the solar light.
- Use a screwdriver to remove the screw at the bottom of the light.
- Twist and remove the top lid.
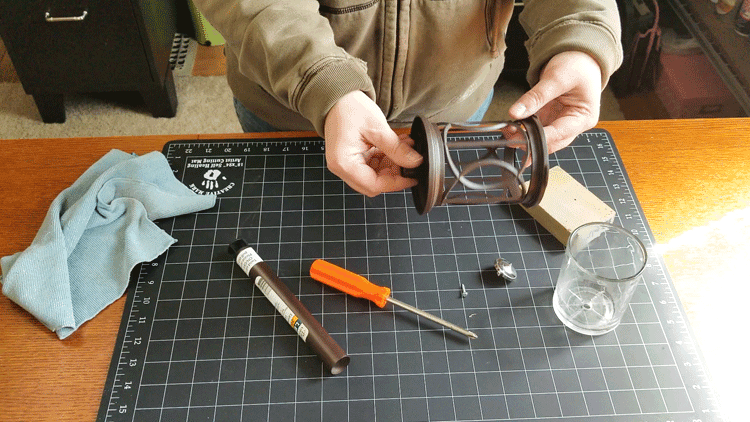
- Take out the glass and the triangular piece from inside the solar light.
- Save these pieces to add back in later.
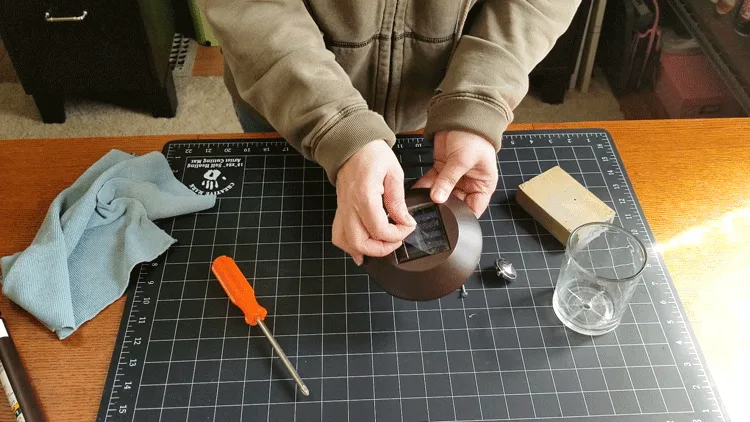
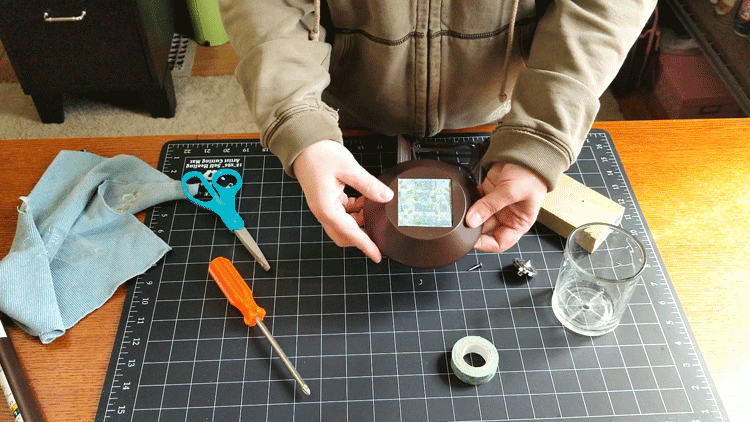
- Remove the plastic film and use the painter's tape to mask off the solar light area.
- Paint the lamps and the solar light parts. I layered a couple of coats letting them completely dry in between.
- When dry remove the painter's tape.
- Replace the glass part and the triangle piece and replace the screw.
- Cute a piece of PVC or dowel to fit inside the bottom or the solar light but that will also fit onto the top of the lamp. It needs to have a hole in it to fit the threaded piece on the lamp. We did not have anything on had so Jeff measured what we needed and printed a piece on his 3D printer. It worked well but I know that not everyone has this option....yet!
- Add a piece of PVC, dowel or the 3D printed piece on top of the screw..
- Mix the 5 Minute Epoxy and add some to the pvc/dowel and to the top of the lamp.
- Place the solar light part onto the lamp and let it dry. It will take approximately 5 minutes for it to set but still be careful. I actually let them sit overnight.
- Turn the switch to the "on" position and allow them to charge in the daylight.
- Enjoy them that evening at dusk.
If you would rather read along and follow a written tutorial then keep on reading!
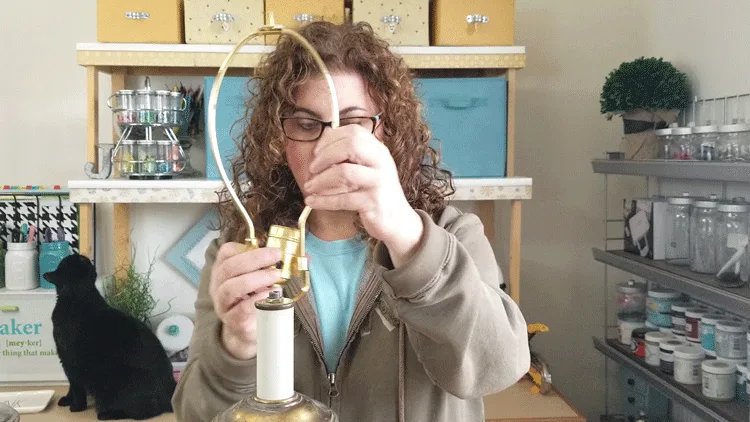
Step 1: Remove the electrical parts from the lamps
All that is required for this is some wire cutters. Use them to cut the cord so you can remove it by pulling out the bottom. You will need to remove the light bulb holder and lamp shade holder first.

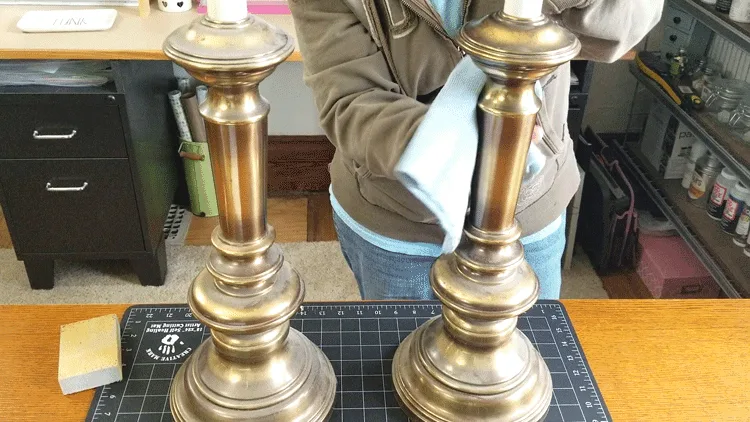
Step 2: Clean the lamp if needed
My lamps had been in the garage for a while. This is where all of the thrift store, garage sale and gifted items go to “rest” until I find a great use for them. It’s pretty dusty in there so they always need a good cleaning.

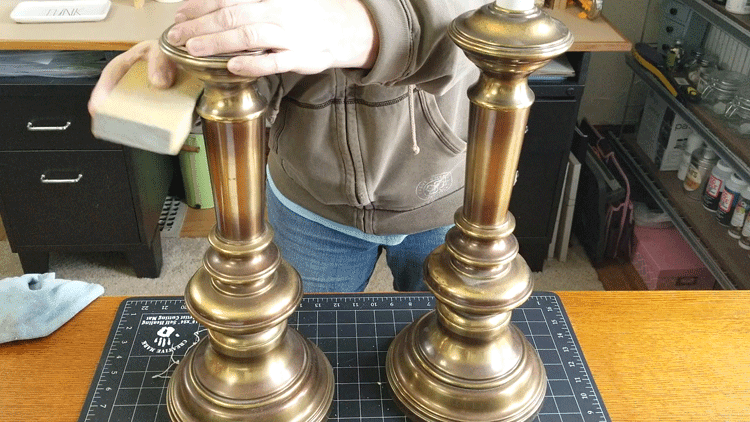
Step 3: Sand the lamp
Use a sanding block to sand the lamp. This helps to scuff it up and helps the paint to adhere better.

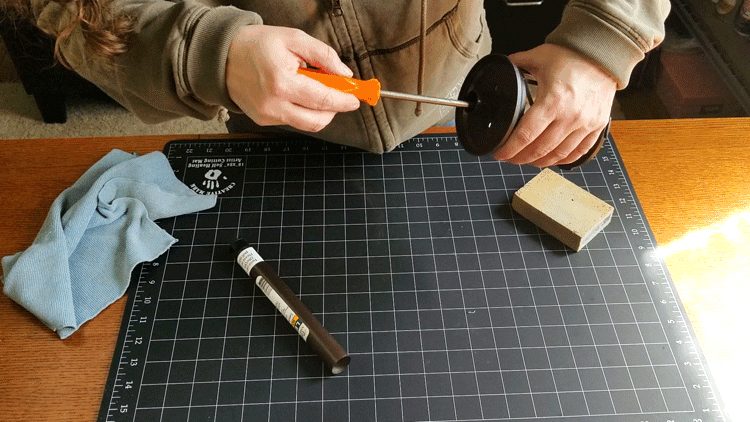
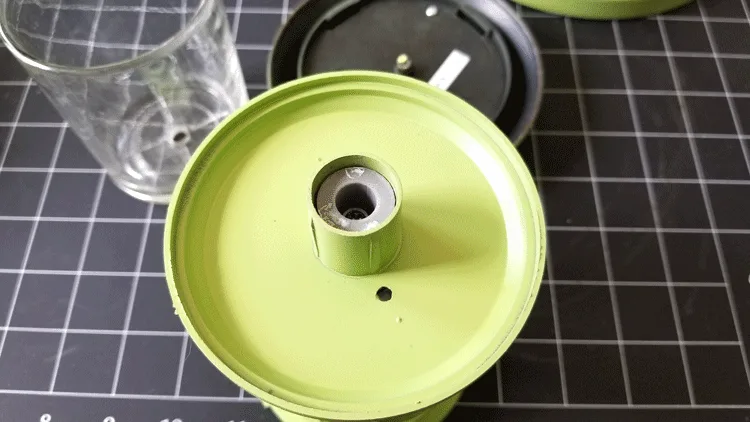
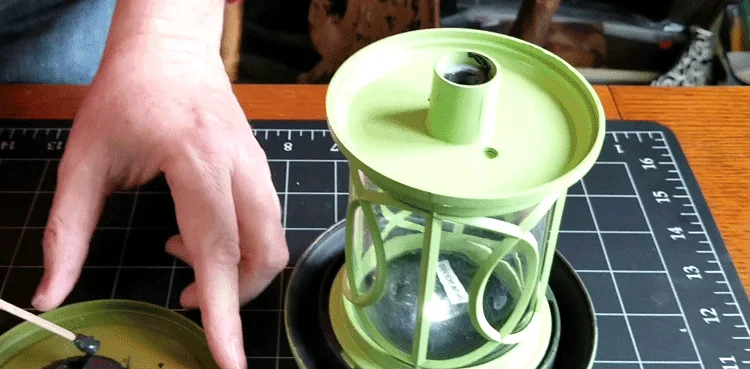
Step 4: Prepare the solar light
Remove the yard stake from the bottom of the light then use a screwdriver to remove the screw on the bottom. This will loosen the glass and the triangle piece inside so you can remove them to paint the outside piece.


Remove the top piece and then peel off the plastic film from the solar light area and mask it so it will remain paint-free


Step 5: Paint all of the pieces
Using spray paint makes it easy to paint these especially if they are odd shaped like my lamps. Remember to apply more light layers instead of a few thick layers. I got a run on one of my lamps. I did a little sanding between coats to try to remove it. This helped but did not completely make it disappear. That became the back of the lamp. LOL

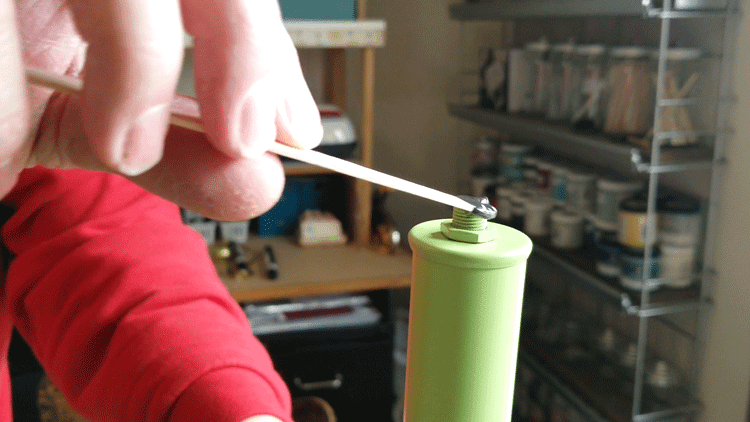
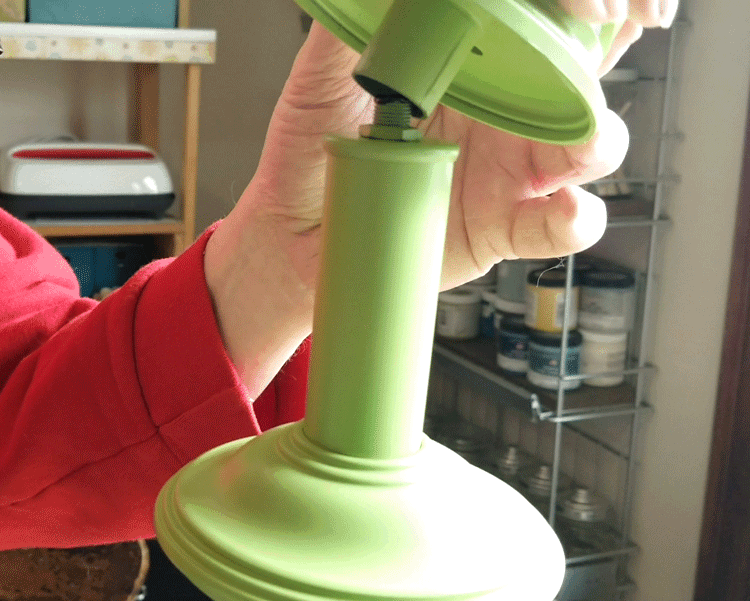
Step 6: Prepare to join the solar light with the lamp
This was the worst part for me. I needed a part that would allow me to attach these two pieces together. There was a gap between the size of the solar piece and the top of the lamp. It wouldn’t allow any adhesive to get to both sides to hold them together.
We thought a threaded piece would work but everything was wrong and wouldn’t work. We looked around our stash for some PVC or dowel. I am pretty sure this would have worked but we did not have the correct size.
So, Jeff got he brilliant idea to 3D print a piece that would work and he did it. It took a couple of tries and size adjustments but it did the trick.

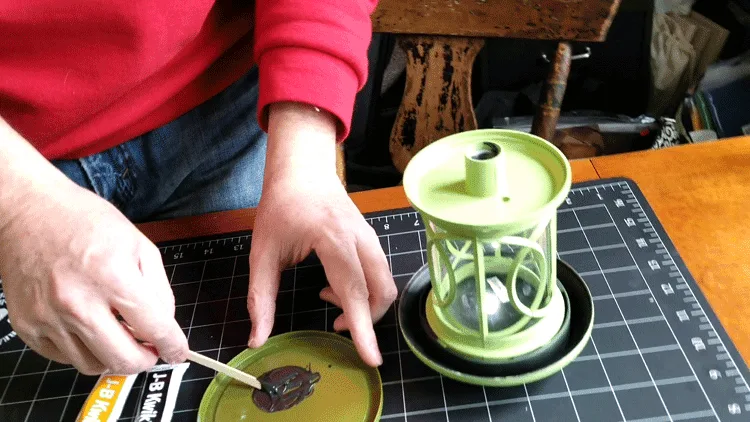
Step: 7 Join the solar light to the lamp
Mix up some 5 minute epoxy (equal parts of the two tubes) but follow the directions on the package. Once it is mixed add some to the bottom of the solar light on the PVC or dowel and to the top of the lamp. Place the solar light onto the lamp and make sure it is positioned exactly the way you want it. Let it dry for at least 5 minutes. I let mine set overnight just to be safe.


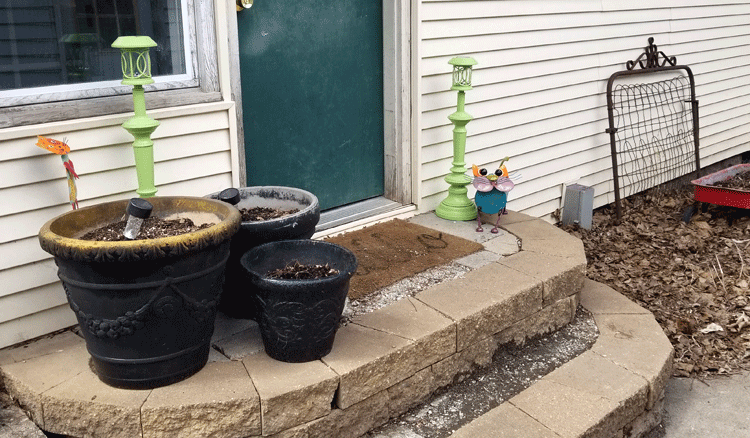
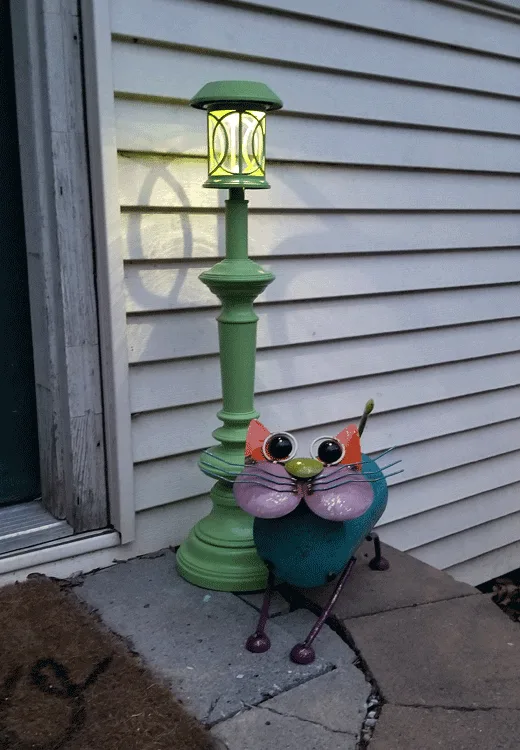
Don’t you think these upcycled solar lamp posts turned out really cute? I have gotten a lot of compliments on them already. I can’t wait to have the yard all cleaned up and get my back door painted. Then they will stand out and look even better…in my opinion!


And now for more thrifty goodness!
Thanks for stopping by! Michelle


Anne Gomez
Tuesday 8th of June 2021
Quite adorable. Menard's is not in our area, but the lights look brighter than what we can buy.
Michelle
Tuesday 8th of June 2021
Hi Anne,
I am glad you like these. You may want to try Lowes if you have it or check on Amazon for something similar. I hope you find something so you can make them.