Hanging mason jar fairy lights are perfect for your deck or patio and they are so easy to make with just a few materials.
You know these are my favorite posts to create and since it is starting to warm up outside I decided to do something for my outside patio space. In this post I am going to show you how to crate hanging mason jar fairy lights!
Ambiance in the back yard is just fun. I don’t entertain very much so these are really just for our benefit. These DIY mason jar outdoor lights are the perfect solution to add more solar lighting and they are so easy to make.
You can buy the mason jar light kit to add some great twinkle solar lighting to mason jars that you probably already have. So read on and get ready to make your own solar fairy lights.
If you love painting and making glass crafts and gifts you will love it here.
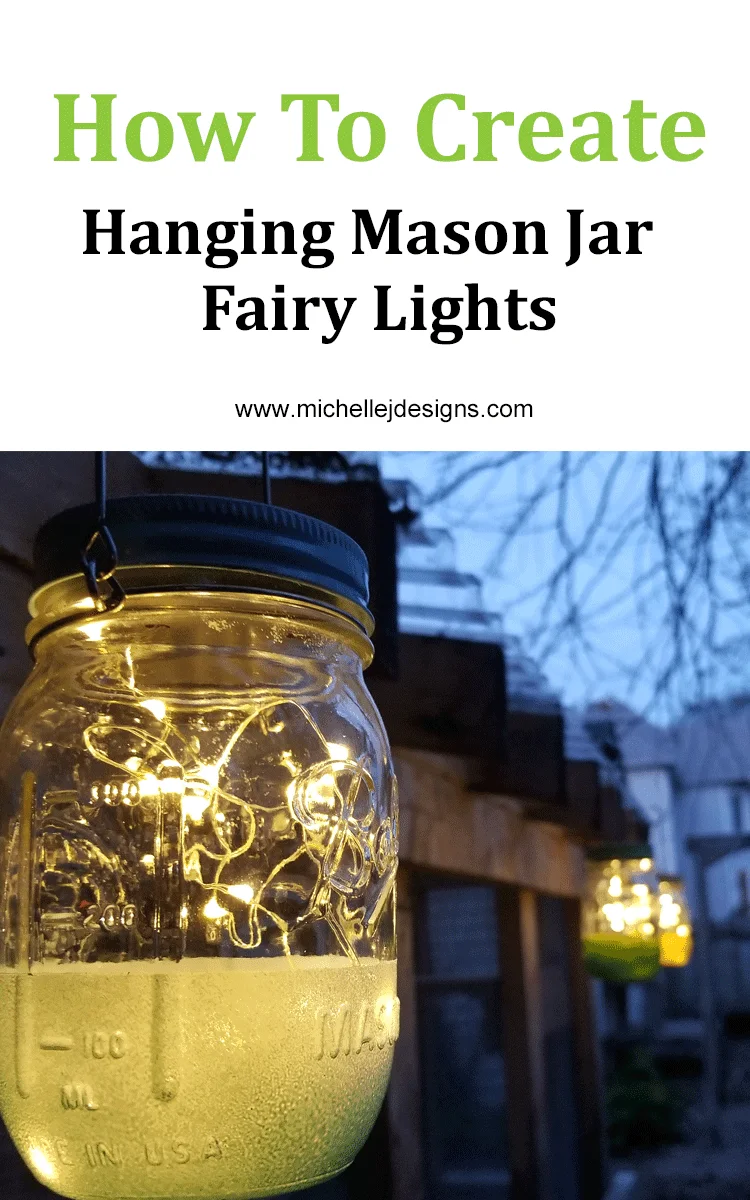
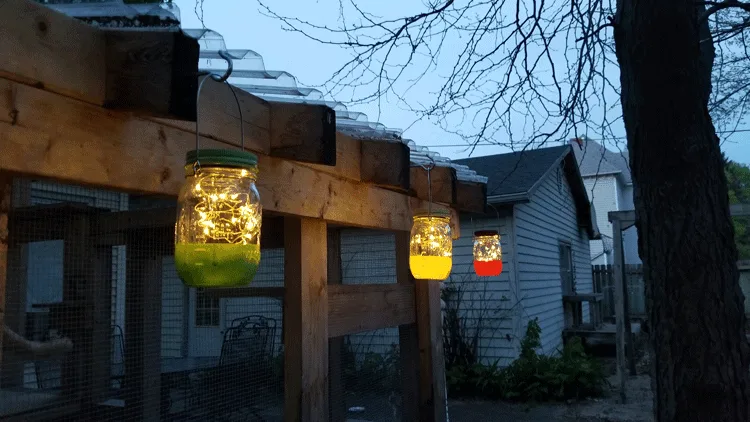
These were so easy to make and all you need are a few supplies. I love these and want to create a larger set using the gallon mason jars to hang on my fence. I wanted these to hang on the fence but they looked so tiny. But they ended up looking fantastic hanging from the catio! (our outside space for our indoor cats)
Related Content:
If you like mason jar projects check out this page with 10 amazing mason jar projects!
See how I created these hanging mason jar fairy lights in the step-by-step video below! Be sure to subscribe to my You Tube channel to see all of my video tutorials!
Here is what you will need to make your own outdoor mason jar solar lights.
I have included some affiliate links for your convenience. You can read my full disclosure here.
How To Create Hanging Mason Jar Fairy Lights
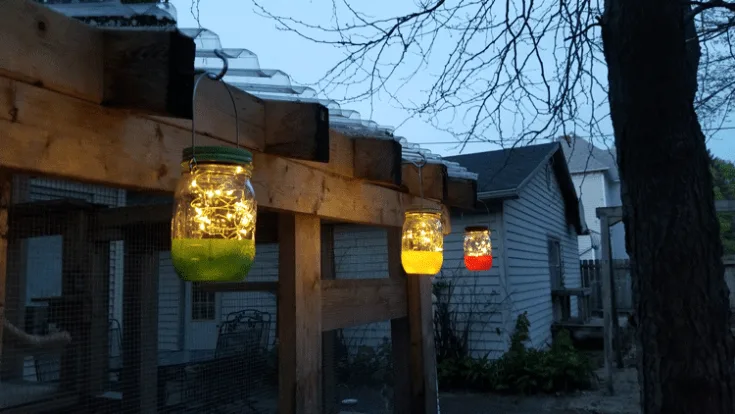
Create your own easy hanging mason jar fairy lights with just a few suppiles!
Tools
- Painters Tape
Instructions
- Wash and dry the mason jars.
- Use painters tape to mask the parts of the jar you don't want painted.
- Spray the jars and the lid ring with different colors of paint. I made 4 lights using 4 different colors of paint.
- Remove the tape when the paint is fully covered and dry.
- Add the fairy lights and replace the lid ring from the lights with the painted ring. Be sure to switch to "on".
- Attach the wire hanger.
- Hang outside and enjoy!
MASON JAR MONTHLY CRAFT CHALLENGE!
This post is part of the Monthly Mason Jar Craft Challenge. At the end of this post, you will see all four fabulous mason jar craft projects. Take a minute to visit each one, I am sure you will find great inspiration in each one of the beautiful projects.
Related Content: Mason Jar Hanging Bird Feeder
Related Content: DIY Mason Jar Teacher Gifts
Related Content: Dollar Store Vases to Outdoor Lighing
Let’s get started!
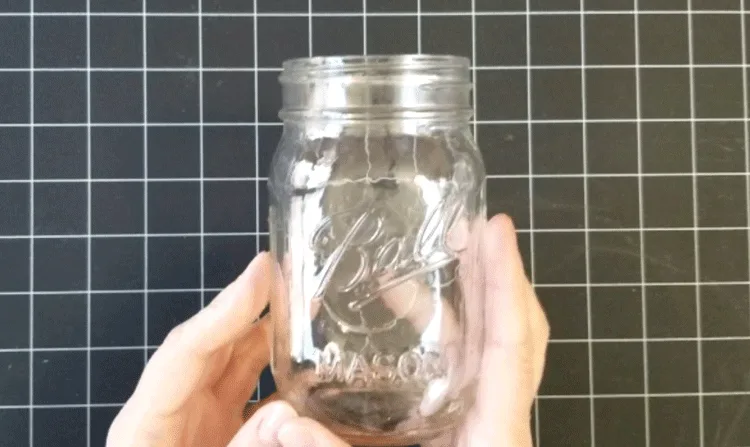
Step 1: Prep your mason jars
You want to make sure your jars are clean so the paint adheres nicely. Give them a nice wash and dry before starting.
Step 2: Mask the mason jars
I love the blue painters tape for this part of the project. I thought I may have some dripping or seeping under the tape around the raised part of the design on the jars but if you take the time to really press the tape down around those areas you will be happy later. My paint come out really nice.
Start by adding the first row of tape getting it as straight as you can all the way around the jar.
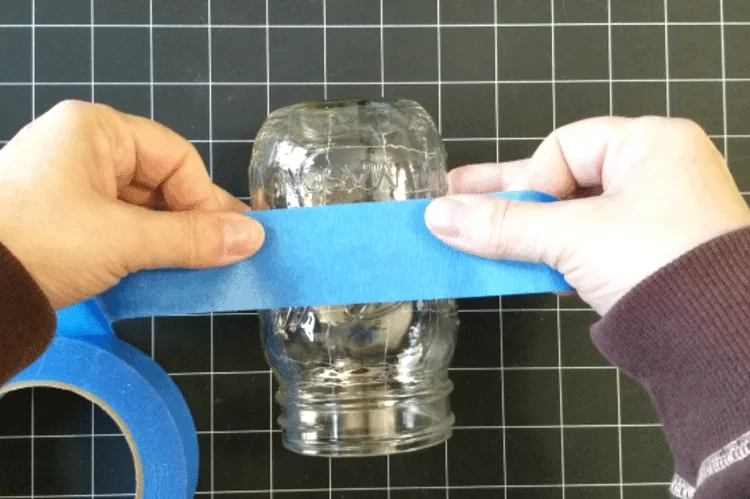
Continue adding the tape until the rest of the jar is covered.
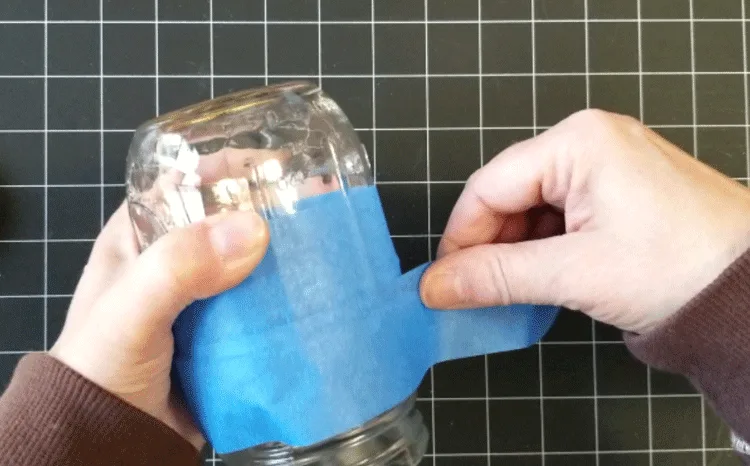
For the last row, wrap the tape around the rim and into the jar a little bit to avoid any getting inside the jar.
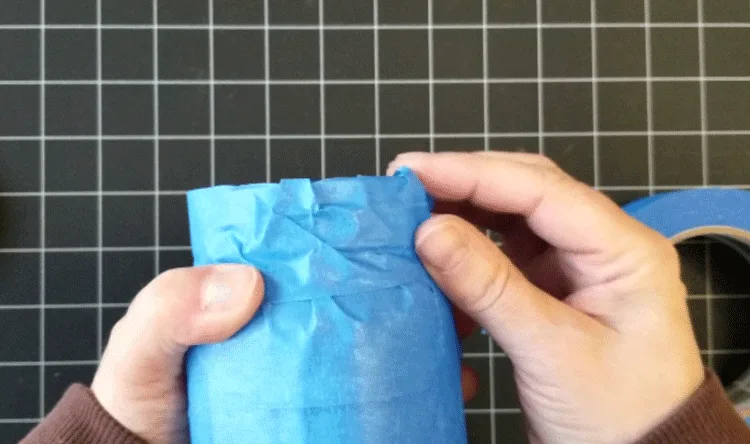
Step 3: Paint the jars
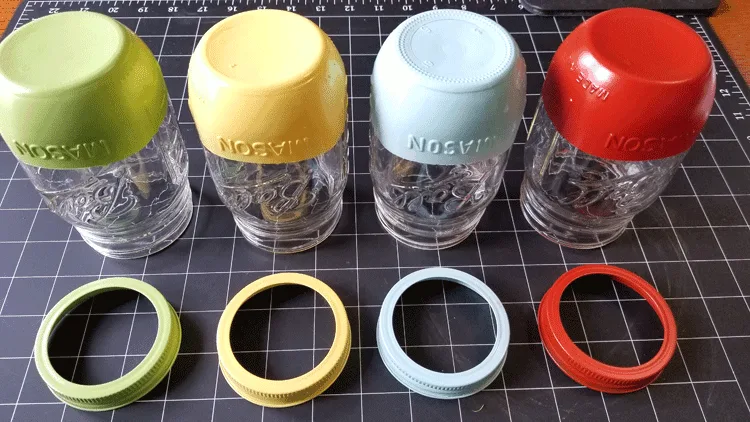
Now we are into the fun part. I love spray paint and I love using it on mason jars. A good tip is to add thin layers of paint instead of 2 heavy coats. This keeps the drips at bay.
I have some painted buckets that I hang on my fence that I plant annuals in each year. I wanted my jars to match these metal buckets so I used orange, yellow, green and light blue. They came out so cute.
I can’t wait to add the solar twinkle light kit to see to see what they look like.
Step 4: Add the mason jar fairy lights
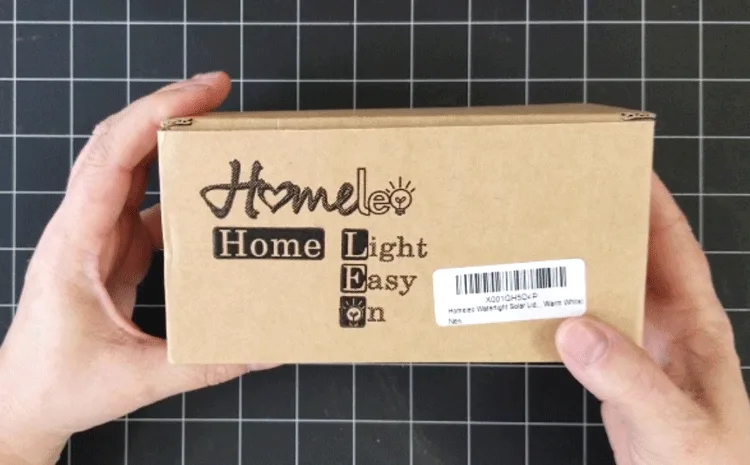
I love these lights. I was going to try to make something that would fit the mason jar but then I thought…why? They already make these solar fairy lights for that and the price was very reasonable. I got these four from Amazon and I think they were around $15. The jars were free to me and I already had the paint so this was really the only expense.
This is how they are packaged.
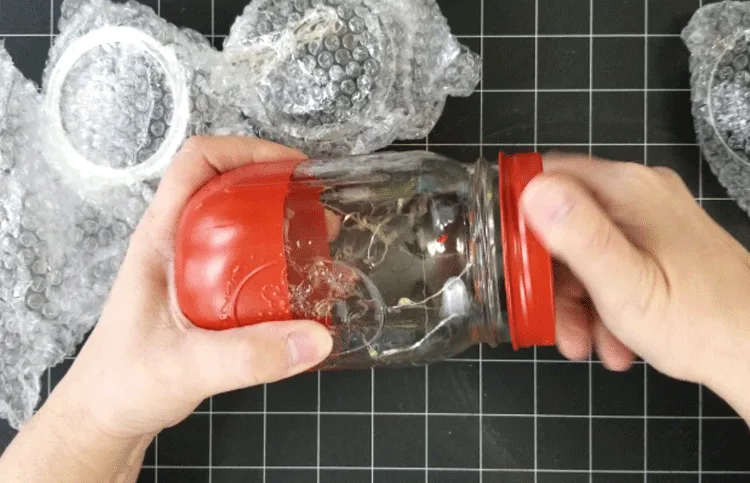
Remove the lights from the bubble wrap.
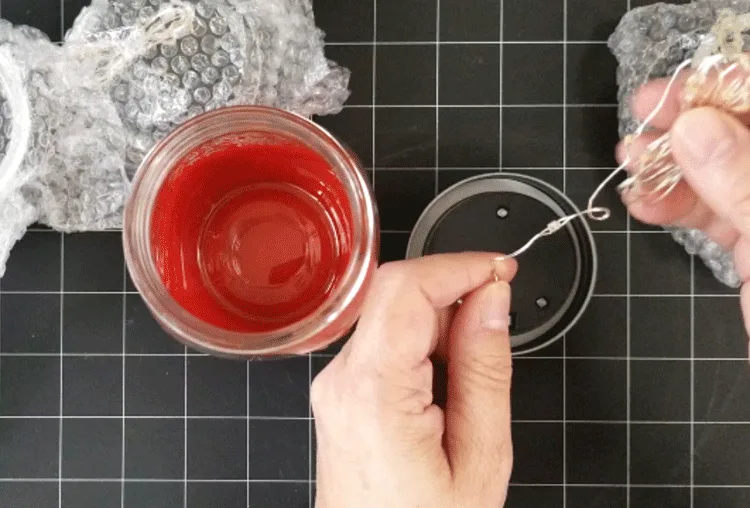
There is an on/off switch under the lid. Be sure to turn it to the on position so they will light up. I did not show that in the photos.
Remove the piece of plastic covering the solar part of the light.
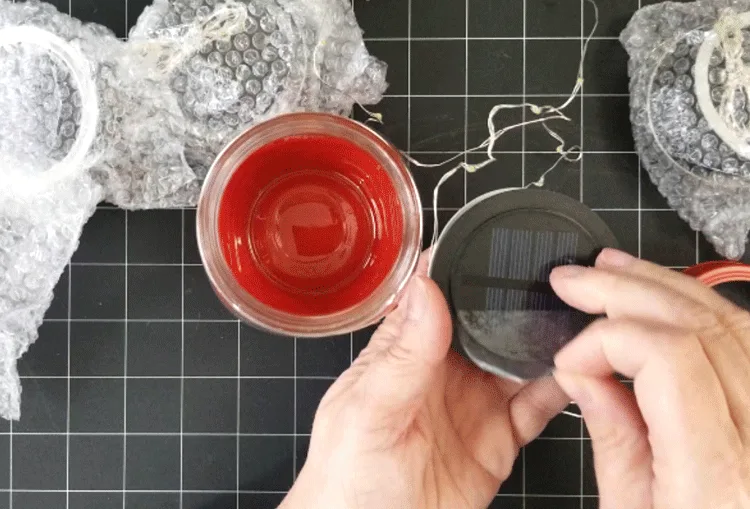
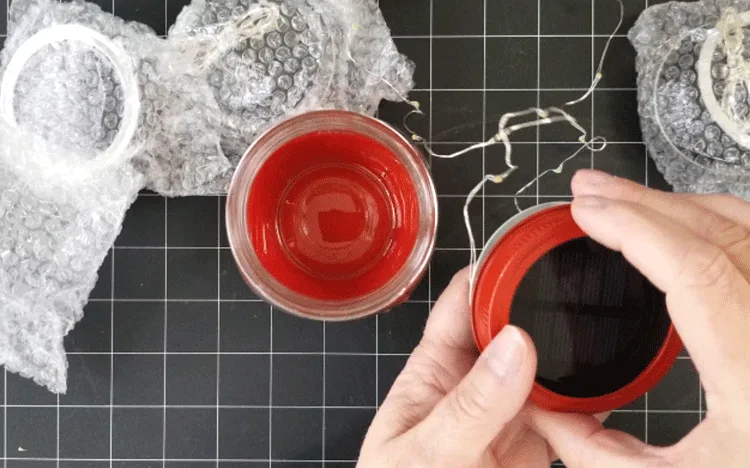
Replace the lid ring that came with the lights with the painted one.
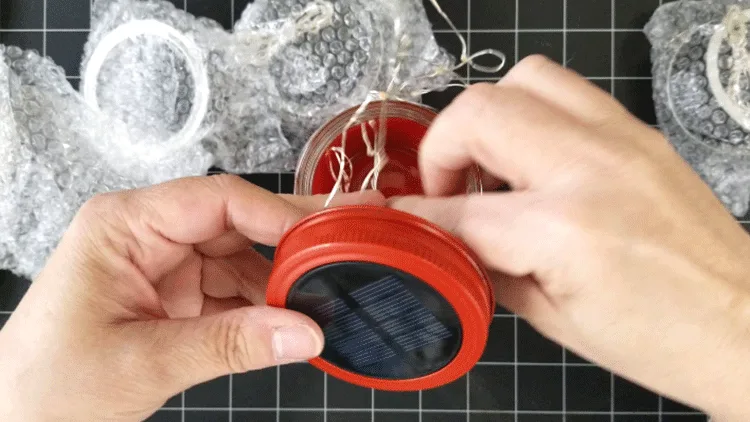
Stuff the twinkle lights into the jar and screw the lid down tightly.
Step 4: Add the hanger to the mason jar light
The hanger comes with the lights. All you have to do is add the wire hanger under the rim of the jar.
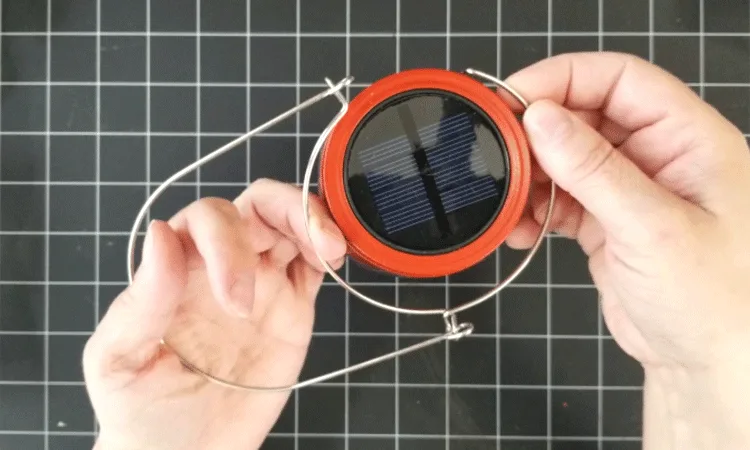
Then latch the wire so it is secure.
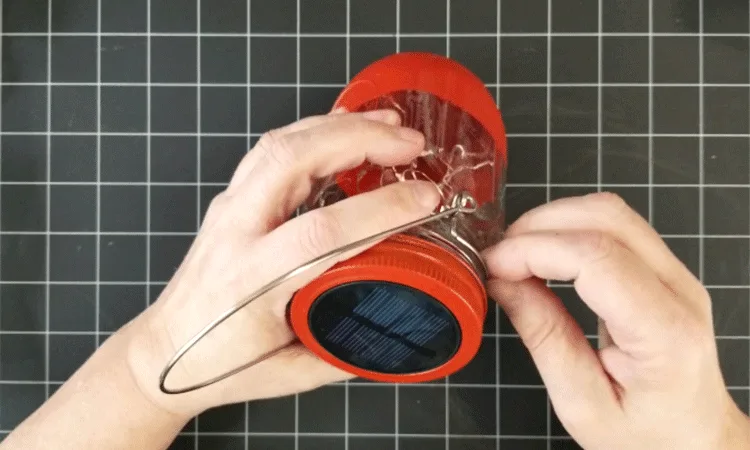
This was the last step so now you are ready to hang these guys outside and enjoy them.
More Garden Ideas
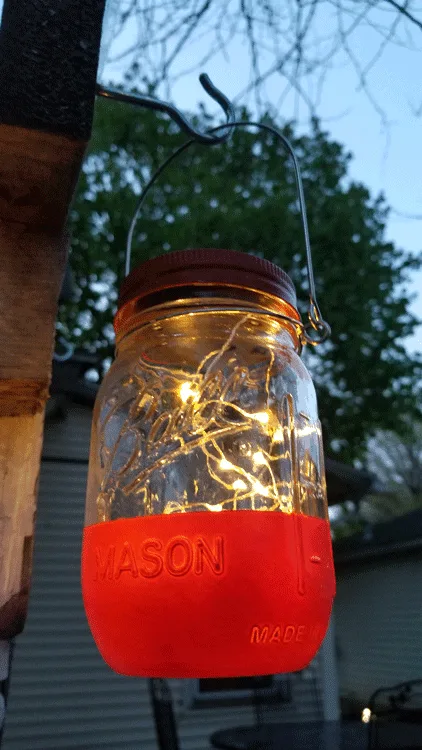
Look how pretty they are.
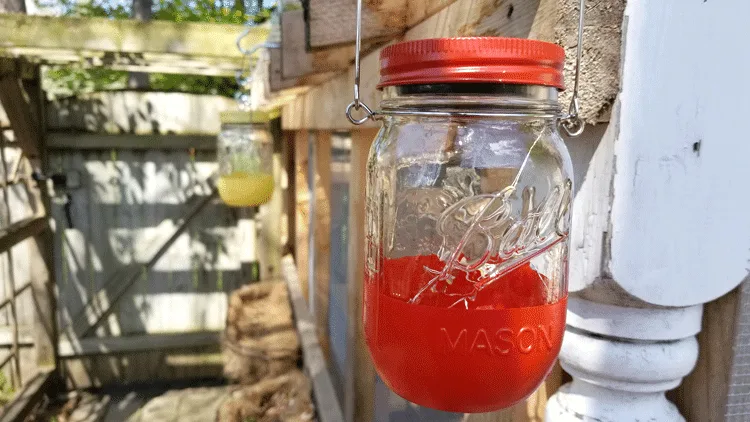
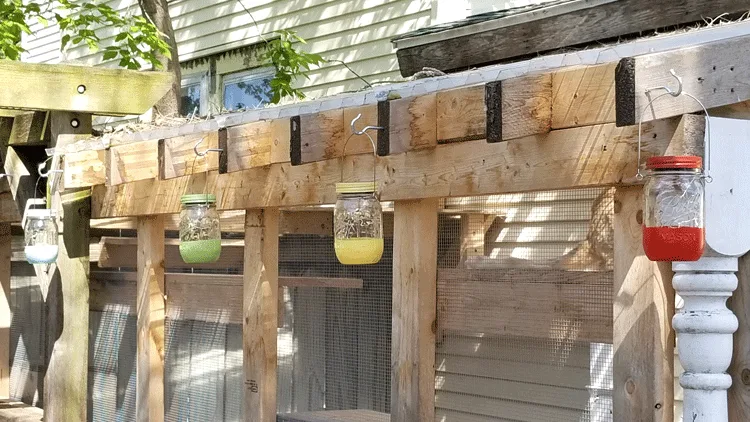
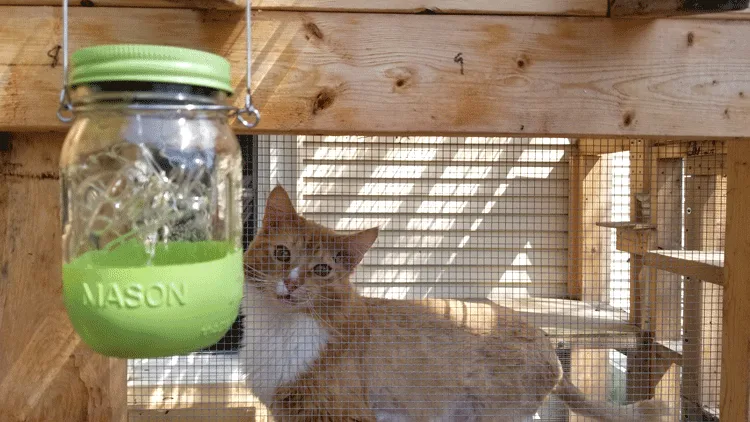
These were during the day. The next photos show them when it is just starting to get dark.
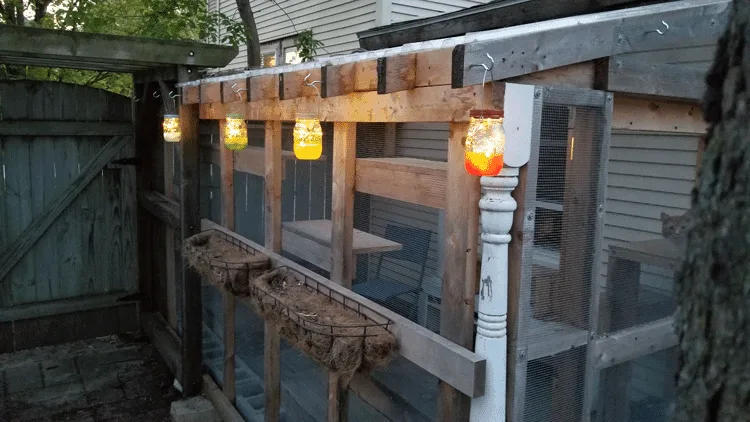
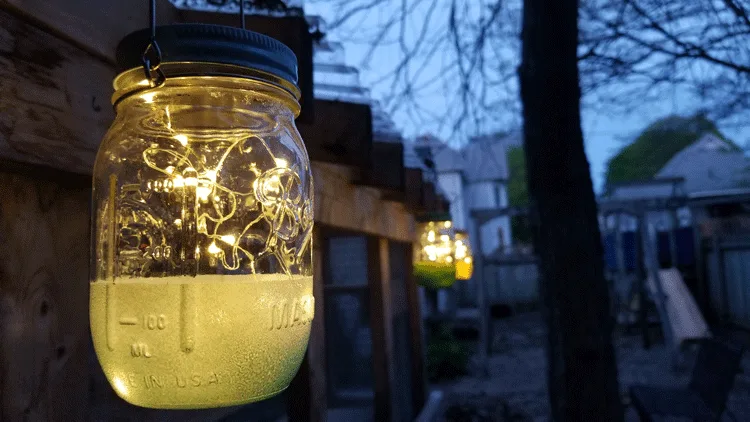
What do you think?
I really like them a lot and as I mentioned before I want to make another set of larger lights to hang along the fence.
Once I get the patio area fully cleaned and weeded and add some annuals these colorful hanging mason jar fairy lights are going to be a nice addition of color and ambiance!

Thanks so much for stopping by!
I hope you will try this easy, fun mason jar project. Be sure to check out the other mason jar projects created by my friends. These guys are awesome!
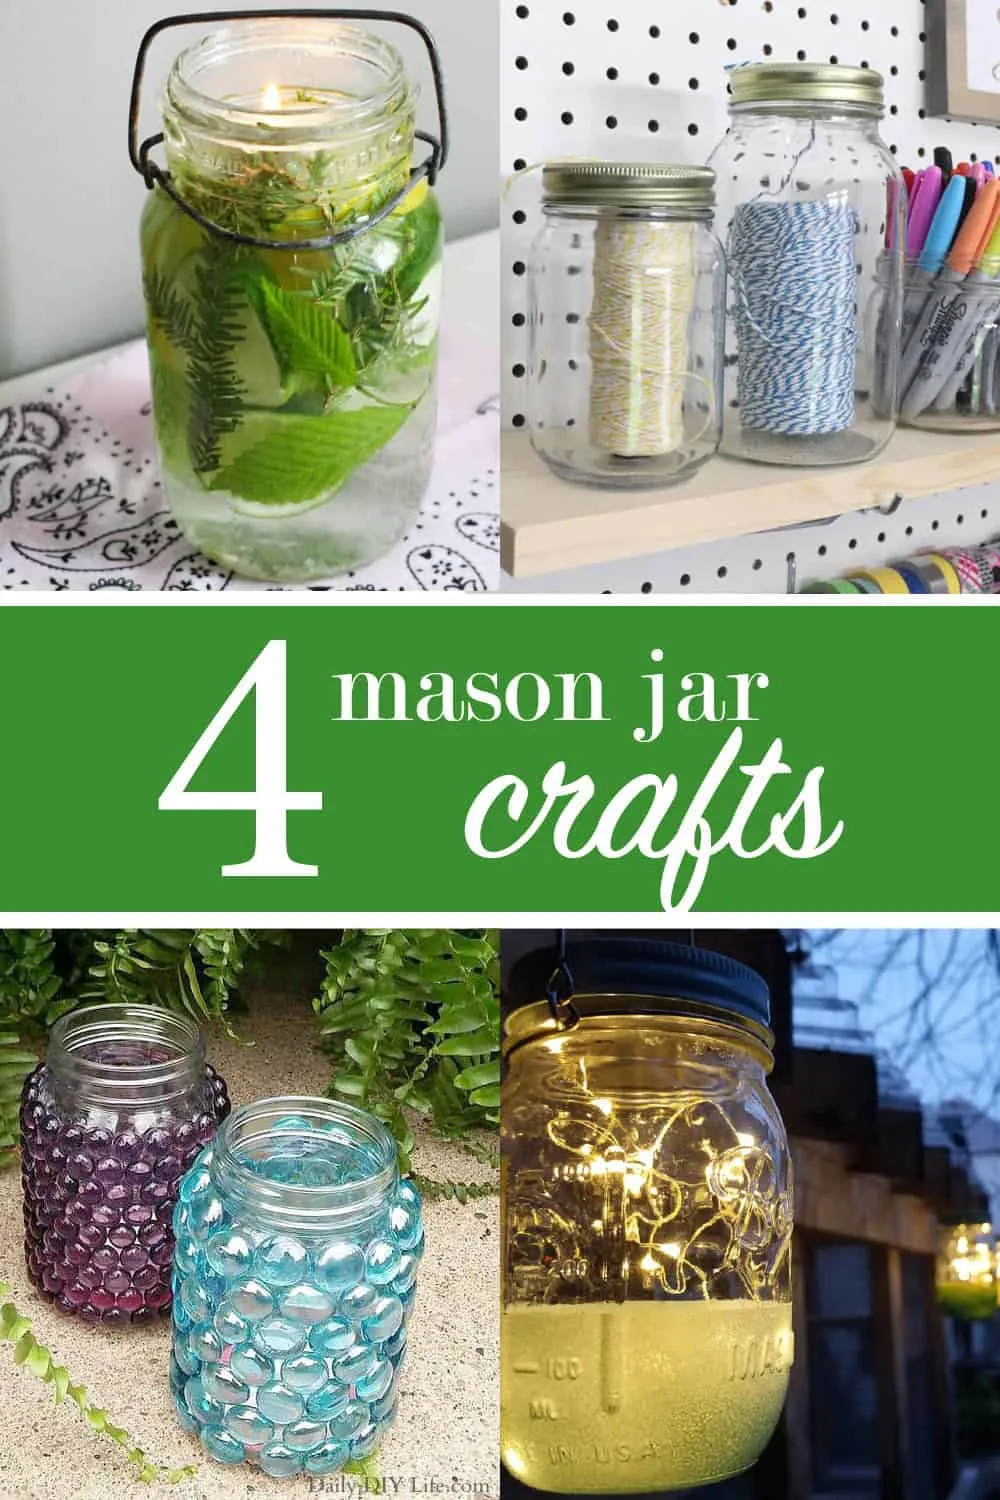
Mosquito Repellent Mason Jar Hack from Our Crafty Mom • Mason Jar Organization for your Craft Room from Creative Ramblings • Whimsical DIY Mason Jar Luminaries from Daily DIY Life • How To Create Hanging Mason Jar Fairy Lights from Michelle James Designs
See you next time!
Michelle



Julie Briones
Tuesday 21st of May 2019
These are just lovely,Michelle... I especially love the jars matching the lids! Too sweet! Pinned!
Michelle
Wednesday 22nd of May 2019
Thank you so much Julie. I can't even tell you how easy these were to make and I just love them. Now if we could just get some warmer weather. LOL
Nancy Lou
Monday 20th of May 2019
Such a pretty addition to the catio, Michelle! I love the painted bottoms, and there is also the option of using tinted jars, if paint isn't your jam. The addition of your flowers will certainly make it a bright, happy place.
Michelle
Monday 20th of May 2019
Hi Nancy. OMG I can't wait til it gets a little warmer. I want to clean and plant so bad. I think we are going to add a potting bench this summer too! I am so excited. I love the idea of the tinted jars. That would be even easier! Thanks for stopping by!
Heather Northington
Sunday 19th of May 2019
These are so much fun! I love that you put them along the outside of the catio! I bet they love it too :) Can't wait to make these, but first to order some of those awesome lights!
Michelle
Sunday 19th of May 2019
These lights are amazing and I love that they are so easy. The mason jars are transformed in no time! Thanks so much Heather. I hope you make some.