Create hand made, unique gifts using glasses and mugs with Glass Paint Markers. They are easy to use and when baked are dishwasher safe!
I love these kinds of projects and they are so fun to give as gifts. Today I am going to show you some awesome glass paint markers from DecoArt and how to use them to create a fun, unique gift.
These are perfect for any occasion or event including Christmas, birthday and everything in between!
The wine glasses for these came from the Dollar Store.
If you LOVE Dollar Tree crafts and gifts then you are definitely in the right place.
Glass projects are easy to make and fun to give. Here are some more painted glass crafts for your inspiration!
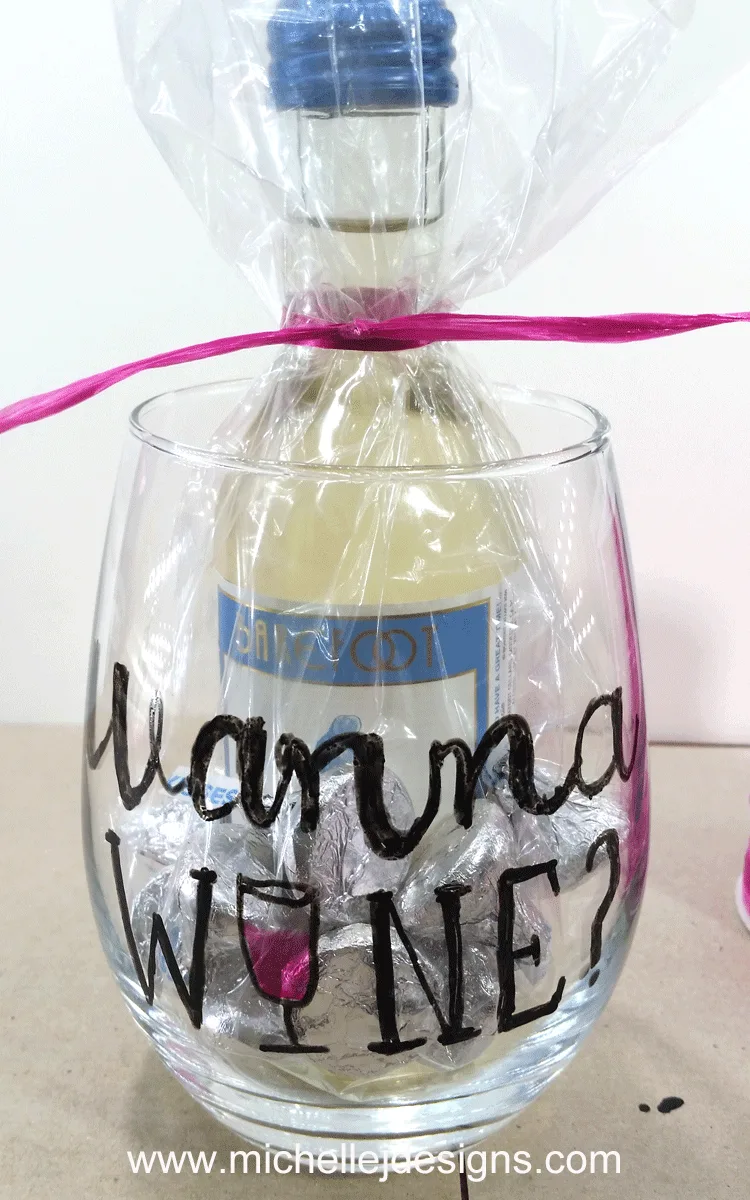
Making Your Own Mugs & Glasses With Glass Paint Markers
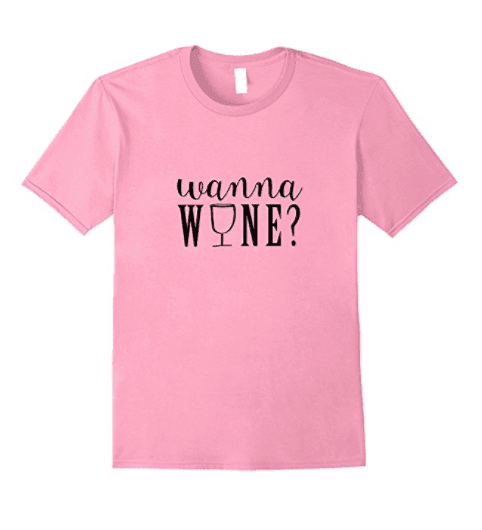
These really are the perfect small gifts to give to the people in your lives such as teachers, hair stylists, friends, etc. And they match my T-shirt design too. Cute right? Be sure to check out all of my t-shirt designs.
Back to the wine glass! If you have not used these glass paint markers from DecoArt yet they are amazing. The folks at DecoArt sent me these markers in exchange for my post. But all of my opinions are my own.
So, these markers can be used on glass, tile, glazed ceramics, and metal. Once they are baked they are dishwasher safe. The only thing is they are not food safe so you don’t want to put your design too high on the cup. Make sure it is below the “lip line”.
They are available in 12 colors plus there is a silver and a gold.
I have included some affiliate links for your convenience. You can read my full disclosure here.
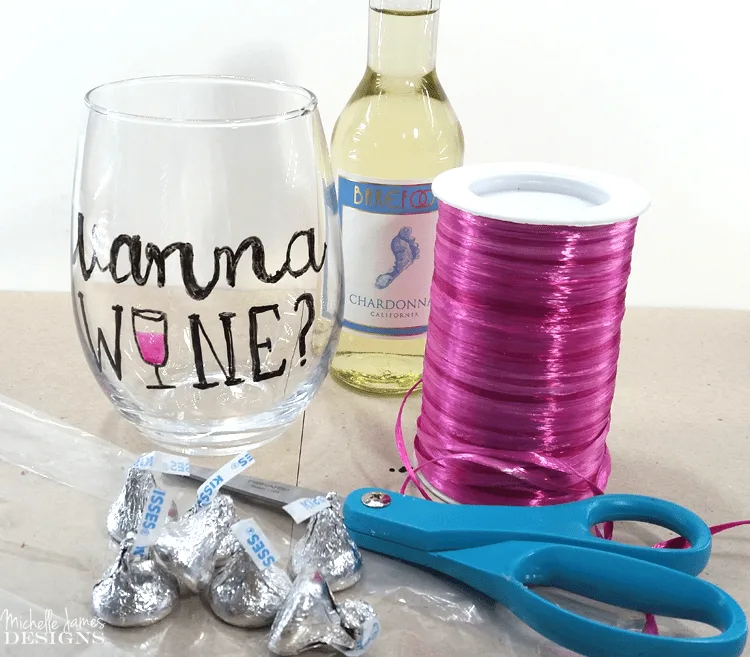
Materials List for Projects With Glass Paint Markers
Wine Glass, Mug – I got mine at the Dollar Tree
DecoArt Glass Paint Markers– For these projects I used black and pink
Contents to add for a gift
- I used a small wine bottle, chocolate kisses
Ribbon – I love raffia for these type of gifts
Scissors
Hole Punch
Marker or Stamp for tag
Cookie Sheet
Oven
Getting Started
The first thing is to prep your glass, mug, vase or whatever you are working on. I washed my glass then wiped it down with alcohol or glass cleaner.
I like to have an idea of what I am going to put on the glass but you can make it up as you go if you want.
For me it helps to create my design or write out the words using word, or google docs or photoshop elements or to just look a picture you like. This give me an idea of spacing, etc.
Get the marker started by pushing the tip down onto a cardboard or paper towel until you see the ink pull into the tip. Then you are ready to work.
If you don’t get it right, or you just hate the design use rubbing alcohol and a cotton ball or q-tip right away to remove the ink and then start again!
Baking
You need to wait 8 hours after you have finished drawing the design before you bake it.
Don’t pre-heat the oven. Places your glassware onto a baking sheet and place it in the oven. Set it for 375 degrees and let it go for 40 minutes. Then leave them in the oven, turn the oven off and leave them until cool.
Finishing Up
Now you can add the goodies to your gift package!
The top of these stemless glasses are a smaller than the middle so I placed the wine bottle into the bag and placed it into the glass. Then I added the chocolate kisses.
Tie it all up with a pretty piece of raffia and add a tag.
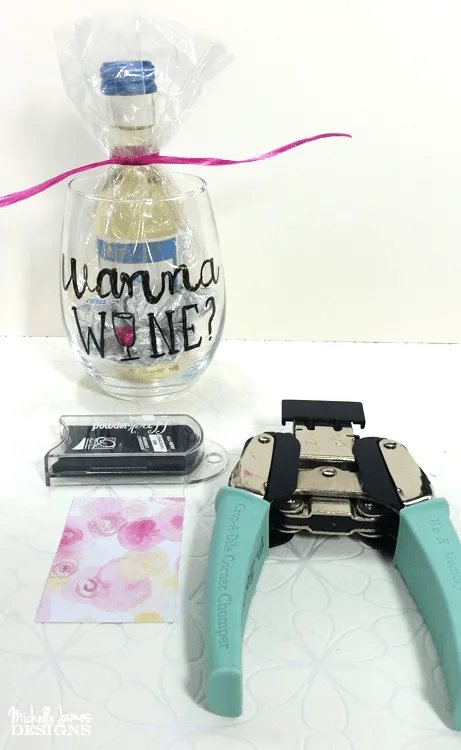
Making A Tag
I found some scrapbook paper that matched my colors and cut a 2 x 3″ piece. Then I rounded the top two corners and punched a hole in the center at the top.
I like to edge my paper with black ink to give it a little pizzaz!
Then I wrote “enjoy” but you could stamp it or print on the paper before you cut it or add a sticker. Whatever you like!
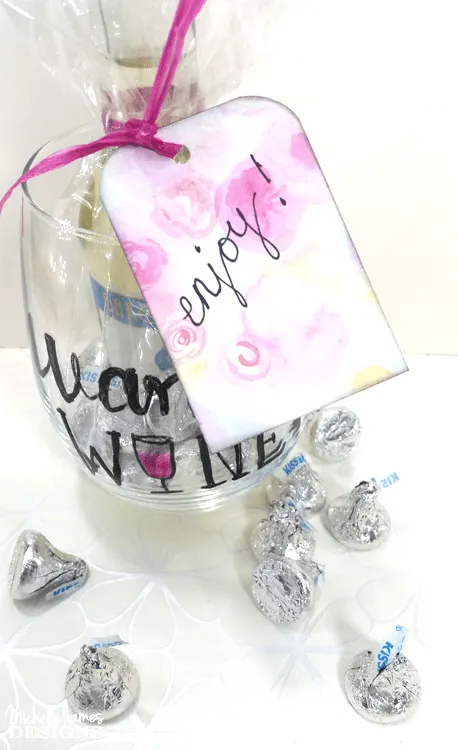
There you have it! What do you think? Pretty fast and easy. Even the baking doesn’t take too long. I love project like that.
If you like it be sure to pin it!
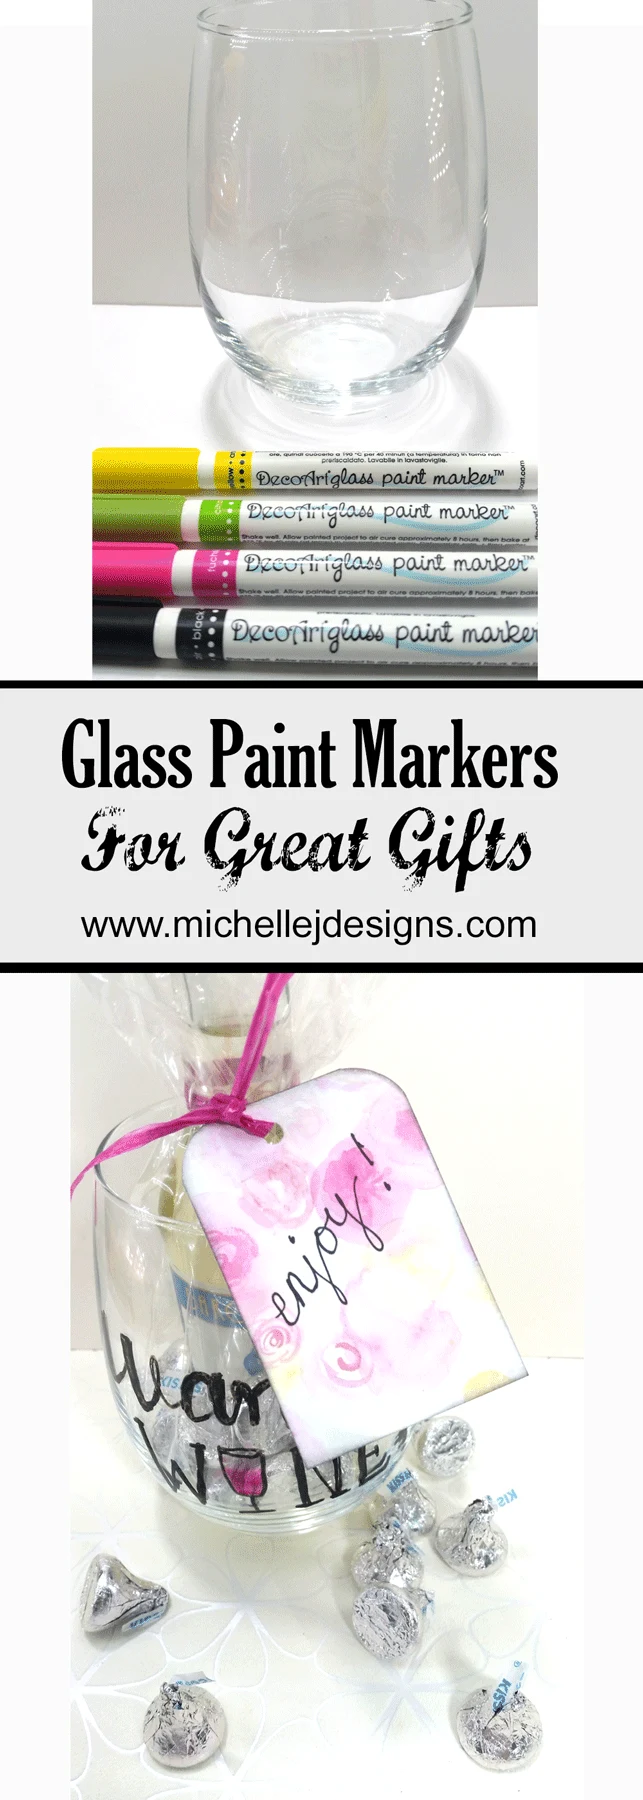
Have a great day and thanks for stopping by!
Michelle


sue
Thursday 20th of July 2017
I can tell you love what you do and i especially got a good idea of how to do it from your nice facebook live tutorial.
Michelle
Friday 21st of July 2017
Thanks Sue! The facebook live was sort of fun. I will continue them as long as I don't have something going on that night. I like Wednesdays for that.
Michelle James
Wednesday 19th of July 2017
sUCH A CUTE GIFT IDEA! LOVE THE LITTLE BOTTLES OF WINE!
Michelle
Thursday 20th of July 2017
I love little bottles of wine too! Thanks. I love making these kinds of things.
Peggy
Wednesday 19th of July 2017
Super-duper cute, Michelle!!
Michelle
Thursday 20th of July 2017
Thanks Peggy! You know me...I love this sort of thing. Glad you like it too!
Nancy Janssen
Wednesday 19th of July 2017
You did this project with me in mind, didn't you?! :D Such an adorable idea! Love it.
Michelle
Thursday 20th of July 2017
Of course I did! Wine...Nancy...Nancy...Wine! LOL! Thanks. I am glad you like it.