I am excited again this month to participate in the June Fab Furniture Flippin’ Contest. Each month we have an opportunity to join in and each month there is a different sponsor and theme. For June our sponsor is Saltwash and with this product I am going to show you how to give your furniture a beachy look. Our theme this time was…..Coastal Inspirations!
This is a sponsored post. Saltwash provide each of us a ‘bucket” of Saltwash to use on our piece. They will also be providing the winner with a prize package. But all opinions are 100% my own. You can see full disclosure here.
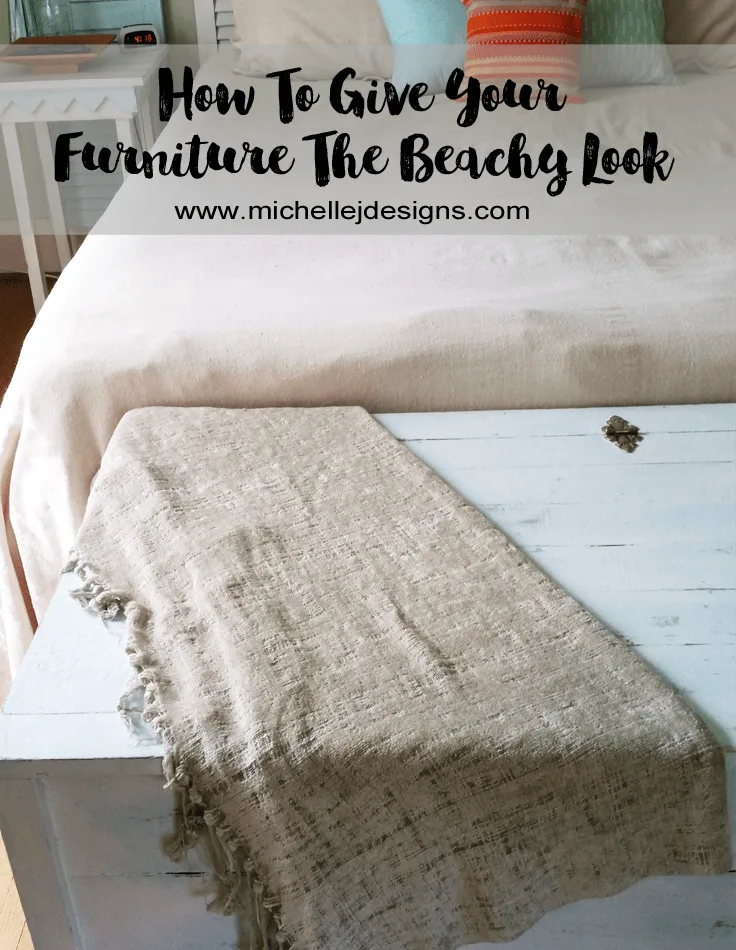
How to Give Your Furniture a Beachy Look
I live in the heart of the midwest so I never considered the coastal or beachy look as fitting into my home. But, to me, at least with my project, I also think the Saltwash can give a chippy, farmhouse look. Maybe MY theme should be “coastal farmhouse”. What do you think?
Anyway, I loved this product. I had never used anything like it before and it was fun to try something new. Have you ever heard of Saltwash?
Well, basically this is a powder that you add to any type of paint that creates a weathered, textured look on your piece of furniture or whatever it is your are painting. And it really does work.
I have been working on our bedroom and Jeff asked me when I was going to re-do the chest at the end of our bed. You know…it had never crossed my mind. Weird right? It definitely needed it.
This piece is so huge that it doesn’t fit out of our bedroom. It was in the house when we bought it 20 years ago. I have been walking past it for so long I just didn’t see it anymore.
After creating the shutter headboard and the sconces for the headboard. I thought the Saltwash would be the perfect addition and fit right into the room.
Here is what this beast of a chest looked like before. Complete with drops of paint and everything. Pretty bad.
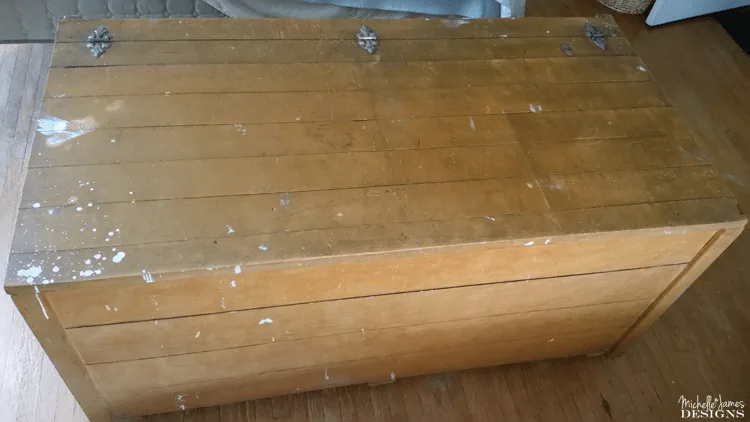
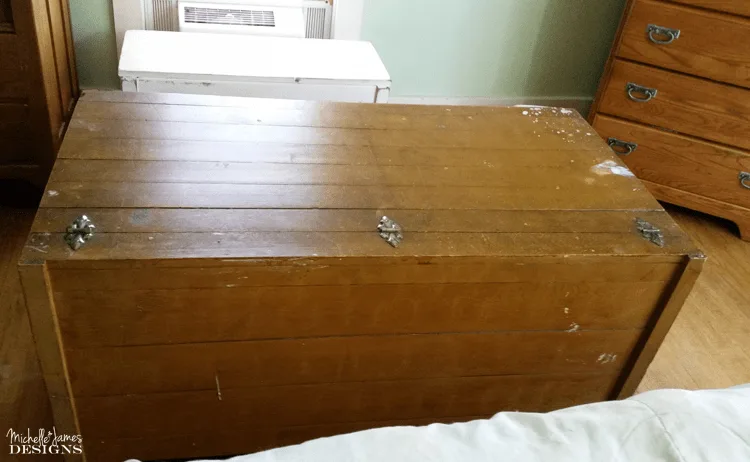
I first started giving the chest a light sanding to “rough” it up a bit. It looks sort of shiny in this photo but it wasn’t really too bad to hold paint.
I wanted this piece to be the same colors as the headboard pieces. I didn’t have enough of the Icicle Blue left to do the entire chest so I had a quart mixed up to match it. Since you can use any paint with the Saltwash I purchased regular latex.
The blue would be my first coat so it would also be the color I mix with the Saltwash.
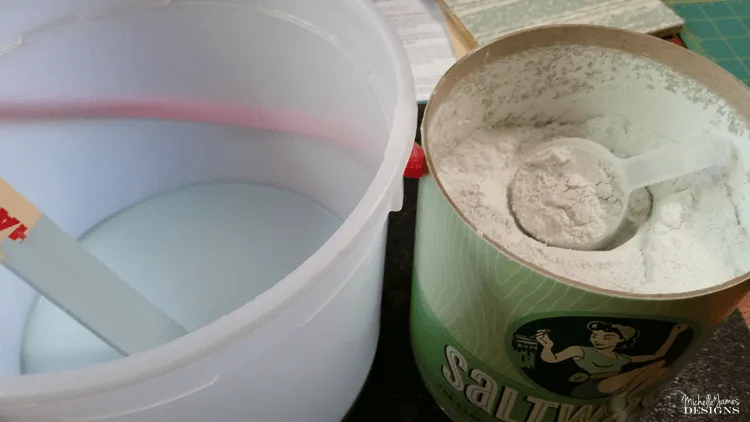
The instructions say to mix 20 ounces of Saltwash with a quart of paint. Well I was using not quite half of my quart so I mixed in 4 – 2 ounce scoops. It is supposed to be the consistency of cake batter.
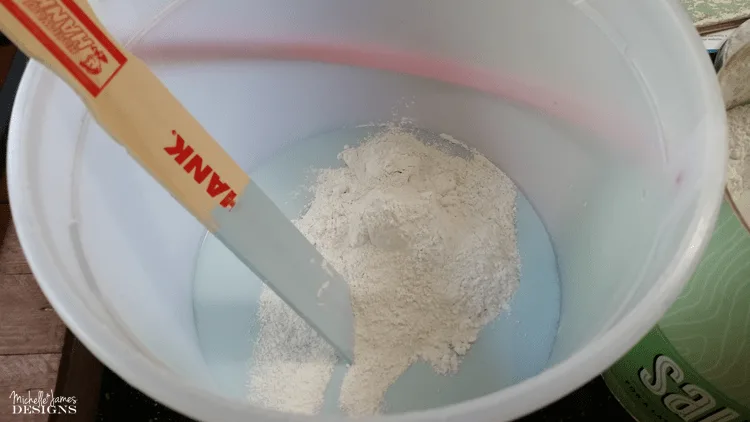
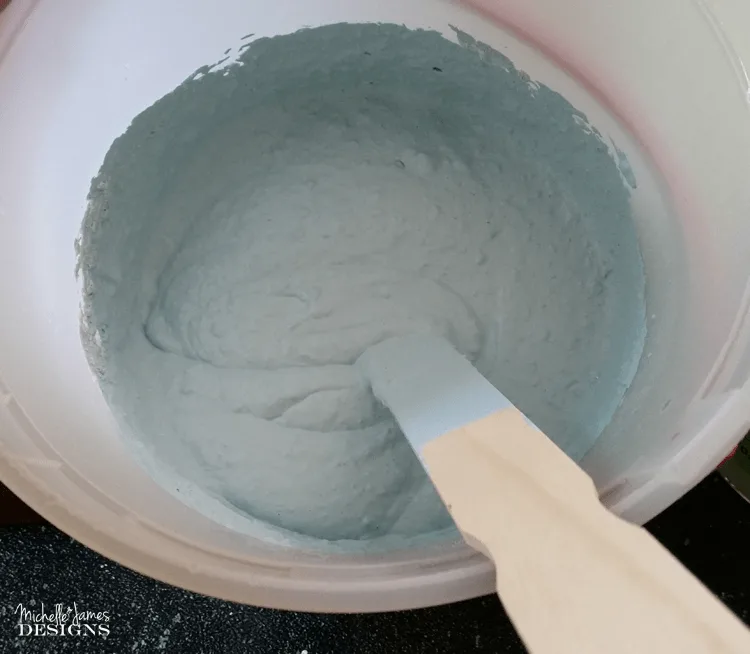
After it is all mixed into the paint. You actually “glob” it onto the piece. It is a strange thing. It leaves a texture from the brush bristles.
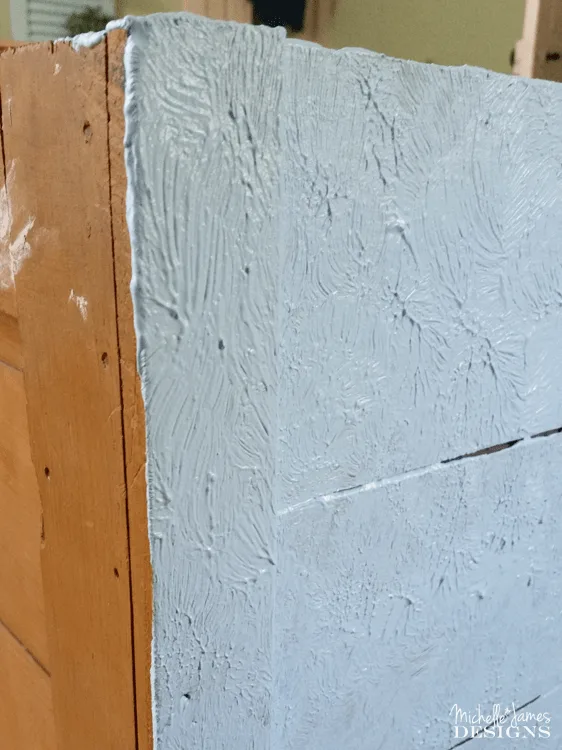
When the paint becomes tacky you brush over it lightly to gently get rid of some of the peaks. Then you let it dry completely. After it has dried, you add your second coat of paint. This time I used the same white latex paint as my headboard. I wanted a light coat so sanding to reveal the blue underneath wouldn’t be quite so hard. (Sanding is not my favorite part)
This is before the sanding!
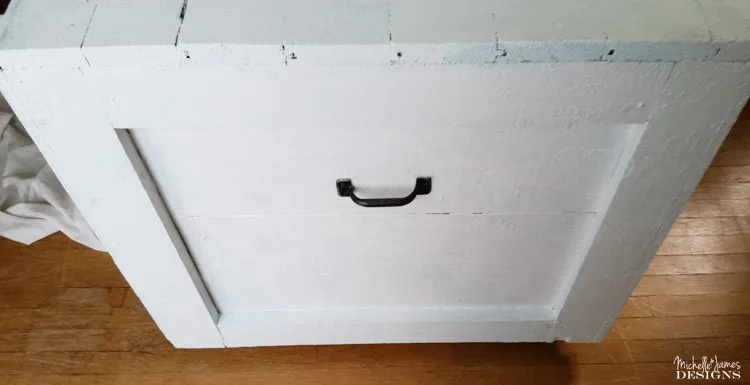
And here it is after the sanding and all done.
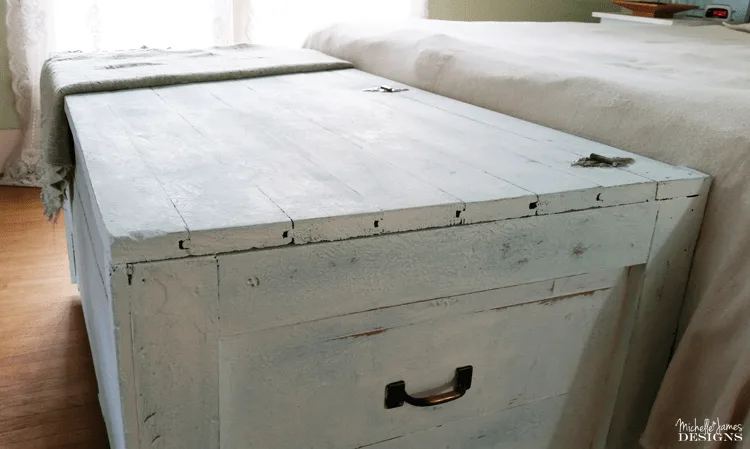
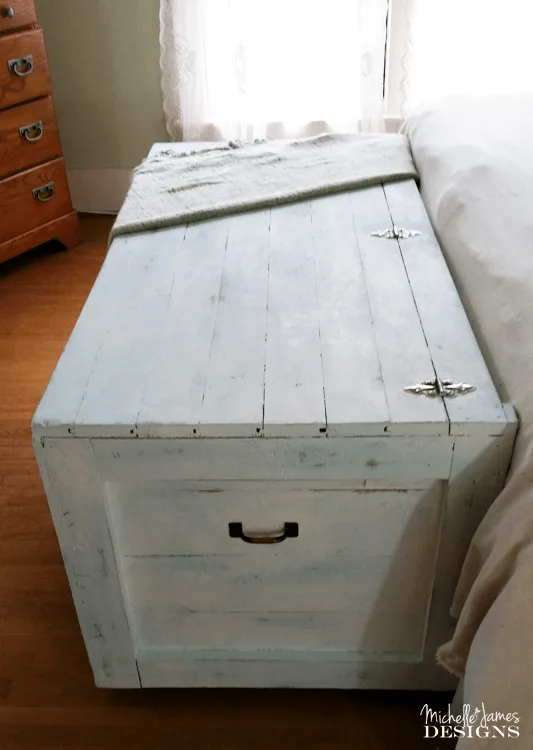
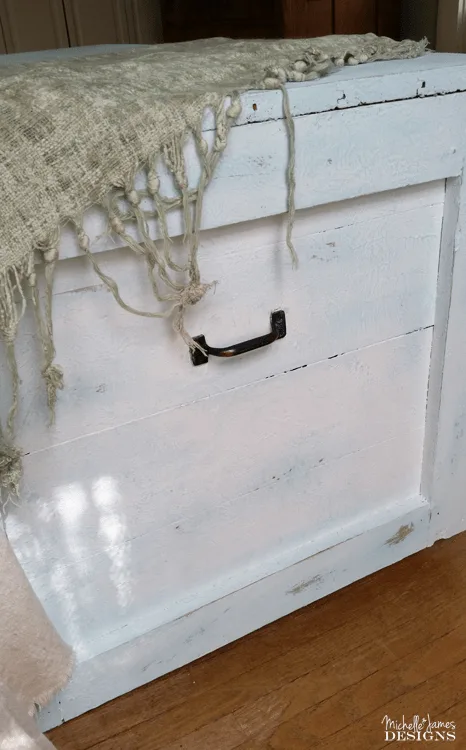
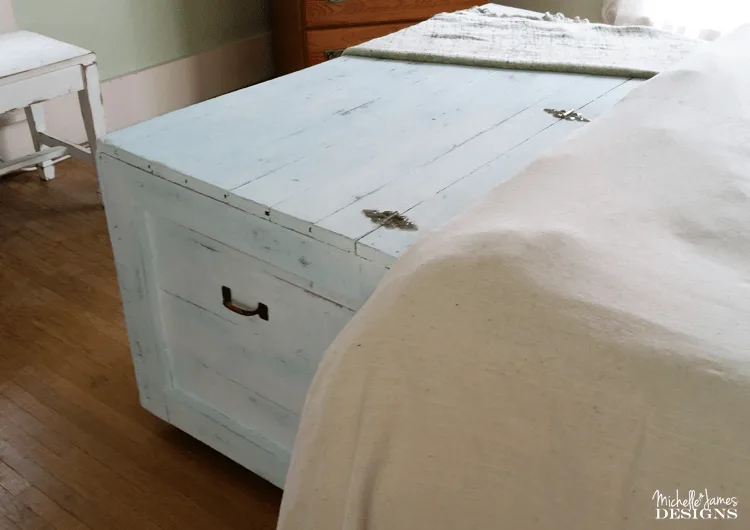
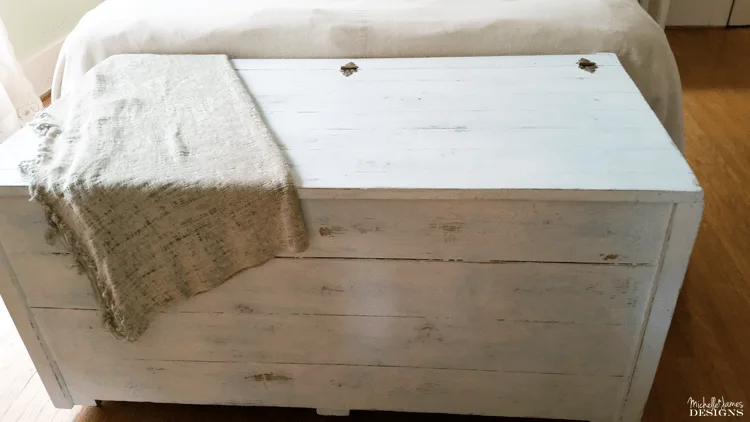
In the next photos you can see how nicely it all blends in with the headboard pieces and the bedside tables. I love it!
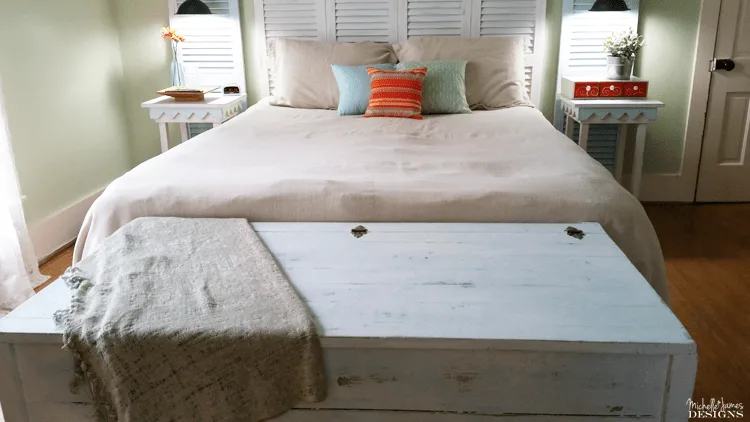
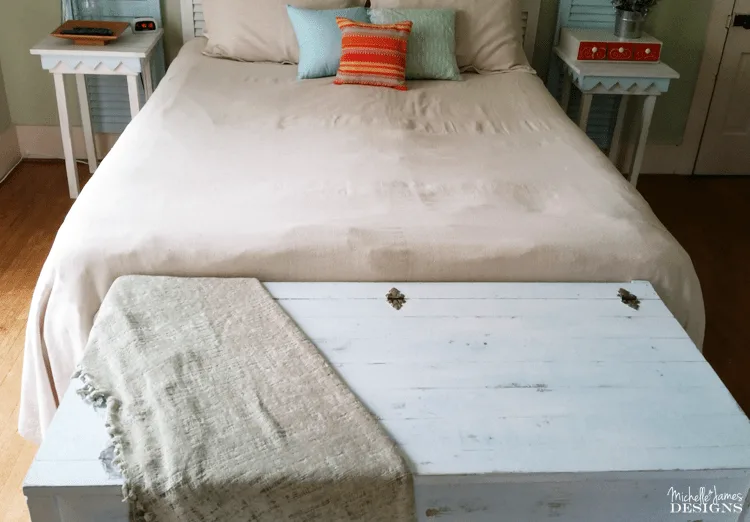
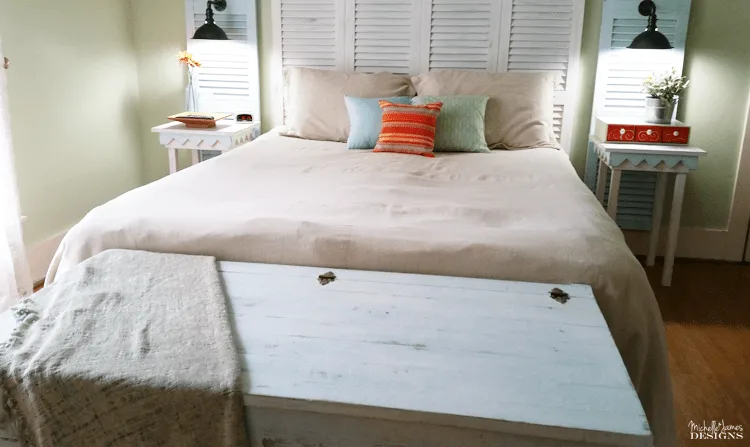
I am really happy with the way the entire room is coming along. I only have a couple of more things to tackle. The drapes, the closet and the ceiling fan. Then I will feel like this room finally has the look I have envisioned.
Once again the Fab Furniture Flippin’ Contest has challenged me and allowed me to work with a new product. I don’t think I would have ever heard of the Saltwash if I hadn’t joined the fun.

To see all of the projects from this month’s contest you can check out either of these two blogs:
And if you would like to join in the contest and would like more information you can email [email protected]
Thanks for stopping by today. If you like furniture makovers, be sure to check out my other projects. They are super fun!
See you later,
Michelle


mike
Monday 9th of January 2017
Loving the saltwash look
Michelle
Tuesday 10th of January 2017
Thank you. This is a fun product!
Gilmer Gal
Tuesday 12th of July 2016
Love how this chest turned out. Just needs bigger hardware handle, but I'm definitely going to try this!
Michelle
Tuesday 12th of July 2016
I agree with the hardware handles 100%! I could not find anything that I really loved. I may go back and fix them later. You should definitely try it. Thanks so much for stopping by!
Susie Bentz
Tuesday 5th of July 2016
Very cool technique/product. quite a fabulous transformation on that chest!
Michelle
Wednesday 6th of July 2016
Thank you Susie! This product is pretty cool. It really gives it a different look that I ended up liking a lot. Thanks so much for stopping by and for voting. You are the best!
Brenda Young
Tuesday 5th of July 2016
Great piece for a beachy cottage makeover! Loving the planked wood on this piece, it pairs so well with the furniture in the room. Nice job MIchelle!
Michelle
Wednesday 6th of July 2016
Thank you Brenda! I had a fun time (except for all of that sanding) and I am super happy with the result. I add that planked wood to a lot of my projects I love it so much. But this one already had it. Bonus!
karen@somewhatquirkydesign
Thursday 30th of June 2016
Man that's one large chest! And it looks great now!
Michelle
Thursday 30th of June 2016
Karen hi! it is huge right? I had to do all of the painting and sanding in the bedroom. LOL! But it did turn out nice. I am so glad you think so too. Thanks so much for stopping by!