Hi everyone! I am so excited about my DIY shutter headboard project! This was just one of those projects that came together so nicely in the end.
First things first though! Some or all of the hosts of The Fab Furniture Flippin” Contest receive monetary and/or product compensation from the sponsoring brand, Country Chic Paint in order to compete their themed projects. Country Chic paint will also provide the prize package for this contest winner.
I was provided two pints of paint for my DIY shutter headboard project. This is a sponsored post but all opinions are my own.
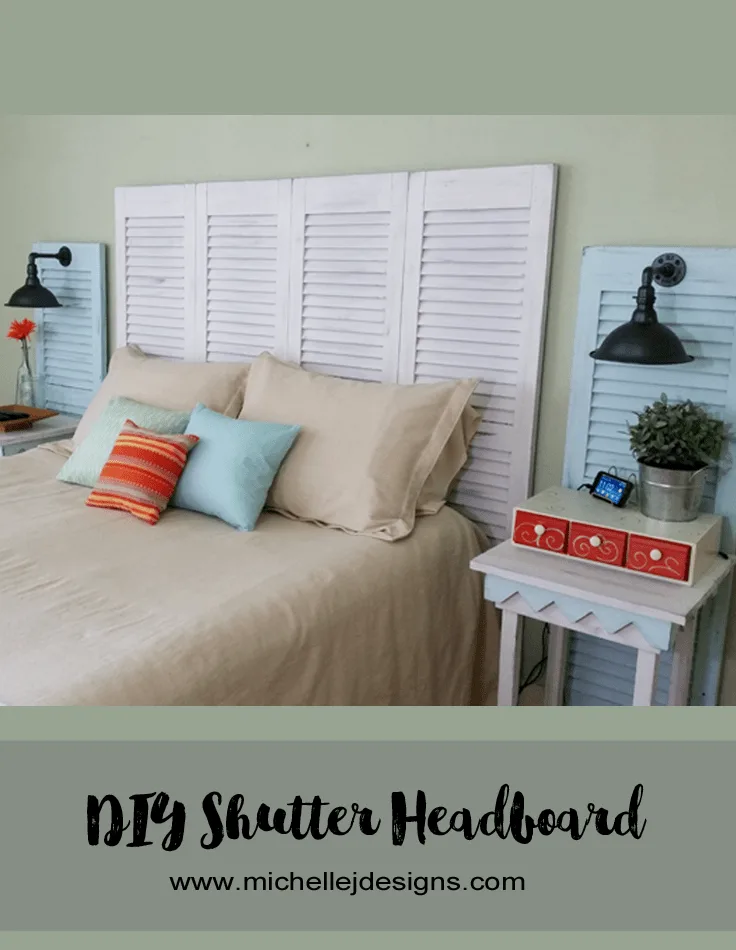
DIY Shutter Headboard
When we sign up for The Fab Furniture Flippin’ Contest and order our paint colors I usually have a vague idea of what I will be making/transforming/re-purposing for the contest. This month was no different. I knew I wanted to re-do some bedside tables for our bedroom so I chose my colors appropriately!
Then after about 2 weeks, Jeff says I should use those tables in the living room.
WHAT???
So….now what was I going to make for the contest? I hadn’t a clue. I knew it had to be for our bedroom because of the colors but I really did not know until 2 weeks ago at a local garage sale.
I was literally drawing out an idea in my head to use either shutters or an old door to create a diy shutter headboard for our room when I stopped at a garage sale and spotted some wooden shutters. There were four large and two smaller/shorter ones. They were perfect I could tell. I purchased all of them for $5!
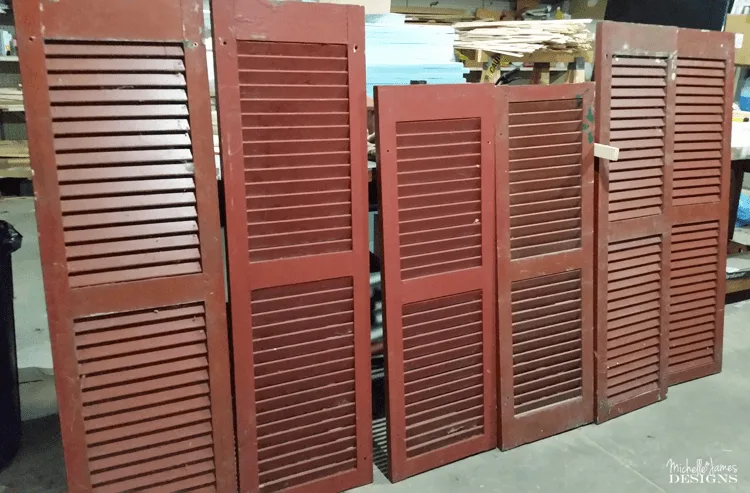
We have never had a headboard and our room has been truly neglected the whole 20 years we have lived in this house. It is really never seen by anyone except us so I have always put the other rooms ahead of this one on the project list.
So, right then I knew what my project would be for the May Fab Furniture Flippin Contest.
You have probably seen my previous entries including the Cityscape Dresser, The Coffee Station, and my most recent entry was my TV Stand! These are a great challenge for me because they are furniture projects. I think there were 50 of us this time and one of the best parts is seeing what everyone else did.
This month our sponsor was Country Chic Paint and the theme was “Bling, Bling”. Gotta love that right?
Another reason that I love this contest is that I get to use paints/products from companies I have never used before. Country Chic Paint was one of these companies.
This is a little blurb from the brochure I received with my product.
Country Chic Paint is a chalk and mineral based paint that is specifically designed for DIYers with a love for refinishing furniture and home decor. This fabulous paint is VOC FREE, virtually odorless, and contains no harmful solvents. You will love how quickly the paint dries and the strong and durable finish on your projects
We were able to choose one color, I chose Icicle, a really pretty light blue, and one metallic for our “bling factor”. I chose Trigger, which is a pewter finish. Beautiful BTW!
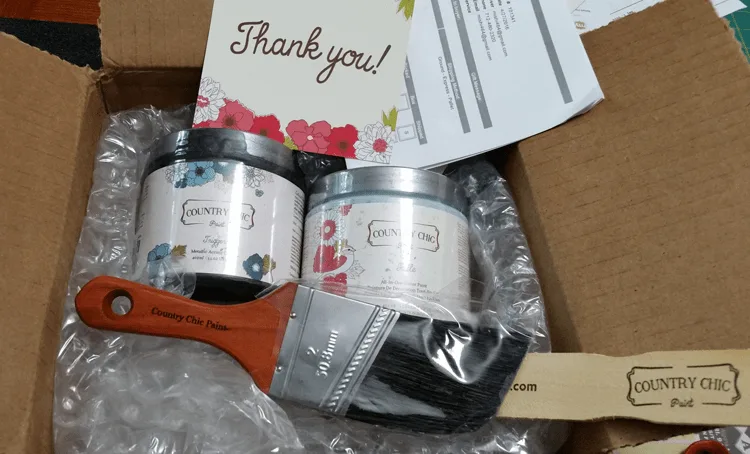
The packaging is really cute too.
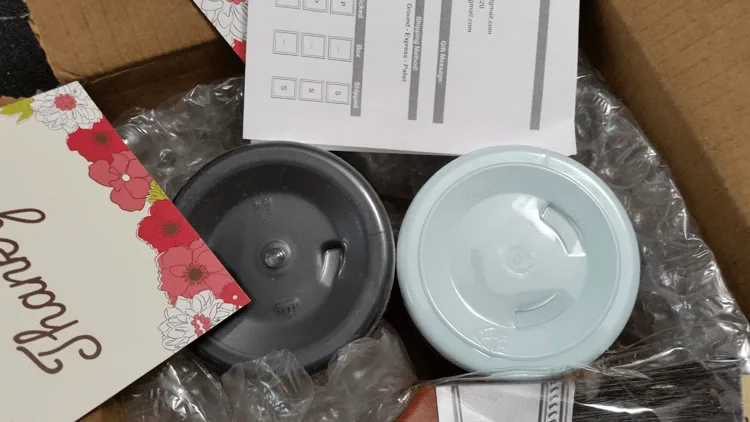
So I used the Icicle on two of my shutters and a portion of my newly repainted bedside tables and I used the Trigger metallic paint to distress the shutters and tables and to paint the sconces I made. This was the best of all!
Please stop by their website and take a look. They also have some great videos on You Tube on using the different paints with the different techniques.
Ok so back to my shutter story.
These shutters were so cool but had been up on the house then I think stored away for a while. There were some spider webs to remove and a lot of scraping and sanding. I used the palm sander after scraping to get a smoother finish. There were some paint drips from previous painting and I sanded when I could but I just thought some of those added to the rustic charm or old things.

Once they were scraped and sanded I got out the spray paint/primer and primed everything white. Then I go out my paint sprayer and used it to paint the larger shutters and the tables with a white latex.
I wanted to see how the Country Chic Paint would do in the sprayer so I thinned down some of the Icicle and painted it on the smaller shutters. It worked so good. Can you imagine painting these with a brush? I was done in a fraction of the time.
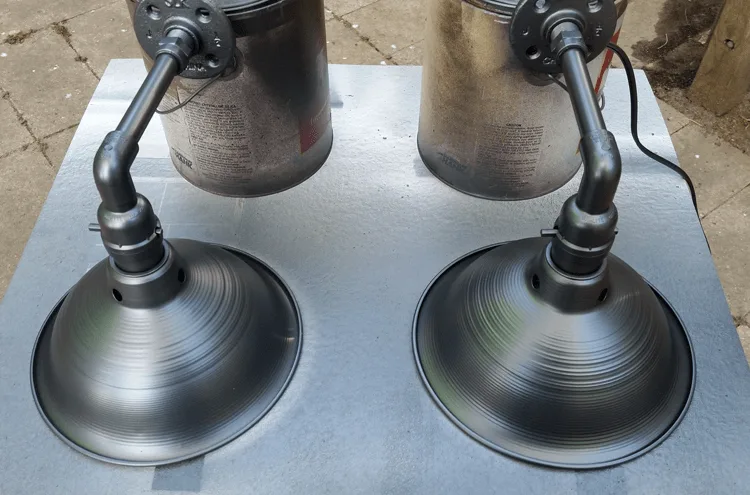
Then I tested the Trigger metallic paint as well. It is a pretty thick paint and a little goes a long way. I thinned it down a lot and used it to spray my sconces! (You can see how I made these here) But aren’t they magnificent with this color? I was so happy with the way they turned out.
After everything had a couple of coats of paint I was ready for distressing.
These are the shutters after distressing with a dry brush technique. They look white in this photo but they have been painted with the Icicle.
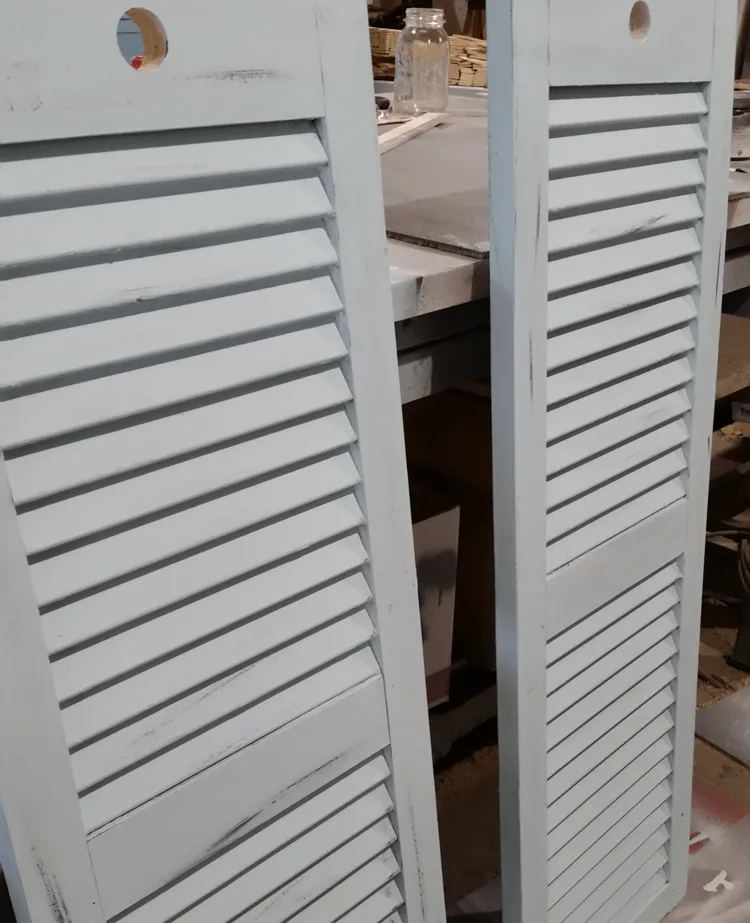
A little did go a long way. Some spots got pretty dark but I started at the bottom of the shutter to “practice” or after just dipping into the paint so that if it was too dark it would be hidden by the bed.
Then came the install. (Jeff’s favorite part)
He added a piece of wood across the back of the shutters along the top and the bottom. The four taller ones were held together and made into a single piece but the shorter ones stayed separate. The top piece was held onto the wall with a bracket (we managed to hit a stud each time) and the bottom piece of wood rested on the top of the floor molding. Then he added a screw into the molding to hold the bottom in place.
In this photo you can see just a small piece of wood at the top. We couldn’t cover the hole because the sconces are not wired into the wall. The cord needed to thread through this hole and run behind the shutter. So we only put the wood piece where it needed to be attached to the bracket.

Before attaching these to the wall we added the sconces. This is the bit he used to make a hole that size in the shutter. It is a 1 1/2 inch size.

I was so excited to have them installed.


And the beautiful. “bling, bling” sconces!
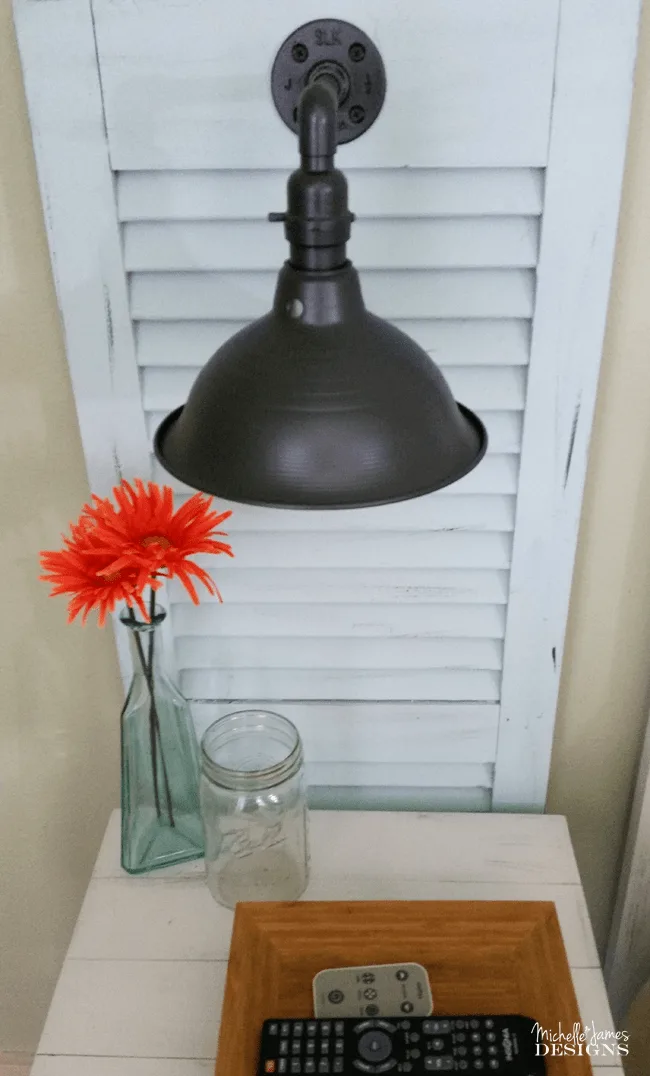
I just love they way they look against the icicle paint with the distressing. So yummy!

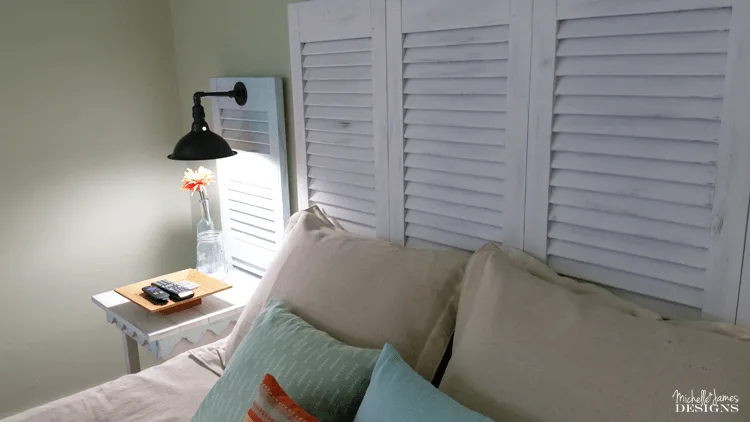
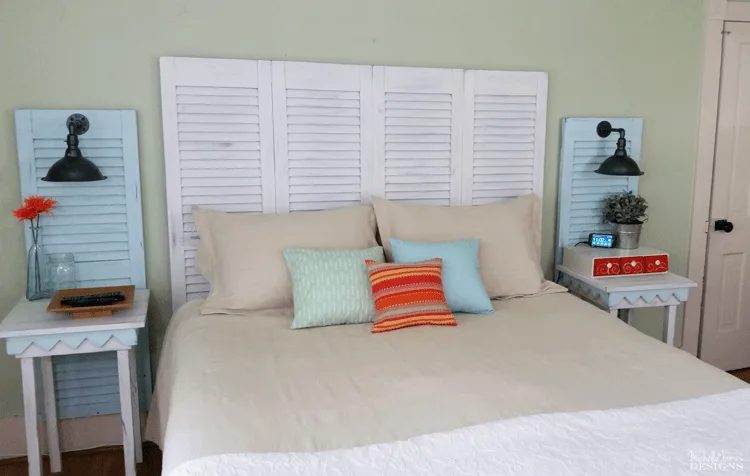
I am so happy with my DIY shutter headboard I could just scream it from the mountain tops. It is a step in the right direction for this room. Now to keep going and make it a little getaway spot to read and relax!
See what I mean by this contest and my challenges? I love it.

Please stop by the hosts blogs and take a look at all of the projects that have been submitted so far and the projects they created. Every month the competition is AMAZING!
You can see them at:
or
www.sweettearefinishing.com
If you are a blogger and are interested in joining The Fab Furniture Flippin’ Contest you may email [email protected] for more information!
Thanks so much for stopping by today!
Michelle

Mary-the boondocks blog
Tuesday 7th of June 2016
Beautifully done Michelle. By using all of the shutters you were able to create a pulled together look that is lovely. I am hosting a new link party and would love to have you join us with your creations. It is called Sweet Inspiration and runs Friday till Tuesday.
Michelle
Wednesday 8th of June 2016
Thank you Mary! I will add your link party so my calendar so I remember to link up on Friday. Thanks so much for the invite!
Brenda Young
Saturday 28th of May 2016
Cool DIY with a wonderful coastal look! The homemade lamps add a perfect touch for the outdoor cottage feel, great job Michelle!
Michelle
Saturday 28th of May 2016
Thanks so much Brenda! I really do love the look of it. We both do but I think my husband was skeptical. He always is when I bring home "junk". LOL! Thanks so much for stopping by!
vanessa
Friday 27th of May 2016
I love it and love how you mounted the lamps. This piece turned out great and love the colors.
Michelle
Friday 27th of May 2016
Thank you Vanessa! The icicle is perfect for the bedding that I can no longer get. LOL! Guess I have to make my own, right? Anyway, I want to keep the colors of that bedding because it is so pretty. So the orange, sage green, light blue and white are staying. I am glad you like it too.
Robin @ Redo It Yourself Inspirations
Wednesday 25th of May 2016
Love shutter headboards and yours is especially nice with the side lights! Fantastic job! The whole is great!
Michelle
Thursday 26th of May 2016
Thank you Robin. I think they turned out fun and I love them. I appreciate the comment and your nice words.
Heather
Tuesday 24th of May 2016
I absolutely adore what you did to these shutters! What a great transformation.great to know the metallic cream worked so well in a sprayer. Those sconces are fantastic! Another fabulous pr
Michelle
Tuesday 24th of May 2016
Thank you Heather. I am really excited about how they turned out and now I can smile when I walk into that room.