Hello friends! I am so excited today to be showing you how to restore your furniture back to fabulous. I have once again entered the Fab Furniture Flippin Contest for April and I will be showing you how we restored this dresser into a TV stand that is once again fabulous!
Some or all of the hosts of The Fab Furniture Flippin’ Contest receive monetary and/or product compensation from the sponsoring brand, Pure & Original, in order to complete their themed projects. Pure & Original will also provide the prize package for the contest winner. I have also included affiliate links for your convenience. If you click on one and make a purchase I will receive a small commission at no extra charge to you. You can see my full disclosure here.
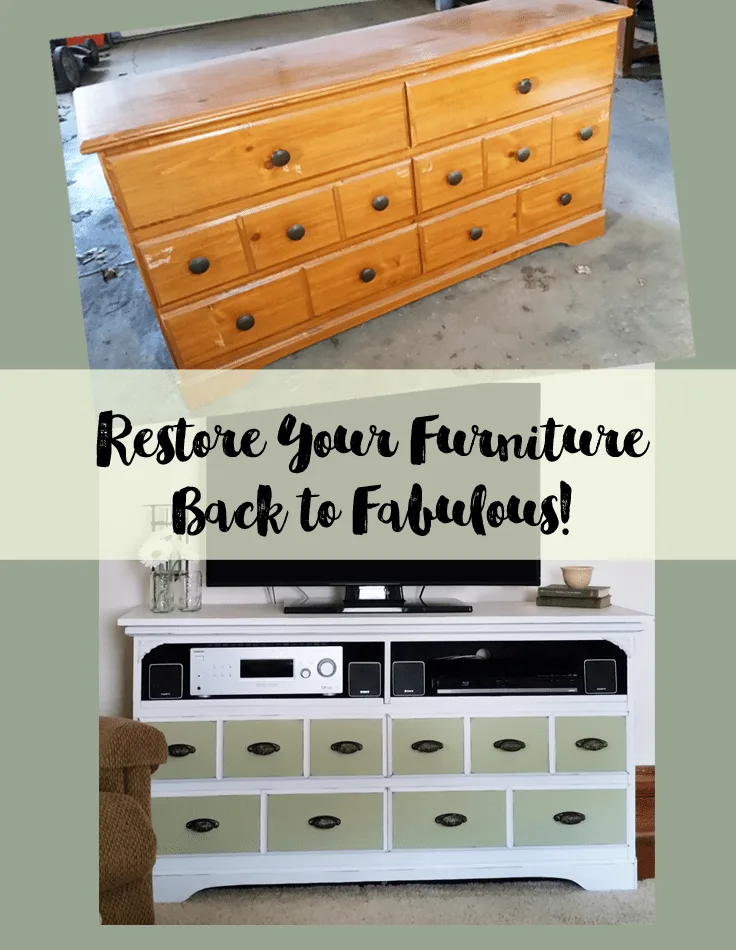
How to Restore Your Furniture Back to Fabulous!
When you purchase furniture it is usually something fabulous that you love. Well, after time…the fabulous wears off and things get scratched, bumped and worn. That is when you either purchase something new or you learn how to restore your furniture back to fabulous!
This month’s Fab Furniture Flippin Contest theme was Pure Colors, Original Elegance and the Sponsor was Pure & Original.
I had never used or even heard of Pure & Original before but…WOW…did I love their paint. They carry paint for walls and furniture and we got to choose two quarts from the Classico line.
Their paints are made in the Netherlands and are environmentally friendly. I love that about them.
This is a line of beautiful chalk paints. There were, I think over 130 colors to choose from so it was not an easy decision. But I decided on Sea Moss and Casa Blanca.
I am trying to lighten things up a bit in my home. Everything is dark, dark, dark.
I started a few months ago by painting the dining room (now our office/crafting space) and the living room a nice creamy white and taking all of the curtains down. It has helped but now I am working on re-working or re-placing furniture with lighter pieces.
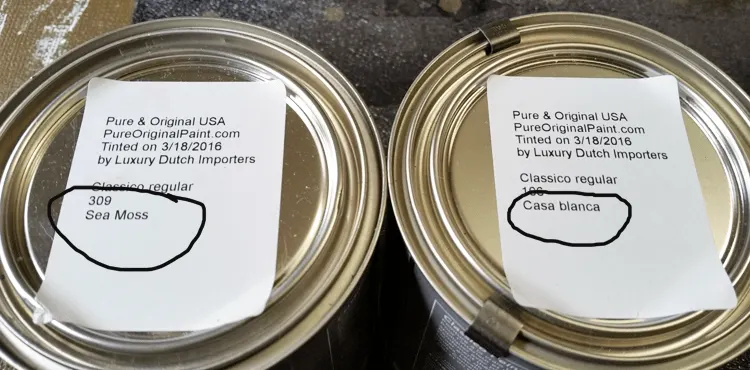
First of all the paint came really fast. I was so excited when it arrived! It was a while before I used it so I was chomping at the bit to get started.
This was the dresser before we started.
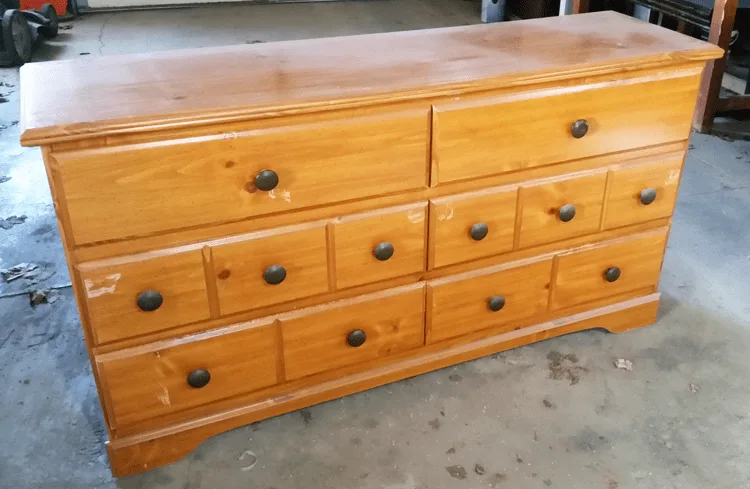
And this was the top.
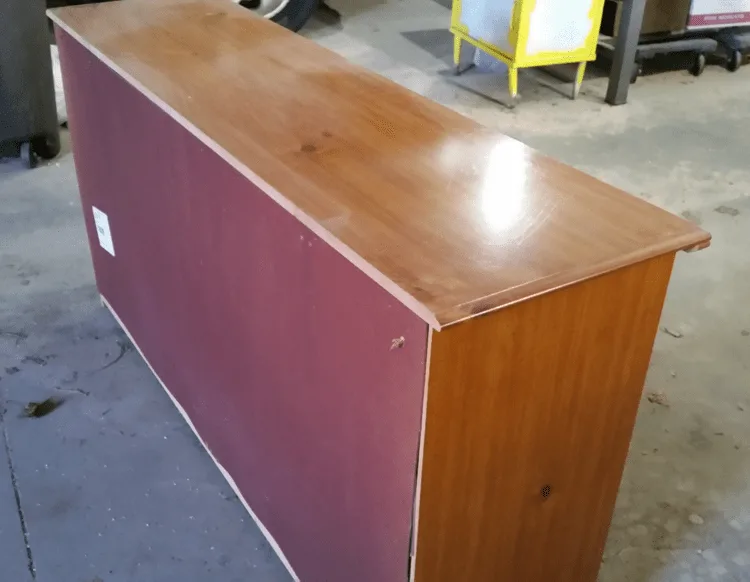
Since it was going to be transformed into a TV stand we took the top drawers out and created shelves. Jeff made them out of four 1×4’s layed out and held together with two boards on the bottom. This also helped to create more structure for the piece itself. We took the back off and he created new backs (just for the shelf areas) using lath. He laid out the pieces cut to fit the space and again attached them to two pieces on the back to hold them altogether.
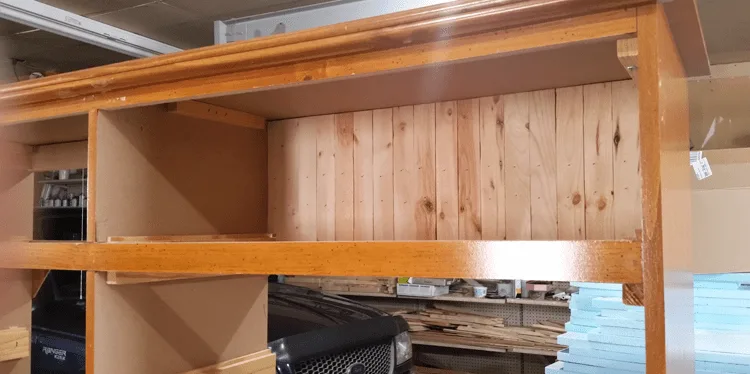
Once the shelves and the new back pieces were made I painted them a flat black. I wanted this area to be dark to hid the wood pieces inside. A flat black is good at hiding these things.
Before adding the black pieces in I sprayed a white primer on the entire piece.
I have learned from experience that the white chalk paints don’t cover well and sometimes take 3 or more coats. Now the Pure and Original brand is not supposed to do that but I don’t even take the chance anymore. It is just so much easier to prime first. Plus then I have more of this paint for later! That is a win, win in my book.
After priming the pieces we brought it inside for the good paint. It was cold in the garage and I was much happier painting inside.
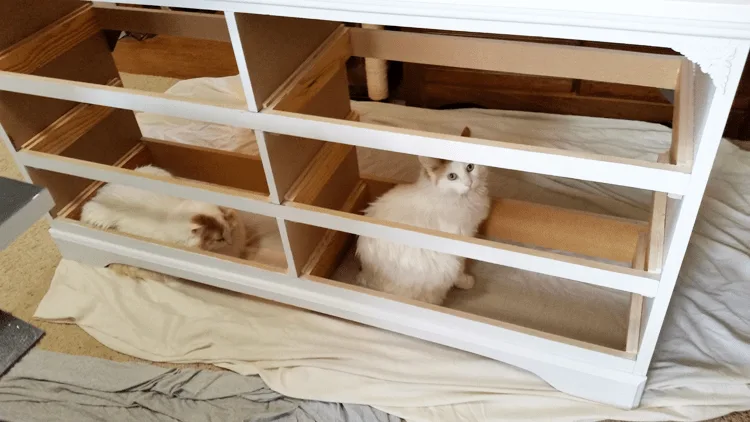
If anyone needs to trap cats this is a good way to do it. Here is the piece with the beautiful Casa Blanca paint.
And with the new top! I LOVE the new top. Jeff used really nice 1×4’s on the top and sanded them really well. It is smooth and beautiful.
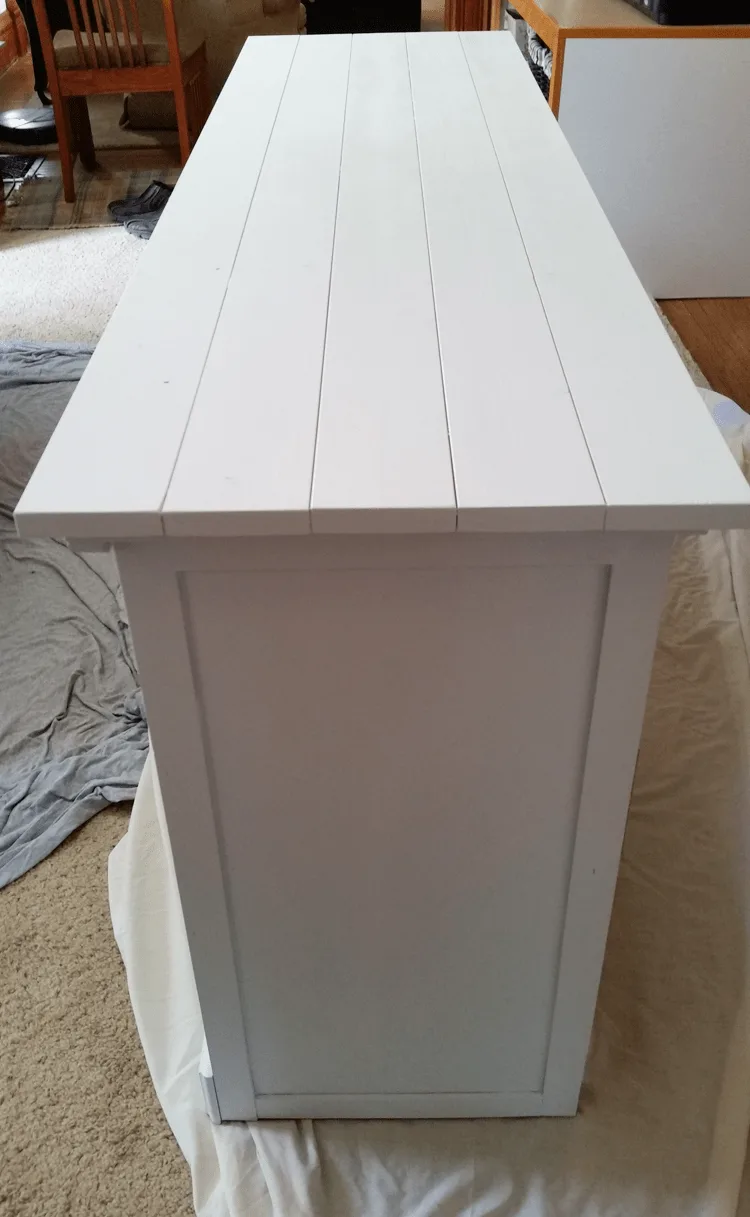
I used two coats of the Case Blanca.
Then I stared the drawers. I wanted them to look like small, individual drawers even though they aren’t. I painted the Sea Moss just onto the front panels. This took 2 – 3 coats for a really nice finish.
Then when this was all dry I used my black Powder Puff ink pad from Quick Quotes (I am a rubber stamper/card maker/scrapbooker) and added some distressing. It is a lot like dry brushing only with ink. It really added a great dimension to the paint and I really like it.
I added a clear creme wax over the top and buffed it a little to a slight sheen. You do not need to add a wax sealer to this paint and I almost didn’t but with the black ink I thought I should. Even though the matte finish was beautiful, I still like a little sheen.
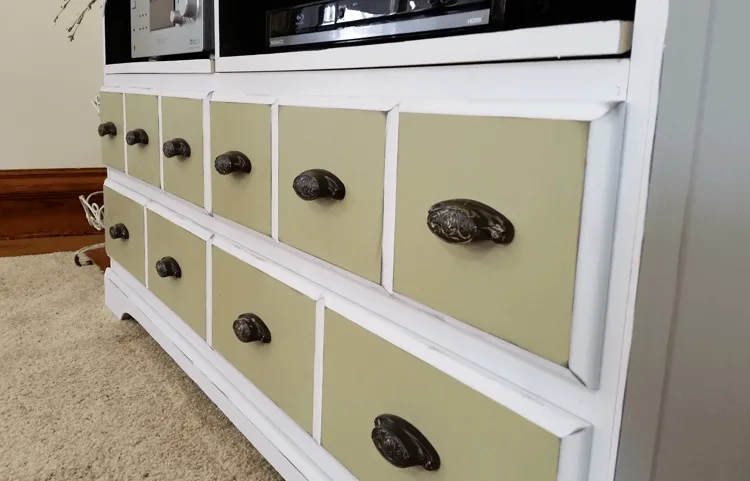
The drawer pulls were purchased at a thrift store. We got an entire bag of these (about 30 of them) for just over $4. Such a score. This is how they looked originally.
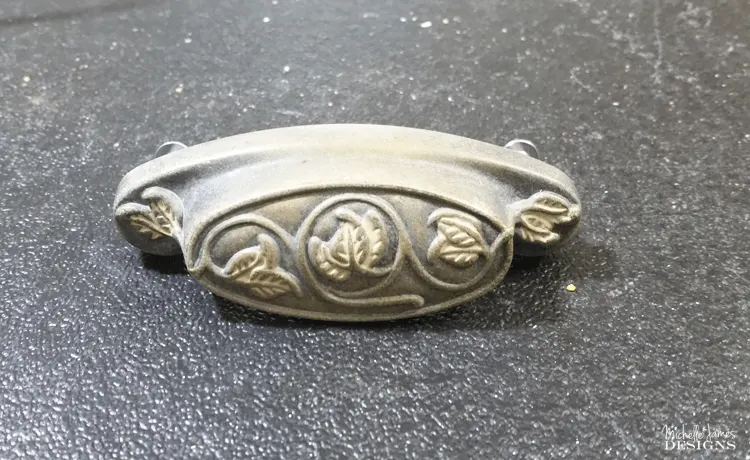
I learned a trick from Christy at Confessions of a Serial DIYer to add some vaseline then spray the piece. When the paint is dry you can wipe off the paint where the vaseline is to reveal a fun, distressed look.
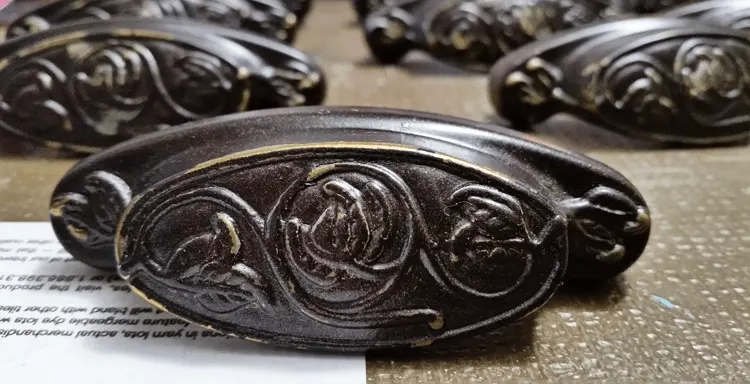
I used metallic Oil Rubbed Bronze spray paint then revealed the finish below. What do you think?
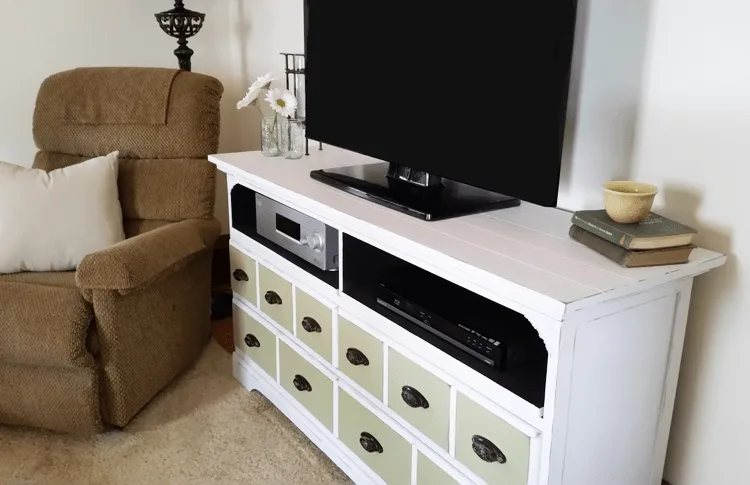
This is how it all turned out.
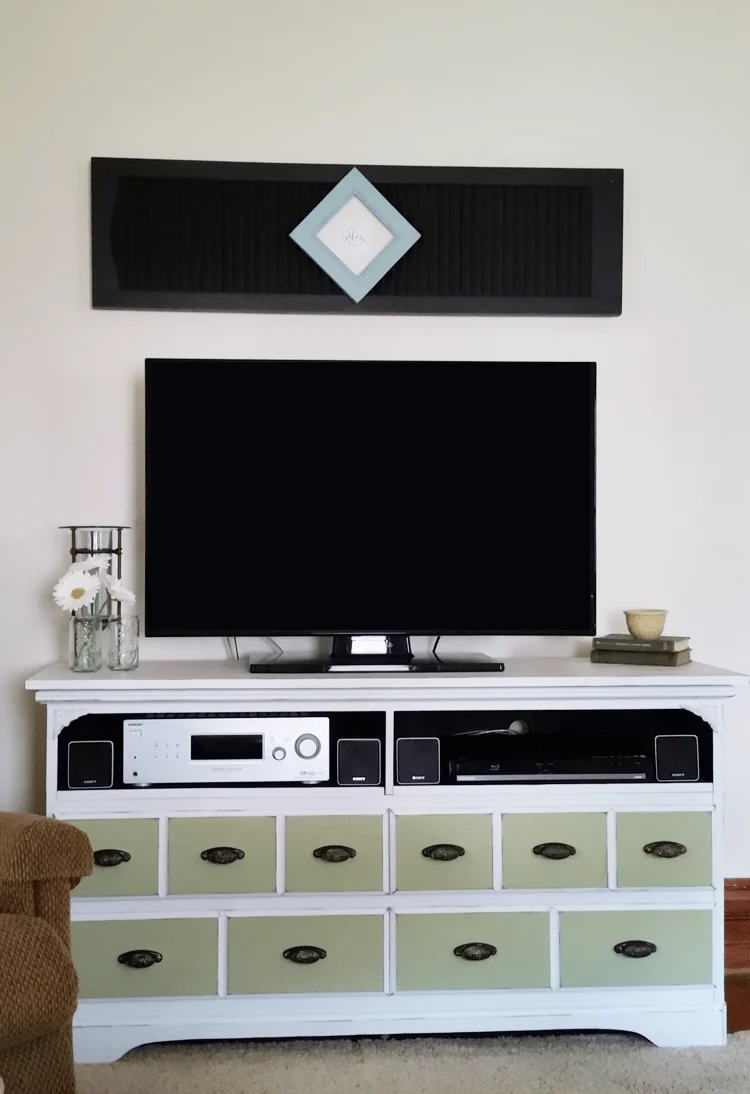
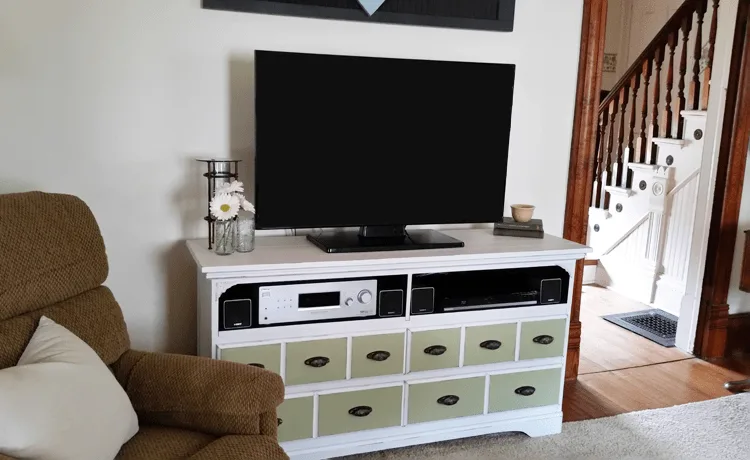
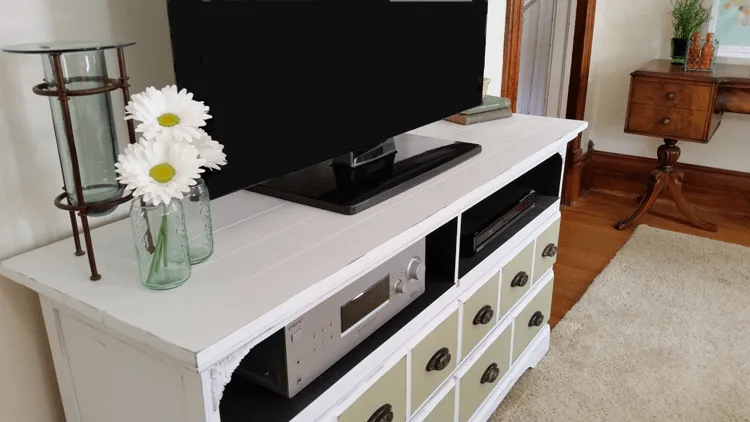
I am in love with this piece! It makes the entire room look different.
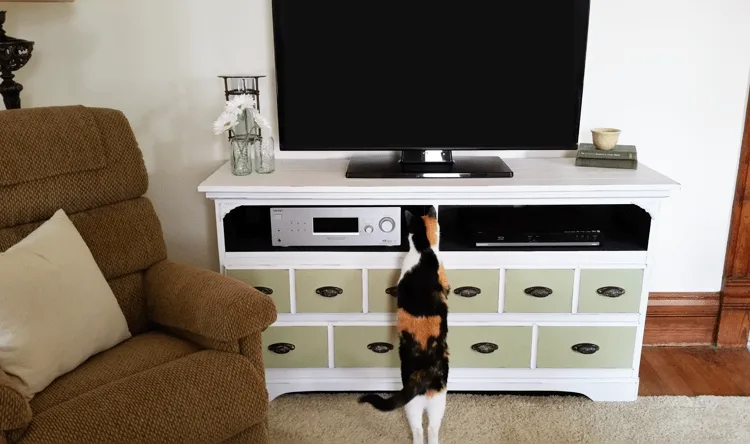
Lizzie is trying to see what is going on.
If you would like to see the rest of the entries for this contest you can visit:
Carrie at thirtyeighthstreet.com and
Stacy at anastasiavintage.com
You may want to wander from page to page on their sites. Both are lovely!

If you are interested in joining future Fab Furniture Flippin Contests you should email [email protected] for more information! I always have fun time and am challenged each month with a great furniture flip!
Thanks so much for stopping by! I hope this post will inspire you to restore your furniture back to fabulous. If you like this post please share with all of your friends and if you like enough to pin…here you go!

You may also like to visit my DIY project gallery for more furniture restore projects!
Some of my blogger friends are in this contest as well. You can see their beautiful furniture pieces in the links below:
Carolann @ Sassy Townhouse Living took a beat up vanity from Tragic to Magic!
Heather @ Daily DIY Life transformed an outdated table into an office desk!
Anj @ Making My Apartment a Home really outdid herself with a china hutch re-vamp.
Sue @ Housekaboodle repainted an old telephone table that has been in her family for a long time.
I am very excited that I was featured at The Talk Of the Town Link Party!

Have a great day,
Michelle
I am sharing this post at:

Susie from The Chelsea Project
Thursday 21st of July 2016
Your makeover is just lovely. I love the colors so much! Thanks so much for linking to Friday's Furniture Fix. Please look for your piece among this week's features and out on my social media over the next few days. Susie from The Chelesa Project
Michelle
Thursday 21st of July 2016
Thank you! I am excited that you will share this for me! I appreciate it. Thanks for stopping by.
Meghan @ The Twin Cedars
Sunday 1st of May 2016
I would've never thought to add the wood pieces to the top. I love how it changed the look and the distressing is perfect!
Michelle
Sunday 1st of May 2016
Thank you Meghan. Ever since we added wood to the top of the the Guest Room Bedside tables I want to add it to the top of everything. LOL! Thanks so much for stopping by!
Cynthia Chilson Finger
Monday 25th of April 2016
What??! A whole bag of drawer pulls for $4.00??!! Score indeed! In all seriousness, great transformation! And love that you gave it a new top, as well! Thanks for sharing, Cynthia
Michelle
Tuesday 26th of April 2016
I know right? We sure did get a bargain. I love them too. Sometimes bags of these things can be hideous! LOL! Thanks so much for stopping and I am glad you love the new top on the tv stand. I knew exactly what I wanted.
Mrs Major Hoff
Sunday 24th of April 2016
Very nice! Your little helpers cracked me up.
Michelle
Sunday 24th of April 2016
Yes they are "helpers" all right! They sure do think they are helping though. Thanks so much for your kind words and thanks for stopping by!
Sue at Blu
Saturday 23rd of April 2016
Love everything about this project...the handles, the colors, the distressing! Nice job!
Michelle
Saturday 23rd of April 2016
Thank you so much. I love the end result and it makes me smile everytime I see it. ThAnka for stopping by!