Hi everyone and Happy New Year! I love a fresh start with the new year don’t you? I am jumping right into our next holiday with a fun Valentine project. Today I am using the StyleTechCraft vinyl and decorating a Valentine Glass Candy Dish.
If you love to work with glass check out these painted glass crafts!
But! I am also showing you a fabulous DIY wood tray that will knock you socks off and you can use year round!
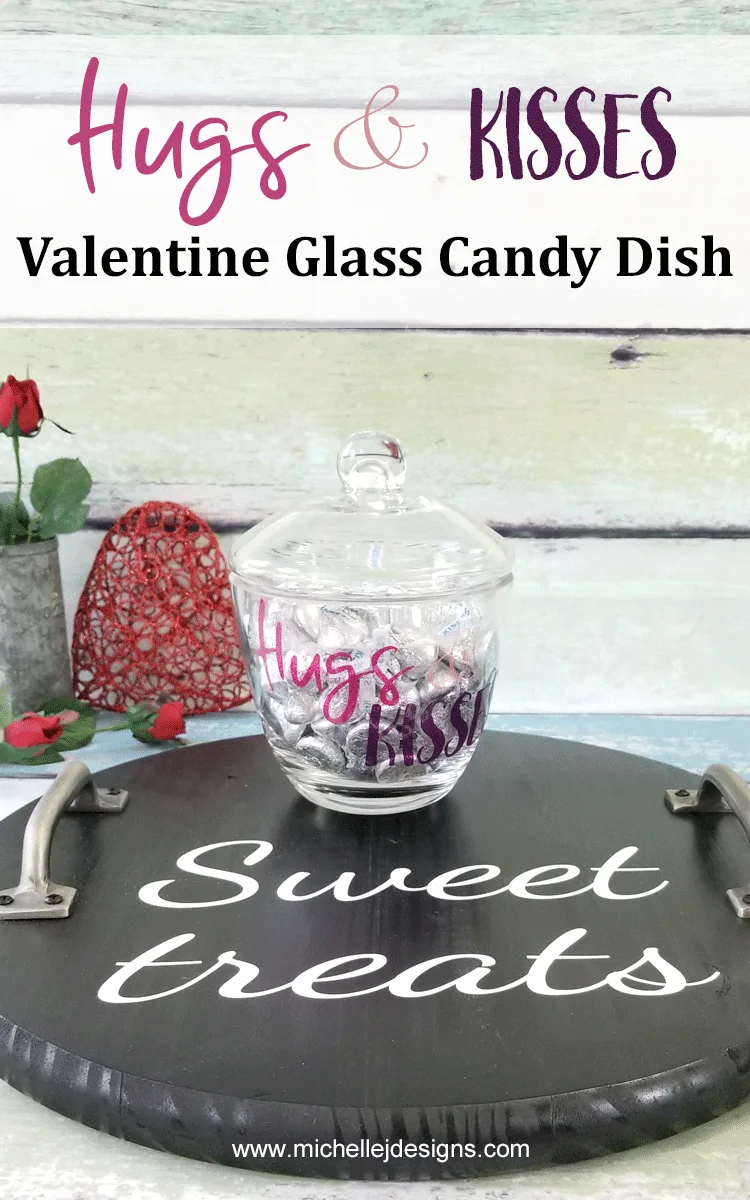
Decorating A Valentine Glass Candy Dish And A DIY Wood Tray
Are you ready to decorate a fun glass candy dish? This is so easy, looks great and you can use any kind of glass jar or dish.
This is a sponsored post. The nice people at StyleTechCraft have provided the transparent glitter vinyl and the matte white vinyl on the tray. They have tons of different types of vinyl including glitter, metallic, matte, glossy, chalkboard and more! It really is nice vinyl.
I have created two other posts with their vinyl products. You can see my Grinch Inspired Stocking Wall Hanger and my Grinch New Year’s Resolutions Sign by clicking on the links.
If you like to watch a video instead of following a step by step tutorial I created a video of the process. It does not have narration. Just the video and some nice music. LOL
Music in the video: Daily Beetle by Kevin MacLeod is licensed under a Creative Commons Attribution license (https://creativecommons.org/licenses/by/4.0/)
Source: http://incompetech.com/music/royalty-free/index.html?isrc=USUAN1500025 Artist: http://incompetech.com/
Step By Step Tutorial
If you would rather look at step by step photos keep reading! Below the DIY project card are step by step instructions with photos. I have something for everyone.
I am including affiliate links for your convenience. You can read my full disclosure here.
Decorating A Valentine Glass Candy Dish And DIY Wood Tray
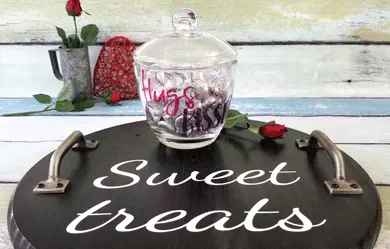
Create a fun Valentine's Day candy dish and a DIY painted wood tray. This takes approximately 2 hours plus the dry time for the paint.
Materials
Tools
- SIlhouette Cameo
- Scissors
- Drill - to add handles to the board
Instructions
- Use the Silhouette software to type out "hugs & kisses" from the Transparent Glitter vinyl.
- Cut the vinyl with the cutting machine - use pink for "hugs", rosey for '&" and purple for "kisses"
- Remove the words from the mat and weed them
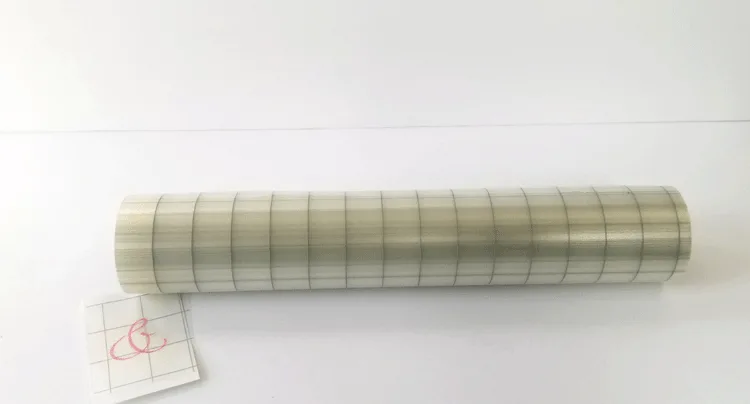
- Apply transfer tape to the top of the words
- Apply words to the glass candy dish
- Apply 2 coats of black spray paint to the front and the back of the round wood piece
- While paint is drying design and cut out "Sweet treats" from the white matte vinyl
- When paint is dry apply the white vinyl cut pieces to the board using the transfer tape
- Add handles to the board
- Sit the candy dish onto the tray
Step 1:
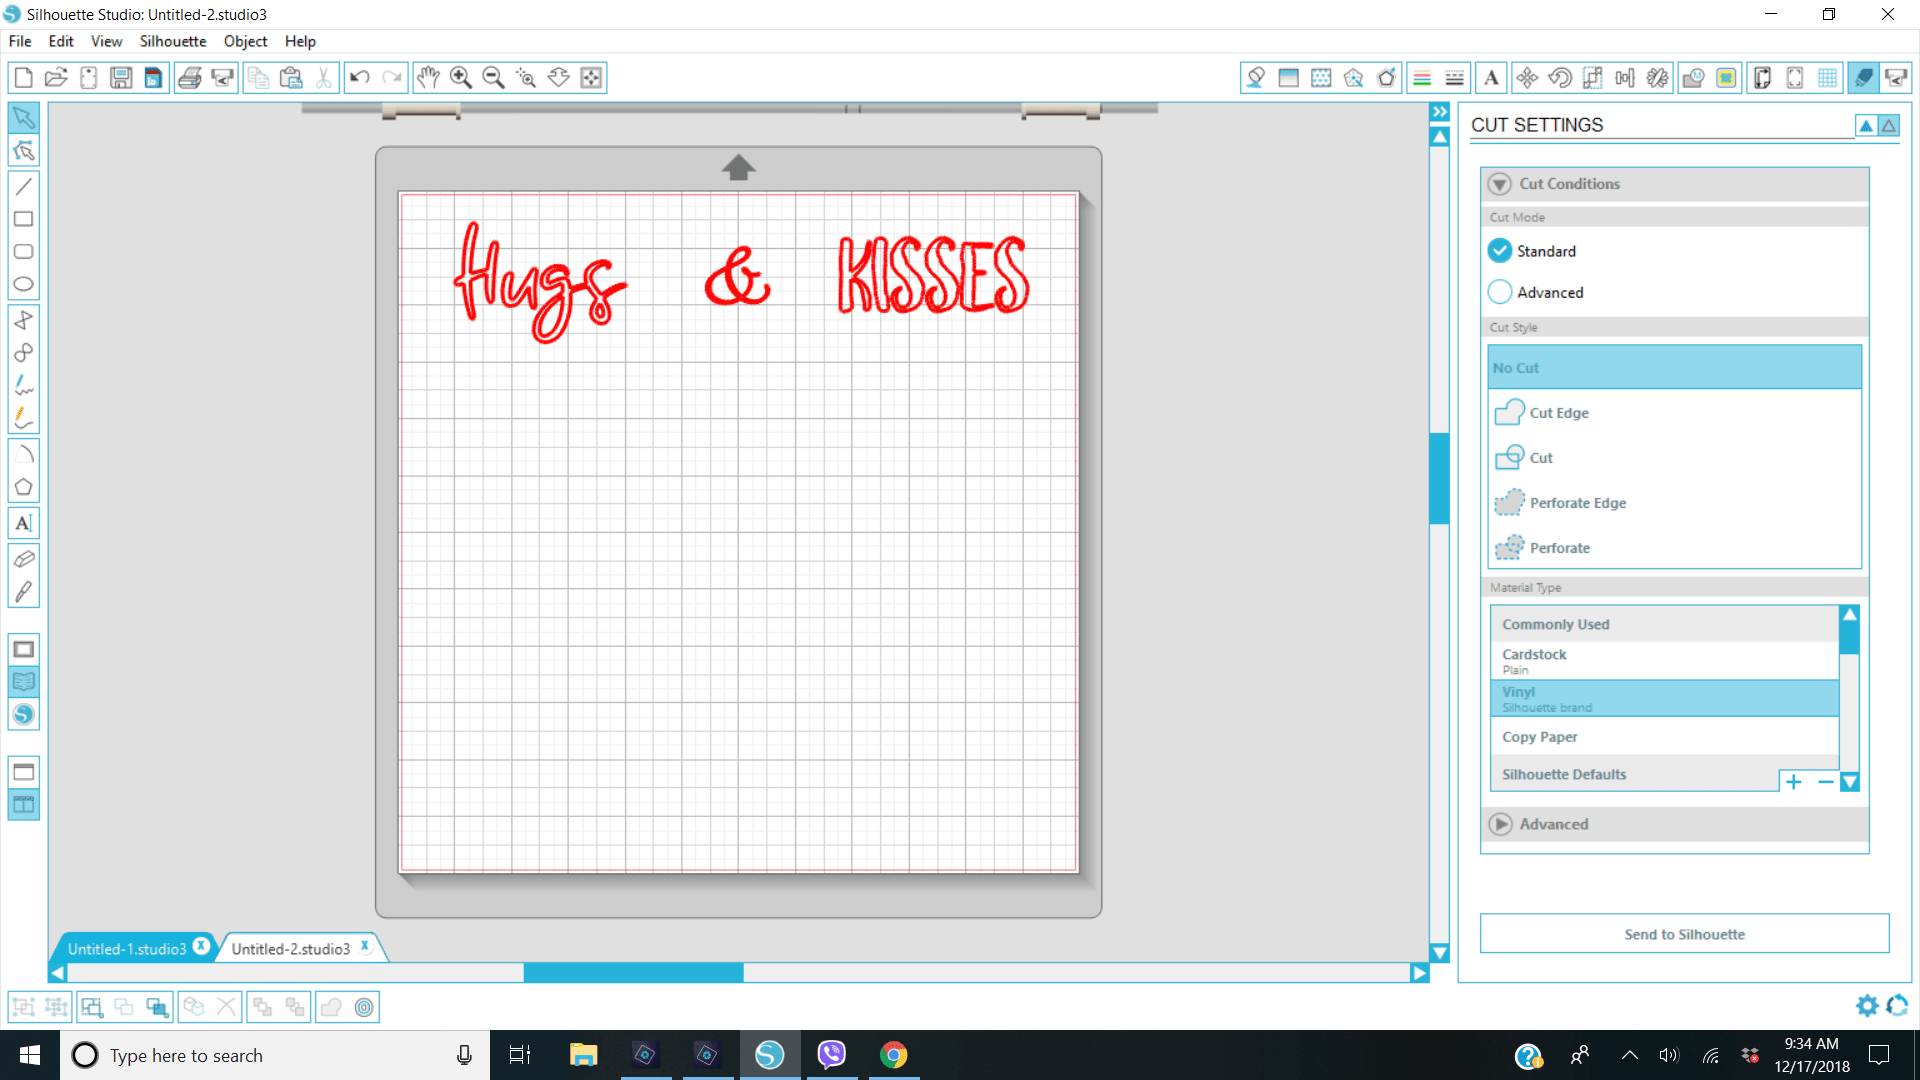
Use the Silhouette software program to design the “hugs & kisses” text for the glass candy dish. I used three fonts for this. For the word “hugs” I used Yokumtown Script, for the “&” I used Bickley Script and for “kisses” I used Hot Chips. These are fonts I have purchased. I get a lot of my fonts from fontbundles.net
Here is the screen shot.
Step 2:
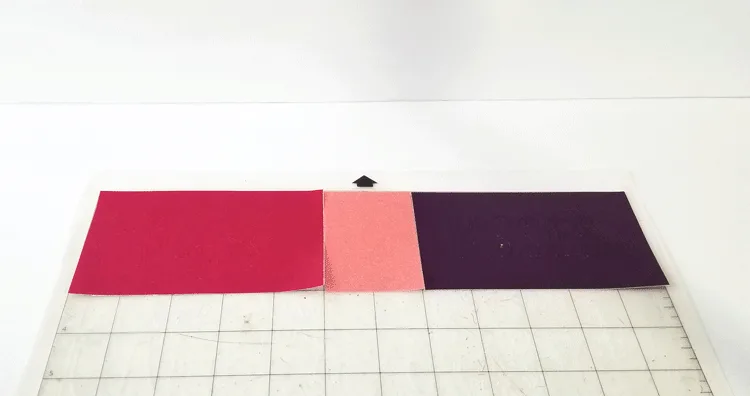
Cut out the vinyl letters. This is Transparent Glitter vinyl. The StyleTechCraft transparent glitter vinyl is the only film in the world that is colored glitter on both the inside and the outside. This makes it the perfect choice for glassware.
I added my three colors to the mat so I could cut the words all at one time.
Step 3:
Add the transfer tape and apply to the glass candy dish.
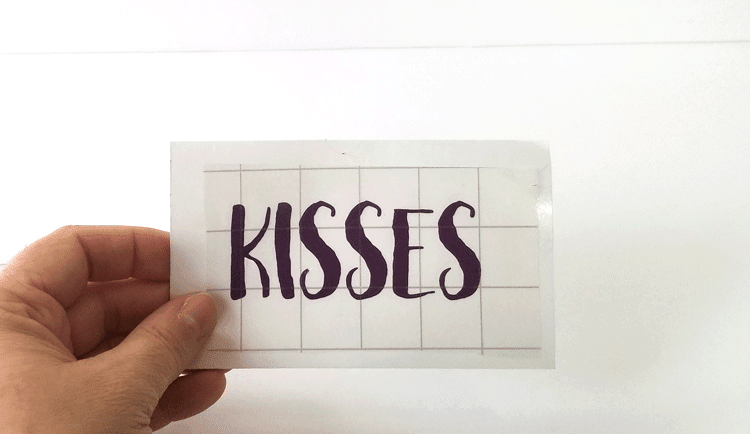
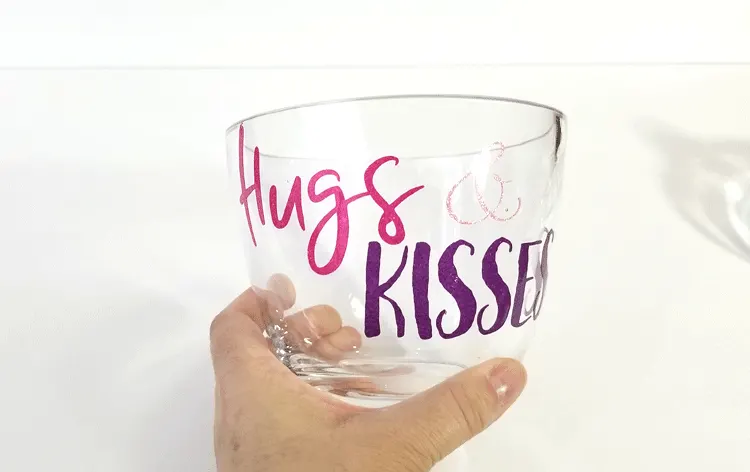
Look how pretty this turns out. I LOVE it! I could make a thousand of these and never get tired of it. The candy dish is all done.
Step 4:
Painting the wood tray piece. These wood pieces are nice and sanded right from the store but you can give them a light sand if you want. Apply 2 coats of the black spray paint on each side.

These round wood pieces are available at Hobby Lobby but the 18″ was $19.99. If you have your 40% off coupon it is an “okay” price. But I went across the street to Menards and had a lot more choices for size and they were MUCH cheaper. I ended up with the 15″ size for only $6.98. I think the online price is $7.99. Wowzers!

I liked that the grain of the wood still was noticeable through the black paint.
Step 5:
Design the “sweet treats” text in the Silhouette software. For this one I used Dancing Script font.

Step 6:
Cut the white vinyl, weed, apply the transfer tape and apply to the wood being sure to measure if you want it centered. I temporarily set the handles down so I could see where they would be in relation to the text. Since it is the same process as above I don’t have each photo.
I placed my text on the lower part of the tray so that the candy dish can be set above it.
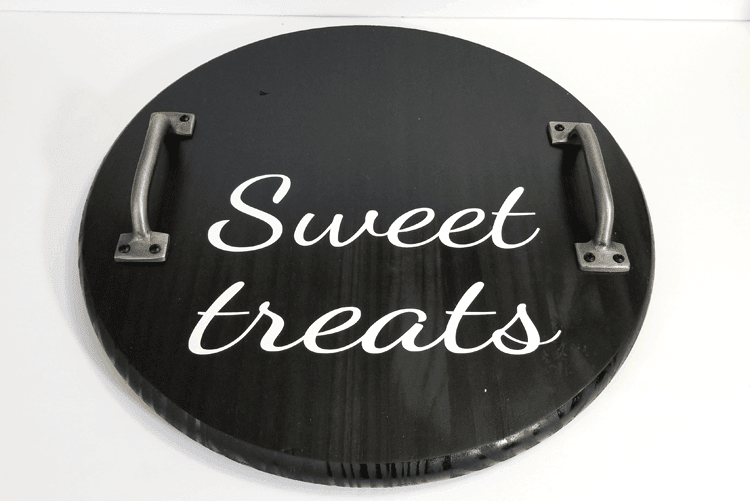
Add the handles and you are done with the tray.
Step 7:
Place candy in your Valentine glass candy dish and place it onto the tray.
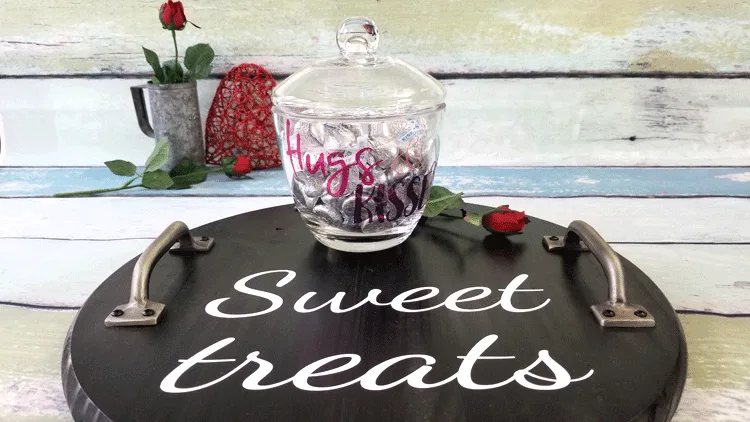


The best thing about this project is being able to switch it up for different holidays. I created this for Christmas and my Grinch theme. It was a big hit.

I love an interactive project! This tray going to be the hit at every occasion now. I just need to make more candy dishes. You can look forward to seeing more of these.
What do you think?

Thanks so much for stopping by!
Michelle




Maria
Wednesday 9th of January 2019
What a cute idea! This is a great tray. Love it
Michelle
Thursday 10th of January 2019
Thank You Maria! I love it too. I am going to leave it out all year!
Morena
Saturday 5th of January 2019
Such a sweet project!
Michelle
Sunday 6th of January 2019
Thank you Morena!!