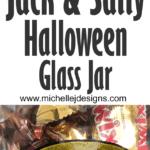
Layered vinyl designs can be so cute and really add charm to a project. Learn how to layer vinyl on this Jack and Sally Halloween glass jar.
Layering vinyl can be a bit time consuming but they do produce awesome results. This fun Halloween glass jar turned out super cute and it was fun to add some extra layers of color.
You know I love StyleTechCraft vinyl so I used some Craft Glossy vinyl and one color of transparent glitter vinyl.
I am on the design team for StyleTechCraft so they have provided me with the vinyl supplies and the transfer tape.
If you love painting and making glass crafts and gifts you will love it here.
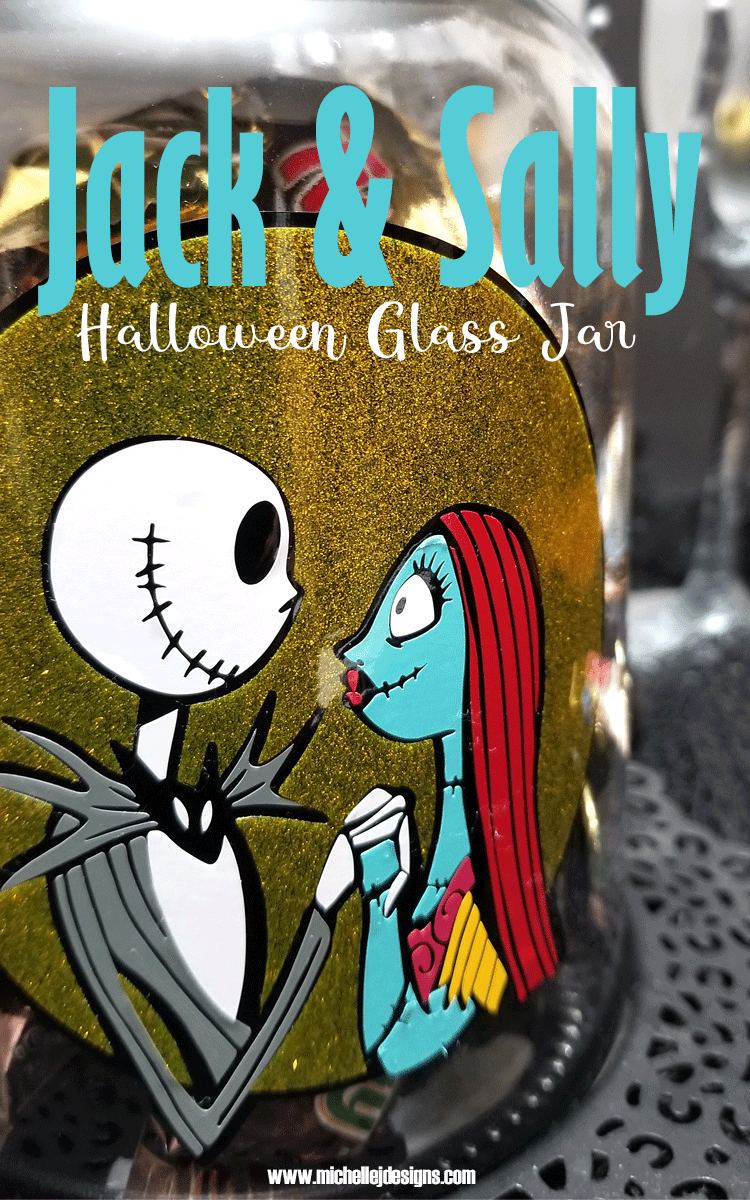
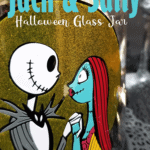
Jack and Sally Halloween Glass Jar
I love the Nightmare Before Christmas and I would like to start including more of these designs into my Halloween decor. So I am starting with a fun Halloween glass jar that I can put candy in for the holiday.
Materials needed:
I have added some affiliate links for your convenience. You can see my full disclosure here.
- Jack and Sally SVG
- Glossy Craft Vinyl
- Transparent Glitter Vinyl
- Transfer Tape
- Glass Jar
- Scissors
- Cricut Maker
A lot of these pieces are really small. Layering small designs is a great way to use up pieces of scrap vinyl.
Step 1: Upload your design to Cricut Design Space
I found my SVG on Etsy. After I was downloaded it onto my computer I was able to upload it to design space.
I have found that when a file comes into design space you most likely need to re-size it to fit your project.
In this instance I wanted it to be about 3.5 inches. In this case it didn’t need to be precise.
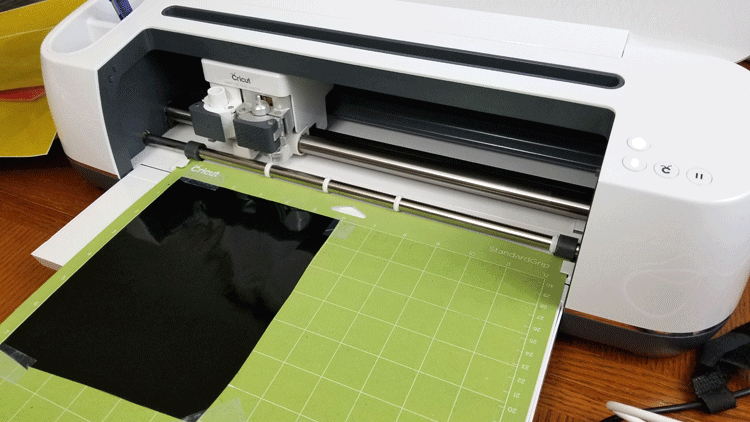
Step 2: Get it ready to cut
After you have re-sized the image to your fit, you need to choose your settings.
For this project I chose the regular vinyl setting with the default pressure for the glossy craft vinyl. But when it got to the yellow moon I wanted to change my settings.
All you have to do is Edit that mat and change the setting to premium glitter setting. I think it was premium frosted glitter to be exact.
The Cricut will tell you what color you are cutting next so after each cut you just prepare the mat with the next color.

Step 3: Weed and add transfer paper
When all of the layers have been cut it is time to weed the designs. Some of these were really tiny so I had to be careful. But I got it done.
After the weeding I added transfer tape to the top of each piece, except the black background piece.
This is the piece all of the other layers will be placed on.
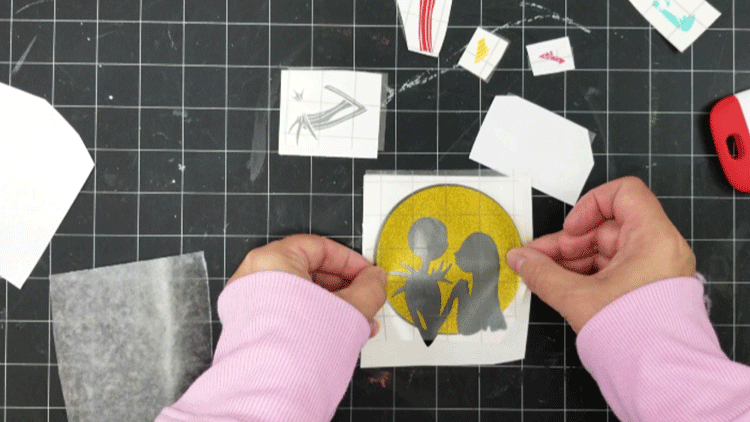
Step 4: Start the layering
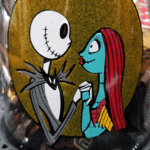
I like to look at a picture of the design while I am layering to make sure I get everything in the right spot.
The bottom layer was the black piece and the transparent glitter piece was next.
Next was the white layer.
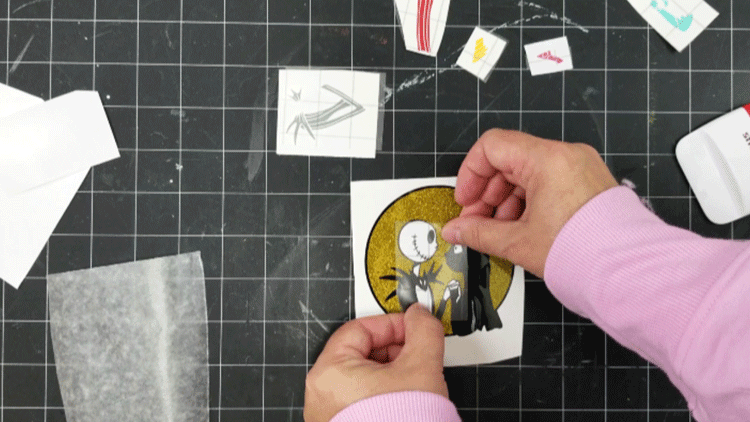
The blue layer…

Next in line was the gray layer.
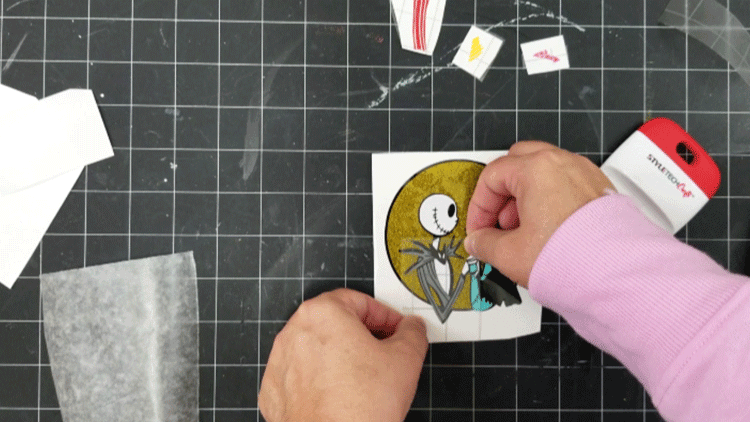
After the gray layer I added the red for Sally’s hair and lips.
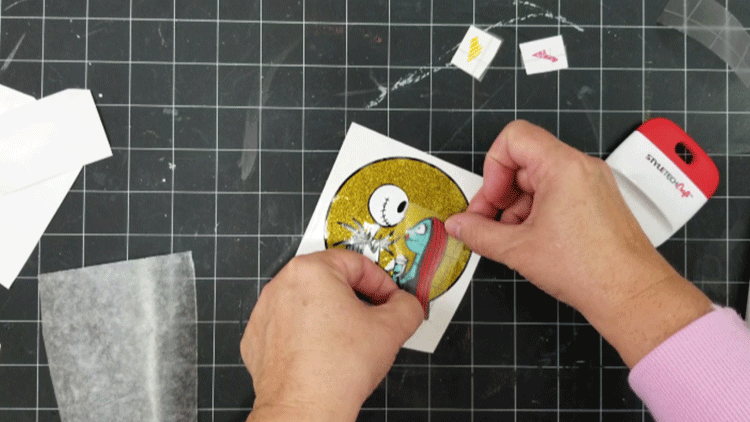
Then came the yellow and pink layers for her dress.

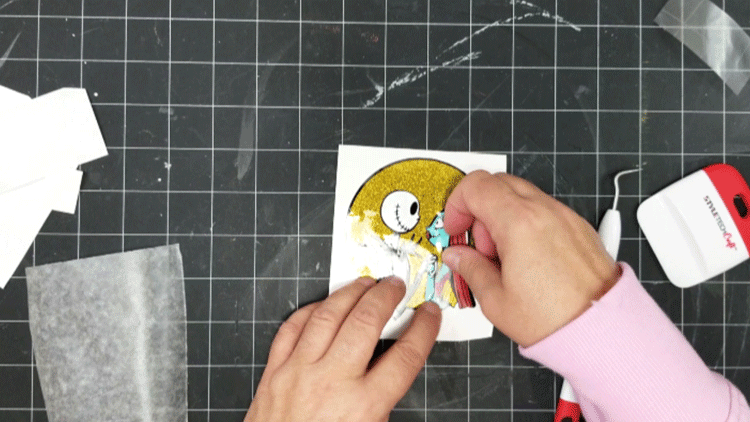
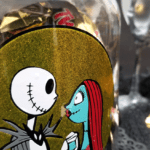
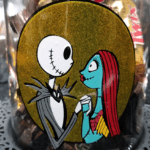
Then the layering was done. There was just one spot I had to realign a little bit but it came out so cute.
Step 5: Add layered design to glass jar
Once it was all layered, I added some transfer tape to the top of the entire design.

Then it was ready to place onto the glass jar.

I lined it up and placed it down. Then removed the transfer tape.
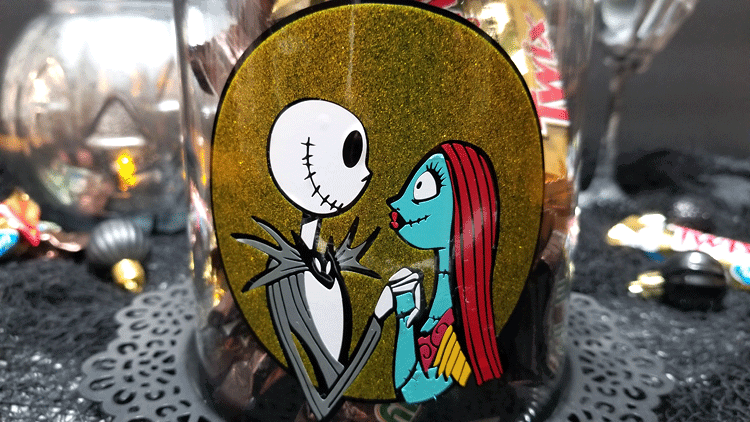
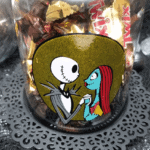
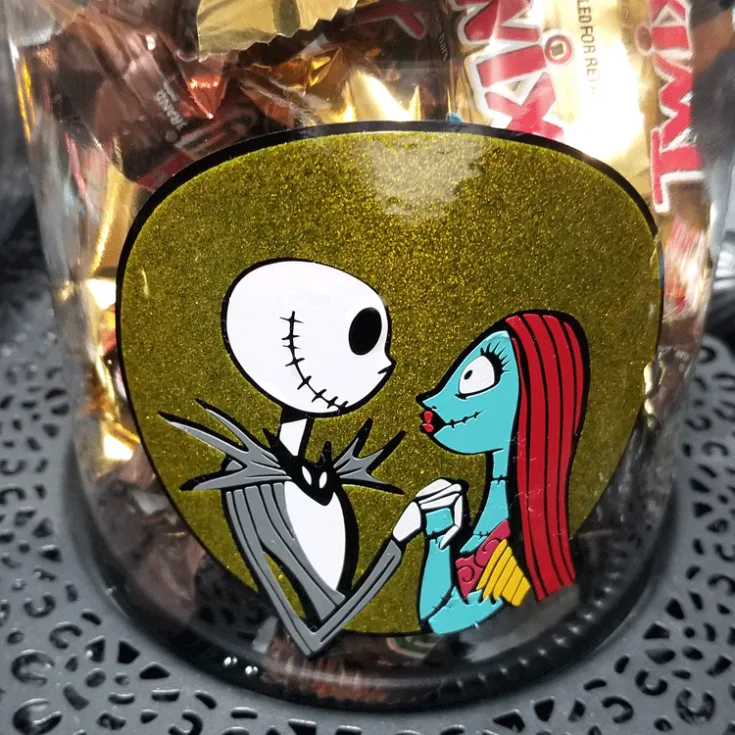
Didn’t it turn out cute? I really love it a lot.
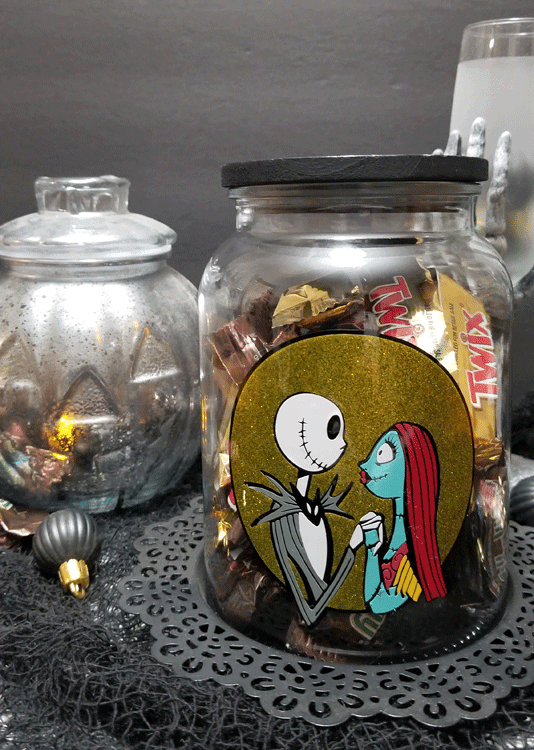
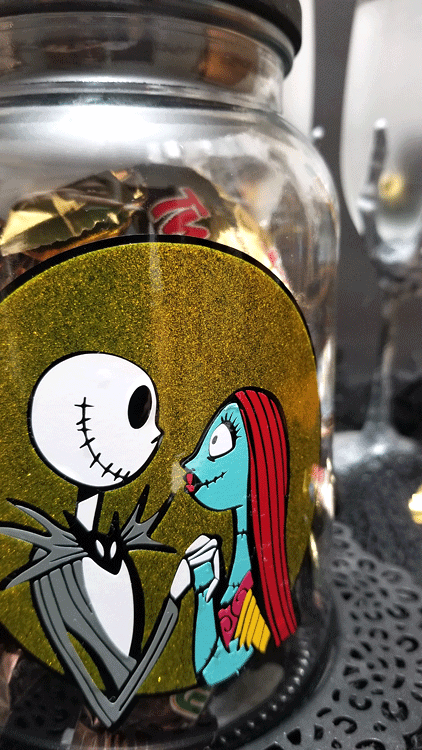
Here are some more finished photos with the glass jar full of candy and ready for Halloween.

Here are some printable instructions if you are interested.
Jack and Sally Halloween Glass Jar

Layered vinyl designs can be so cute and really add charm to a project. Learn how to layer vinyl on this Jack and Sally Halloween glass jar.
Tools
- Cricut Maker
- Scissors
- Weeding Tool
Instructions
- Upload your design to Cricut Design Space
- Re-size your design to fit your project.
- Choose your settings based on your type of vinyl.
- Cut out the different colors/layers changing settings as needed.
- Weed the designs and add transfer tape to each design
- Start with the black background layer and add the colors one by one until you get the entire piece done.
- Add transfer tape to the layered piece.
- Apply entire piece to the glass jar.
- Add candy and enjoy.
Recommended Products
As an Amazon Associate and member of other affiliate programs, I earn from qualifying purchases.
-
 Dead The Nightmare Before Christmas Shoulder Tote Bag Purse Top Handle Satchel Handbag For Women Work Shopping Casual
 -
 The Bradford Exchange Disney The Nightmare Before Christmas Musical Glitter Globe with Rotating Base
 -
 Nightmare Before Christmas Blanket Soft Christmas Throw Blanket Jack & Sally Throw Blankets for Couch Bed Living Room Sofa 60x80in
If you would like to see some more awesome fall and Halloween Cricut projects check out some of them listed below:
- Colorful Fall Welcome Sign – Daily DIY Life
- DIY Snarky Decor Starter Kit – Morena’s Corner
- Thanksgiving Lighted Glass Block – My Time 2 Play
- Hello Fall Pumpkin Wreath – Sue’s Creative Workshop
- DIY Fall Sign – A Princess and her Pirates
You can also follow StyleTechCraft on Facebook.
Thanks so much for stopping by!
Michelle