This is a sponsored post. Some of all of the hosts of The Fab Furniture Flippin’ Contest receive monetary and/or product compensation from the sponsoring brand, Minted, in order to complete their themed projects. Minted will also provide the prize package for the contest winner.
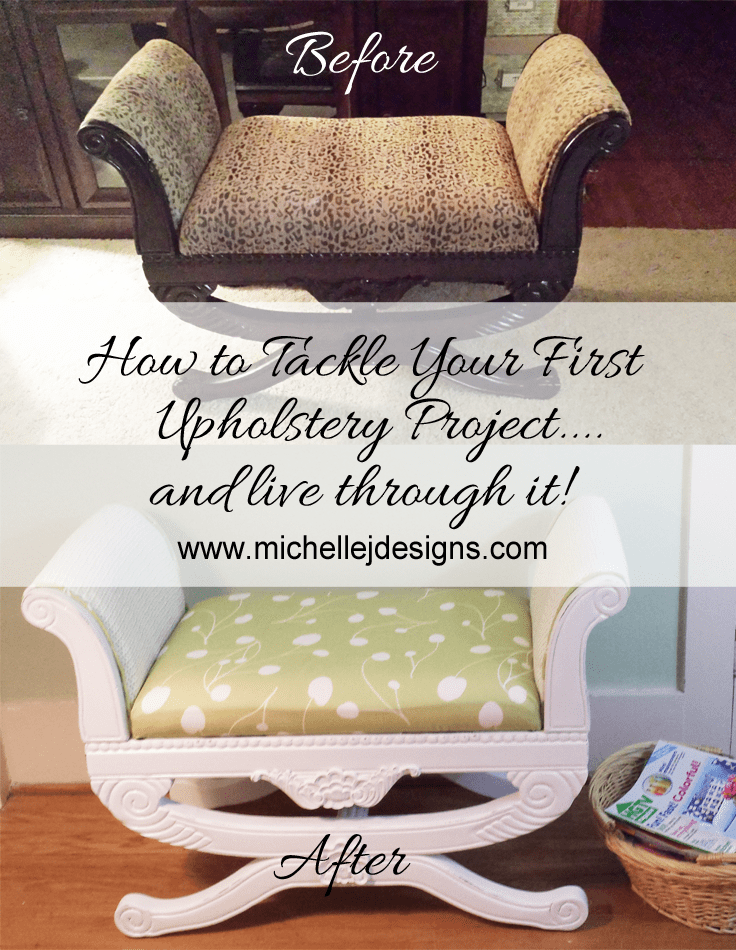
This was my first attempt at upholstering anything and I was scared to death. So I wanted this to be a “how to tackle your first upholstery project” and live through it type of post.
I signed up enthusiastically for this month’s Fab Furniture Flippin Contest because I love this contest. It always takes me above and beyond my comfort zone and sometimes I need that push to create and tackle bigger and better projects.
You can visit the featured hosts and see all of the entries at either of these blogs.

The theme this month is Take a Seat and the sponsor is Minted. I knew of Minted because they create beautiful custom wedding invitations and stationary but I had no idea they had designer fabrics.
They were gorgeous and it took me a long time to choose what I wanted. I did not have a project in mind so that made it even harder. When I did choose and placed my order it arrived very quickly and everything was perfect. You should definitely check out their fabrics. They are hand designed and so different from the fabric stores. Be sure you have some time to browse because if you like fabric…you may be there a while.
Minted was kind enough to furnish us with fabrics so I finally chose these two.
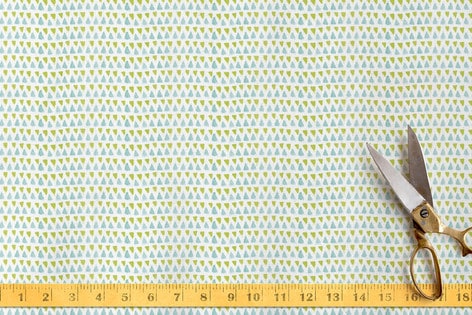
Melon Slice

Posey Florets
So I had my fabric and now I just needed to find a project. I started with the thrift stores in my area then out of town and then further out of town….nothing struck me as the perfect project. There were dining chairs and chairs like recliners but I just didn’t want those. My fabric was chosen to match in my bedroom and those were not bedroom type pieces.
Then one day I stopped at the Truckload sale store and found this guy.
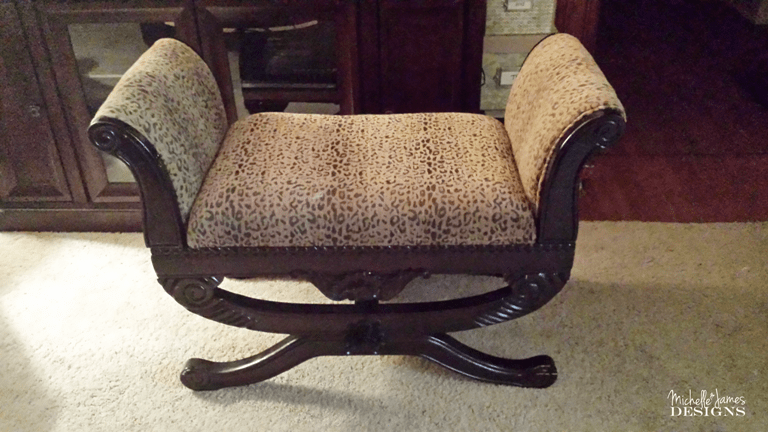
I really liked it but it was $47. That is a lot more than I usually spend and Jeff had just had his hours cut at work. Could I really afford to spend that much? Well, I did not purchase it right away but thought and thought about it. I finally decided I would go for it and Jeff picked it up for me the next day.
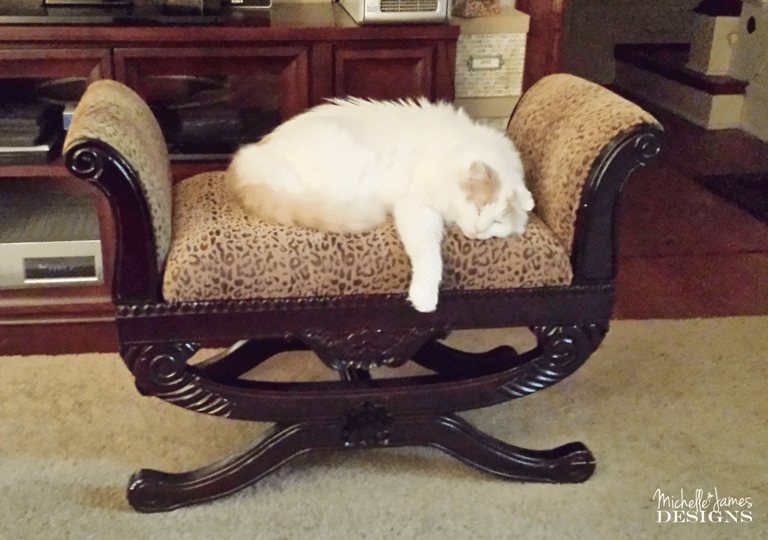
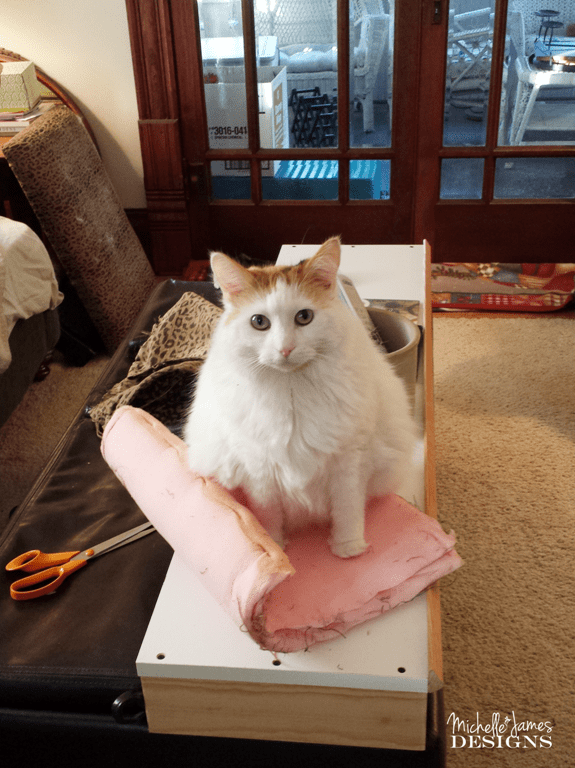
The wood was definitely scratched up but the cushions and arms were in great shape. I felt a little bad taking it apart because I knew I would never get it put back to the condition it was in. But…I couldn’t leave it like this. The thing did not match in my house at all with that leopard print. Although PeeWee loved it!
How to Tackle Your First Upholstery Project…and live through it.
Tip #1 – Dive right in!
I have to admit I was scared to touch it but I also knew I had to get started sometime. I removed the bench cushion and Jeff removed the arms for me so it would be easier to take the fabric off. It was really secure and it took days to get the fabric off the first arm. The second one went a little faster. I took a different approach since I knew where the staples were and how it was put together.
I was able to pull the fabric from one side and it pretty much pulled the staples half way out. Then I used pliers to remove them. The staples underneath on the other side of the arm holding on that fabric were stronger and much harder to remove. It took three episodes of Gray’s Anatomy to get the second arm done.
Chloe was helping to hold the foam down for me.
After the fabric was removed, I took the wood pieces (the base and the arms) out to the garage to start painting. I wanted white so I started with my white chalk paint. After the first coat is was very obvious that the stain was bleeding through and it was turning yellow. So, I switched to a white spray paint and primer all in one.
This was so much better and faster! It took several coats of paint but I finally got it looking the way I wanted. While the paint was drying I was cutting out the new fabric. I had already pre-washed it so it was ready to go.
Tip #2 – Save the old stuff
After I removed the fabric I had the pattern to cut my new fabric. I also re-used the foam and the piping for the new bench. This saves some $$$ and who doesn’t love that?
I laid the old pieces onto the new fabric and cut around them.
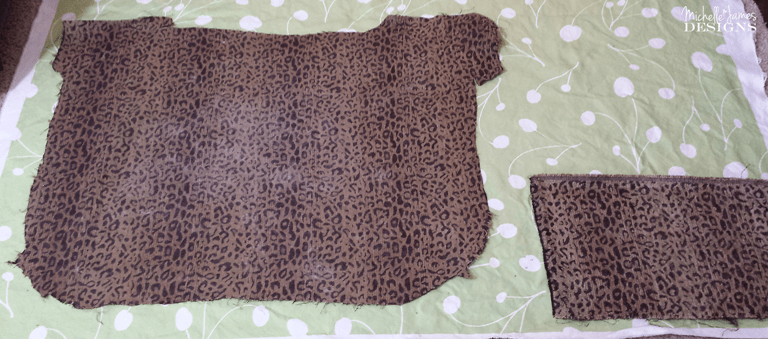
Then I did the same for the arms.
I created piping by cutting strips of fabric wide enough to wrap around the piping and leave enough room to stitch it on.
The previous fabric was wrapped around the piping on the long edges but I could not do this because I wanted my piping to be a different color. I wanted it to match the seat. I also wanted the back of the arms to match the seat. I know…I was being difficult. I want what I want. LOL! I needed to make my piping the green and stitch it to the other fabric.
Tip #3 – Get a good stapler
We actually purchased an electric stapler for this project knowing we would use it for future projects and get our money’s worth. It was about $30 plus about $2.50 for the box of staples.
I wish we could have gotten some thinner staples I think they would have worked better but we did not know at the time. But the stapler itself worked great.
We started with the bench cushion because we thought it would be the easiest. I placed the fabric over the foam the way I liked it. I chose a random pattern on purpose so I would not have to make sure it was centered.
We turned it over and began stapling. We started on one of the smaller ends then pulled really tight and then secured the opposite end. Then repeated that process for the longer sides.
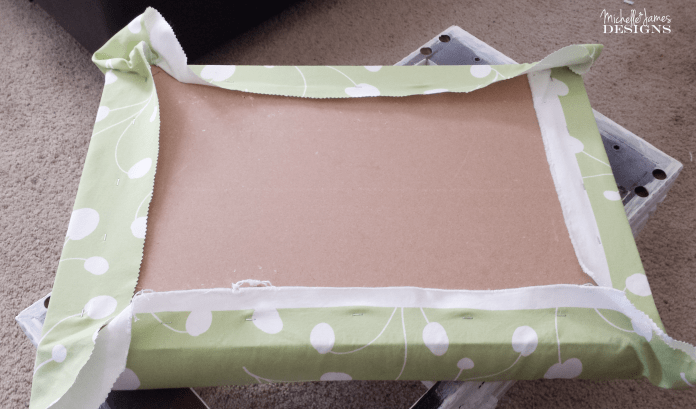
Then we were left with the corners. We wanted them to fold over to the sides where any bad areas would be hidden between the cushion and the arms. But we did okay. This was trial and error and we finally got some good corners.
Then we moved onto the arms. These were a little more difficult to figure out even though when I removed the old fabric I tried to remember how it was constructed.
We ended up having to staple the fabric with the piping on one end, then stapling the green fabric, the back, as shown below.

Then getting the foam in place, then pulling the front over the foam and stapling all the way down the sides and securing it at the bottom (under the entire arm piece).
Tip #4 – Do the best you can
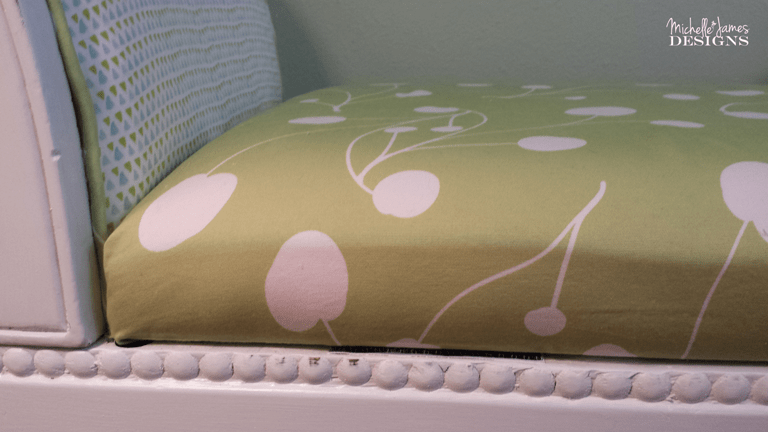
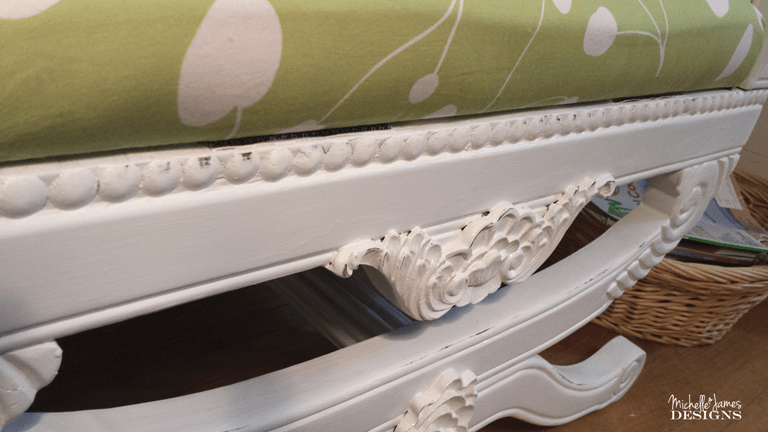
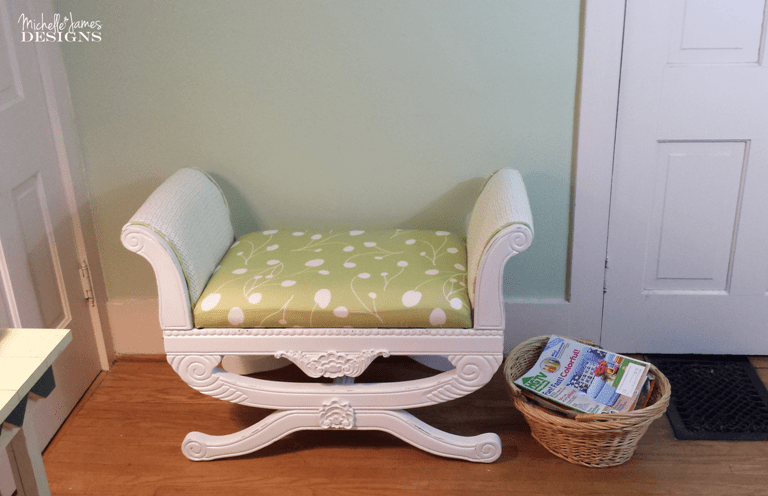
There are definitely some parts that don’t look so great. A couple of the staples show despite taking them out and trying again and there are some parts that aren’t pulled as tightly as others but all in all I think it turned out nice and I am glad we tackled such a great project. It sits in our bedroom looking very pretty. I can’t wait to re-do the entire room to match it!


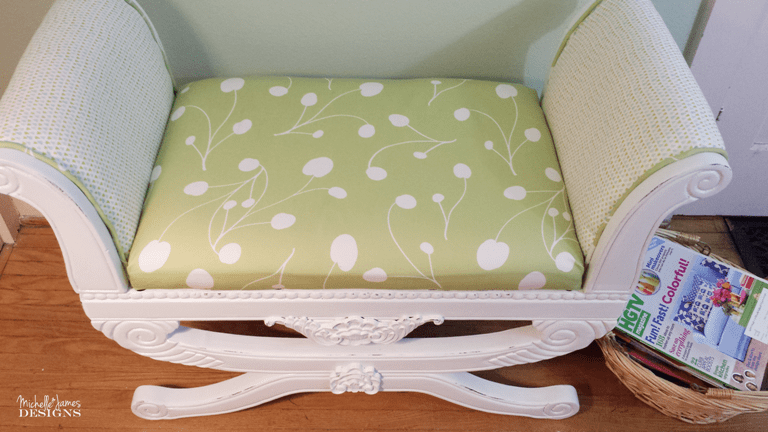


I hope you enjoyed my “how to tips” for your first upholstery project. I lived, so did my marriage and so will you!
If you would like to be part of this fabulous Fab Flippin Contest you can email [email protected] for more information.
Thanks for stopping by.
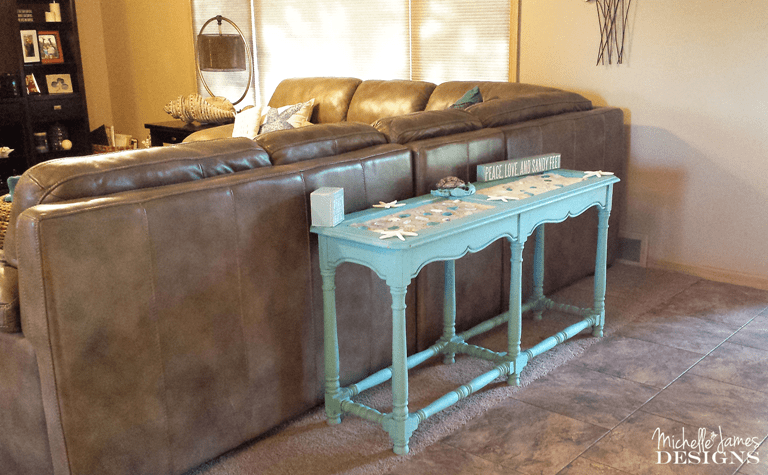
You May Also Like
I am sharing this post at:


Karolyn Love
Wednesday 2nd of January 2019
Wow, I would be proud if it were my first upholstery project! You and Jeff did an amazing job - the white and then those patterned prints were beautiful! Can't wait to see your bedroom when it's all complete to compliment that cute little bench! Kudos!!!
Michelle
Thursday 3rd of January 2019
Hi Karolyn! Thanks so much. I still love this bench and am super proud of it. Some of our next upholstery projects haven't held up as well as this one. Thanks again!
Carolann
Friday 24th of June 2016
Beautiful work and stunning transformation. I just love this piece!
Michelle
Saturday 25th of June 2016
Thank you Carolann. It was definitely a challenge for Jeff and I. There were times when there were words. LOL! But we lived through it and we are even still married.
Lisa
Saturday 18th of June 2016
This looks so fresh and light now. Great job.
Michelle
Sunday 19th of June 2016
Thanks Lisa! It was a job but I love it now. Our cat PeeWee liked it the way it was before. He would not get off that thing. Now however....nothing. LOL! Thanks so much for stopping by.
Susie from The Chelsea Project
Friday 17th of June 2016
This is my fav piece of the day. If you have never linked it to Friday's Furniture Fix...would you consider linking this week? We are live right now... XO
Michelle
Sunday 19th of June 2016
Thanks Q's! I promise I will get this on the Friday Furniture Fix next week. Thank you for the invite!
Sharleen
Monday 7th of December 2015
Thanks for linking up to Home Matters Party. #HomeMattersParty http://cu-rio.net/home-matters-linky-party-65/ and congratulations on the feature!
Michelle
Monday 7th of December 2015
Thanks Sharleen! It is always fun to be featured. I am super excited about it.