I am in love with mason jars so combining them into DIY home decor is awesome! Take a look at my painted mason jar welcome sign. This was a fun sign to make and hangs in my entry way to welcome guests to my home.
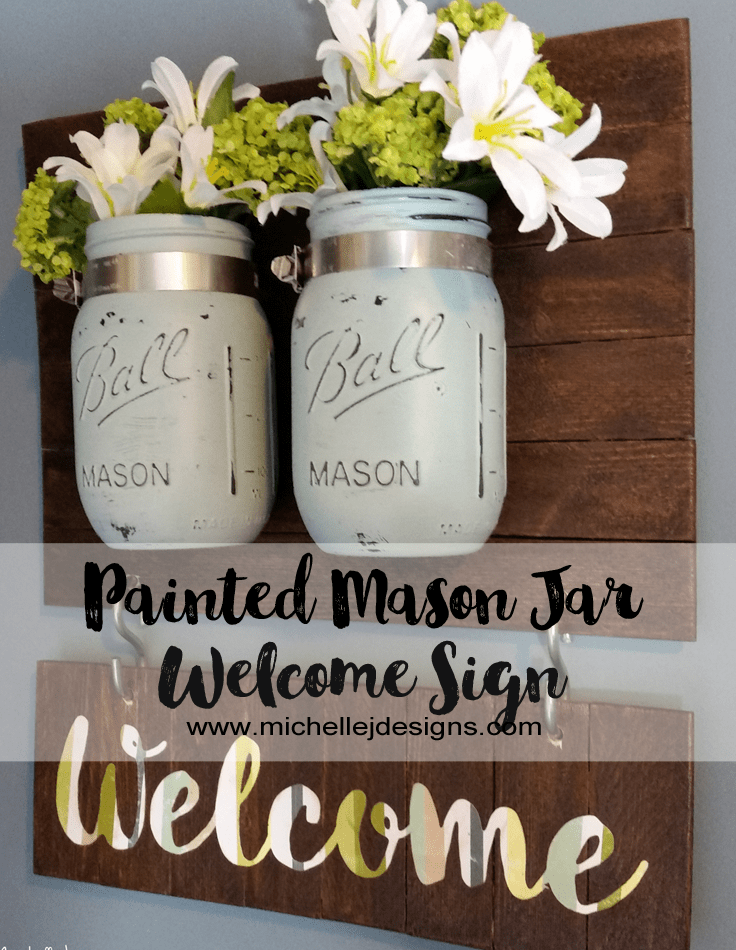
Painted Mason Jar Welcome Sign
As I mentioned above I love mason jars and projects using mason jars. This is the first time I have painted them with chalk paint though and it really turned out nice.
More Mason Jar Ideas
Materials Needed For Mason Jar Sign
I have included affiliate links for your convenience. You can read my full disclosure here.
Wood lath- thin pieces of wood. I get these at a home store such as Menard’s or Lowe’s
Screws and washers
Drill
Paint/stain – I used brown acrylic paint thinned with water.
Chalk paint – DecoArt Americana – Vintage
Flowers- your favorite fresh or silk flowers
Patterned scrapbook paper
Foam Brushes (for the wood and the jars)
Two S hooks
Getting Started – The Wood Sign
Top Portion
Cut 6 lath pieces 12 inches long.
Place 6 of them side by side and use two pieces on the back to glue them together.
Bottom Portion
The bottom part of the sign used the same type of lath pieces.
Cut 8 pieces of lath at 4 inches each. These pieces also lay side by side with a piece on the back to glue them together.
They are turned vertically instead of horizontally to add some interest to the sign.
Follow my Mason Jar Board on Pinterest!
Stain The Wood
When the glue is dry paint or stain the wood pieces. I used thinned down brown paint as a stain. Brown paint is something I usually have on hand so it is budget friendly and easy to do.
When the stain is dry drill holes in the top and the bottom pieces so you can add the S hooks.
Cut Out The Welcome Piece
For this step I used my Silhouette Cameo Cutting machine and the patterned scrapbook paper. I made sure the text was the right size with the Silhouette software then used a patterned paper that would blend with the colors in my home decor and with the paint on the jars.
It turned out really cute. When it was cut and ready to go, I used Mod Podge to adhere it to the wood.
Paint Your Mason Jars
I use my favorite Americana DecoArt Chalky finish in Vintage.
Using a foam brush add a coat to the outside of the mason jar. I started at the top of the jar and worked my way down and painted the bottom too.
You will need to add a couple of coats to get a nicely covered finish. Be sure to let each coat dry before adding the next one.
Once your final coat is thoroughly dry use a sanding block to distress the raised parts of the jar.
Add The Hardware
This is not hard but hard to explain. I have added a video I found on You Tube from DIY Playbook that explains it well with a nice visual video!
We marked our hardware pieces and cut them a bit before adding them to the wood.
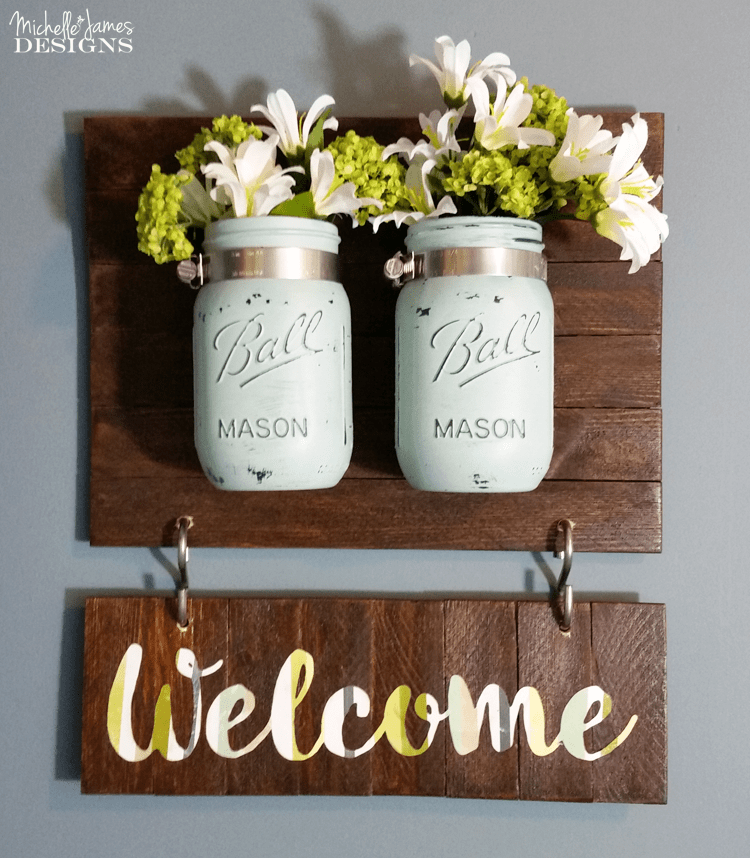
Once the hardware is secure, carefully add the jars and the flowers.
You are ready to hang this gorgeous, fun piece for all to enjoy.
I love this project and I know you will too!
Thanks for stopping by!
Michelle

