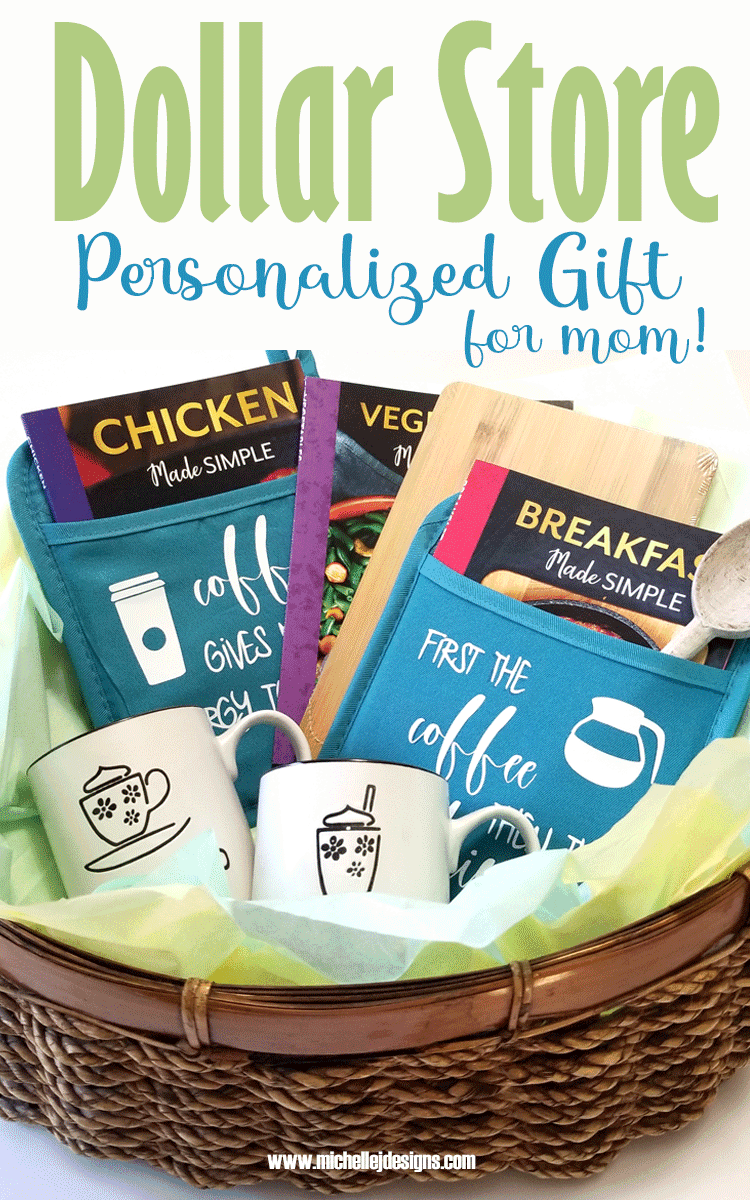
Hi and welcome to the blog. How do you go about putting a gift together? I love to create a personalized gift basket and this time I have created on for my mom on Mother’s Day.
My mom likes coffee and cooking so I made a basket full of coffee and cooking things. Perfect right?
Any product can be added to a basket to make it more personal. Then, add some fun vinyl to make it a DIY!
Dollar Tree Crafts and Gifts are always a great idea!
Personalized Gift Baskets for Mom
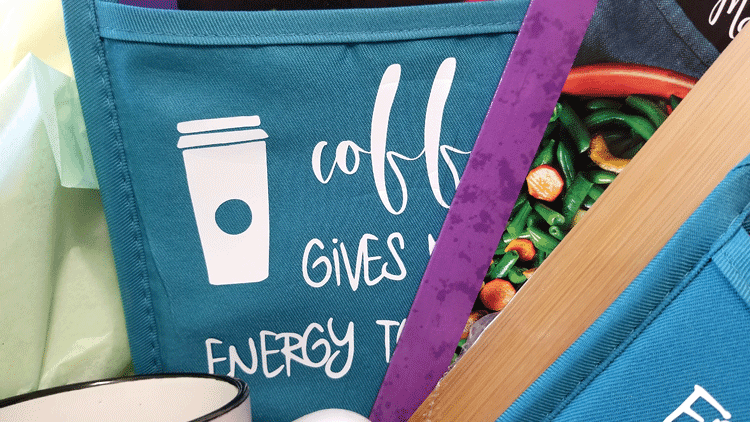
Dollar Tree stores always have great stuff if you look around. My local store does not carry these potholders but a store not too far away does so I picked up some more of them. Last time I purchased I bought them online. They are the best potholders and are only $1 each. You really can’t beat that.
I like to embellish these with some heat transfer vinyl. I have done this before for some Christmas gifts. You can find them here!
Here is what I did to make these!
This post includes affiliate links for your convenience. You can ready my full disclosure here.
Step 1: Download the SVG file and bring into Cricut Design Space
Some of these designs are available in my resource library. You can click on the green button below to get there.


Once they have been downloaded, upload the SVG file into the Cricut Design Space and size them to fit your potholder.
I wanted to cut four at at time so this is what my screen looked like with all four designs added.
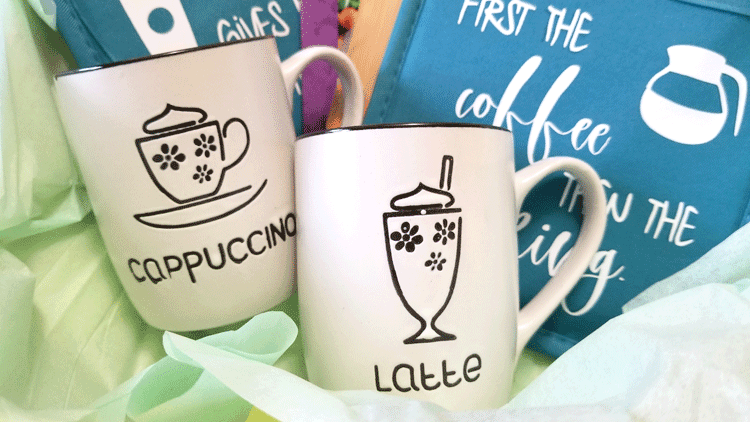
The coffee designs are for my mom’s basket but the definition designs are for me! It is the same process for all but I happened to take photos of the definition designs. That is why they are not shown in the final basket! Just in case you were wondering.
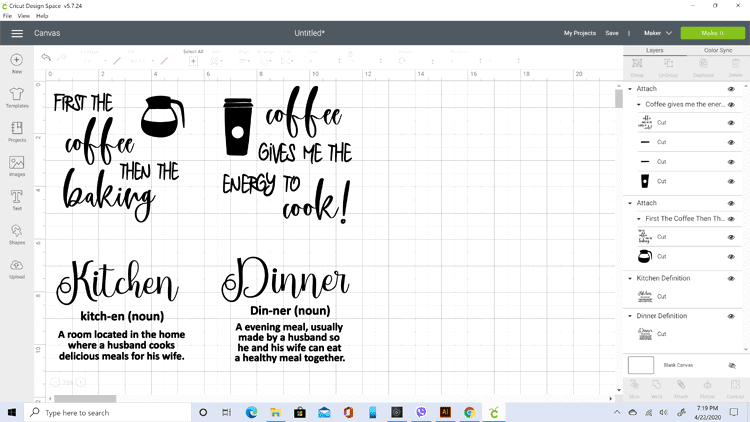
When you get them sized the way you like them click the “attach” paper clip at the bottom right of the screen. This will keep the text and graphics in their current places when you go to the next step.
The Cricut likes to save vinyl for you. If you don’t click the attach icon it will save space for you and squish everything together to save space.
This is a great feature if you are cutting out a bunch of one thing that will be placed onto your project individually but if you want to keep the design together be sure to click that attach icon.
Then you are clear to click “make it” at the top upper right corner. This will take you to the next screen
When you get to the this screen be sure to click “mirror image”. It is the little green toggle on the left side.
Anytime you are working with the heat transfer viny you need the mirror switch turned on. Especially if you are including any text.

It is a little hard to see under the black Cricut adds to the mat color. If you were using multiple colors it would spit the mats and each one would show the color of that vinyl. I have black text so it is showing a black screen. (But I am actually using white vinyl. Don’t tell the Cricut. LOL)
Cut the design
If everything looks good then hit continue.
You will need to choose the material you are cutting. In this case Iron On Vinyl.
Then it will ask you if you want the default pressure or if you want more or less pressure. I usually stick with the default but sometimes I use the choose more pressure.

Step 2: Weed the designs
This is not my favorite part of the process but needs to be done.
Remove all of the extra vinyl away from the design. I use my StyleTechCraft tools to help with this.
Here is a partially weeded design.

Tedious…I know!
Here is the fully weeded design. Yay!

Now it is ready to be heat transferred to the potholder.
Step 3: Add the design to the potholder
For this step you need either an iron or the Cricut Easy Press.
I have the Easy Press and set it to 315 degrees.

I set my mat down on my surface and place a piece of chipboard into the potholder pocket and center my design on the front pocket of the potholder.

Place a teflon sheet or a piece of butcher paper onto the potholder and then place the Easy Press on top.
Hold with some pressure for 30 seconds.
Check the design to see if it is fully adhered by lifting up the backing. If the design doesn’t lift up with the backing you are good to go!
Last time I made these potholders I had no trouble but this time they didn’t want to adhere as easily.
There were a few places that were being stubborn so I got out the mini Easy Press to finish up the job.

This worked perfectly.
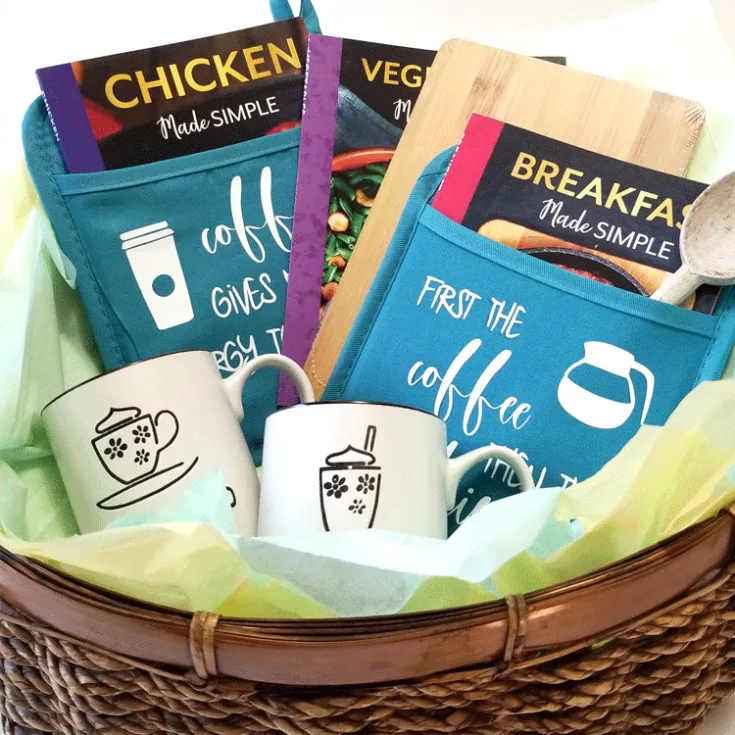
Step 4: Putting the basket together
The other items I found at the Dollar Tree to add to my personalized gift basket are:
- cookbooks
- a bamboo cutting board
- coffee cups
- and a wooden spoon
I arranged them with a couple of the cookbooks in the potholder pockets and the other stuff all around with tissue paper. And it turned out really cute!
What do you think?

My mom will love everything in this basket.
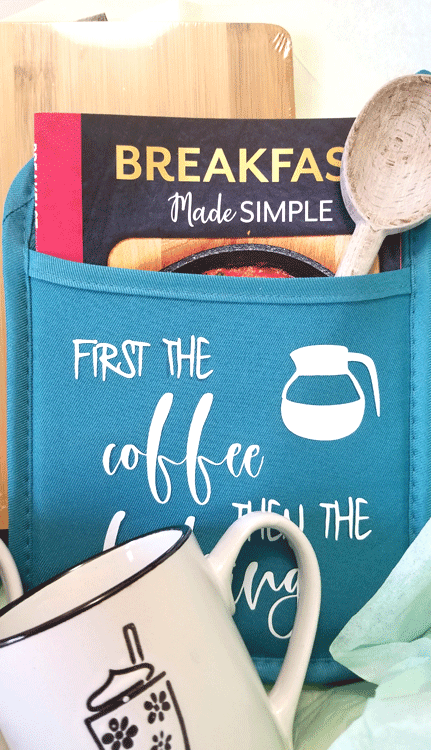
And this is how my potholders look in my kitchen.
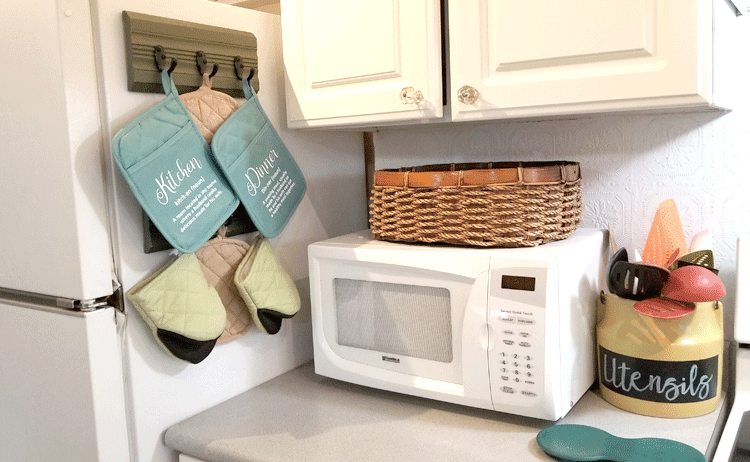

They are fun too!
Dollar Store Posts
A few of my blogging friends and I create Dollar Tree posts every month and as you can tell by my post, this month we are showering you with Dollar Store Mother’s Day ideas.
Check out their posts too! I am sure you will find something you love. Just click on the links below.
Beverly from Across the Blvd – Coaster Set Makeover
Michelle from Our Crafty Mom – Sunflower Wreath
Heather from Daily DIY Life – Mother’s Day Dollar Tree Craft Idea
Materials List
Create a fun personalized gift basket for mom this Mother's Day using Dollar Store products.Personalized Gift Basket For Mom

Materials
Tools
Instructions
Michelle


Michelle James
Wednesday 6th of May 2020
What a beautiful gift basket. I love everything about it. The cut file is perfect. Thank you for sharing it I will be using it soon.
Michelle
Wednesday 6th of May 2020
Thank you Michelle! I am glad you want to use the cut file. I have fun putting gifty things together and this one was a good one.
Nancy L Janssen
Saturday 25th of April 2020
We are hanging in there, Michelle; how about you and Jeff? I love "usable" gifts, just like this one! Louise will certainly appreciate this one, especially since you made it. Stay strong and well, my friend!
Michelle
Tuesday 28th of April 2020
Hi Nancy! We are hanging in there too. I am dying to see little Harper Lily. We are heading to Texas as soon as we can to see her. I love usable gifts too. I hope she likes these. We can always use new potholders and recipe books, right? Thanks for visiting!
Beverly
Friday 24th of April 2020
What a fun gift basket idea, Michelle. I love the pot holders, too! Every time I see something done with an Easy Press, I think I need one!
Michelle
Friday 24th of April 2020
Hi Beverly - I think you definitely need one. You should add it to your wish list for Christmas, birthday or even Mother's Day! They are great and I really do use mine a lot. You would not be disappointed!