Hello! We are heading straight to Mother’s Day. I am sharing a fun gift idea because not planning will leave us without a gift at the last minute. That is the worst. So, I have come up with a great idea that hopefully, can lead to some fun Mother’s Day garden gifts that will be perfect for you to give.
Dollar Tree has great items that you can make into gifts. They are inexpensive and look great. See all of my Dollar Tree craft and gift ideas.
If you didn’t hear…I was chosen to be on the StyleTechCraft Design Team for a second year. Yay me! I really love their vinyl and they send me samples to use in these posts. Best job EVER!
Some of my favorite posts using their products from last year were Easy Bracelets and Pendant Using Vinyl, Grinch Countdown To Christmas, and the Removable Wall Art and Calander. They were all great project using the vinyl products.
This post includes some affiliate links for your convenience. You can read my full disclosure here.
This month our posts needed to include the Polished Metal vinyl products. I am pretty sure I had only used them once before but they are really pretty.
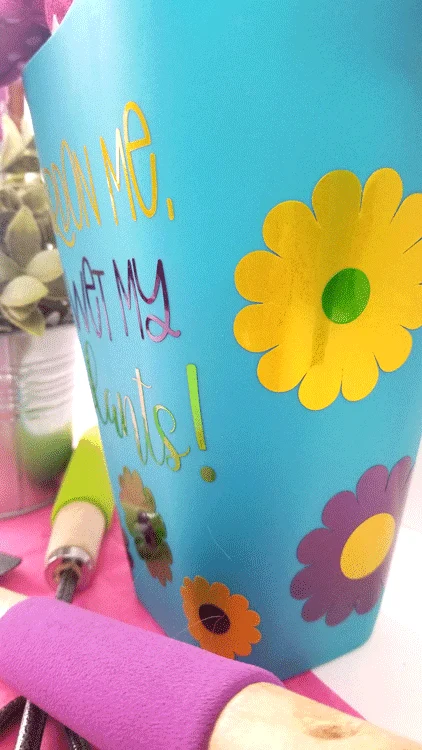
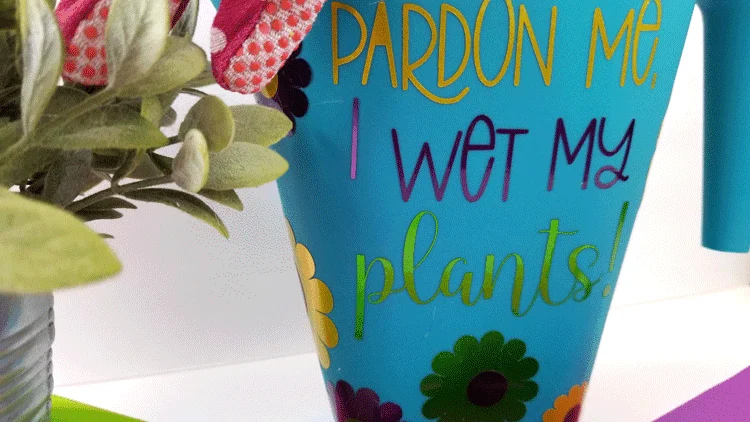
The glossy shine is a deep color that is hard for me to describe. Hopefully my photos and the video will be do this vinly justice.
Mother’s Day Garden Gifts
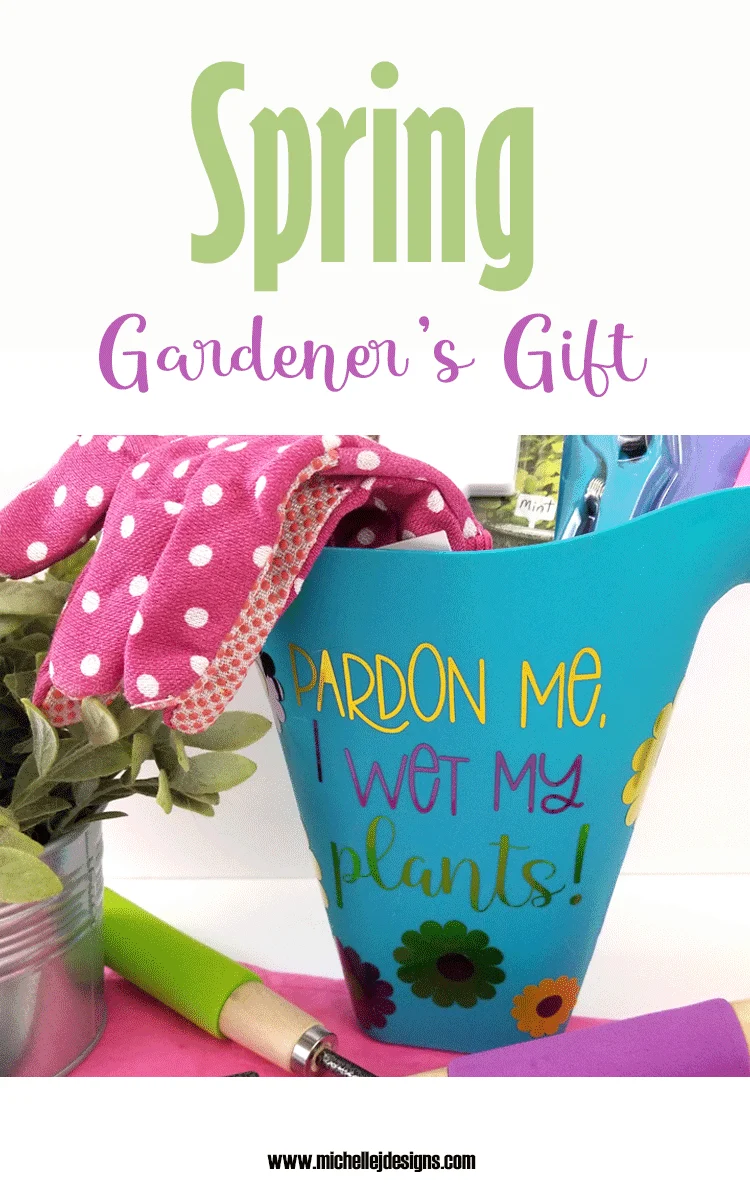
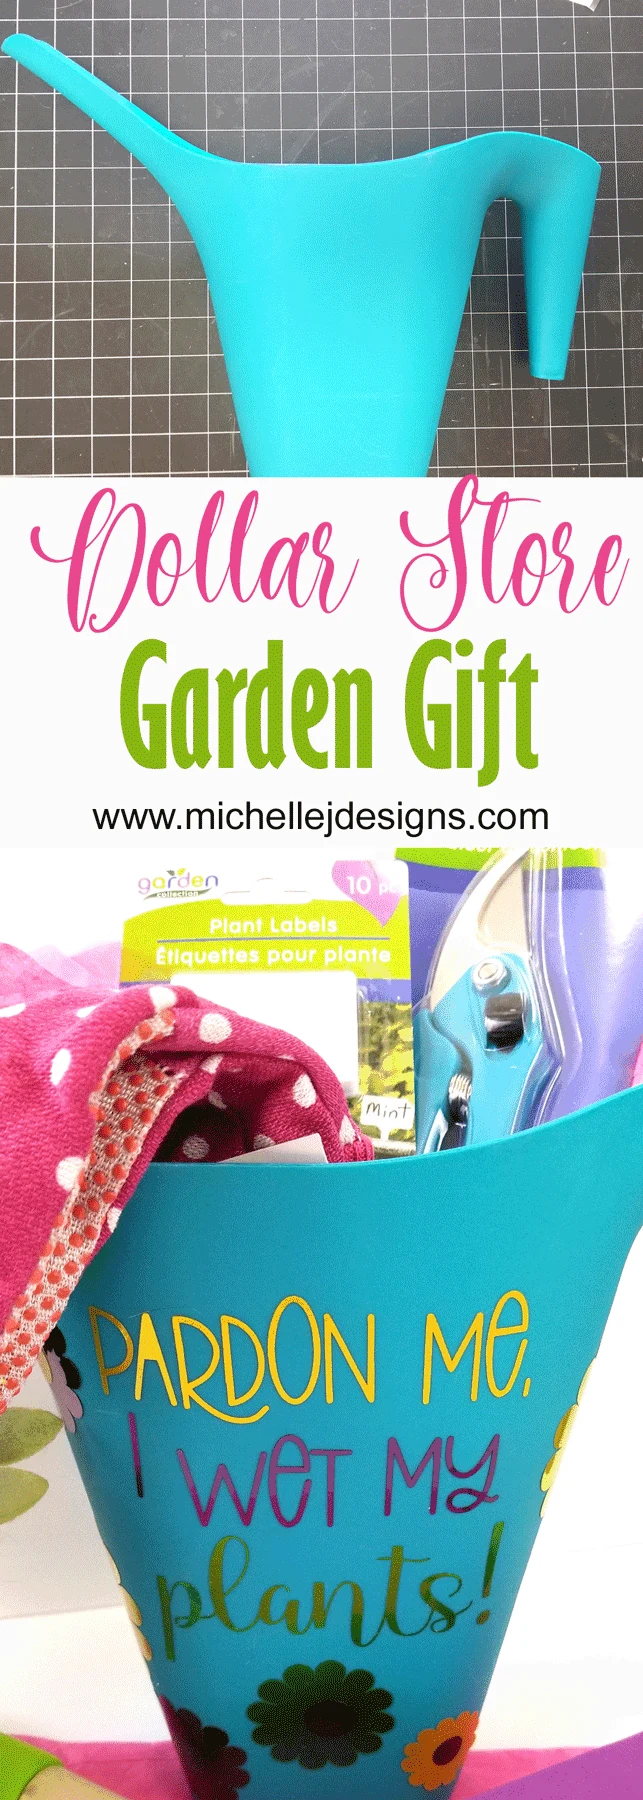
Mother’s Day can be hard for some people. My mom is older and really has just about everything she wants and needs. But for young moms that like to embellish their yards with flowers in the spring and maintain throughout the summer this garden gift idea is PERFECT!
It includes Dollar Tree items too so you can give a great Mother’s Day gift for a great price.
If you like to follow along with a video tutorial you can see that below. Be sure to subscribe to my channel too! And it helps me out a lot in eyes of You Tube/Google if you hit the thumbs up if you like the video.
If you prefer a written tutorial then keep reading for that.
There is also a complete materials list toward the bottom of the post with more affiliate links to the products I used.
Step 1: Download the SVG file and cut it out
I have created this SVG cut file for you to download for free! It is available in my resource library. You can click the box below to get to it. I will also have the link with the supplies list toward the bottom of the post.
Open the SVG file in the Cricut Design space or the PNG file in the Silhouette Studio. If you need a tutorial for making a PNG into a cut file in the Silhouette Studio you can find my You Tube tutorial here!
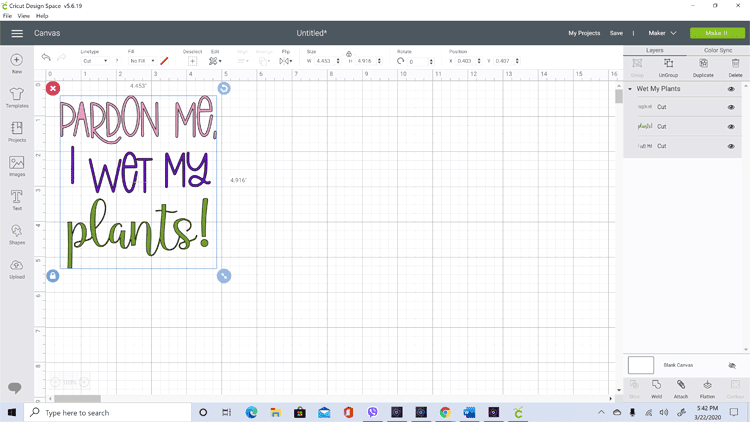
Measure the space on your watering can and size the design accordingly.
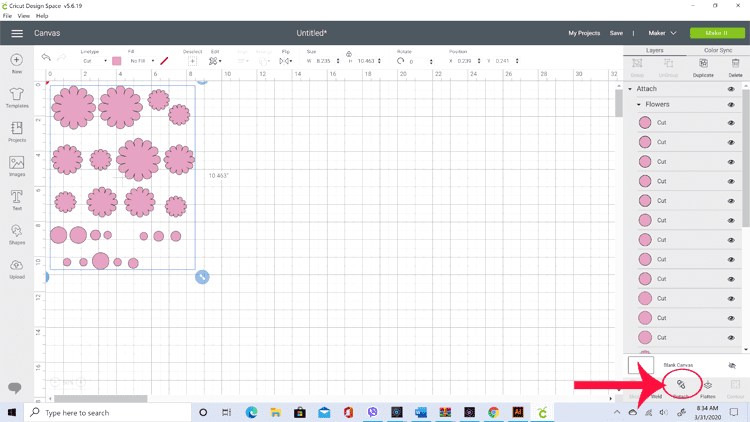
This photo below is a screenshot of the file in the design space. I did copy and paste the design, set them next to each other and cut out two. This allowed me to add the design to each side of the watering can.
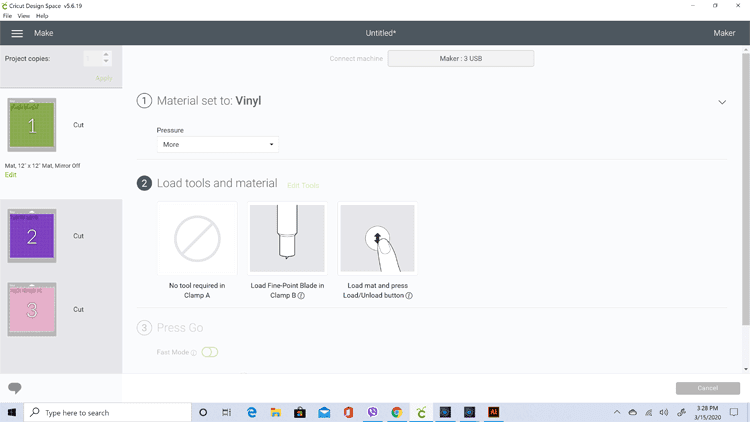
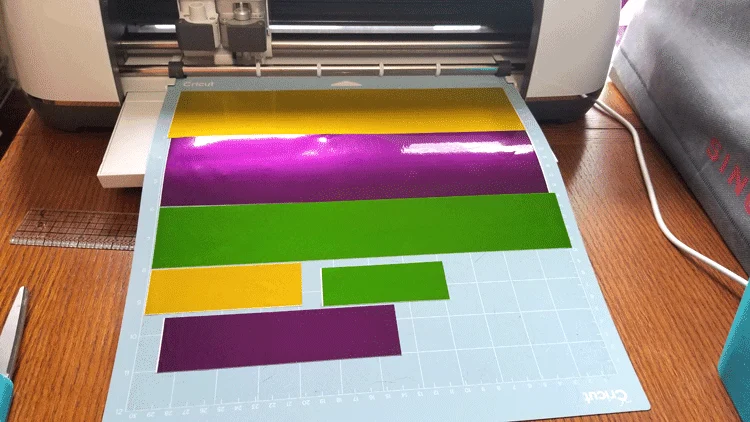
Design space automatically separates the colors onto different mats so I did cut these colors individually.
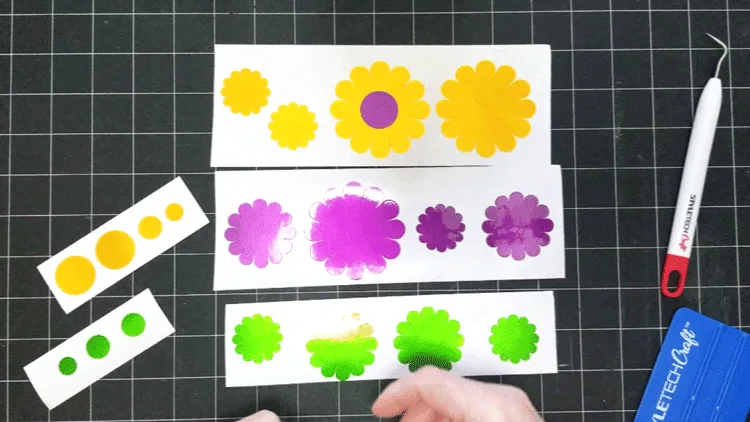
When I cut out the flowers I placed different colors of vinyl on the mat and was able to cut all at once. Since they were all the same color in the program design space did not separate them into different mats.
You do have to remember to click on “attach”. (see the red arrow below) If you don’t they squish up to conserve vinyl. Which is fine but I wanted them this way.
Step 2: Weed and add transfer tape
After they are cut, weed and add your transfer sheets.
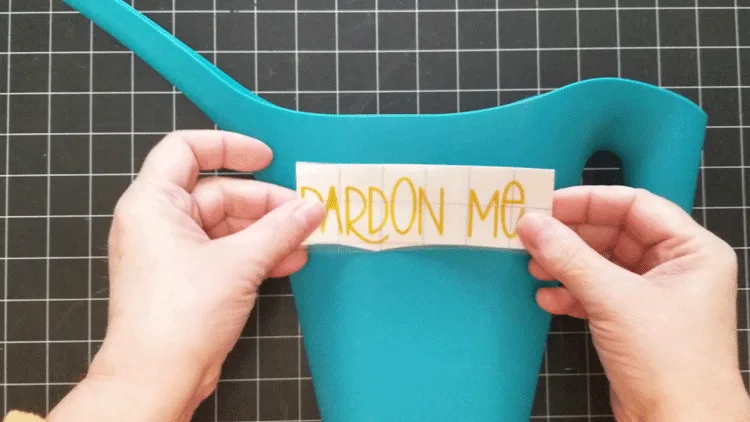
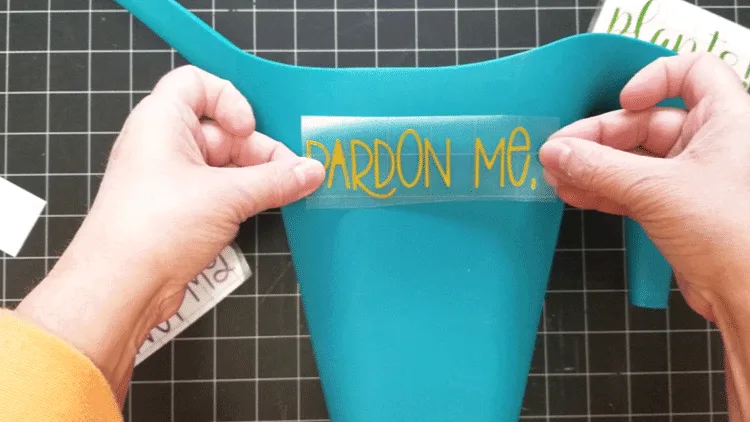
This an example of some of the text that has been weeded and has the transfer tape over the top of the design.
If you are not familiar with the transfer tape, it allows you place the design as a whole instead of each individual letter separately. It keeps the letters or design in line so you can place it straight.
It really is a life saver.
If you would like to see a demo of the transfer tape you can watch this video. It shows using it with a diy vinyl stencil but the idea is the same.
Step 3: Add your design to the watering can
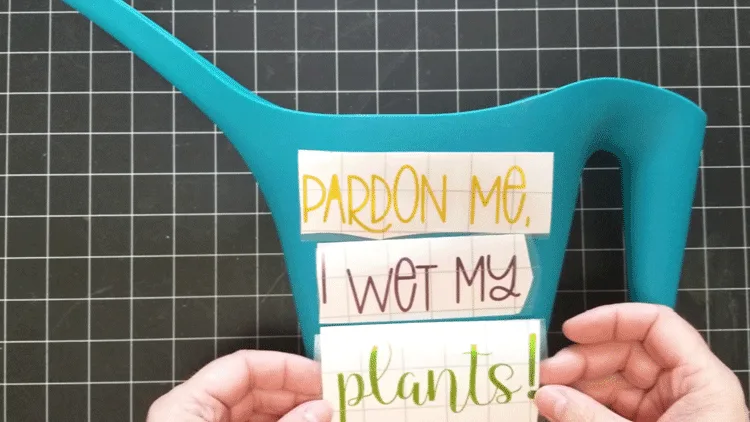
This is the fun part! Adding your vinyl pieces to your project. I started by laying out the design.
This helps to get an idea of how you will be placing the text.
Start at the top, remove the backing and use the transfer tape to help place the text in the exact spot.
I was a little worried about the vinyl sticking to this, sort of, rough surface of the watering can but I haven’t had any issues with it. The polished metal vinyl was originally created for car stickers so it is durable. I was told by a StyleTechCraft representative that it will last outdoors for up to four years outdoors.
So this vinyl would be great for other outdoor projects. I can’t wait to experiment.
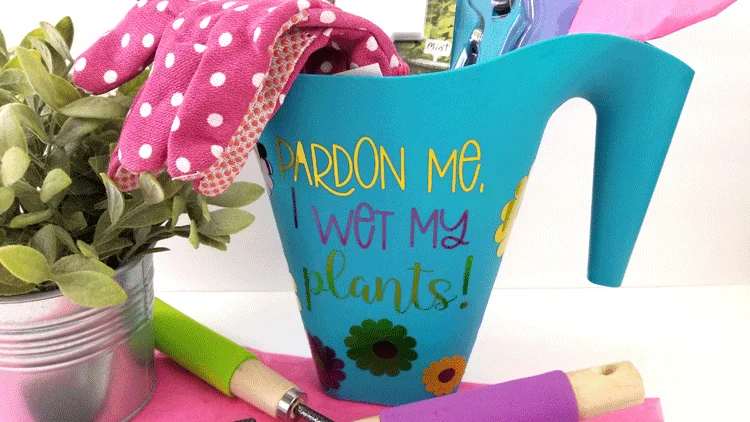
Anyway, keep going with the text on the watering can until you get both sides done.
Step 4: Add the vinyl flowers
Once the text is added it is time to add the flowers.
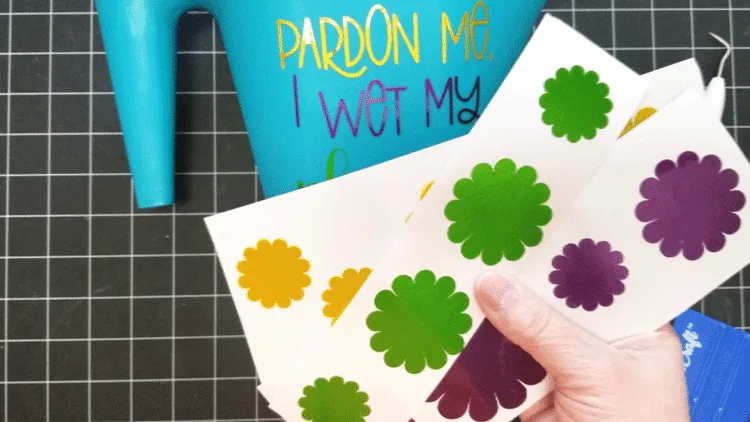
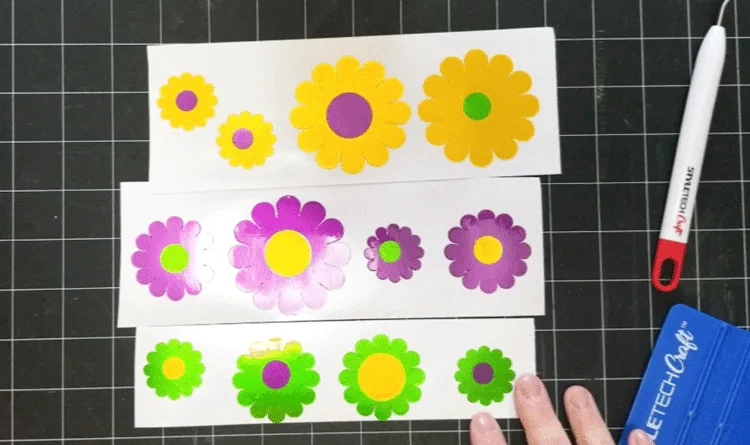
The first thing you want to do is add the circle centers into the flowers. I varied the colors so that I didn’t have all of the same flowers.
Then start adding them to the watering can around the text. I used these fill up the front and back and the bottom of the can.
Mix up the sizes and colors around the can.
Step 5: Add your favorite gardening tools
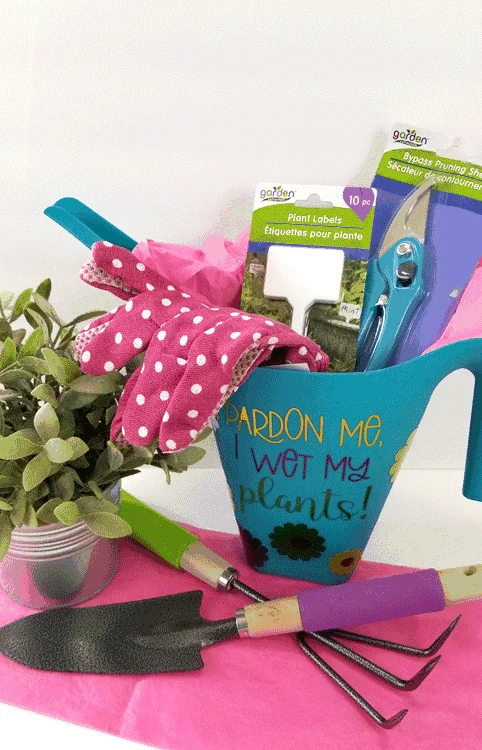
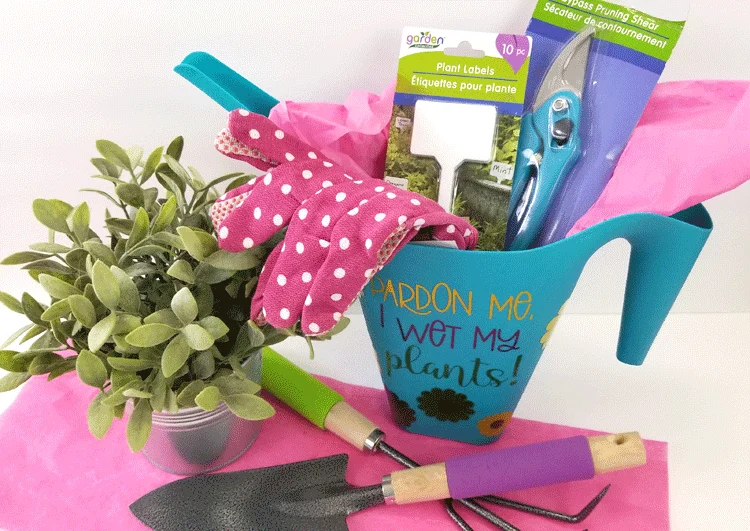
The watering can is the garden gift basket so you can get whatever you want to add to it for your favorite gardener. All of these are from the Dollar Tree.
They also have the cutest little gnomes, fairies and little village pieces it you wanted to make a fun fairy garden.
I added:
- A spade for digging
- another digging tool with three prongs. I don’t know what it is called.
- Pruning shears
- Plant labels – which would be cute to add the names of herbs or plants with more vinyl
- and pink polka dot gardening gloves.
- tissue paper
It turned out really cute.
What do you think?
I hope you like the Mother’s Day Garden Gifts. It was fun to make and will be even more fun to give.
Here is the material list I promised at the beginning of this post.
A great DIY Mother's Day garden gift idea. It is easy to make and will make a great gift idea for any gardener. And it's not just for Mother's Day. It would be perfect for any occasion.Mother's Day Garden Gifts
Materials
Tools
Instructions

Thanks so much for stopping by!
Michelle





Michelle James
Thursday 9th of April 2020
This is such a great gift idea. I love the quotes. Thanks for sharing!
Michelle
Friday 10th of April 2020
It is a funny quote. I have seen it before and it always makes me laugh. Thanks so much.
Susie Bentz
Thursday 2nd of April 2020
It did turn out really cute - and it made me laugh! Time to hit the dollar store! and thanks for sharing the cut file!
Michelle
Thursday 2nd of April 2020
Thank you Susie! I am glad you laughed. I love this saying and I remember it making me laugh the first time I saw it. I hope you can use the cut file.
Nancy L Janssen
Thursday 2nd of April 2020
Oh, now that's a gift that will put a smile on any mom's face, Michelle! Love the shiny vinyl.
Michelle
Thursday 2nd of April 2020
Hi Nancy! I love this vinyl too. It is really pretty. Thanks so much and I am glad you like it. My mom doesn't garden but I have an alternate in mind. LOL