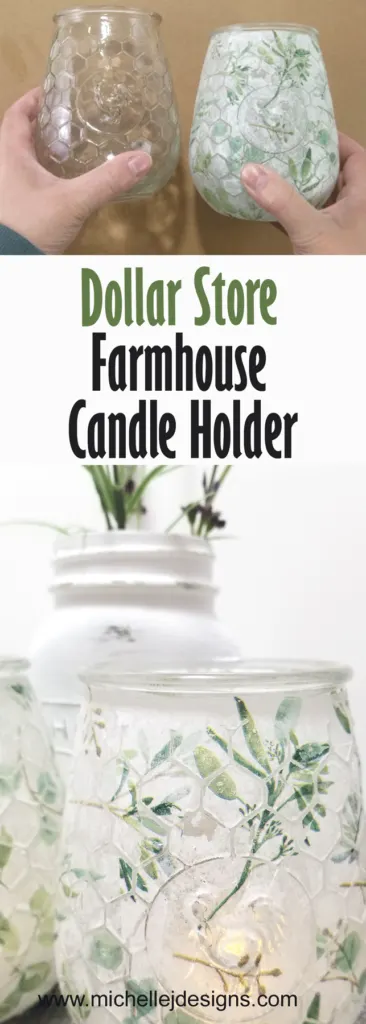
Learn how to Mod Podge tissue paper on glass to create a fun farmhouse candle holder for the perfect spring look.
I am pretty sure these are candle holders but I really think they could be vases or just sit on a table looking pretty.
Instead of using my usual chalk paint or spray paint on the glass I decided to try something different.
This is a technique I have seen using napkins so I originally was looking for pretty napkins. But when I saw this really fun and pretty tissue paper at Dollar Tree I just had to see if it would work.
If you LOVE Dollar Tree crafts and gifts then you are definitely in the right place.
and,
If you love painting and making glass crafts and gifts you will love it here.
Farmhouse Candle Holders
These were pretty easy to make but I think they turned out so pretty. Here is what you will need for this project.
Materials needed:
I have added some affiliate links for your convenience. You can see my full disclosure here.
- Candle holders with a pattern. These have a chicken wire pattern and a chicken on two sides – I found these in a brand new store by me. I cannot find them online.
- Tissue paper – I found mine at the Dollar Tree but any tissue paper will work.
- Mod Podge
- Brush for adding the Mod Podge
- Sanding block
- Tea lights – optional but fun.
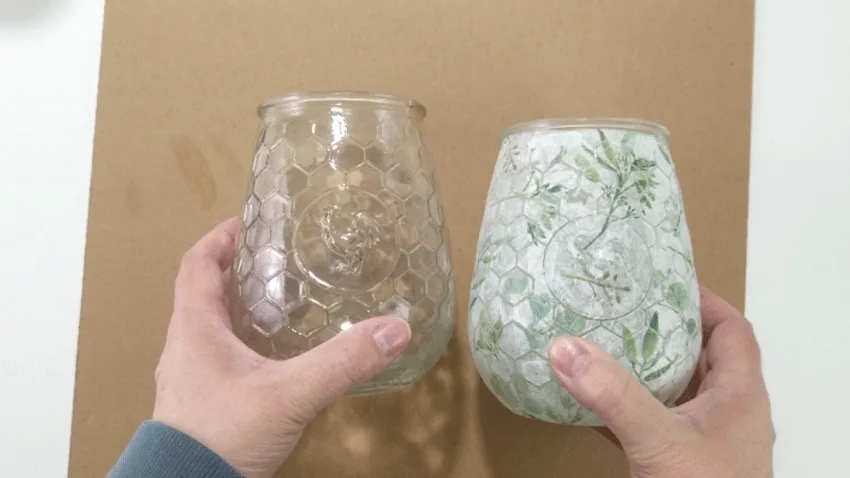
This is what these cute candle holders looked like before and after but I really wanted to show you how they looked before I add the tissue paper. The cute chicken wire pattern drew me in.
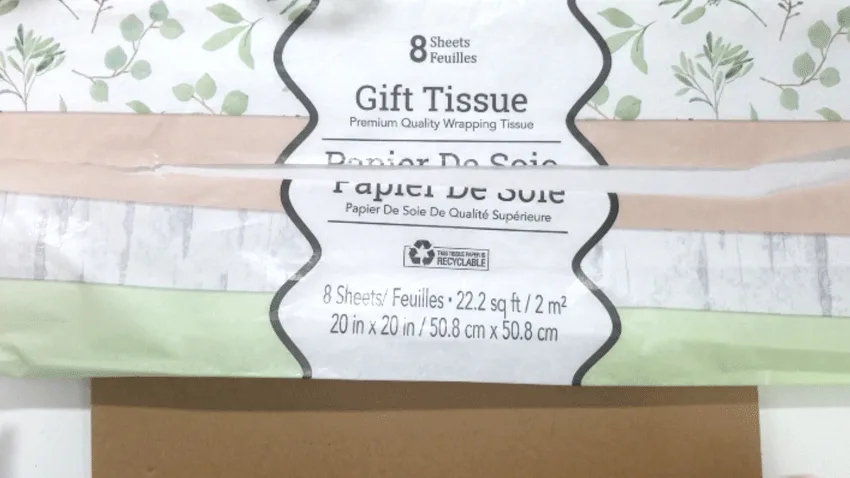
This is the tissue paper. I thought it was super cute and for a dollar? Yes please!
Step 1: Cut strips of tissue paper
Since the candle holder is sort of an odd shape I wanted to add strips of tissue paper to get it covered.
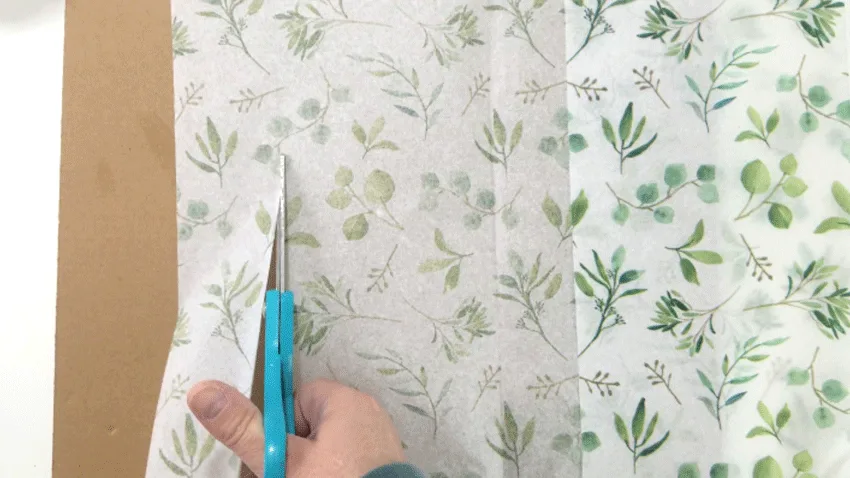
I cut about a 2 inch wide strip.
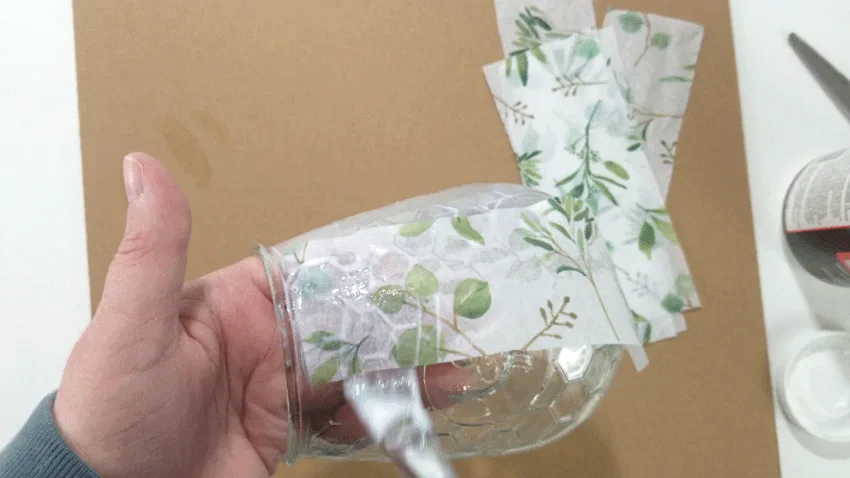
Hold the strip of tissue up to the vase and cut into shorter lengths. You want them to cover from just underneath the lip to the center of the bottom.
You will need between 6 – 8 pieces depending on how much you overlap. My first one took 6 pieces and the second took 7. You can always cut more if needed.
Once the pieces are cut we are ready to use the Mod Podge and apply them to the glass.
Step 2: Apply the tissue paper with Mod Podge
Grab your brush and your Mod Podge.
Apply a fairly generous amount of Mod Podge to a section of the glass. Make sure it is wider enough to apply at least one strip of the tissue paper.
Once there is enough Mod Podge add one strip of the tissue paper. Start by lining up the top just under the lip. Then add more Mod Podge and brush the tissue paper down. Move from the top toward the bottom of the candle holder.
You may encounter a fold that is too much to place down without adding more Mod Podge in between. If this happens, use a scissor to cut the fold and then place one over the other of the cut pieces.
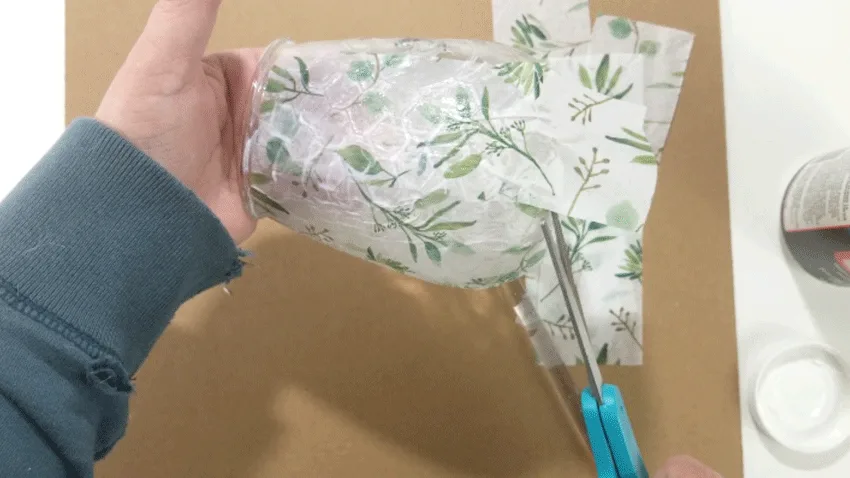
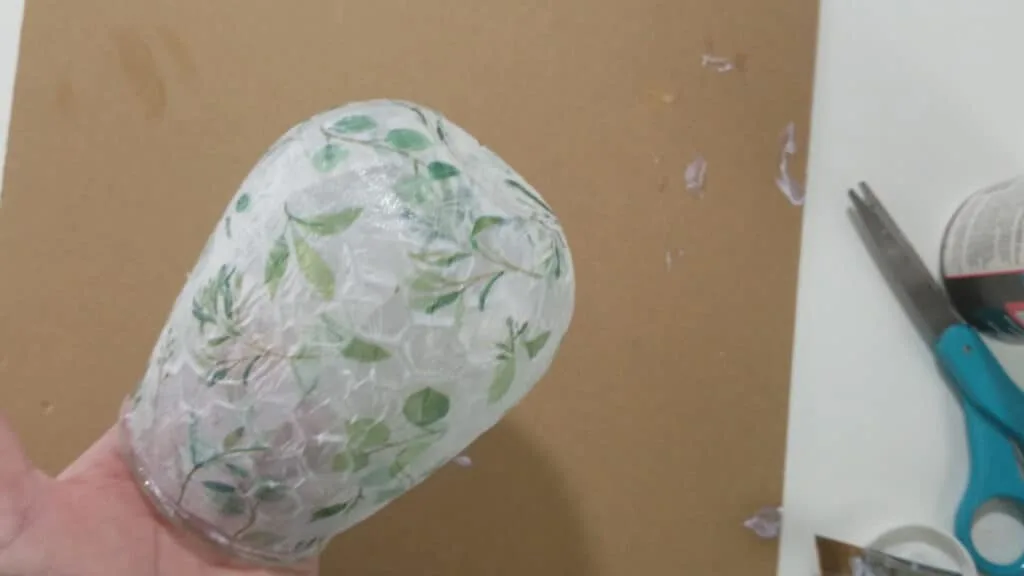
Keep adding the tissue pieces until you get all the way around the glass piece.
Set aside and let the Mod Podge dry.
Step 3: Sanding the tissue paper
Now comes the messy part. I chose to sand my project in the garage because it really does produce a lot of “tissue” dust.
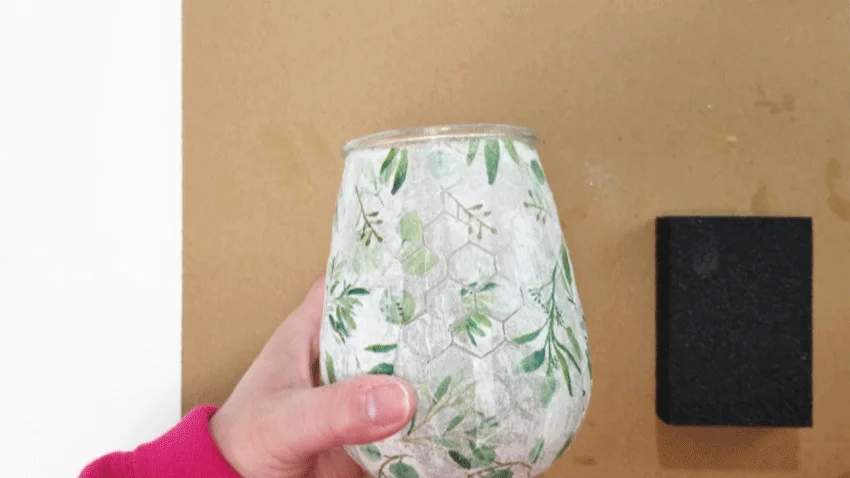
Use a coarse sanding block and start sanding. My goal was to sand all of the tissue paper from the raised parts on the glass pattern. So the chicken wire the the chicken.
You can see the glass starting to show through. Keep sanding until you have the look you want.
Wipe off the extra sanding dust with a damp cloth and your are finished.
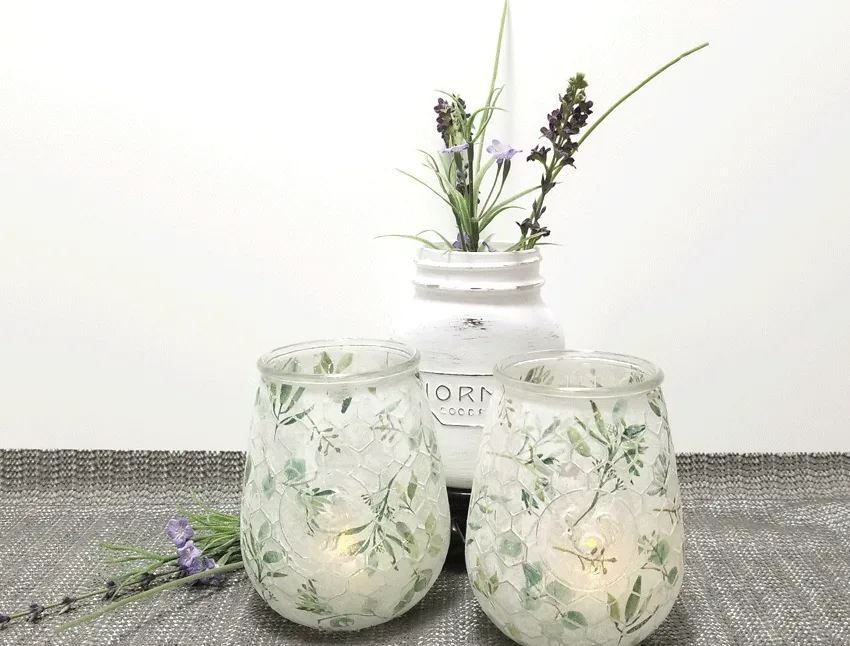
They turned out so cute. I may add some twine to the top and I am not sure if I will use them as a vase or a candle holder or…give them as a gift.
I love these. I hope you will give this tissue paper technique a try.
Thanks so much for stopping by!
Michelle








DD
Thursday 30th of January 2025
I have a bunch of regular glass bottles and vases. Different sizes. Not all of them have a pattern though. I assume I could still do this craft tho?
Michelle
Thursday 27th of February 2025
Absolutely! Have fun.
Dee Dee
Saturday 7th of September 2024
Hello, I’m new to mod pod so am wondering why you have to sand? Doesn’t it remove the tissue paper as well?
Dee Dee
Michelle
Tuesday 17th of September 2024
H Dee Dee. I wanted to remove some of the tissue paper where the raised design on the glass was so it would show through. It is an optional step. I just like the rustic look.
sharon
Saturday 15th of June 2024
Adorable and creative! I like the sanding, it adds some dimension... Does the modge podge protect the vase from water spillage or drips (if used as vase)?
Pinning!
Shirley
Wednesday 2nd of April 2025
@sharon, You could use waterproof Modpodge.
Michelle
Friday 21st of June 2024
Hi Sharon,
I think it would help for small amounts of water but I am not sure I would trust is completely for a lot of water. Thanks so much for the comment and question. I am glad you like it!
Tammy
Thursday 15th of February 2024
They are so pretty. I have an old bottle that at one time was painted and had a string of lights in it. I think this would be perfect for that.
Michelle
Thursday 15th of February 2024
Hi Tammy. That sounds perfect. I am so glad you like it. It also works great with a paper napkin. You just peel the napkin apart so you have just one thin layer. Have fun!
Yvonne
Saturday 3rd of February 2024
Do you separate the tissue if using napkin
Michelle
Saturday 3rd of February 2024
Hi Yvonne. If you are using a napkin you will want to separate the layers and use only the top layer with the design.