It is hard to find the mini rolling pins for tiered tray decor in stores. Make your own DIY mini wood rolling pins with a few supplies.
I got tired of finding the mini wood rolling pins always out of stock at my local stores.
I could have purchased online but I decided to create my own. Then I can make as many as I like. Plus they are unique and different from all of the other mini wood rolling pins.
I have been sort of obsessed with making and decorating tiered trays and the rolling pins are super popular. Of course I wanted them.
Chalk Painted Glass Tiered Tray
Mini Faux Dessert for Tiered Tray

DIY Mini Wood Rolling Pins
The mini rolling pins are easy to make. You just need a few supplies.
I am using StyleTechCraft vinyl for my mini rolling pins and for all of the other vinyl on my Easter Tiered Tray. I am on their awesome Design Team and they have sent me the vinyl for these projects!
Materials needed:
I have added some affiliate links for your convenience. You can see my full disclosure here.
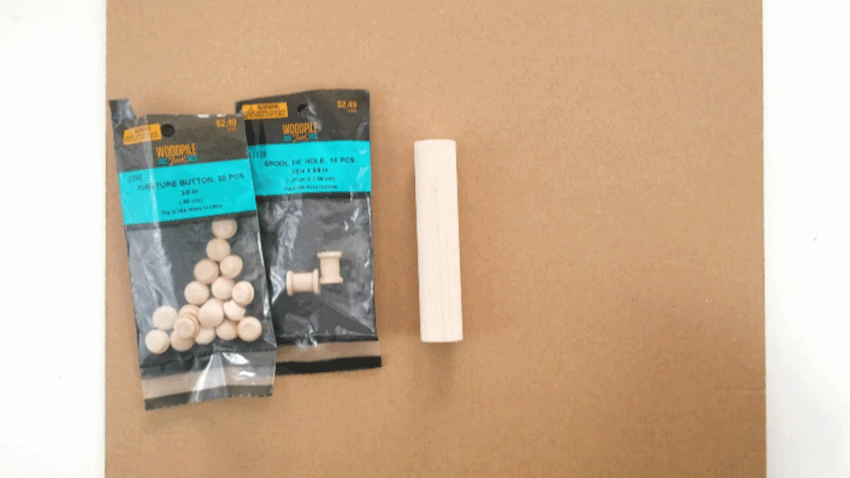
- Dowel – around 3/4 inch or whichever size you like – I got mine at Hobby Lobby but cannot find it on the website. It is in the unfinished wood section.
- Wood spool – 1/2 inch x 5/8 inch
- Wood furniture button – 3/8 inch
- Sanding Block
- Wood glue
- Spray paint – 3 Easter colors
- Wood Stain – I used a spray stain that we had in the garage and I loved it.
- Mini miter saw or hand saw for cutting the dowel
- StyleTechCraft Vinyl – White and Orange glossy
- Transfer Tape
- Mod Podge – Glossy
- Small brush
Step 1: Cut and paint dowel pieces
Measure and cut your dowel pieces to the size you want your rolling pins to be. I used 4 inches on these but the next batch that I made I cut them at 3.75″. It is a small difference but I think they looked a little better with the size of the handles.
You can make your own choice as to what size to cut.
Once they are cut use the sanding block to sand the ends a little bit to make them nice and smooth.
Use the spray paint to add color to each of the dowel pieces. Spray light coats, let it dry then turn the dowel and spray again. I gave mine a couple of coats. For this Easter tray I used light blue, light pink and white.
Once the paint is dry brush on a coat of glossy mod podge. This will help the vinyl to adhere nicely and it won’t peel off the paint when you lift up the transfer tape.
Since I was able to get so many rolling pins out of one piece of dowel I tried to think ahead to other tiered tray themes and designs. I painted all of the dowels in one day to save time later.

Step 2: Make the handles
We looked around a lot for the perfect wood pieces to make handles. I never really found them but I think these are a great alternative.
Take 2 of the small spool pieces and 2 of the furniture buttons.
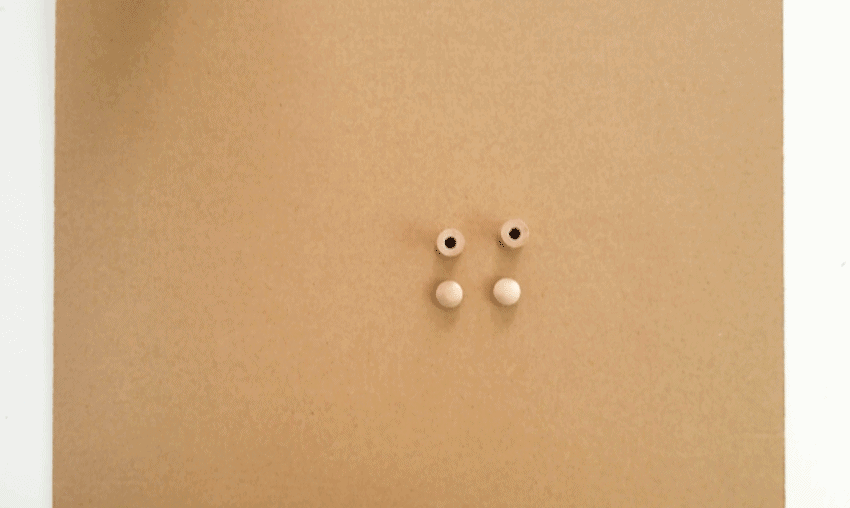
Use a small amount of wood glue and a toothpick to smooth the glue onto the wood and glue the furniture button onto one of the ends of the spool.

This is how they will look.
I think the handles look pretty good. They don’t look like the ones in the store but I like them a lot.
Step 3: Stain the handles
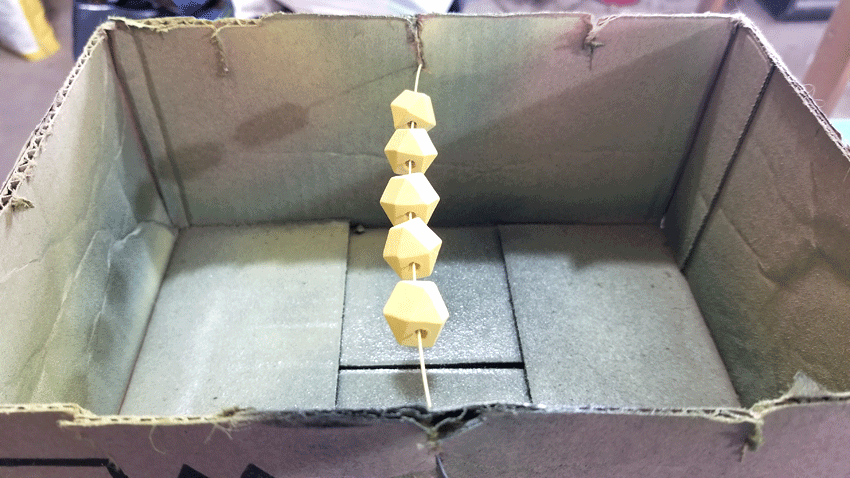
These guys are pretty small so when I found the spray stain in my garage I knew it would be perfect for these.
I laid them out on a cardboard and sprayed them. Once that side was dry I sprayed the other side until they were covered.
Some of them got a little drippy. I think I sprayed too much stain at once or got the can too close to the wood.
But for the most part they came out pretty cute.
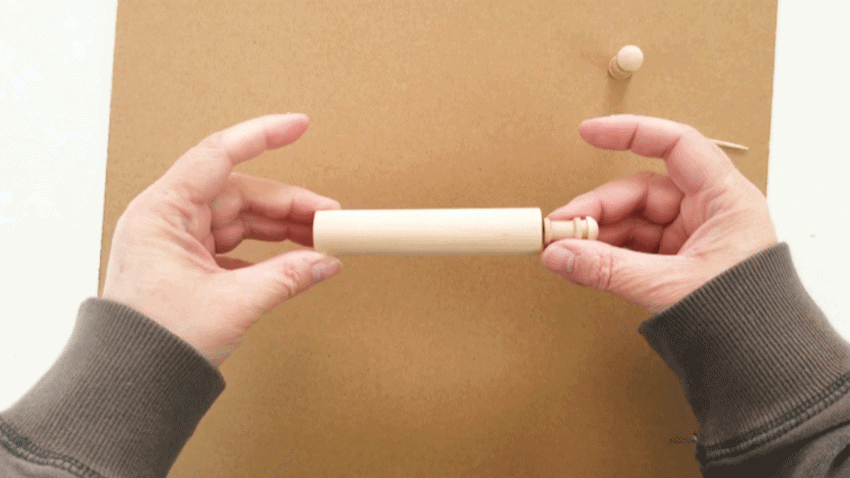
Step 5: Add the handles to the painted dowel pieces
Before I added glue to the handle pieces, I sanded the ends just to make sure the glue would adhere nicely.
Then I added a small amount of wood glue to the handle piece and centered it on the ends of the painted dowels.

Hold the handle onto the dowel piece for a few seconds. Just enough time so the it doesn’t slide down when you let go. Then glue the other side.
Wood glue needs to set up a bit so just give it about and hour or so before you handle it too much.
Step 6: Add vinyl to the mini rolling pins
I created a fun little set of digital files for you to use if you want. It includes the three sayings I added to my mini rolling pins, the bunny happy Easter that I added to my wood bead garland and the Hip and the Hop that I added to the little mini mason jars.
The digital file includes all of the images below in jpg, png and svg files. If you are already on my list…don’t worry, you will not be added again and you will still get your freebie!

I first cut out the vinyl, weeded it, added the transfer tape then added the design onto the rolling pins after the mod podge was completely dry.
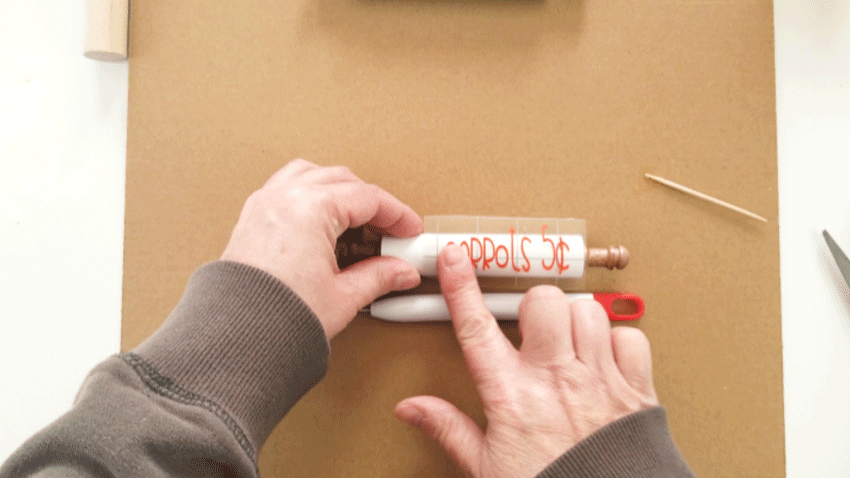

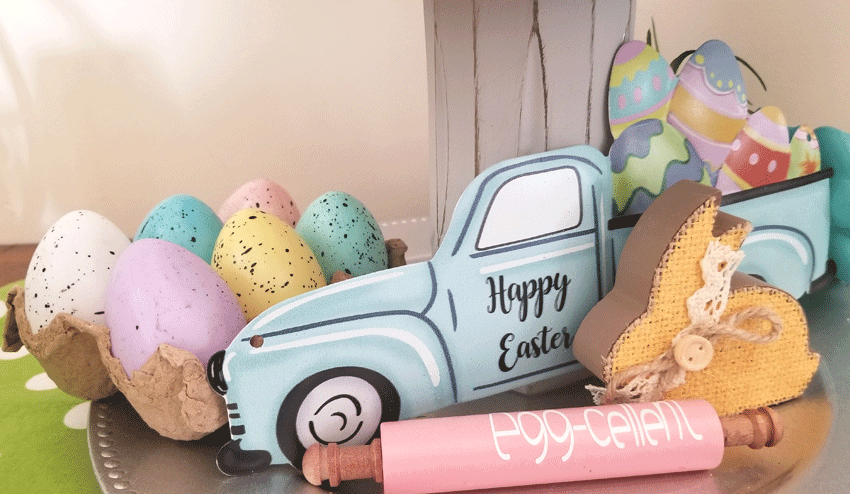
Aren’t they super cute? I just love them.
Now I have several more DIY mini wood rolling pins ready to go for my next tiered trays.
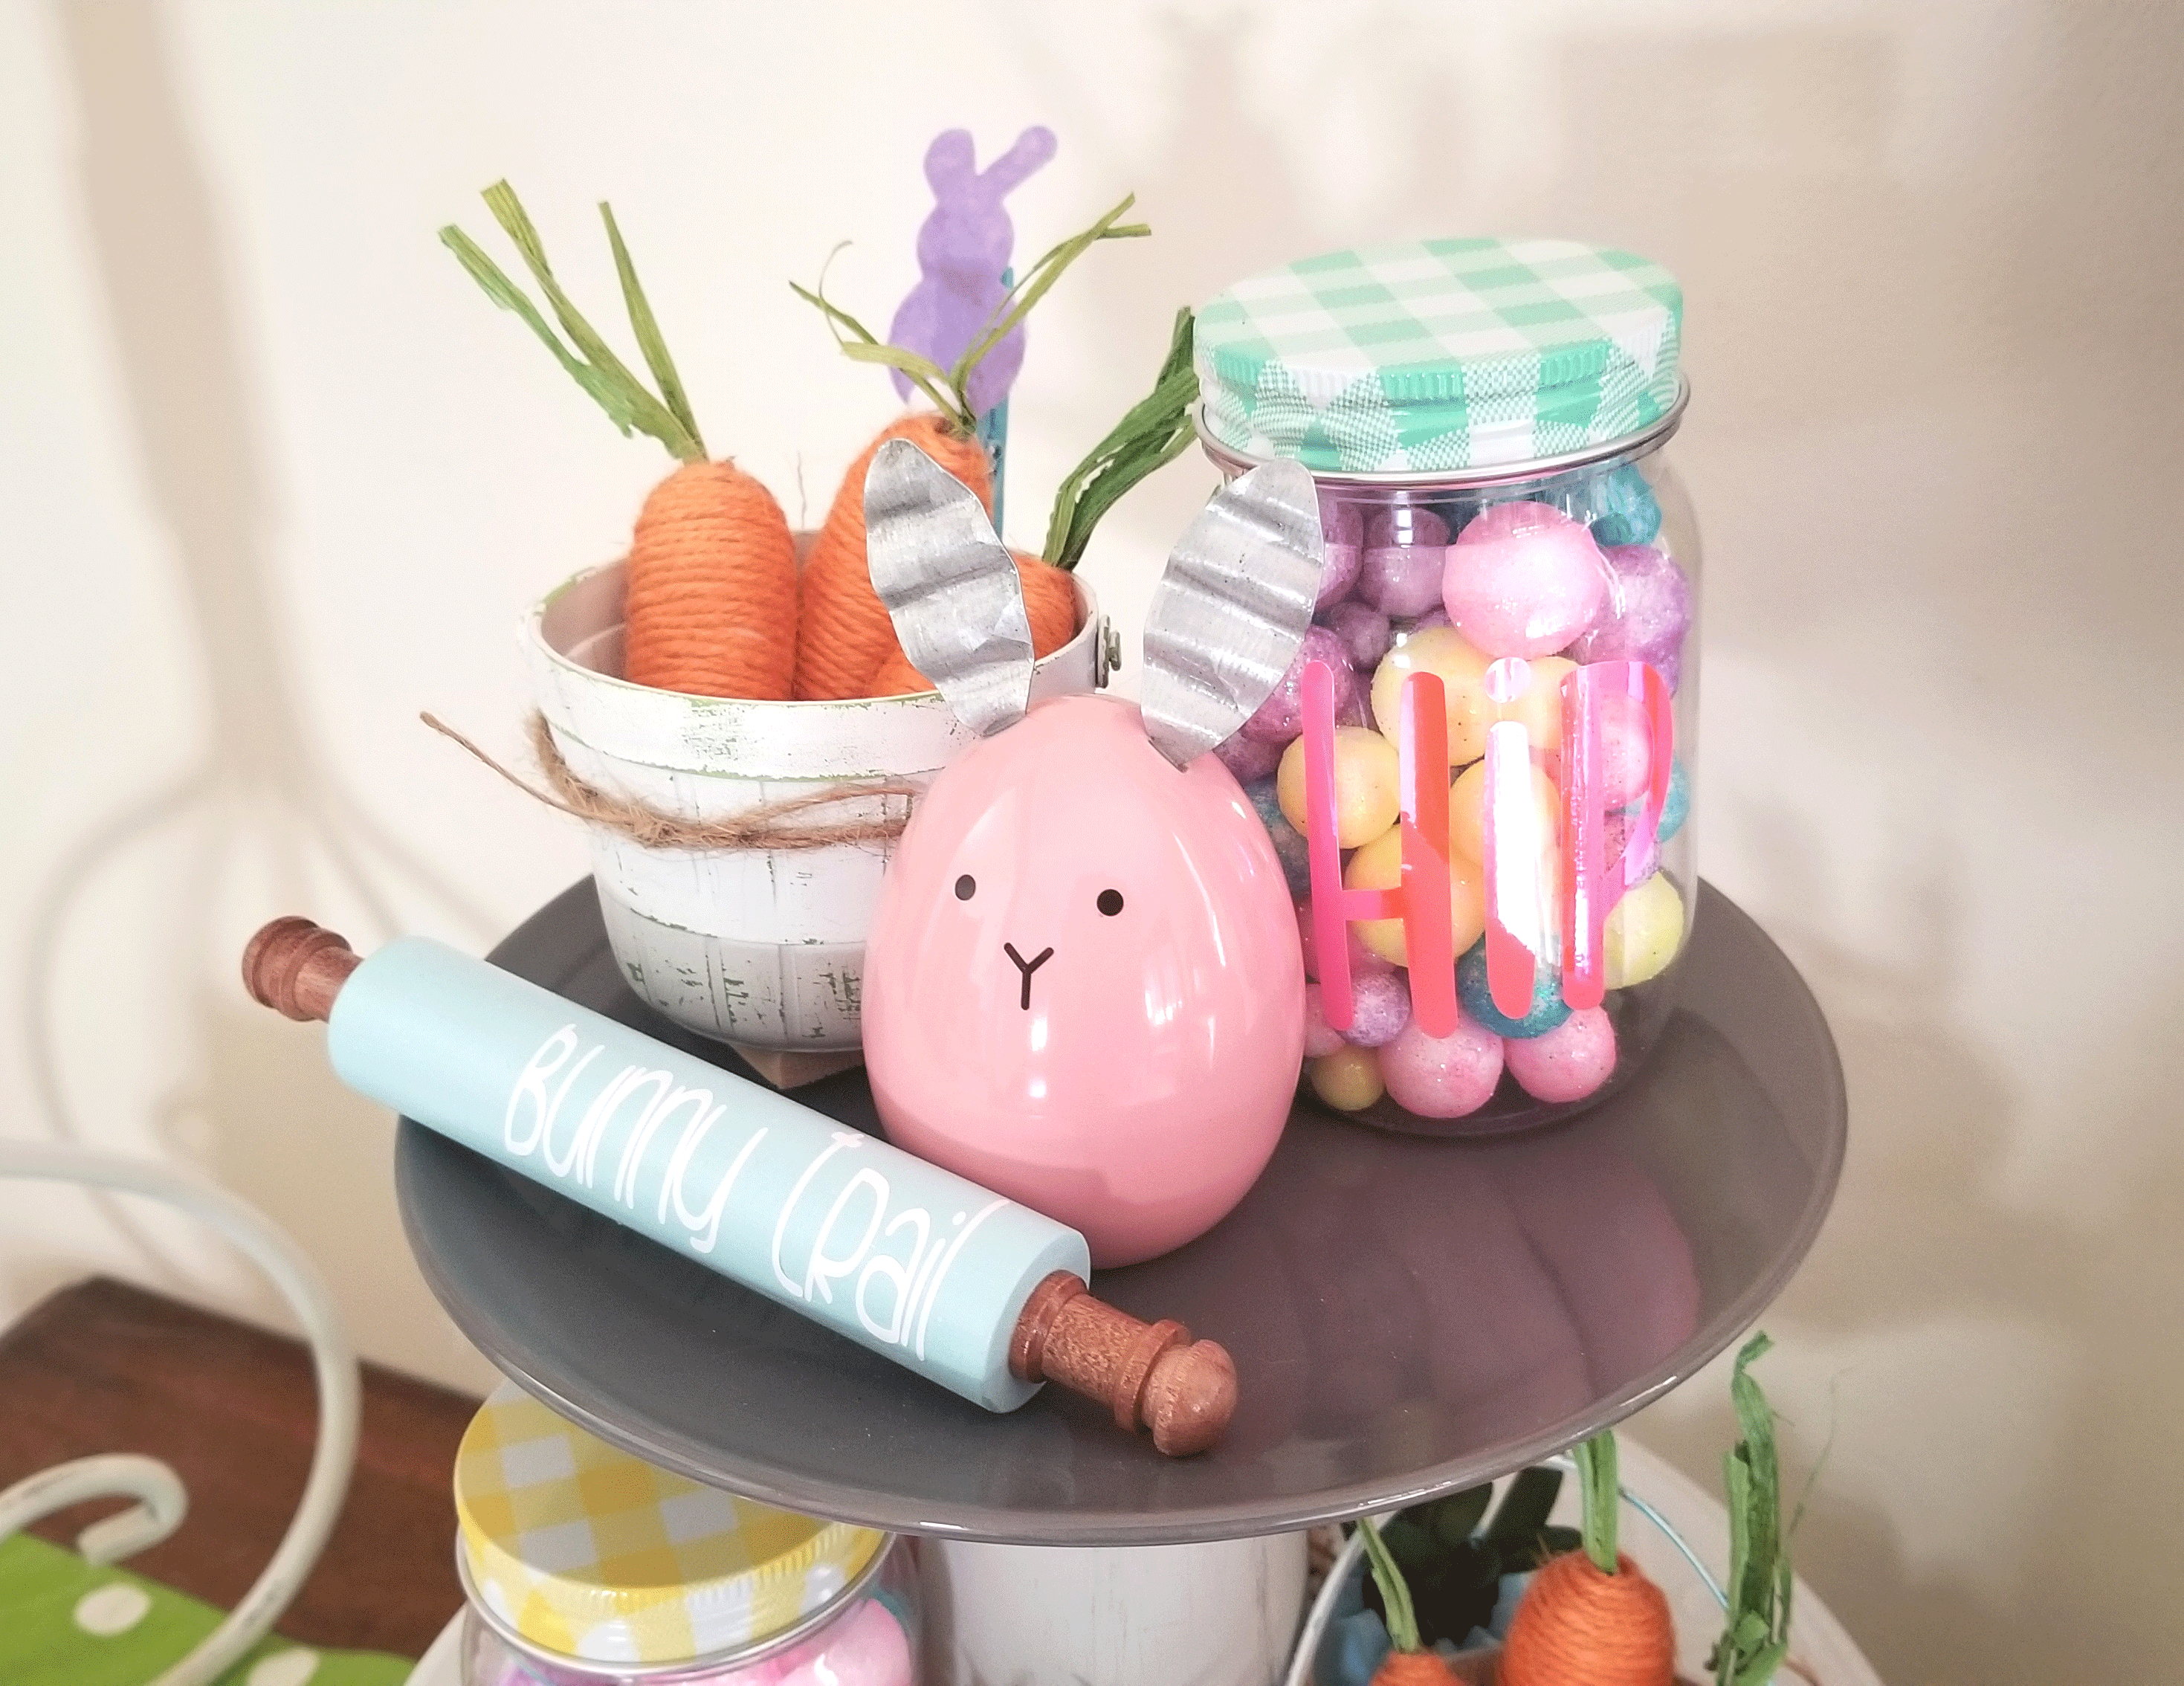
Here is my Easter tiered tray.

I made another wood bead garland for this tray. The beads were spray painted separately by color then strung together using twine. I cut an oval shape out of basswood with my Cricut Maker, painted it white and added the vinyl from the free cut file above.
You can see the finished garland below.
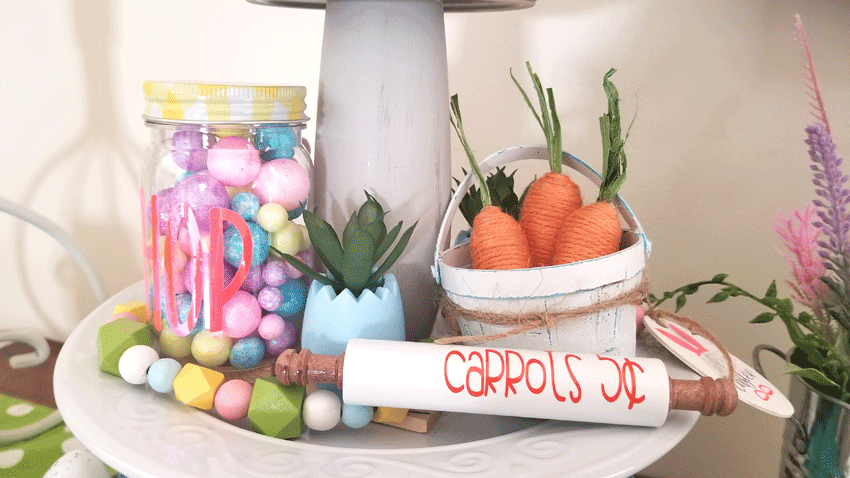
I love the opal vinyl. I used it on the little jars from the Dollar Tree and the wood egg tag below.

Materials needed for bead garland:
- Wood beads
- Spray paint in Easter colors
- Twine
- Basswood
- StyleTechCraft Opal Vinyl
- Transfer Tape
- Cricut Maker
- Knife blade
- Strong Grip Mat
I hope you loved these fun wood and vinyl projects for Easter!
Thanks for stopping by!
Michelle


Jenn B
Thursday 24th of March 2022
Where did you get the carrot baskets from? Your tray is soo cute!
Michelle
Friday 25th of March 2022
Thank you. I love this tray. I need to get it out again. I got the little carrots and the baskets from Dollar Tree. They are so cute!
Regina Anthony
Tuesday 30th of March 2021
Your trays are adorable! Regina
Michelle
Saturday 3rd of April 2021
Thank you Regina. They are so fun to decorate. And I love making the decor too.
Susie
Tuesday 30th of March 2021
I think they look great! Super cute!
Michelle
Saturday 3rd of April 2021
Thanks Susie! I really like the way they turned out.