Tiered trays are so fun to decorate. I am going to show you how to create a mini faux dessert for tiered tray decor. It’s so cute!
Tiered trays are becoming my new favorite thing. Not only to decorate but to make.
It is so easy to make your own tiered tray and Dollar Tree is your “go to” place to get supplies.
I made this DIY three tiered tray using various sized plates and a glass and a vase all from the Dollar Tree. The chalk painted glass was fun too.
I want to make more but I have to find a place to put them all first. LOL! Truly this is super fun because after you make the tray you get to decorate it all year long with whatever makes you happy.
And happy crafting is the goal!
If you LOVE Dollar Tree crafts and gifts then you are definitely in the right place.

Faux Dessert For Tiered Tray
There are a couple of materials for these fake desserts for tiered trays that need to be gathered…as with any crafting project. So here is what you need!
Materials Needed:
I have added some affiliate links for your convenience. You can see my full disclosure here.
- Dollar Tree shot glasses or dessert cups
- Styrofoam ball
- White glue
- lightweight spackle – I get mine at Dollar Tree but if you want to make a lot of these types of fake desserts you may want a larger container. Be sure to get the lightweight kind.
- Pastry decorating bag
- Star tip – You could use a large or small star tip. For this I used small.
- White acrylic paint
- Green acrylic paint
- Glitter – in rainbow colors
- Paper straw
- St. Patrick’s Day button pin
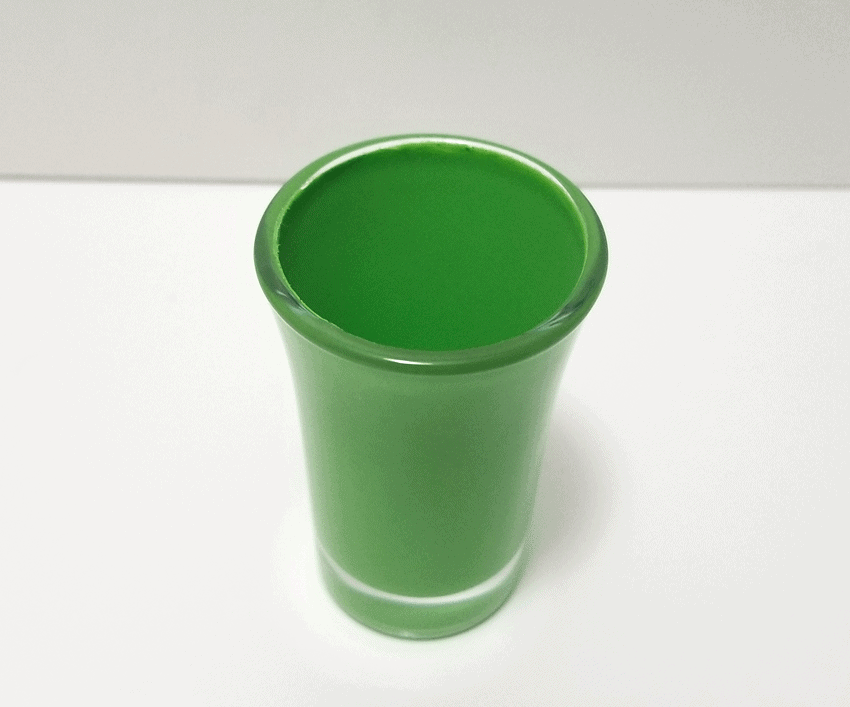
Step 1: Paint the inside of the dessert cup/shot glass
The inside of this mini “milkshake” glass needs to be the color of your milkshake or whatever you are making. This is a St. Patrick’s Day shake…you know…like the Shamrock shake from McDonald’s.

So I added some of the green acrylic paint to my glass and turned it somewhat upside down and turned it and turned it until the paint covered the entire inside of the glass.
Then I set it upside down on a paper plate to let the extra paint drain out.
I checked it after a few hours and moved it to anther place on the plate so it wouldn’t get dried and stuck.
When it was drained of all the excess, I turned it right side up and let the paint completely dry.
Step 2: Add the styrofoam ball
Once your paint is dry it is time to add the styrofoam ball. All this does is act as a filler so you don’t have to fill your entire mini glass with the spackle.
Add some white glue around the center of the styrofoam ball or where it touches the glass when you add it to the top.
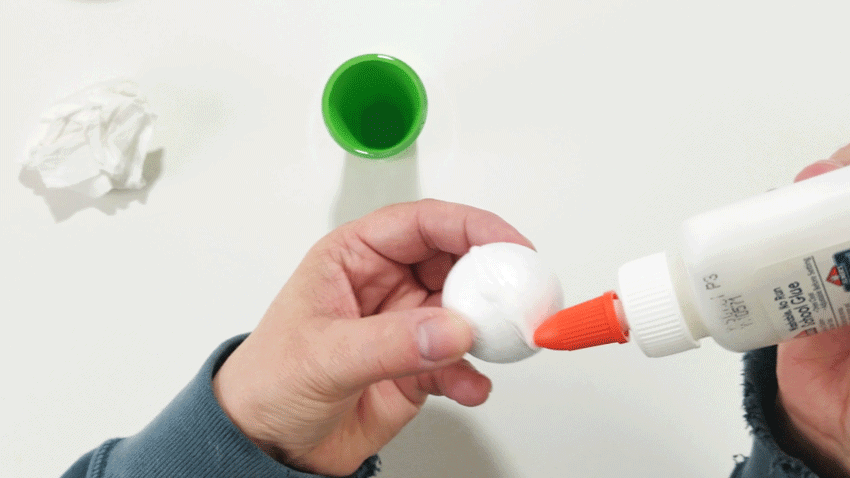
Place the ball into the painted shot glass.
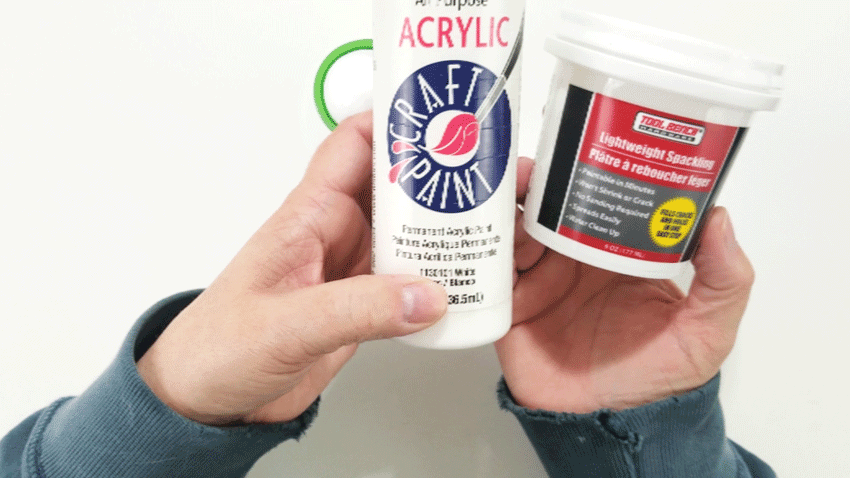
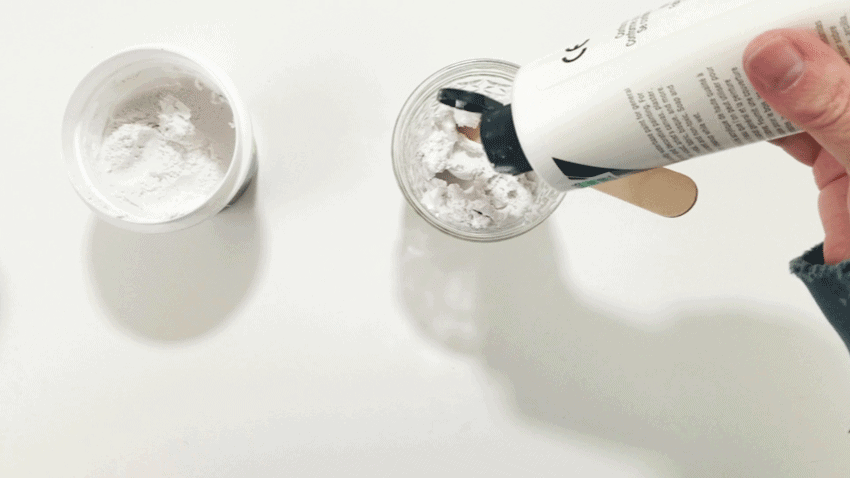
Step 3: Mix the spackle and the white paint
The color of the spackle is a little gray-ish to look like bright, white whipped cream. But…adding some white paint brightens it up and makes it look just right.
First place some of the spackle from the container into a cup, jar, glass or whatever you have on hand.
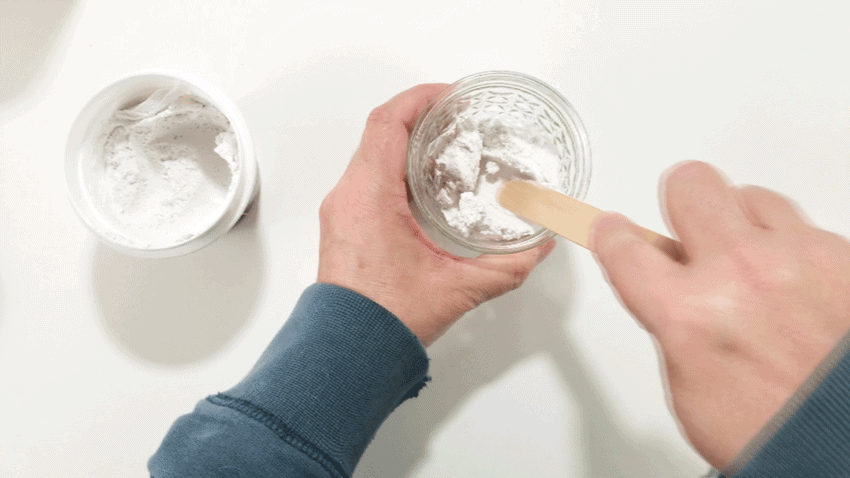
Mix in white paint until you are happy with the color then add the spackle mixture into the pastry bag with the star tip.

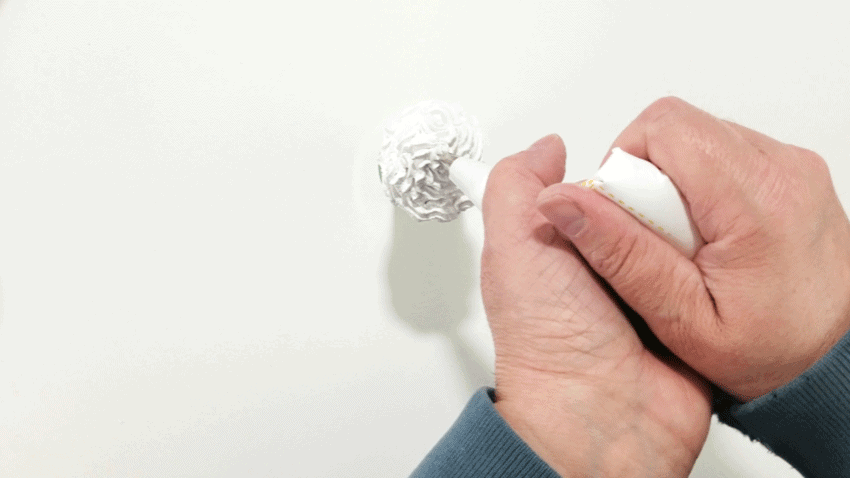
Step 4: Pipe out the “whipped cream”
Now for the fun part. I am so bad at this but I think, with practice, I can get better.
Start piping the spackle mixture around the edge and on the top of the styrofoam ball until it looks like a fun mountain of whipped cream.

Step 5: Add a straw and some toppings
Just like a real milkshake we need a straw and some fun toppings.
Cut a paper straw down and just poke it into the spackle. Remember that the styrofoam ball is in there so it will stop before going all the way in.
I could have cut my straw a little shorter.
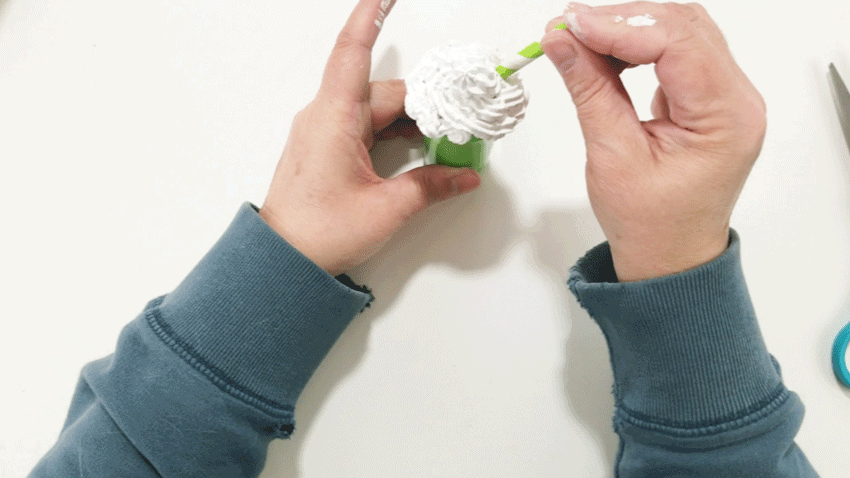
The spackle will harden with the straw in place.
Next add some sprinkles…or glitter.
I wanted rainbow colors on my whipped cream so I sprinkled on red, orange, yellow, green, blue and I didn’t have purple so I used some pink.
The blue came out too fast and got a little messy. But I fixed that by adding the St. Pat’s button/pin right on top of it.
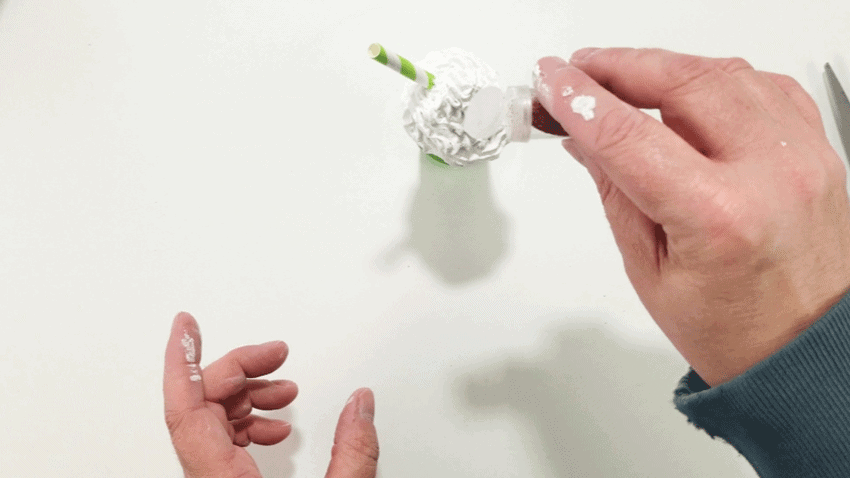
Isn’t it the cutest, little thing?

The finished St. Patrick’s Day Tiered Tray

This is my finished St. Patrick’s Day tiered tray. I just love it!
What it includes:
- The little black pots are from the Dollar Tree and I added opal vinyl for the text Pinch and Gold
- The rainbow light is also from Dollar Tree. It was raw wood and I used acrylic paint to add the colors and the white clouds.
- The polka dot fabric is a Dollar Tree scarf for St. Patrick’s Day
- The three wood pieces with the farmhouse truck, you are my lucky charm, and wee bit lucky with the Gnome are all from Hobby Lobby. They were on sale for $1 each.
- The wood Lucky sign next to the faux dessert was cut from basswood with my Cricut Maker and the knife blade. It was the first time I had cut wood.
- There is a Luck sign on the back of the top tier that has fallen over. It was something I picked up at Hobby Lobby a few years ago.
- The fake green beer I purchased from Etsy – Annies Treasures
- And the wood bead garland I won from the tiered tray facebook group. It is from – Unique Decor by Michelle
And there you have it! My entire St. Patrick’s Day tiered tray. I think it turned out pretty, stinkin’ cute!
I have been gathering and creating for my Easter decor but can’t put it up quite yet!
Thanks so much for stopping by!
Michelle


Susie
Thursday 11th of March 2021
It is VERY stinking cute!
Michelle
Friday 12th of March 2021
Haha! Thank you Susie! I am so glad you agree.