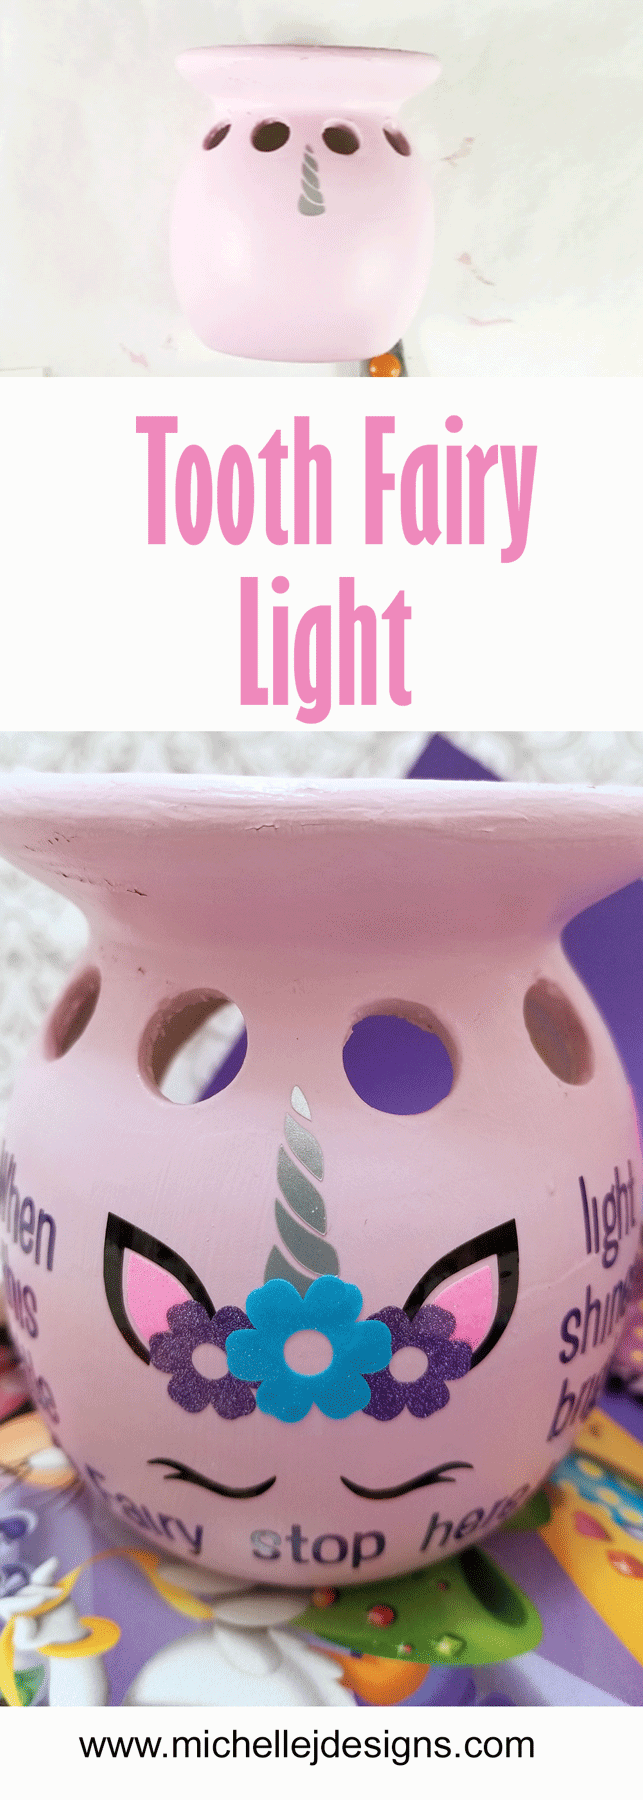
This Tooth Fairy luminary DIY is perfect. Just place your child’s tooth in the top and turn on the tea light to alert the Tooth Fairy!
I really wanted to have an excuse to make one of these. I showed them to my co-worker who has two little girls and she told me one of her girls hates to put her tooth under the pillow! BINGO!
As a bonus…it is a Dollar Tree project. It was perfect and I couldn’t wait to get started.
Since she has two girls they each needed one.
This is a sponsored post by StyleTechCraft – the only vinyl I use! They were very nice and sent me the vinyl to create this project.
If you love painting and making glass crafts and gifts you will love it here.
AND…
If you LOVE Dollar Tree crafts and gifts then you are definitely in the right place.

Tooth Fairy Luminary DIY
I was so excited to get started on these that I didn’t even take a before picture. But I am pretty sure you have all seen these wax warmers before.
These were a cream ceramic glass. The first thing I did was break out the chalk paint.
Materials Needed
I have added some affiliate links for your convenience. You can see my full disclosure here.
- Dollar Tree Ceramic Candle Warmer
- Pink Chalk Paint
- Mod Podge
- StyleTechCraft Vinyl – glossy black, metallic pink, purple and teal
- Dollar Tree Tea Lights
If you like to watch a step-by-step video then just click on the link below. BE SURE TO SUBSCRIBE TO MY CHANNEL WHILE YOU ARE THERE!
Tooth Fairy Luminary Video
Step 1: Paint the candle warmer
I knew these girls love pink, purple and teal so that was the color scheme I was going for.
Can you paint on ceramic glass?
The answer is YES!
Chalk paint is perfect for ceramic glass. Chalk paint can be applied to smooth, slick surfaces without sanding. I try to sand the surface if I can but that is not possible with ceramic and glass.
Then I added a nice coat of Mod Podge. I did this for two reasons:
1 – To add a nice sheen to the flat chalk paint and,
2 – To help add the vinyl without the paint chipping off the warmer. (it really helps a lot)
Once this was done I was ready to cut out the designs.
Step 2: Design and cut
I used my Cricut Maker and my StyleTechCraft vinyl but I started in Cricut Design Space.

I grouped together the different colors of the unicorn and “attached” them in design space. This way they stay in the correct position to recreate the design on the tooth fairy light.
And I did the same with the text. If you don’t use the attach feature it will move the text into a different format to save vinyl. This is a great feature most of the time but many times I want to apply the design exactly as shown.
Once all of the pieces have been cut and weeded, apply the transfer tape.
I had some trouble with the text because it is pretty small. All of the little dots above the “I’s” were lost.
It took some time but I finally got it ready to apply to the light.
Step 3: Apply the design
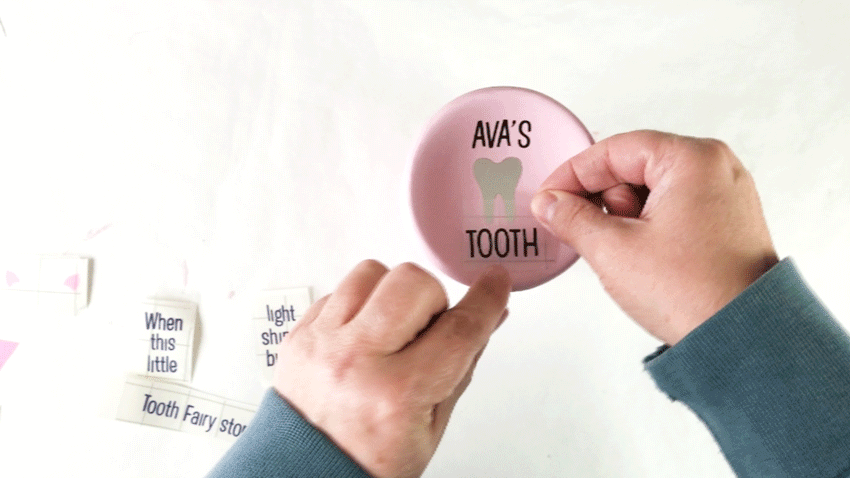
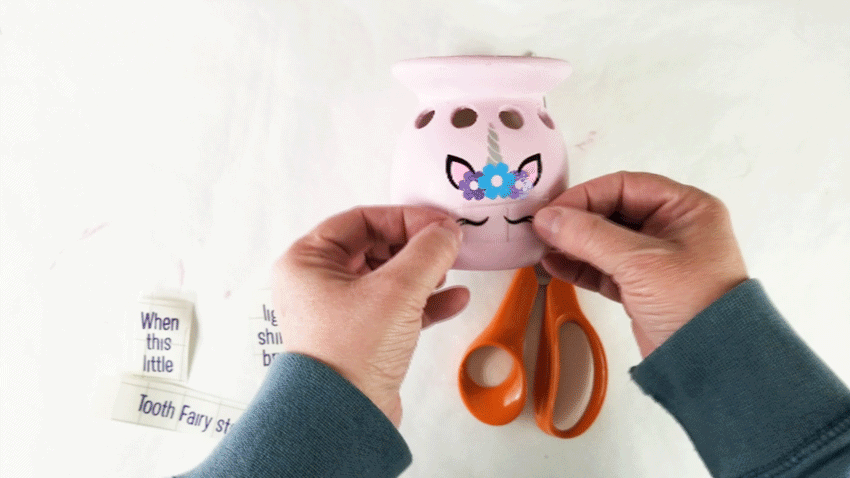
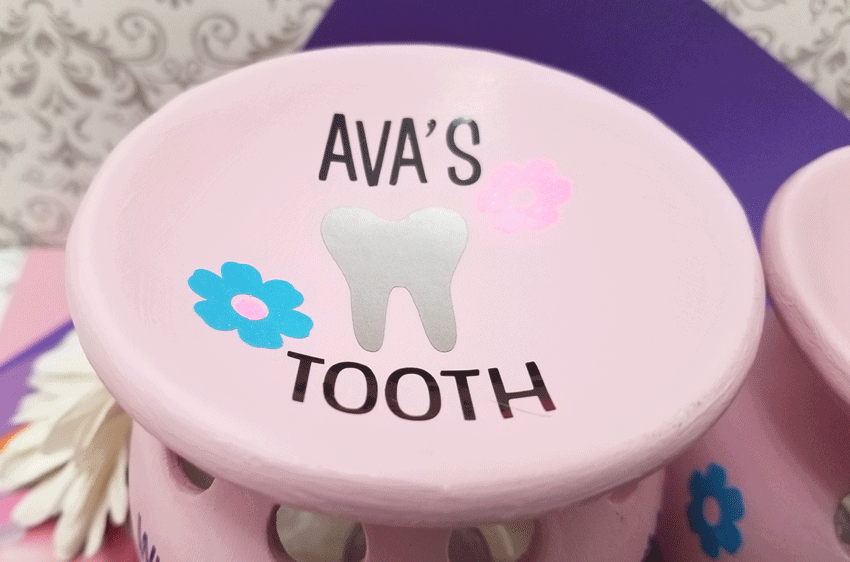
The first thing I did was find the center of the front of the light. I wanted to be sure everything was centered and even as much as possible.
Be sure to align the tooth and the name as well.
Once the top was done I started on the front.
The unicorn design was first, followed by the text on each side of the unicorn, then the text along the bottom
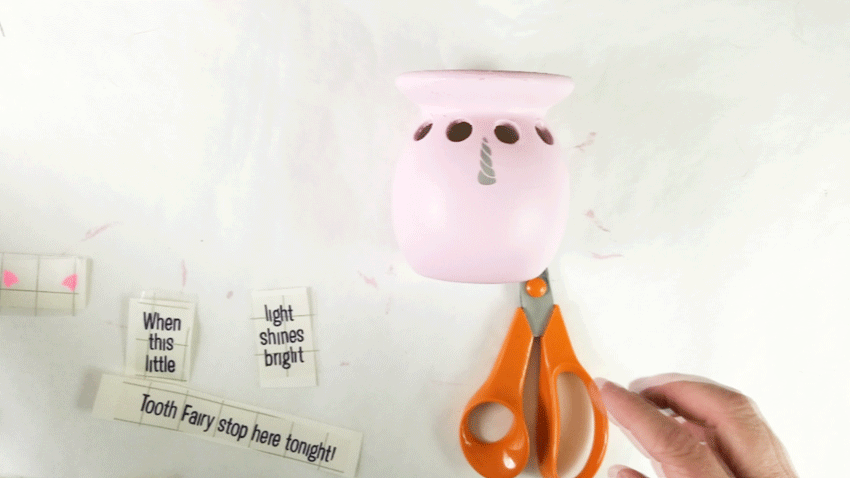
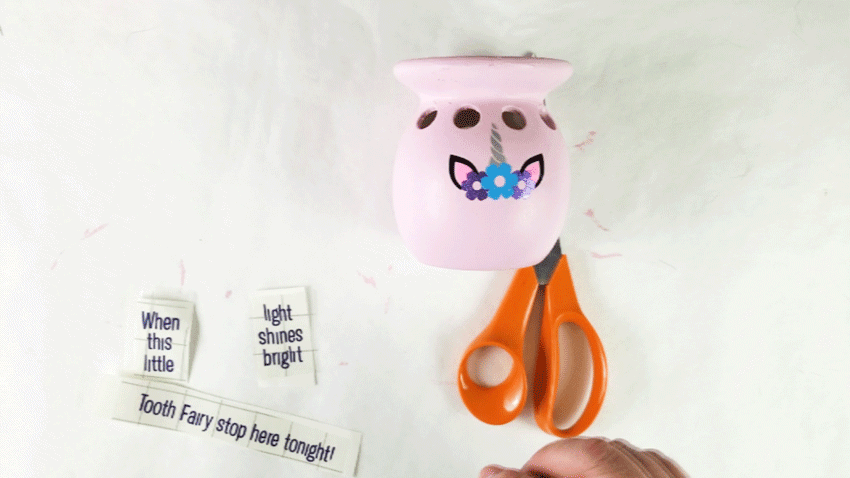
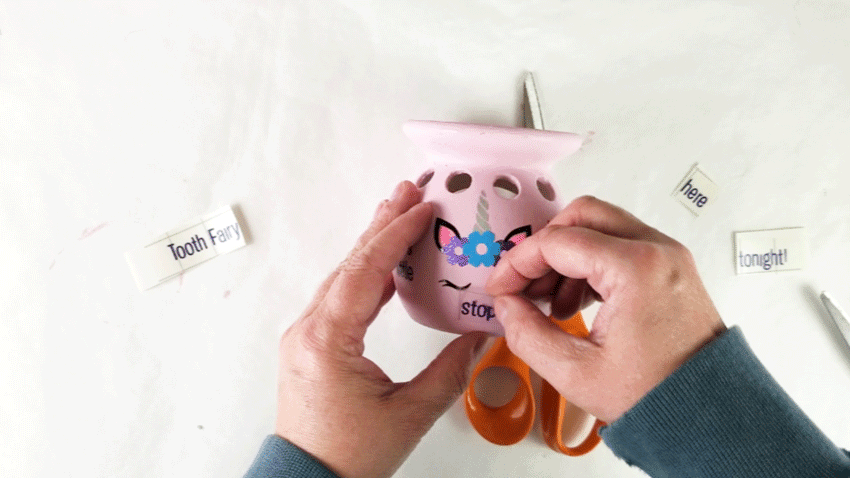
If the text is too long the feel free to cut it apart and add it in sections. I did this with the text across the bottom of the candle warmer.
Start with the word in the middle and then add the text to each side to complete the sentence.

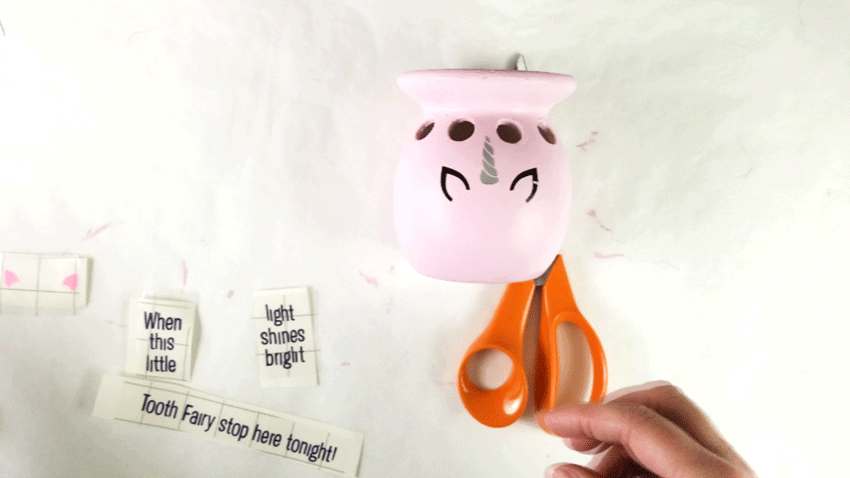
It is pretty cute, right?
The bottom text had a few issues. I had to pick up a few of the letters individually with my weeding tool and then place them back down.
They are still not perfectly straight but I thought it looked cute and juvenile which is how this should look!
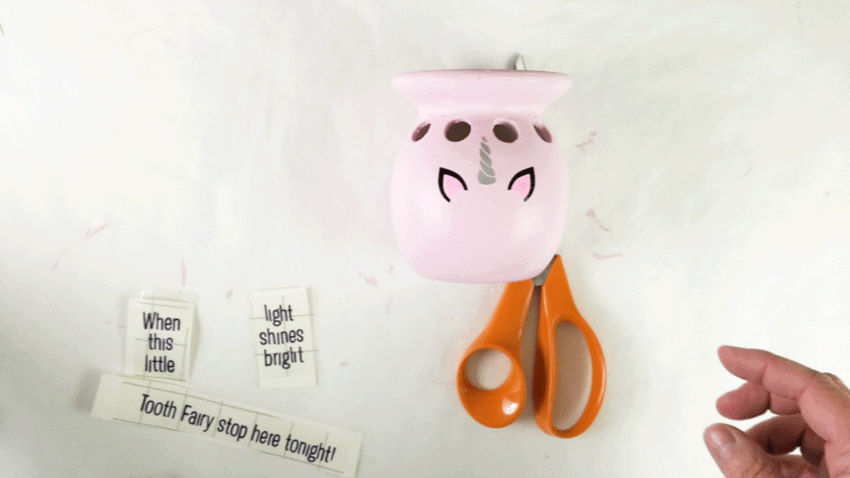
Here are the final photos.
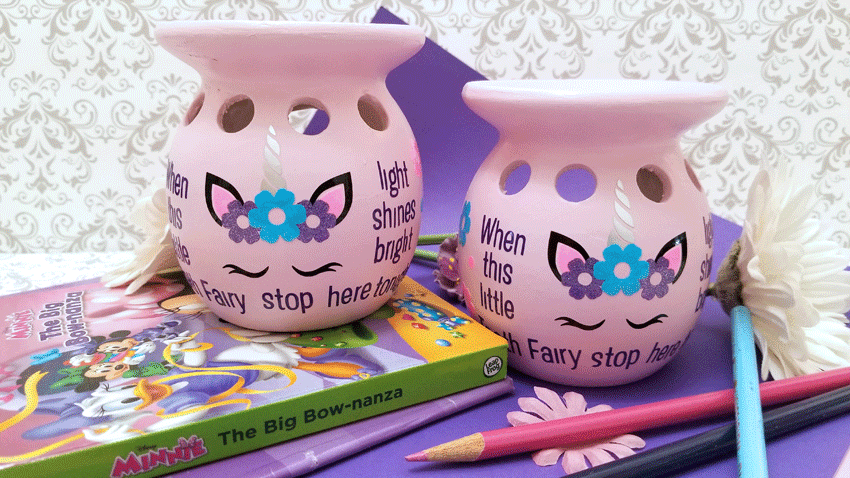

What do you guys think? Isn’t it so cute? I was so happy to give them to their mom to take home and I hope they love them.
Thanks so much for stopping by!
Michelle


Teena
Tuesday 6th of April 2021
This is so adorable! Wish I had a vinyl cutting machine. Do you have a suggestion for a really good one not too expensive? There are so many options and it's confusing. My son is 5 and now has lost 3 bottom teeth already. They're going fast.
Michelle
Tuesday 6th of April 2021
Hey Teena! You could probably use a good sticker but they don't stick as well as the permanent vinyl. If you want to cut small things like this I would suggest the Cricut Joy. It is new and about have the price of the Cricut Maker. Here is an affiliate link. This link is just the machine: https://amzn.to/3dEJxNJ And this one is a bundle that includes the machine and some vinyl to get started: https://amzn.to/3dEJxNJ I can't believe he is 5! Let me know if you have any other questions.