How many of you want to be organized this year? How many of you got organized last year or the year before but maybe have fallen of the organized wagon a little bit? I do this all of the time. Here is a prime example! (No judging!)
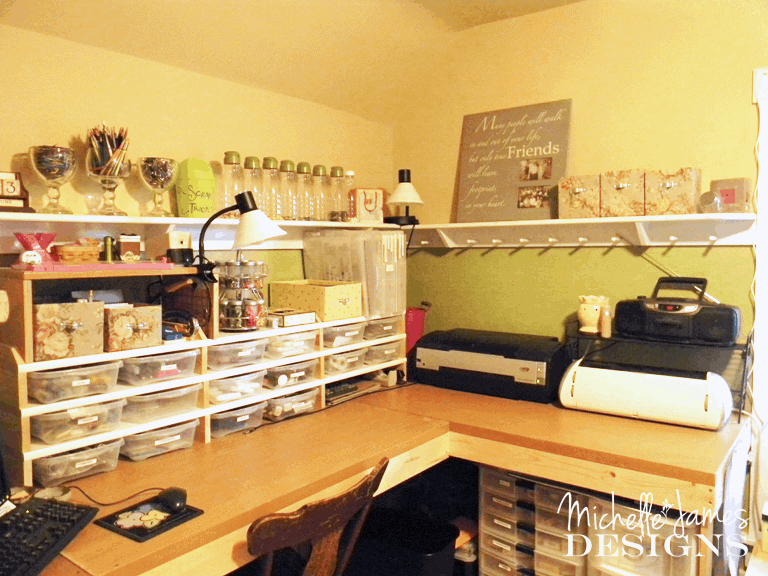
Now:
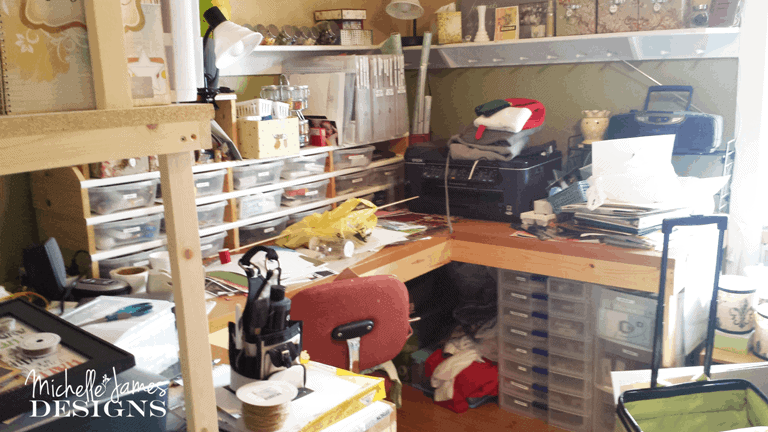
2 Years ago:
My work space and Cricut Machine – see…it is there! LOL!
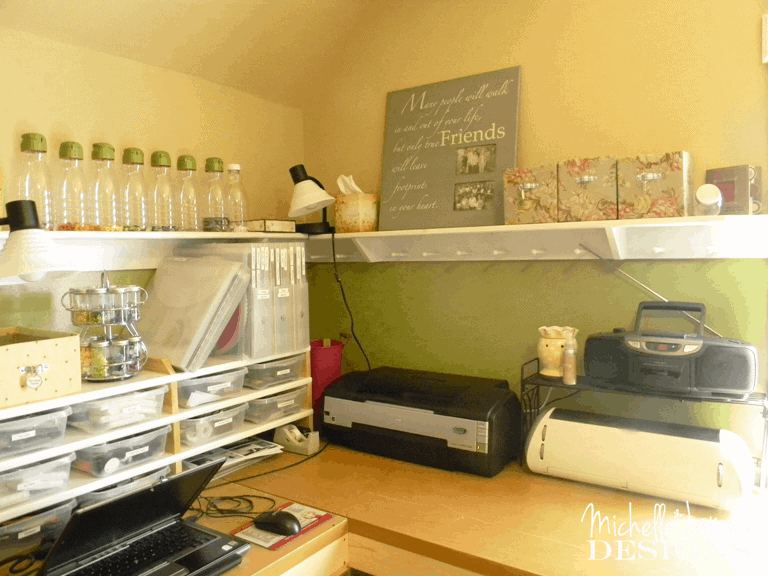
A closer look!

My sewing and paper cutting area along with my paper and ribbon wall. I love that wall.
So, we are talking about getting organized in 2015. This is a great tutorial for organizational boxes. They look great and you can use any fabric to match any decor. I love that.
Fabric Covered Boxes Tutorial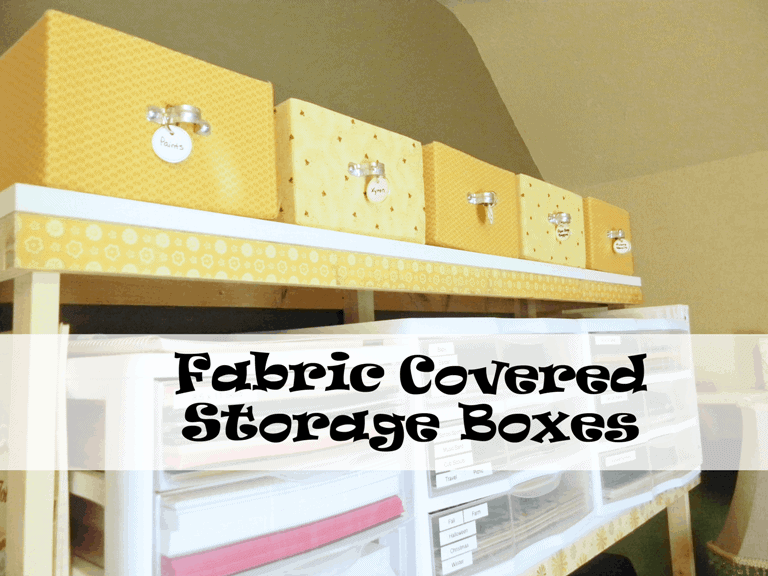
I saw this on Sew Many Ways I love her blog. She has great ideas. So, definitely go check it out when you get done here.
These boxes are amazing and I love, love, love them. They look great and they are super functional. You can’t beat that right? So let’s get down to it.
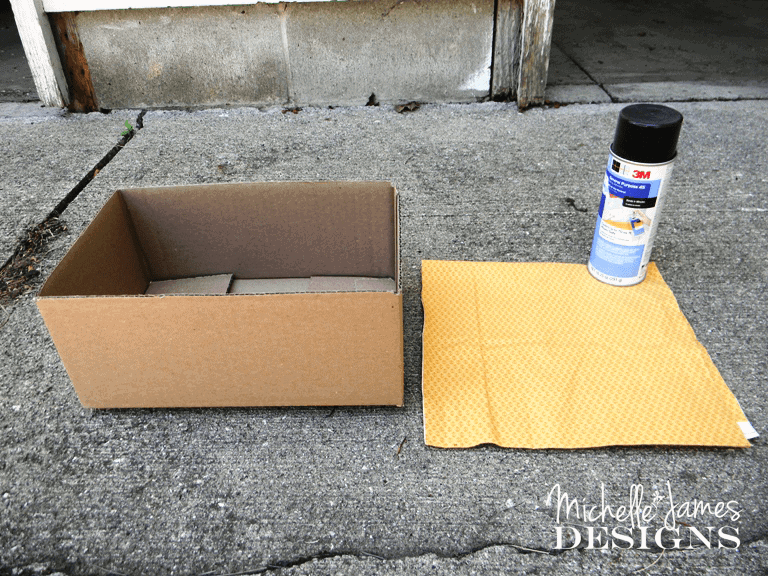
Supplies needed:
Box
Fabric
Spray Adhesive
Ruler
Scissors
Pen
3 in 1 Glue by Beacon
Pipe straps, screws and nuts (hardware store)
Crop a Dile (or something to make holes in the box)
A little time
Start with the box. You will need to cut the tops off so you are left with the sides and the bottom.
Measure your fabric and cut out the pieces you need. You need 2 extra inches around, 2 extra inches on the top and 4 extra inches on the bottom. If your box is really wide you may need more than 4 inches on the bottom. Make sure it will meet and overlap a little on the bottom. Or you could cut another piece of fabric to cover the open space if needed. I used my ruler and pen and drew lines onto the fabric to cut.
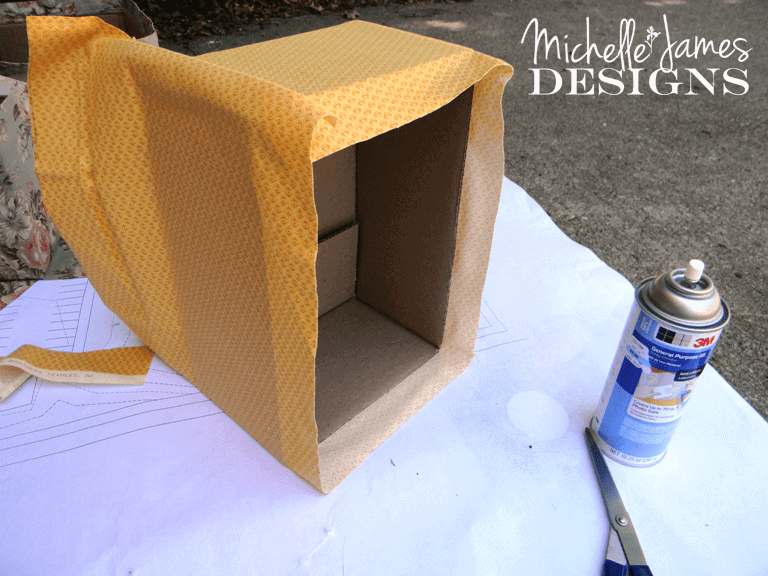
Then comes the fun part. You may want to move outsides for this part because the spray adhesive is sometimes gets out of control. I forgot to move my scissors out of the line of fire and they were a little sticky. Yuck! I used 3M Spray Adhesive
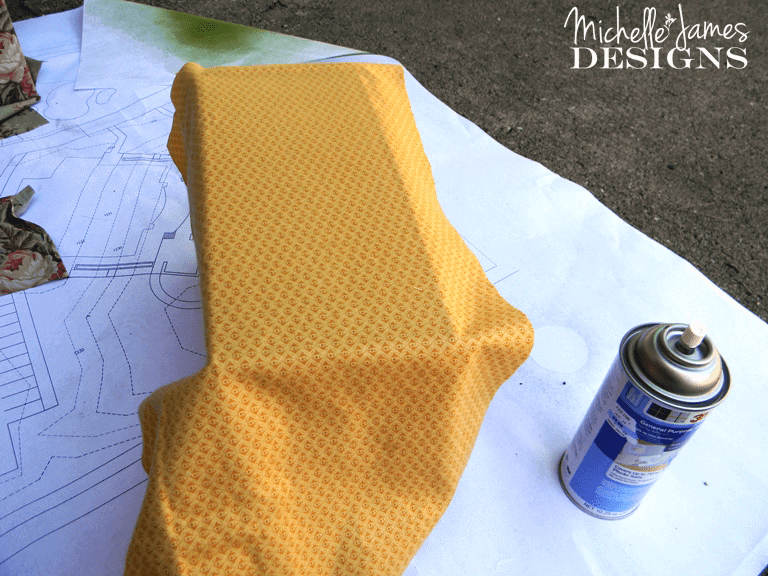
Arrange the fabric around the box using the measurements you used for cutting out the fabric. (4 inches over the bottom edge and 2 inches over the top and about an inch or so hanging over the side edge when you start. There are an extra 2 inches around so you should still have about an inch after you have gone around for overlap.
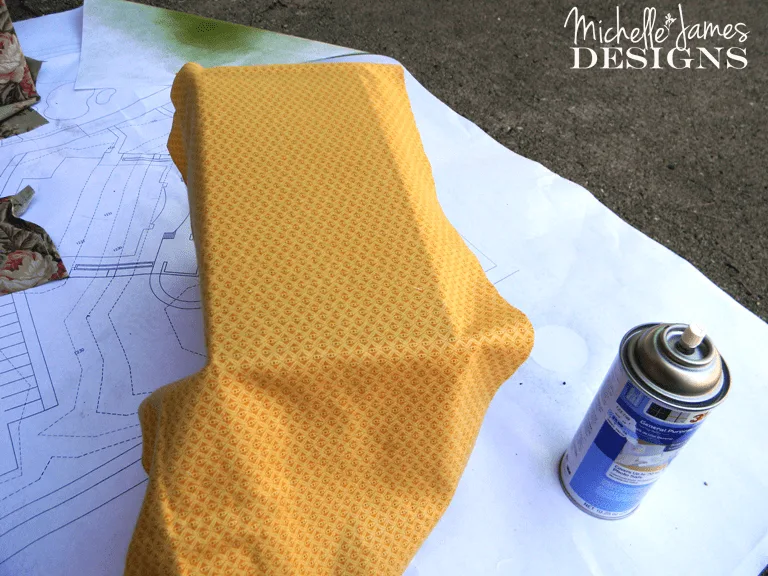
Spray one side and lay the fabric down nice and flat. You can lift it and place it back down if you get some puckers or folds. Continue the next three sides.
I started out trying to tuck the edge under and glue it down, but gave that up because it was too thick. So I ended up just cutting the fabric even and gluing down the side edge. This became the back of my box so it wouldn’t show but it was a lot less bulky.
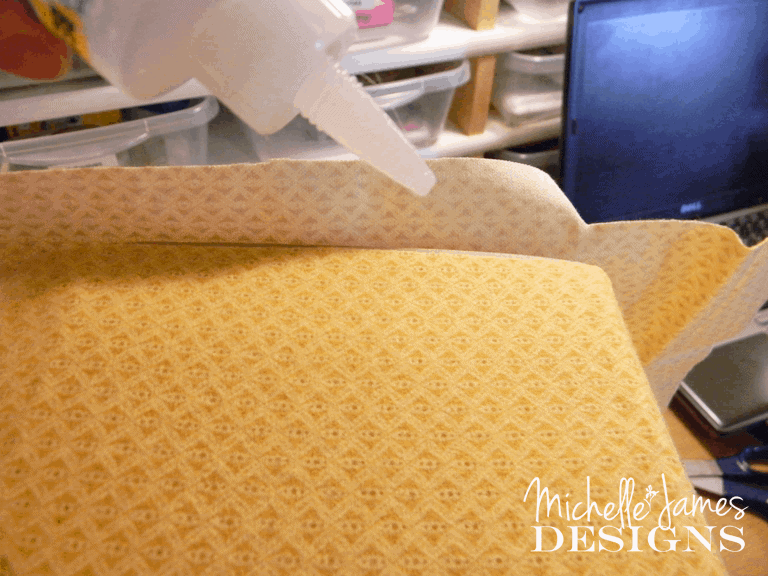
Now the bottom. First cut away any extra fabric be sure to angle the cut slightly into corner so it doesn’t get bulky on the edge.

Lay opposite ends down, then cut away the extra fabric on the other two sides taking care to angle your cut again.

After you have the bottom of the box done, you can focus on the top part.
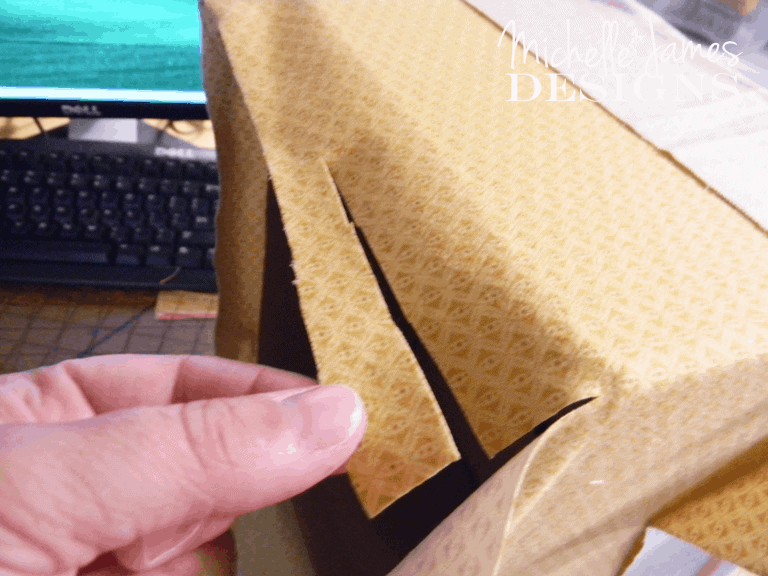
If your edges are uneven trim them all the way around so they are even. You will need to cut into the corners so the fabric will lay flat. Be sure to angle toward the corner again like you did on the bottom to avoid bulky fabric in the corners.
Next we will be adding the pipe strap to the front.
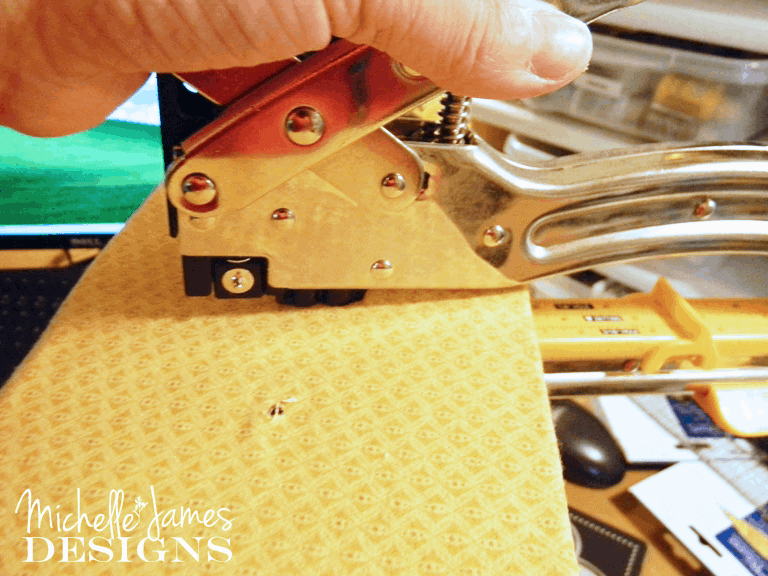
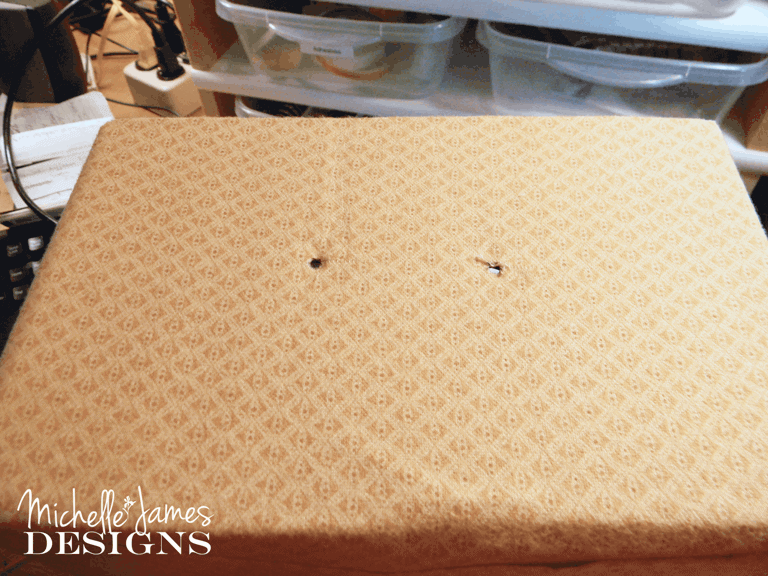
Be sure you are working on the front edge of the box. Hold the pipe strap up to the box and mark where you want to punch the holes. I used the Big Bite Crop a dile for this job. It worked great. It will punch right through the cardboard and the fabric.
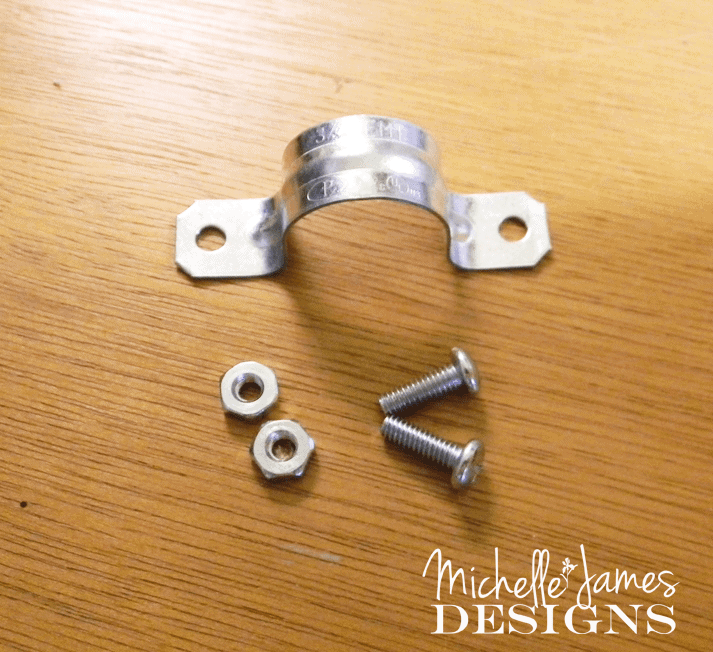
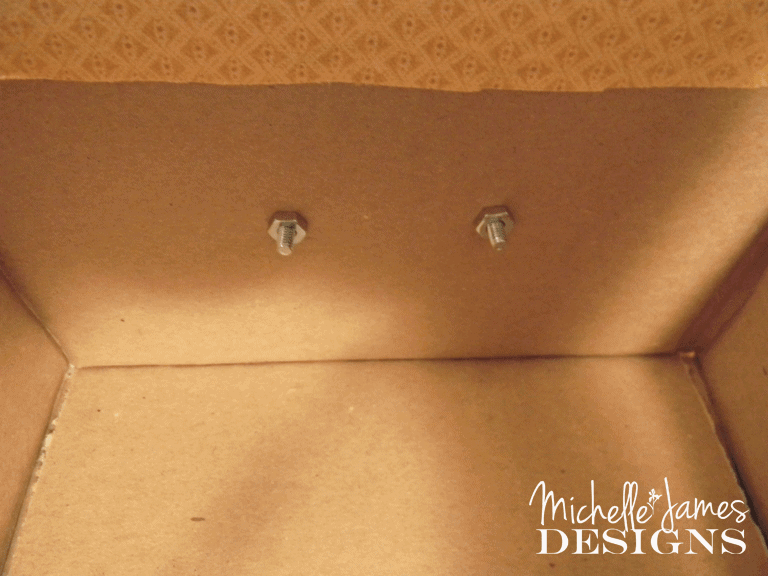
Place the pipe strap over the punched holes, place the screws in from the front and use the nut to hold them in place.

 .
.

I loved the idea of the metal rim tag held on with a metal ring for the label so that is what I used too.

There you have it. Such a great way to get the color and size of boxes you want for your space. You can see some of the other boxes in different fabrics that I made. I used fabric that I had so they coordinate but they don’t all match. I like it that way! I think they look great in my room plus they hide they things that aren’t pretty but you need to have handy. Sort of like the lined basket I made for our meds.
So while you guys are making all sorts of fun fabric covered boxes I will be cleaning and organizing my craft room back to it’s original glory.
This post contains affiliate links. When you click on a link and make a purchase I receive a small commission.
Thanks for stopping by. Please be sure to sign up for my email list at the top of this post and to follow me on Facebook, Twitter and Pinterest!
I am linking up today at:


jessica
Friday 16th of January 2015
Your space is AMAZING! I am jealous! I have a craft room..you should come organize for me lol. You would probably run so fast you would trip and fall haha! Thanks for sharing at Totally Terrific Tuesday! Shared your room, and your project!! Jess
Michelle
Thursday 22nd of January 2015
Thank you Jessica. I doubt your space is that bad. LOL! You are funny.
Lauren
Thursday 8th of January 2015
I cannot believe these are cardboard boxes! They look awesome! Glad to connect through thirfty thursday linkup! ;)
Michelle
Thursday 8th of January 2015
I love the way they turned out. Cardboard is so cheap or free! My friend is now saving her diaper boxes for me. I wanted some of those Huggies boxes but I sure don't need diapers anymore. LOL! Thanks for stopping and for the comment. I appreciate it.
Angela @ Simply Beautiful By Angela
Wednesday 7th of January 2015
I love how they turned out! I also love that you added the nifty little handles :)
Michelle
Wednesday 7th of January 2015
Thank you Angela. The handles and tags are my favorite part.
Christie
Tuesday 6th of January 2015
I'm stopping by from the Totally Terrific Tuesday Link party. I'm pinning!
Michelle
Tuesday 6th of January 2015
Thanks so much for pinning. I appreciate it.