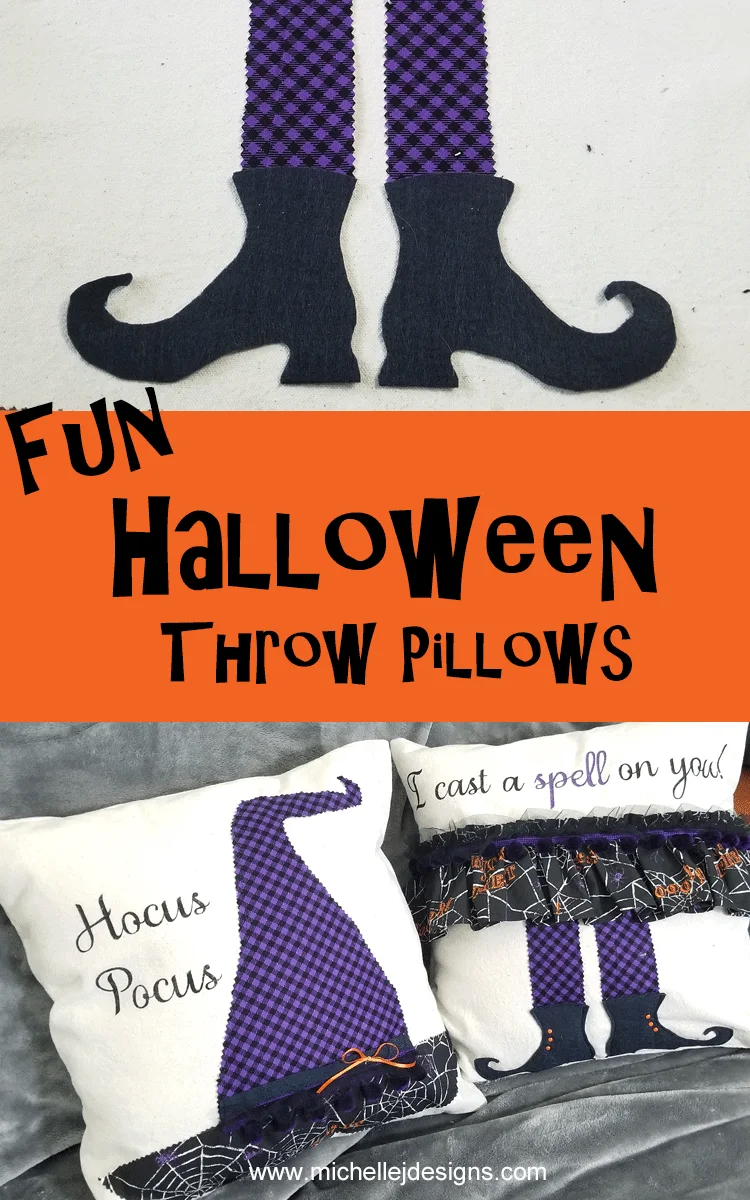
Have I mentioned that I love Halloween decor? I usually like the creepy spooky decor like my Halloween bottle labels or my eerie Halloween mirror but this time I have made two super cute and fun Halloween throw pillows.
My mom and I were looking around Michael’s at all of their great Halloween decor and she fell in love with this pillow.
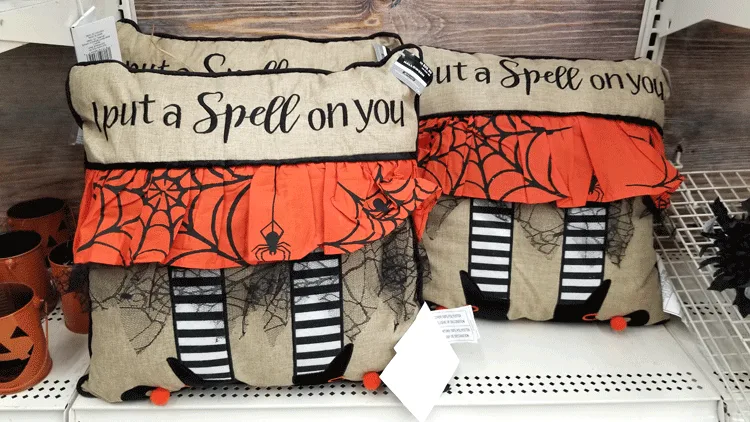
I have to admit I loved it too but I immediately thought of my friend, Anika and her shirt that says , “I can make that”.
Dont we always say that as DIY’ers? It’s TRUE but I don’t always rush home and make it. Well, my mom’s birthday was coming up so I thought I would make it and another matching pillow so she would have a fun set to get out each year.
The Most Fun Halloween Throw Pillows
I have included some crafty affiliate links for your convenience! You can read my full disclosure here.
Here Is What You Will Need
- Drop cloth
- Two matching Halloween fabrics -half yard of each – I got mine from JoAnn’s but I don’t see them online to add links.
- Fun trims – Purple Dingle Balls, Black Tulle
- Black felt
- Pinking shears
(optional)
- Scissors
- Sewing machine
- Thread
- Orange Brad’
s or buttons
- Orange ribbon
- Pillow form – 18″ x 18″
- Silhouette Cutting Machine
- Vinyl
Step 1:
Cut 2 – 18″ x 18″ squares from the drop cloth fabric. These are the pillow fronts.
For the backs cut 4 pieces of 18″ x 12″. I like to use the finished edges of the drop cloth for the opening edges of the back pieces. They are already done.
When the are sewn together they create an opening to easily remove the pillow form for washing.
Set the 4 back pieces aside. We will be working with the pillow fronts.
Step 2:
Cutting out the witch parts.
Witches Legs
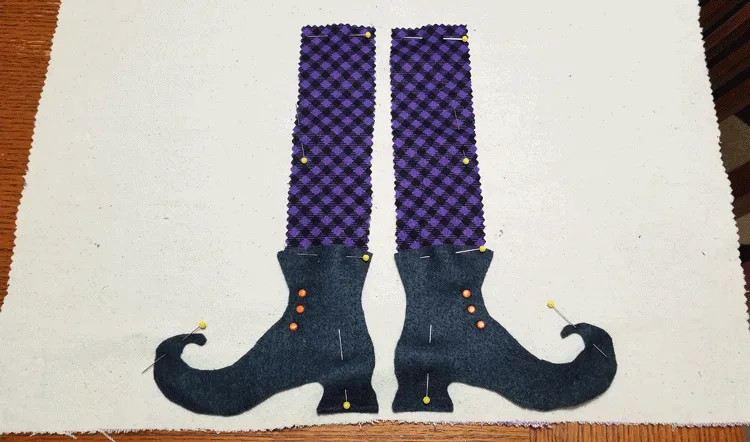
The witches legs were first. I used the purple and black check fabric and measured two strips 2″ x 12″ and cut them out.

I ended up cutting a lot off the length of her legs but it is better to have them too long then not long enough.
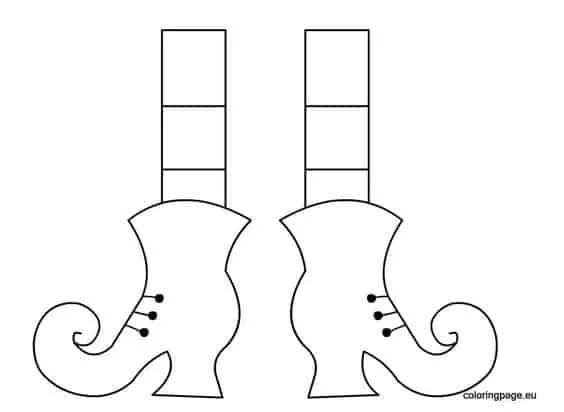
Pinterest was the best place to look for her shoes. I found a ton of cute boots and pumps for witches but I liked these the best. If you click on the photo it takes you to the free template. I did not download the template. I just used this picture as a guide and drew my own with white chalk pencil onto black felt.
Fold the piece of felt before cutting. Then, cut two out at the same time. Turn one over to create the opposite side.
This is how mine turned out.

The buttons in the template were really cute. I had some orange brads that seemed to work really well.
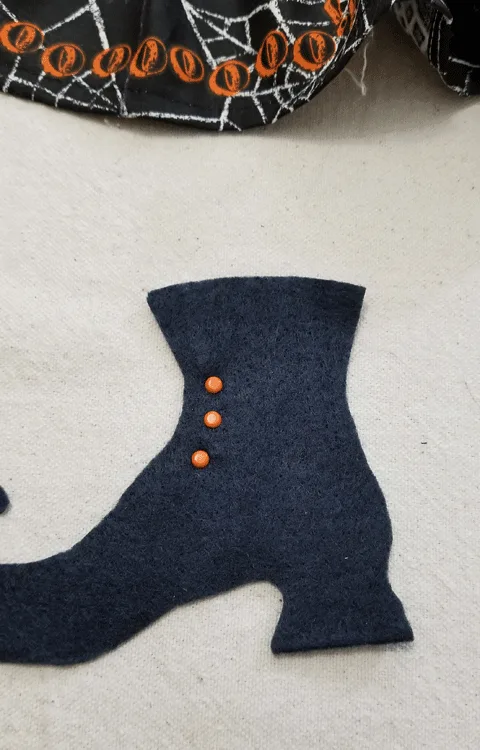
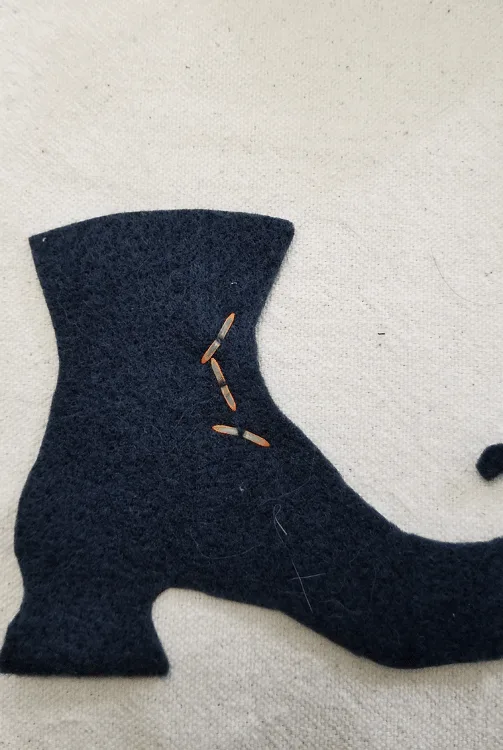
If you use brads be sure to turn the metal backs so they won’t be in the way when you stitch the shoes onto the pillow front.
The Cute Skirt
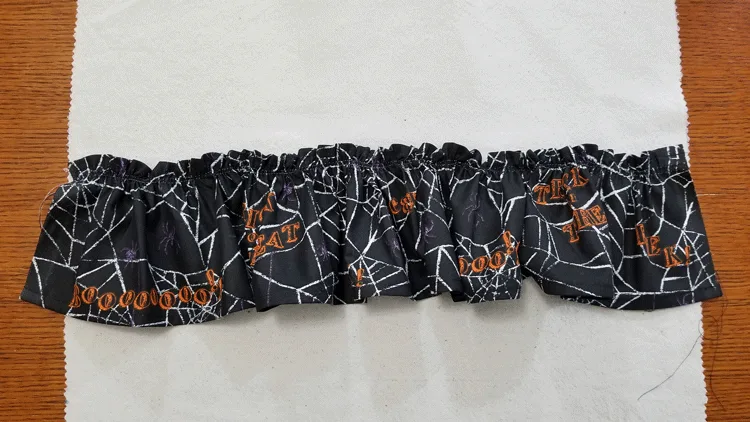
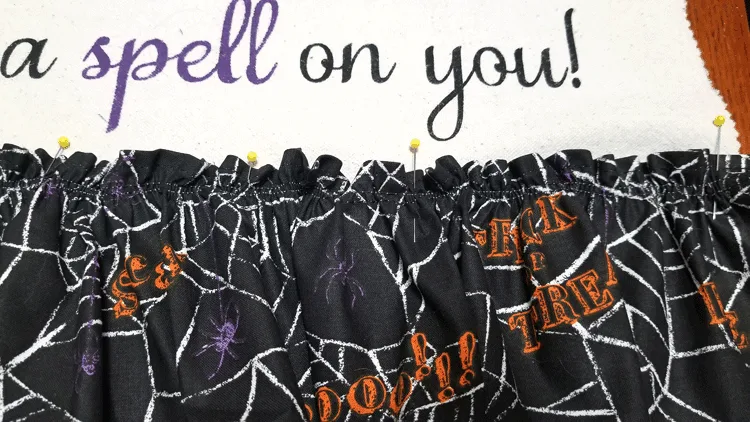
Next I wanted to make her gathered skirt. This really gave me flashback memories of my 4-H sewing classes. Those classes really stuck with me because I hadn’t done any formal gathering stitches for a very long time and I breezed through this.
I started by cutting a piece of the spider web Halloween fabric 36″x 6″.
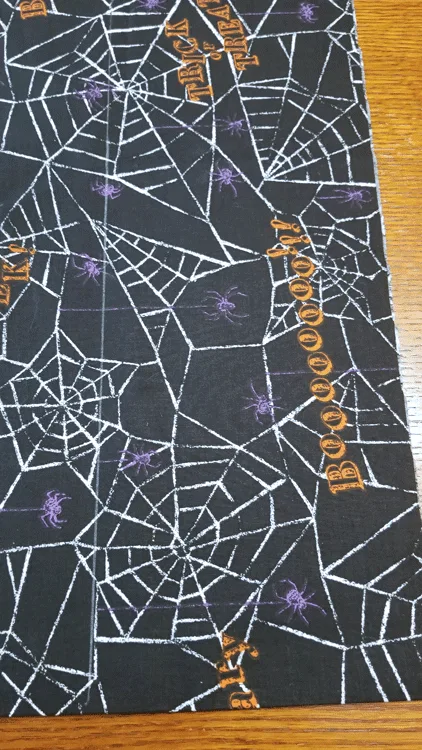
Finish both long sides by turning the fabric under then folding it under one more time to get rid of the unfinished edge. I like to use the iron first then stitch it down.


Then I used a larger basting stitch and created two gathering stitching lines on one side just inside of the turned over edge.
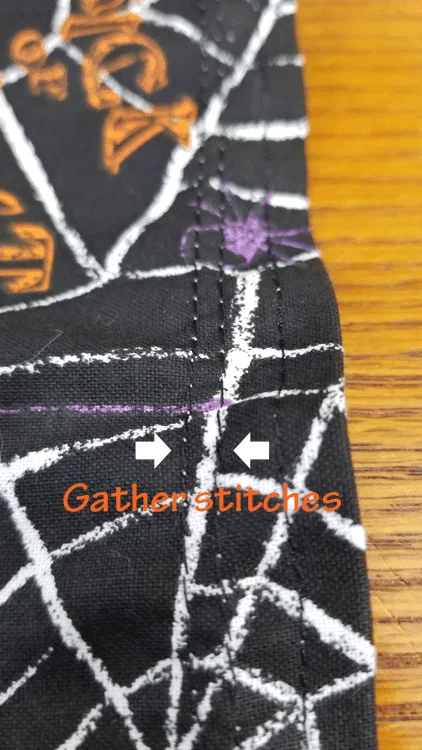
Once your have your larger gathering stitches done you will grab the two threads on the ends of the piece from the stitching. Does that make sense? Take a look at the photo below. The black threads are what you need. Gently start pulling these threads and gathering the fabric as you go. Once I had gotten about half way, I started the same process on the other end of the fabric.
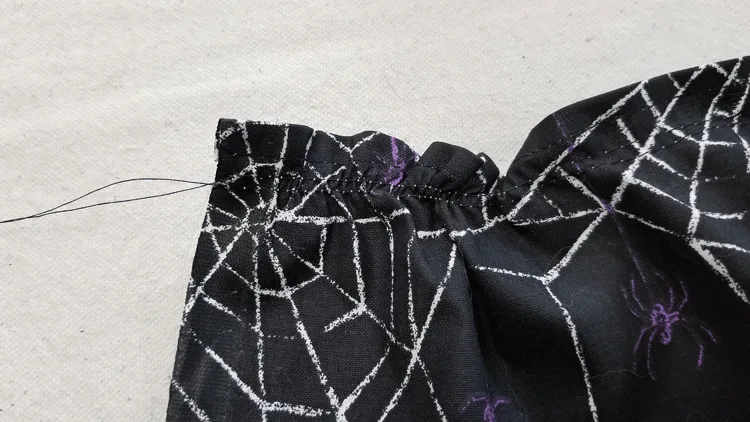
Keep it up until you have the length you need. Tie knots in the threads and make the gathering even all the way across.
The witch parts for this pillow were done so I started on the next one.
The Witches Hat
Step 1:
I used the two fabrics to create a witches hat starting with the purple and black check fabric. Again, I needed a guide for my hat so I turned to pinterest. This is from The Silhouette Store
The shape is what caught my eye. I liked the little bit of curve and the tweak at the top. But I did not want the notches so I drew out what I wanted onto the purple and black check fabric.
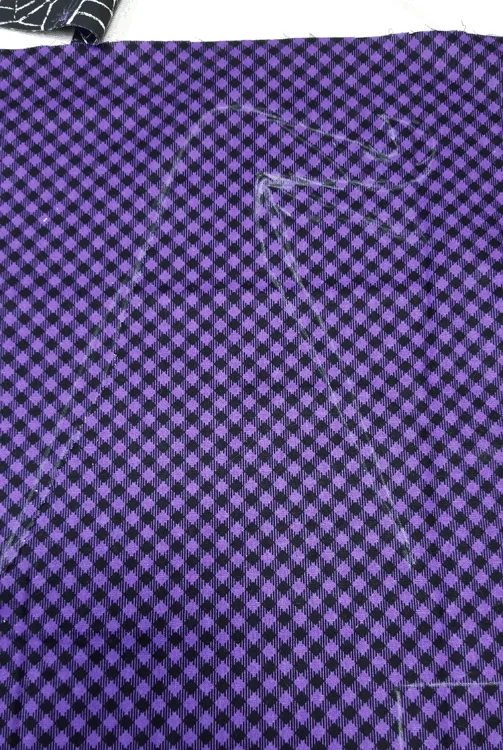
When I got the hat I wanted I cut it out with the pinking shears. I used the same process for the brim of the hat.

Then I added a piece of black felt. This really helped to hide any weird cuts on the hat but I liked the way it finished it off too.

Adding The Text
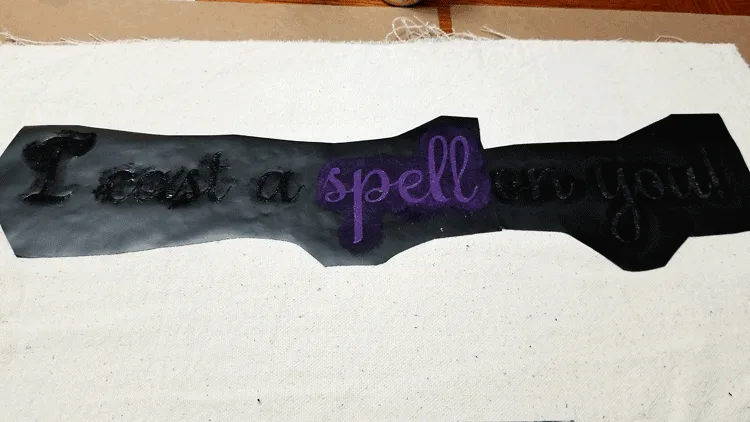
Before I stitch all of these witch parts onto the pillow fronts, I wanted to stencil on the text. I was using two sets of text, “I cast a spell on you” and “Hocus Pocus”
The Silhouette is my “go-to” tool for making stencils. I love to make my own stencils with my own fonts and have done it so many other times like on the coordinates pillows and this farmhouse sign. All of these are done using the same method.
These are my screen shots of my Silhouette Studio. The size of the screen space is 12 x 12 and my pillows are 18 x 18 so you have to space accordingly.

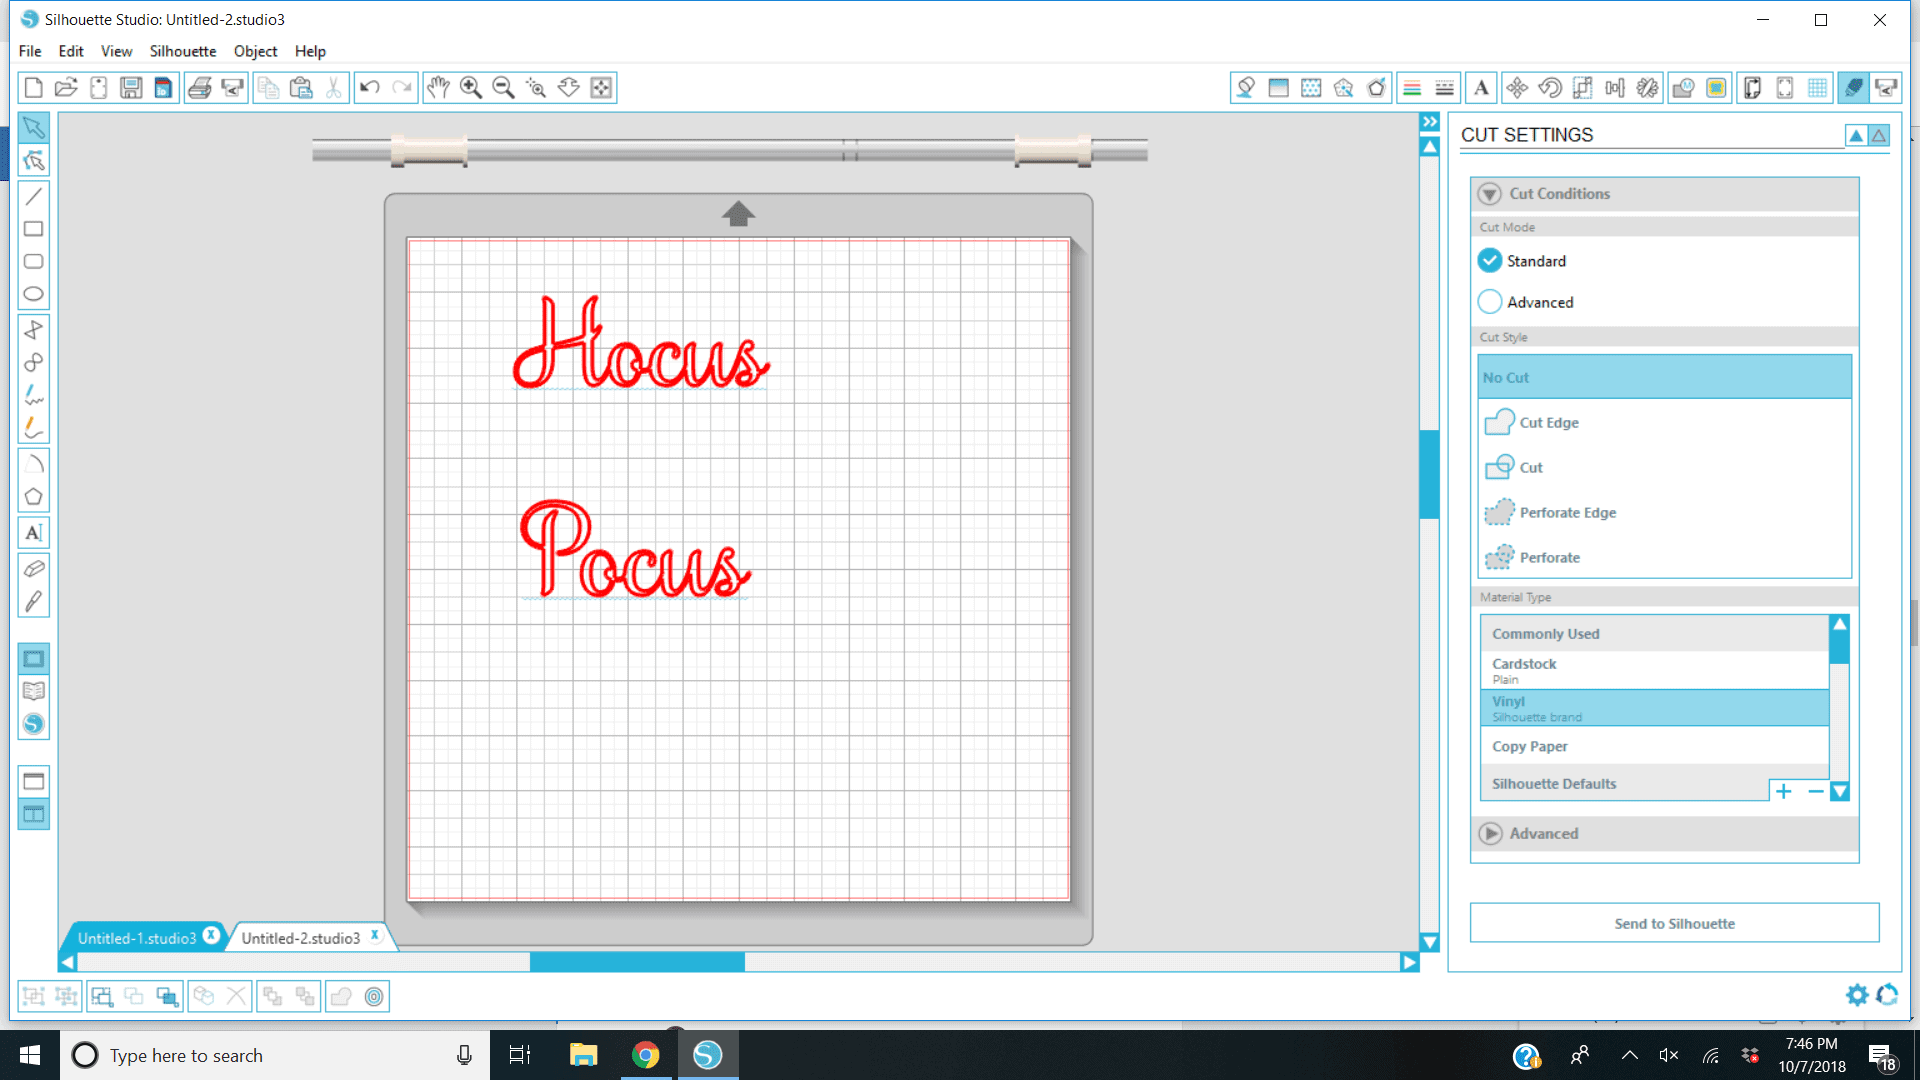
I used vinyl for my stencils. Once they were cut I placed them onto the fabric. This can be a huge pain in the butt. Be patient and work with the vinyl. It sometimes helps to make a smaller stencil but then lining them up straight becomes an issue. Using transfer paper helps too but I did not do that this time.
I laid the skirt onto the pillow for placement. This is also when I knew I needed to cut her legs down. They now fit nicely.
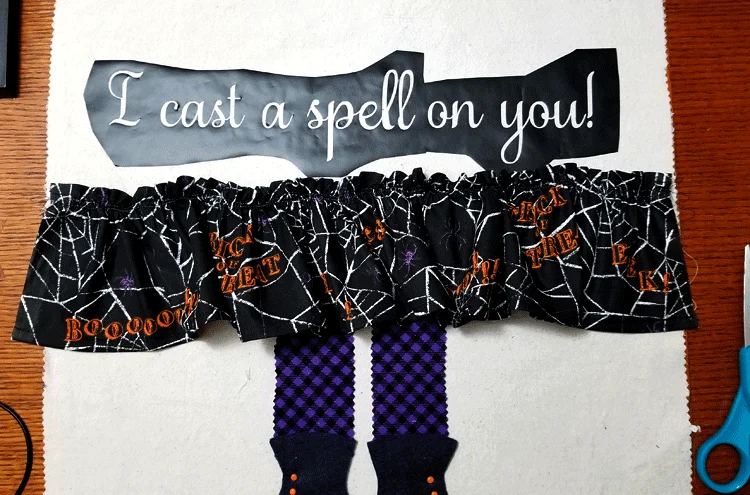
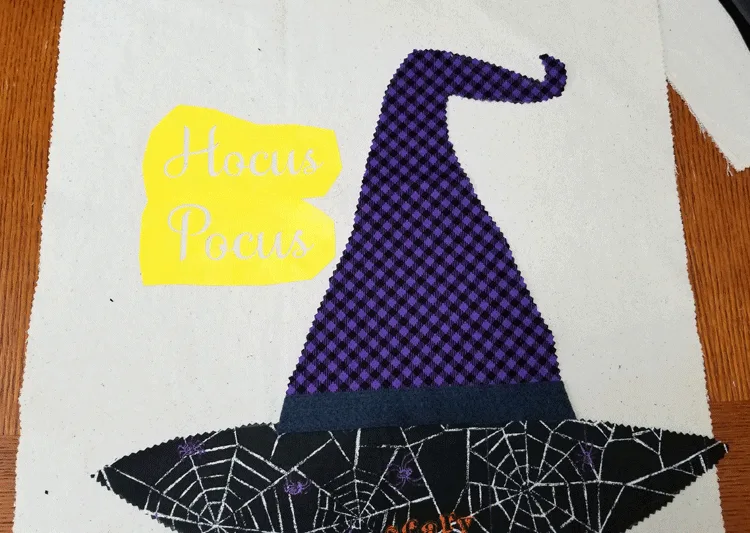
I was ready for the paint. I used acrylic paint with some textile medium mixed in and a stencil brush.


Putting It All Together
Now that all of the parts were cut and the text was stenciled on they were ready to put together. I pinned and stitched all of the pieces onto each front and added some trims with purple dingle balls and tulle. So cute!
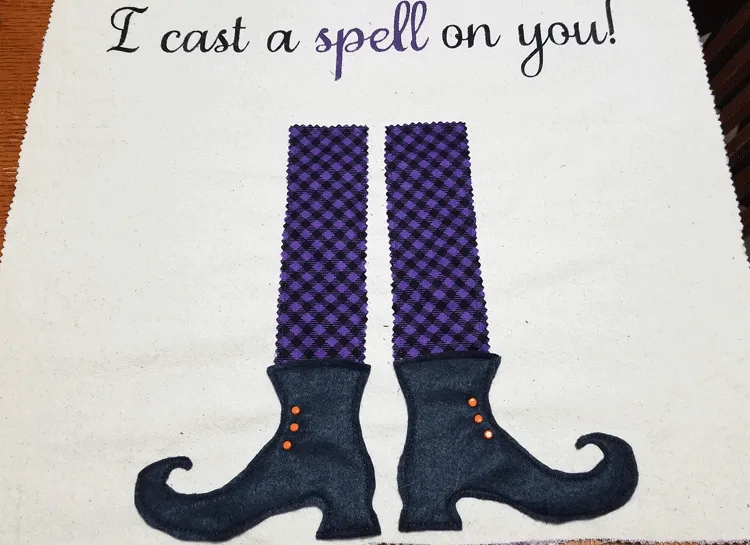
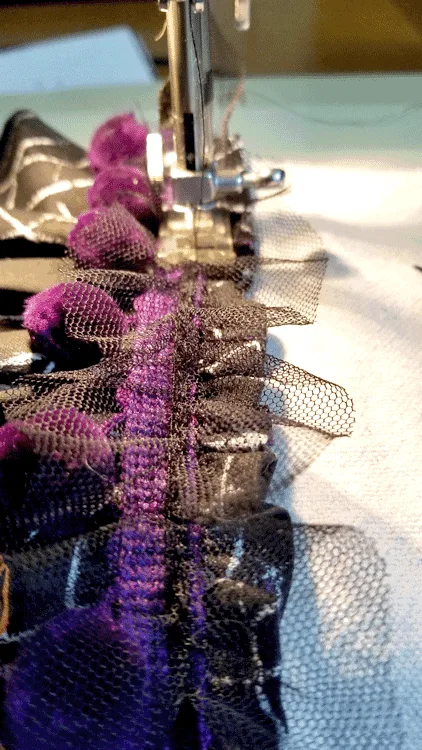
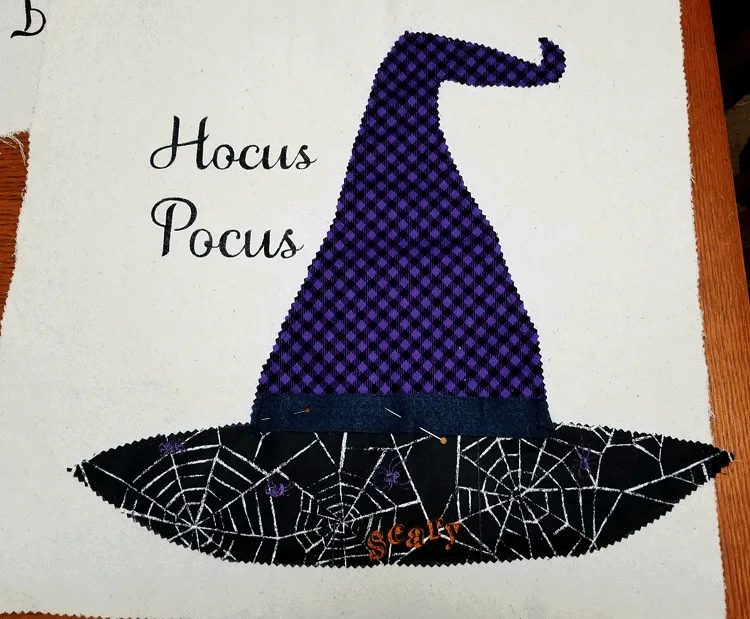
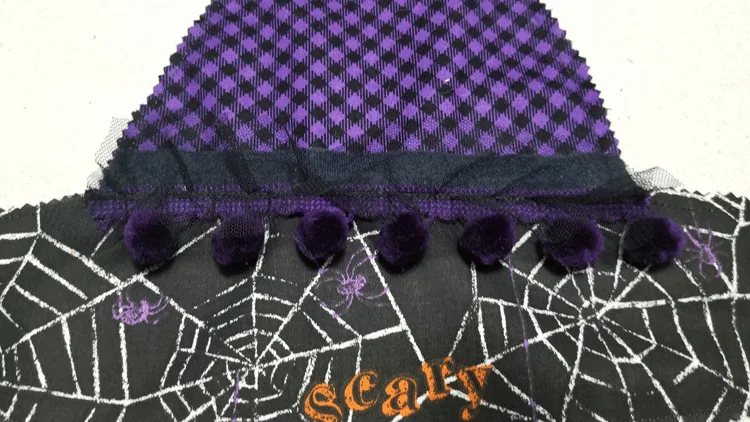
In the end I thought the hat pillow needed a little bit more orange so I added a ribbon bow. You can see it below in the final photos.
Adding The Pillow Backs
Once the fronts were all stitched it was finally time to add the backs and finish them up.
Start with the front then with right sides together place the two back pieces on so they overlap in the middle.
I didn’t want to catch the bottom of the skirt in the seam, just the ends so I pinned them out of the way.
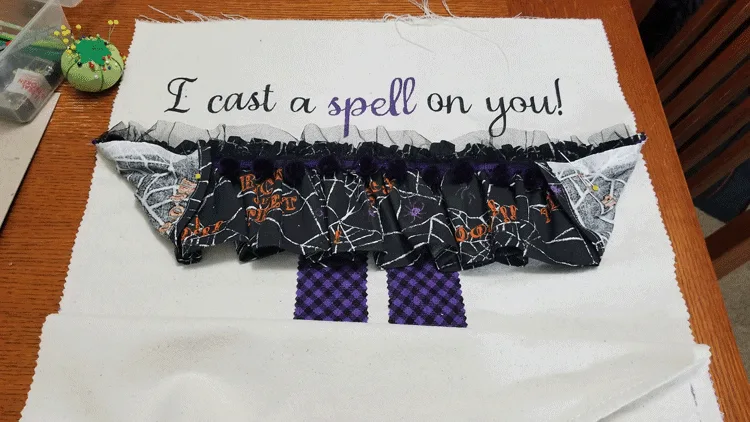
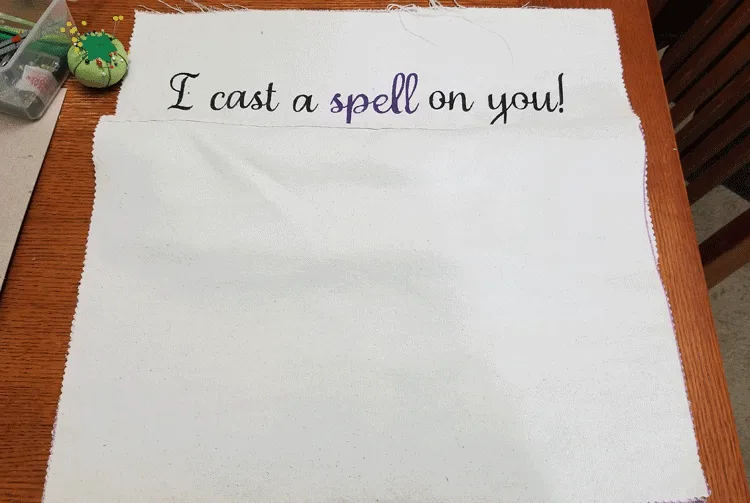
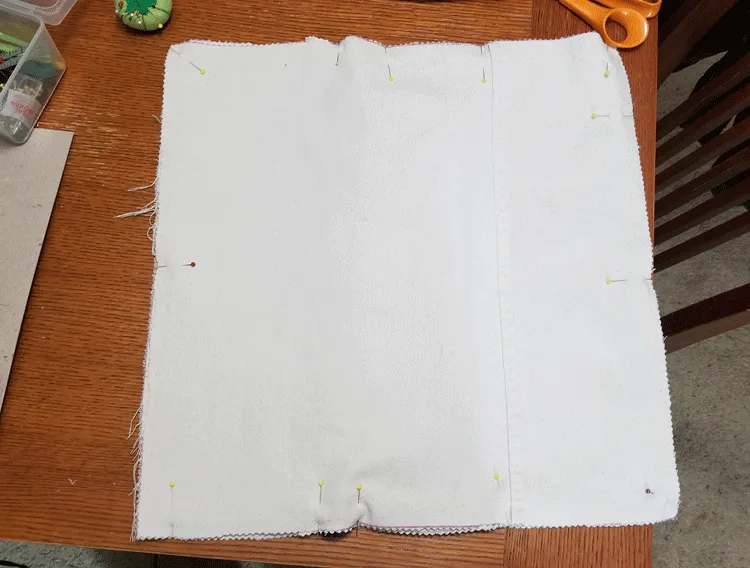
Then stitch all the way around. Clip the corners off so they aren’t so bulky inside the pillow then turn it right side out! Add your pillow form and you are finished!
I think they turn out so cut and so fun!
The Finished Halloween Throw Pillows


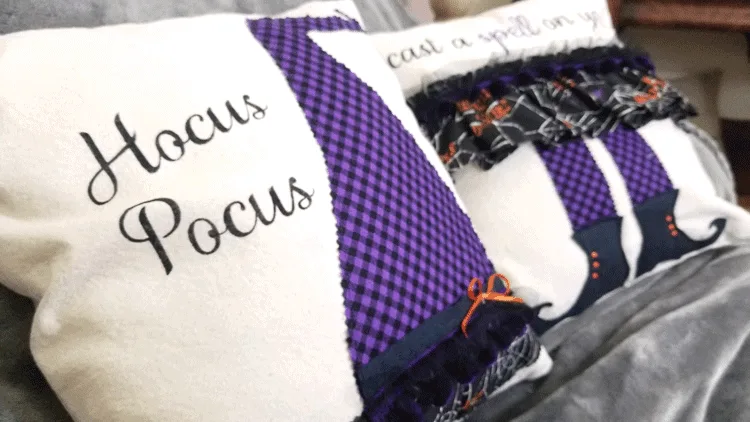
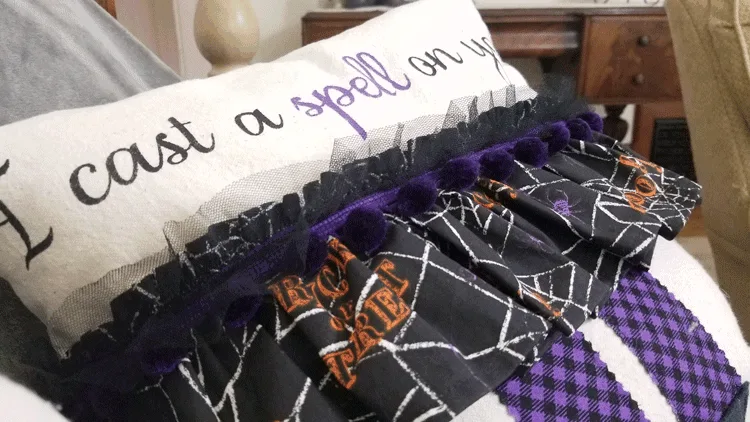
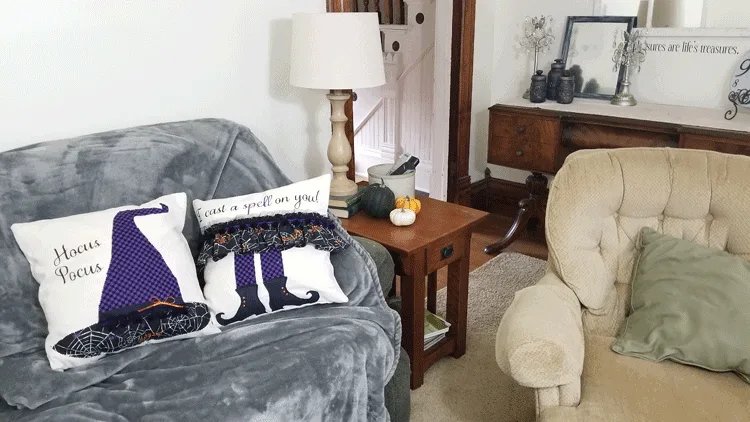
I just love them and I think my mom will too!
If you would like to see more of projects just click on any…or all of these links!
Thanks so much for stopping by!
Michelle





Toni | Girl Just DIY
Monday 15th of October 2018
Oh gosh these are adorable! And way better than the inspirations from the store. I always say "I can make that" too. Pinned these to my Pillow board :D
Michelle
Wednesday 17th of October 2018
Thanks so much Toni! I thought they turned out really cute. I really need to get Anika's shirt. LOL! Thanks for pinning!
Nancy Janssen
Sunday 14th of October 2018
Of course you know how much I love these! It is "my" season, after all. Too darned adorable for words, Michelle!
Michelle
Sunday 14th of October 2018
Awww thanks Nancy. I am so glad you like them. I hope your witch is out and keep watch over the house!
Carolann
Saturday 13th of October 2018
So cute, Michele. I just love them! Perfect for the season and so festive!
Michelle
Sunday 14th of October 2018
Thank you Carolann! My mom loved them and they were a lot fun to make.