This post contains affiliate links. If you click on a link and make a purchase I will receive a small commission. These are products I truly use and enjoy! All opinions are my own. You can see my full disclosure here.
I hope you guys aren’t tired of my guest room yet. It seems to be my project-at-hand and this weekend I created guest room canvas art.
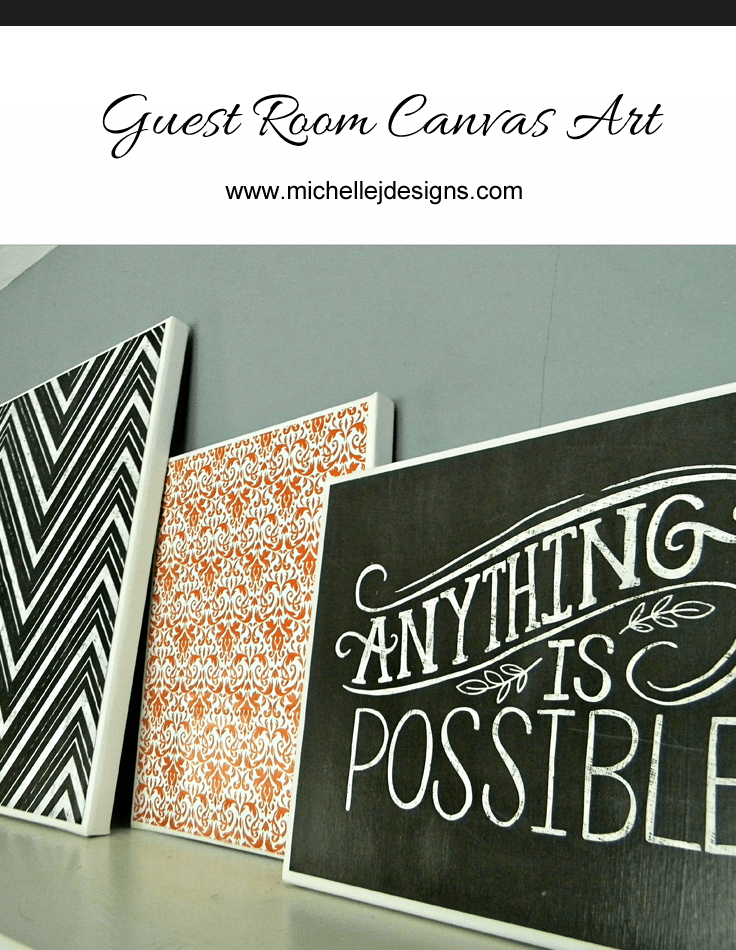
Guest Room Canvas Art
This room was in real need of some sort of art decor. I have painted a dresser, created a nice mirror, and even got a fun chair for the room but something on the walls was badly needed.
Canvas Art Supplies Needed:
Scrapbook paper in the colors you like for the room
Mod Podge Original 16-Ounce Glue, Matte Finish
Foam brushes
Paper trimmer
Me & my BIG ideas Chalkboard DIY Gallery Art – optional but awesome
All you have to do is decide how you want your canvas to hang, or in my case, sit on the shelf then decide which paper design will go on which canvases.
Once you have your design and layout figured out trim your papers to just a tad smaller than your canvas size. For instance for my 8 x 10 canvas I cut my papers at 7.5″ x 9.5″. This gave me a nice framed edge around the paper.

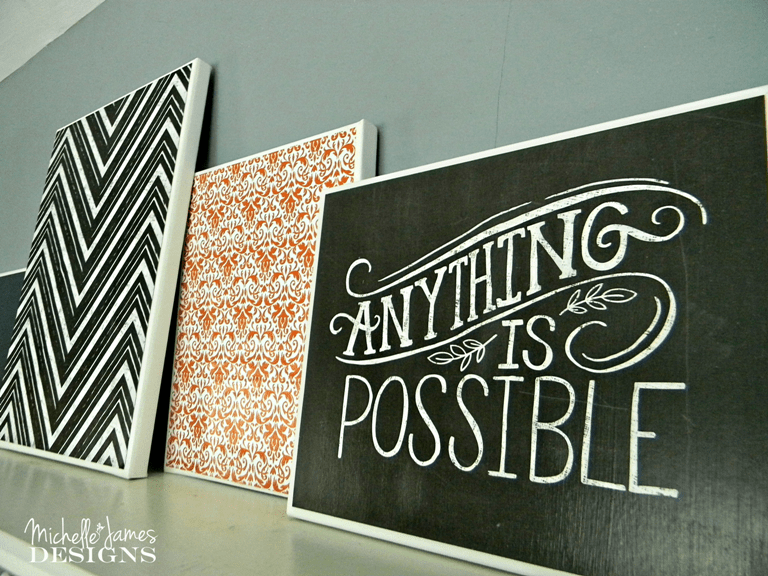
The chalkboard prints are me & my BIG ideas PADW-05 Chalkboard DIY Gallery Art (affiliate link) and they are the best. When I looked these up on Amazon there are several different paper pads. I got the Chalkboard collection and love it. They are sized for framing so all I had to do was trim them down a little bit. I love them!
If you have never used Mod Podge before then this will be frustrating but worth it in the end.
I thought this was going to be one of those FAIL posts where I would have to give a disclaimer that even though this didn’t work I am going to keep it until I can afford some framed pieces. But it turned out to be pretty nice.
Here is what happened. I brushed the Mod Podge onto the canvas, then laid down the orange paper (shown in the photo above). As I was brushing the Mod Podge on top all I could see were wrinkles and bubbles. No matter how hard I tried. It was super frustrating.
Now I am no stranger to Mod Podge so I knew this could happen but I had never used one full sheet of paper on canvas before. I had used wood and small bits of paper on canvas but never this combination.
It looked awful.
So, I took to Pinterest for the answer. There were many ideas and I watched a video saying to put a thin layer of Mod Podge on, lay the paper down and let it dry, then put more Mod Podge on top. She wasn’t using canvas either but I thought it was worth a try.
Well, there were fewer wrinkles but….still quite a few and still the air bubbles. I decided to let them keep drying and see what happens.
Low and behold…MOST of the wrinkles and bubbles were gone after a few hours. YAY! Artwork saved.
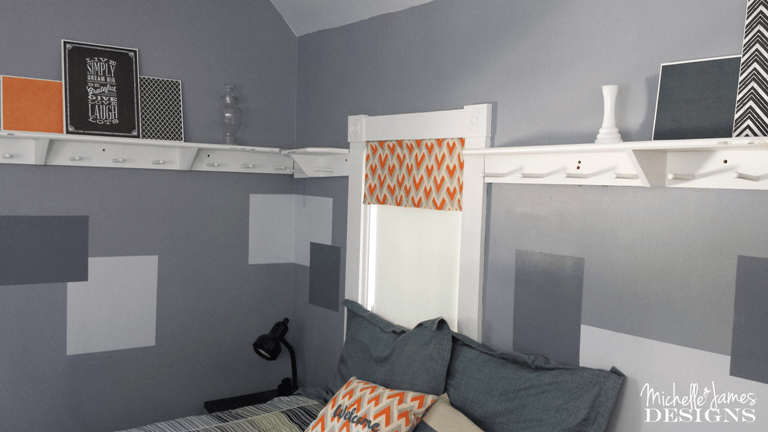
While the art was drying I got busy making two small valances for the windows in this room. Remember the fabric from my welcome pillow? I had enough to create the fronts of the valance and I used my drop cloth for the back. This way there is a neutral color facing the outside.

You can see the valance and some of the artwork on the shelf. These shelves were full of the boys’ books and Jeff’s cd’s. These were all moved to the shelving unit that is still in the room behind the door and it looks so much better now.

I hope you enjoyed my guest room canvas art. Please share with your friends and don’t forget to sign up for my email/newsletter if you haven’t already.
Also, be sure to subscribe to my You Tube channel so you can see all of my Photoshop Elements videos in one place.
See you tomorrow!
I am sharing this post at:
Carolann
Friday 29th of April 2016
I love this canvas art! It's great for any room too. So creative!
Michelle
Saturday 30th of April 2016
Thanks Carolann! The bubbling about drive me crazy at the time but it came out ok.
Jane @SustainMyCraftHabit
Thursday 3rd of September 2015
The canvases are gorgeous! The prints are really nice. Great choices. Your guest room looks so great- can we come for a visit? Enjoying co-hosting the #HomeMattersParty with you.
Michelle
Thursday 3rd of September 2015
Of course you can come for a visit any time! LOL! Thanks so much. I was happy they came out without the bubbles. The ended up looking pretty nice.
Sarena @ Teal Inspiration
Monday 31st of August 2015
Oh wow! What a cool idea and the room really looks great! Thanks for sharing. :)
Michelle
Monday 31st of August 2015
Thank you. It has been a fun project! I think it is almost done. LOL!
Shann Eva
Sunday 30th of August 2015
I love your guest room! Can I come stay?! Thank you for being such a great co-host at the #HomeMattersParty with me.
Michelle
Sunday 30th of August 2015
You can stay any time you like! I just got new pillows and sheets so now I have to update! LOL! Thanks for stopping Shann. I appreciate it.
Alayna @AlaynasCreations
Friday 28th of August 2015
Cute cute! I love the chalkboard prints and the bold colors and patterns. I have a love/hate relationship with modge podge as well - you just never can tell when it's going to bubble. I have had projects look perfect for weeks then one day I look at them and boom - bubbles! The best method I have found for applying them is similar to what you found. I put the glue on the back of the paper and the front of the wood/canvas and apply. Then I let it dry before applying the top coat. As it's drying I will check for bubbles, as often you can smooth them out at that point. Also, a lot of the time I will skip the top coat of modge podge and cover the whole thing with poly instead.
It's been fun co-hosting the #HomeMattersParty with you. September here we come!
Michelle
Saturday 29th of August 2015
Thanks for that tip Alayna. The entire time they were drying before the top coat was added there were bubbles. It really is crazy. I thought they were ruined for sure. Maybe I will try the poly next time and see what happens.