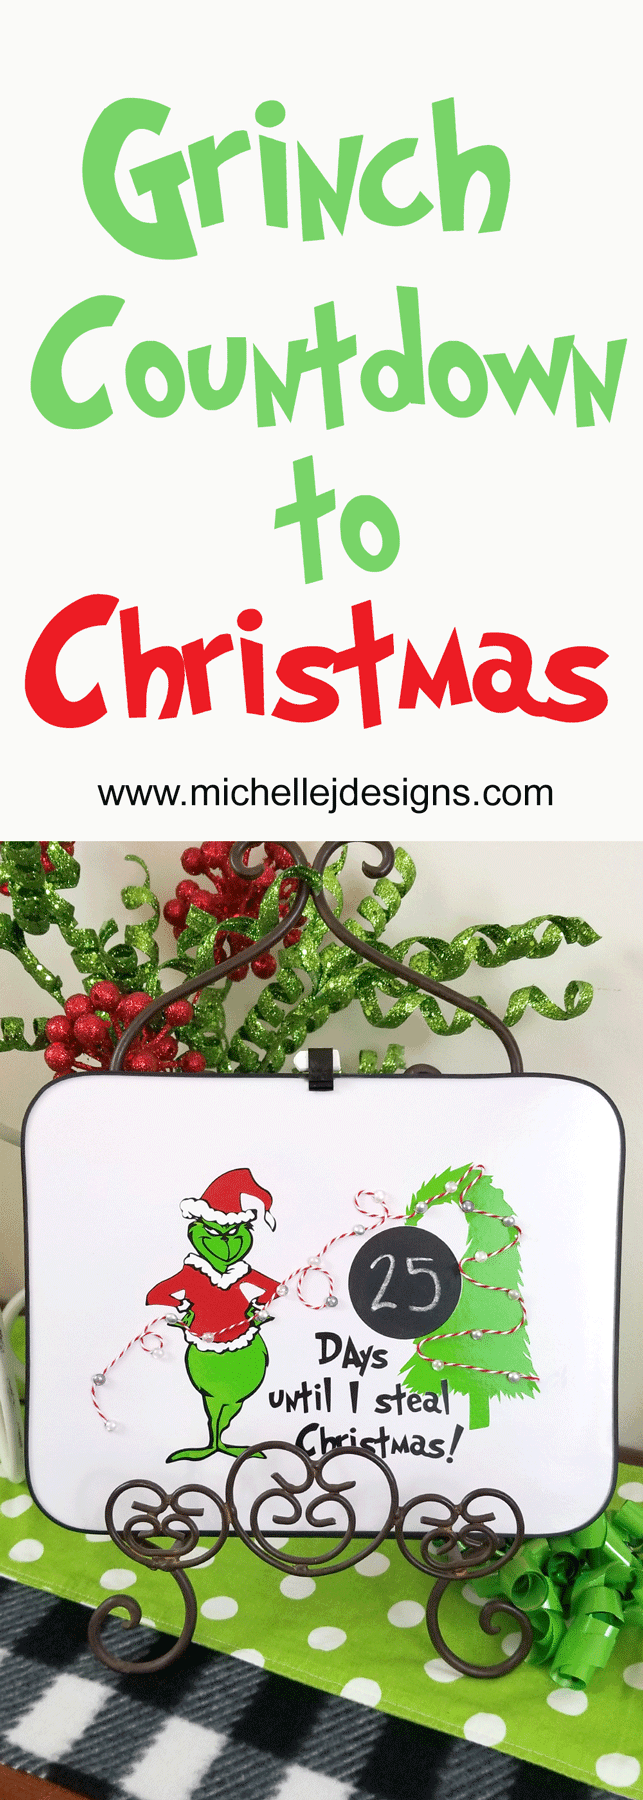
Well here we are at my first Christmas post for this year and I have to say I am of excited about it. I hope you like this post. There are many other Christmas projects and gifts planned for this holiday season! Today I am showing you how I made this Grinch Countdown to Christmas by using some Dollar Tree products and my favorite vinyl from StyleTechCraft!
Making Dollar Tree crafts and gifts makes me happy. They are easy, inexpensive and can be personalized just like this Grinch decor.
This post is sponsored by StyleTechCraft, therefore they provided the vinyl for this post. I love this vinyl and that is 100% my opinion.
The Grinch theme I started for my decor a couple of years ago is getting a some new projects this year and I am ready to show them off! I love to make new Grinch crafts and decor each year!
Related Content:
Grinch Inspired Stocking Holder
Grinch Countdown to Christmas
This was a great project. If you would like to see the step-by-step video tutorial you can see that by clicking on the video below. Be sure to SUBSCRIBE to my channel. I am working on some awesome videos and I don’t want you to miss any of them
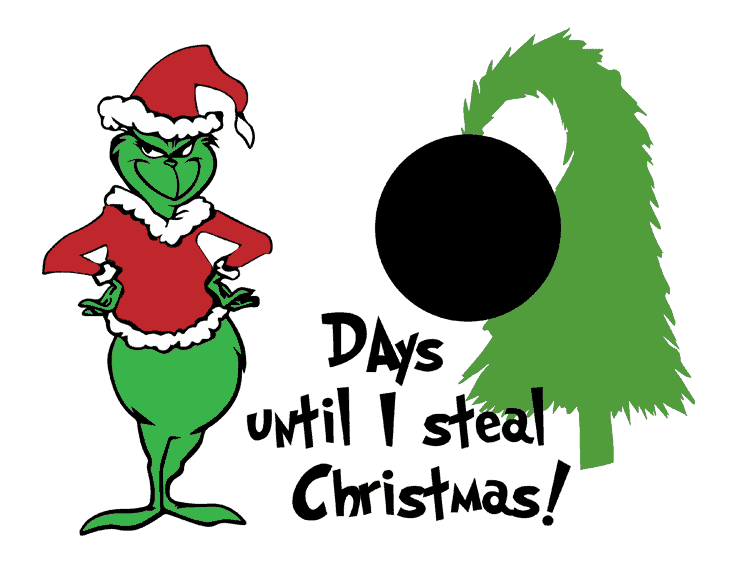
Step 1: The Grinch Design
I used a couple of purchased designs and the “Grinched” font to create the design. You can find the links in the materials list at the end of the post.
I think it came together nicely! Here is how I put it together.
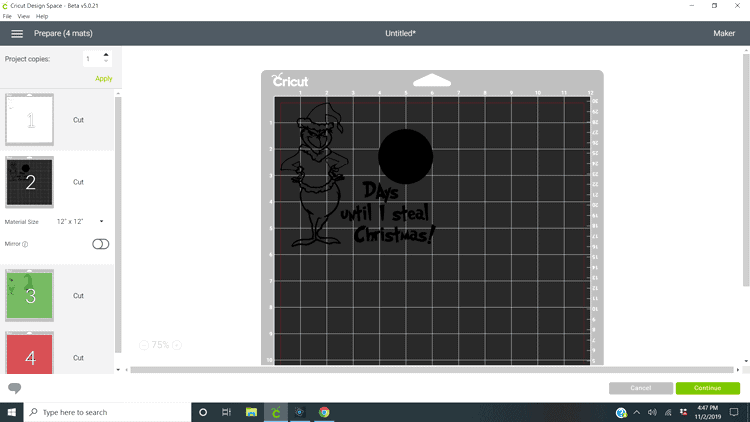
I love using my new Cricut Maker and the way the Cricut Design Space separates the colors so when you cut them they line up perfectly.

This is how the SVG file comes into the program. Then like magic, it creates a mat for each color so they can be cut separately.
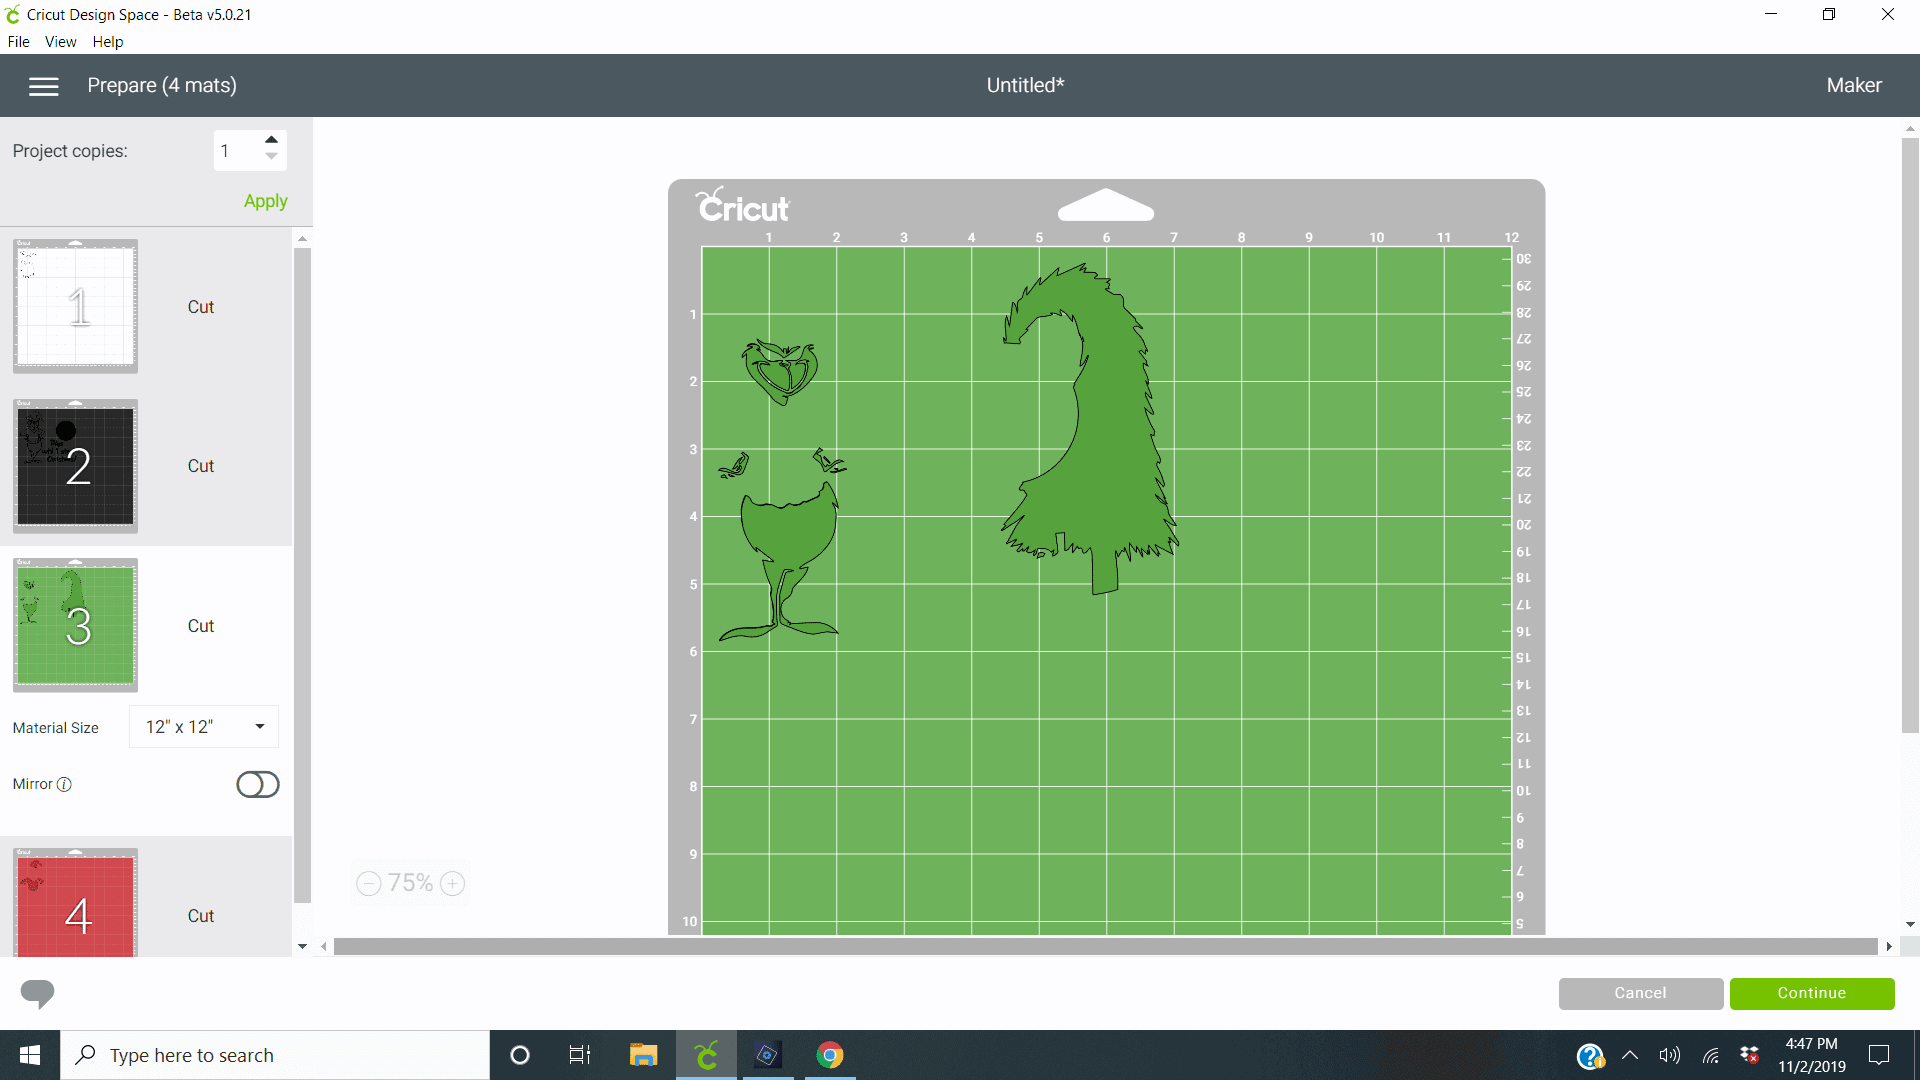


Once they were all cut out they looked like this!

They look funny all separated.
The black pieces were actually not a solid piece. I did not weed the Grinch because I thought it would be easier to add the green, red and white on top of the solid black rather than try to insert the pieces into an outline. Does that make sense? The pieces are cut but I left them alone.
Step 2: Layering the Vinyl Pieces
This dry erase board from the Dollar Tree was the perfect choice for my Grinch Countdown to Christmas sign.
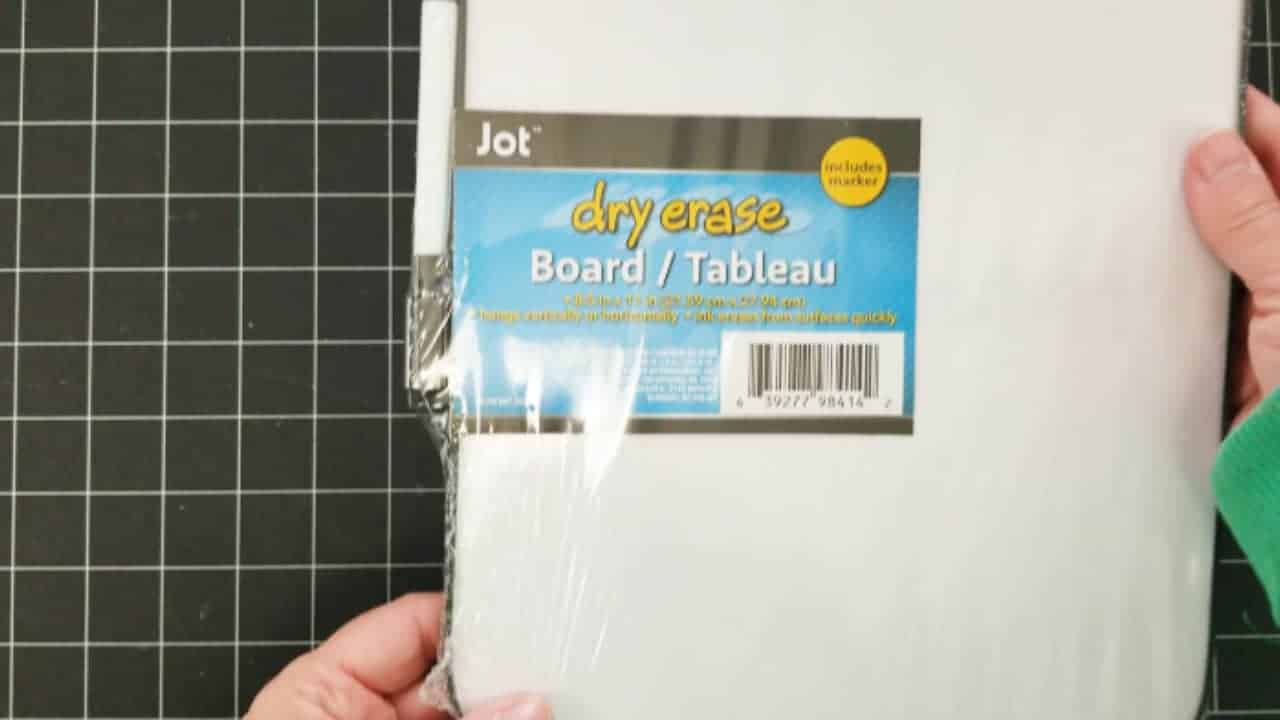
It is an 8.5 x 11 board so it is was the perfect size. I didn’t want a big sign because I don’t have tons of room for more decor. Also, the vinyl adheres really well to this surface so I knew it would last for a long time.
The first step was to get the black vinyl down. I wanted it to be centered so I was careful to try to figure that out first. The transfer tape was already on the vinyl and it was ready to go down.

After it was down, I removed the transfer tape.

Adding the rest of the layers
Next was the green vinyl. This one had the Grinch face and his funny belly and legs. It also had the Grinchy bent over tree. All of the layers of vinyl had transfer tape over them before placing them onto the dry erase board.

The green layer was the hardest to put down, in my opinion. I got the tree lined up first then placed the green onto the Grinch starting with his feet and moving up to his face.
Next came the red layer with his hat and sweater. Although there were not issues with the green layer, the red layer was so much easier.
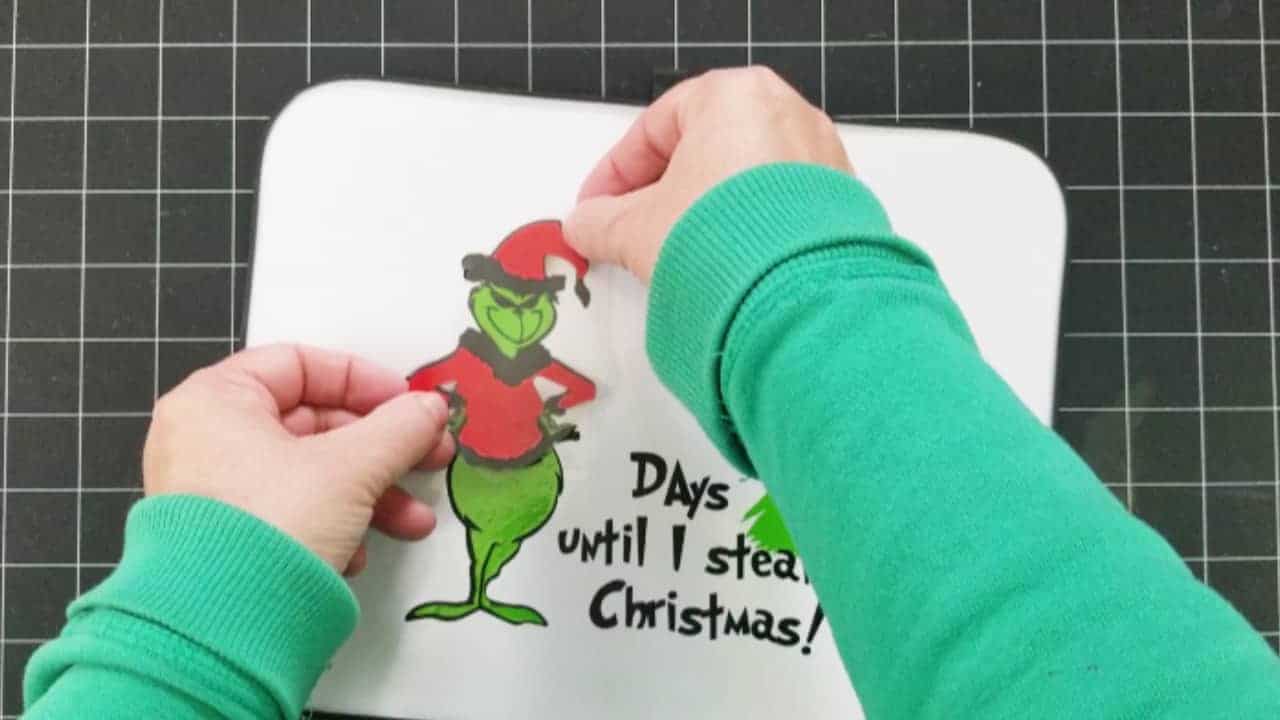
And last but not least was the white layer. This included the fuzzy parts of his hat and sweater.

His tiny, little eyes did not make it onto the transfer tape so I went in and added them after the white vinyl was down.
I also had some extra black vinyl on his hands and I don’t know why. An exacto knife made it good as new.

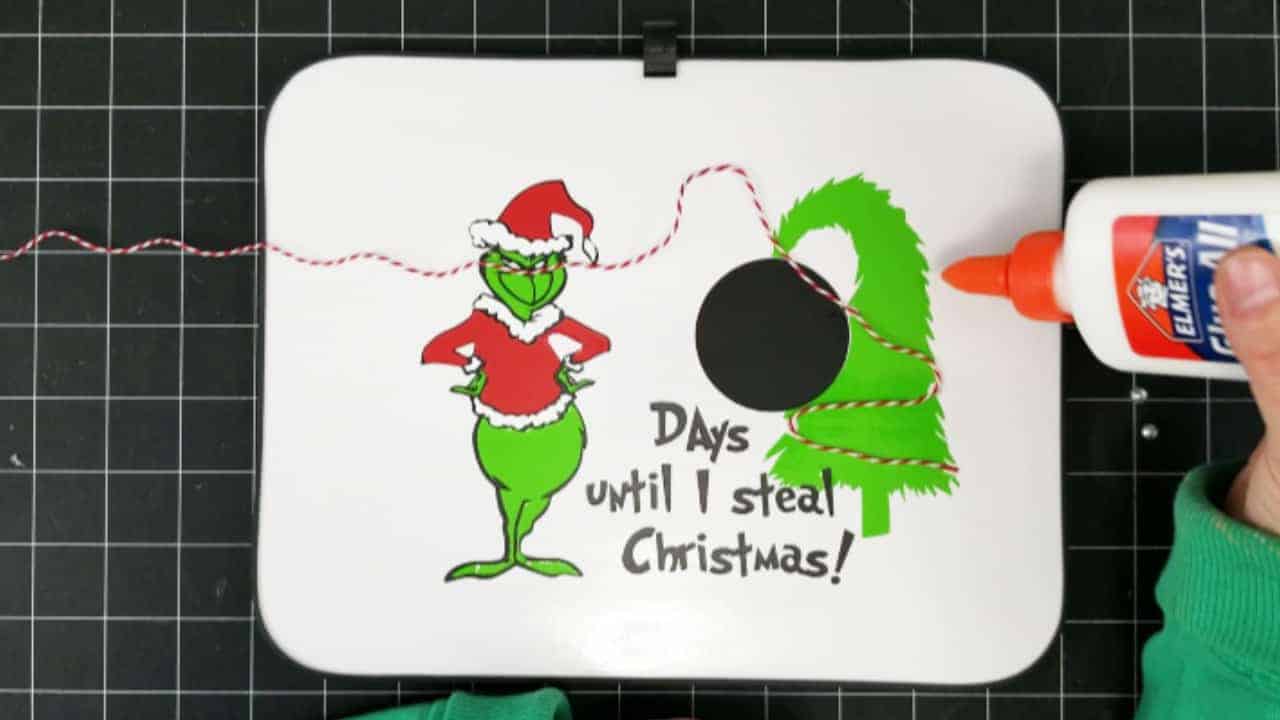
The circle by the tree is Chalkboard vinyl. I had been wanting to use it for so long and now I had my chance. Isn’t is just so cute?
Step 3: Adding Embellishments to the Countdown to Christmas Sign
I liked it plain but I thought adding some string lights to board would be fun and give it some extra detail it was craving.
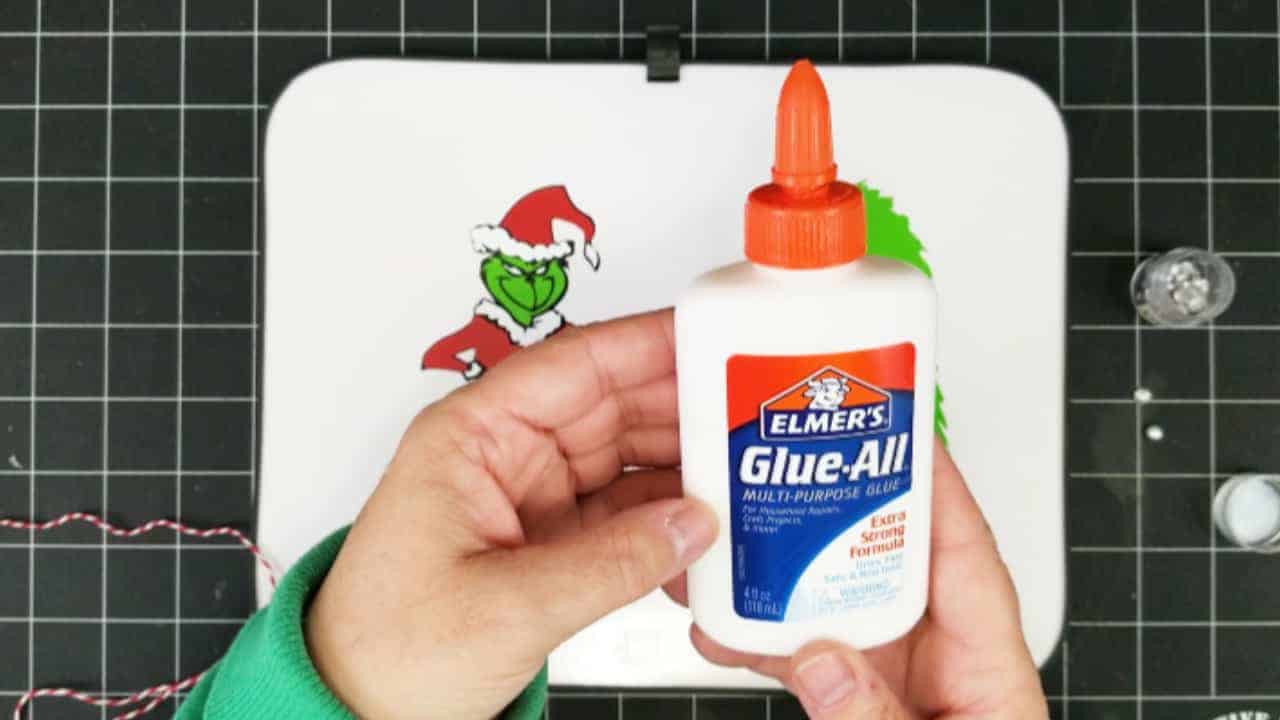
Red baker’s twine and some Elmer’s Glue-All was the next step.
I created a zig-zag pattern on the tree with the red string. Then added the “dew drops” with mini glue dots.
This step really added to the whole project. I think it upped the “cute factor” by a lot!
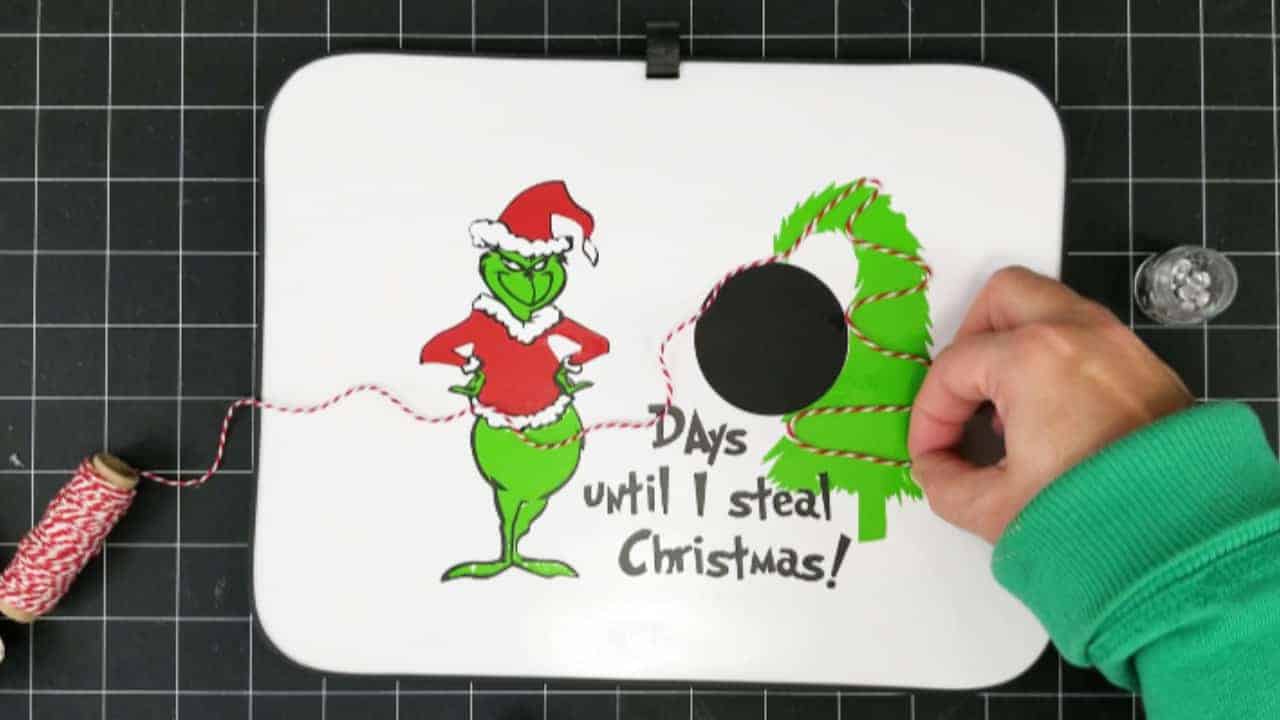
Once the tree was done I kept the twine going over to the Grinch to make it look like he was getting ready to steal the lights and the tree.

After the twine and the dew drops were completed I used a piece of chalk to write in the days to Christmas onto the chalkboard vinyl. I love this stuff. I could think of a million more ways to use it!
Related Content:
Finished Countdown To Christmas Sign
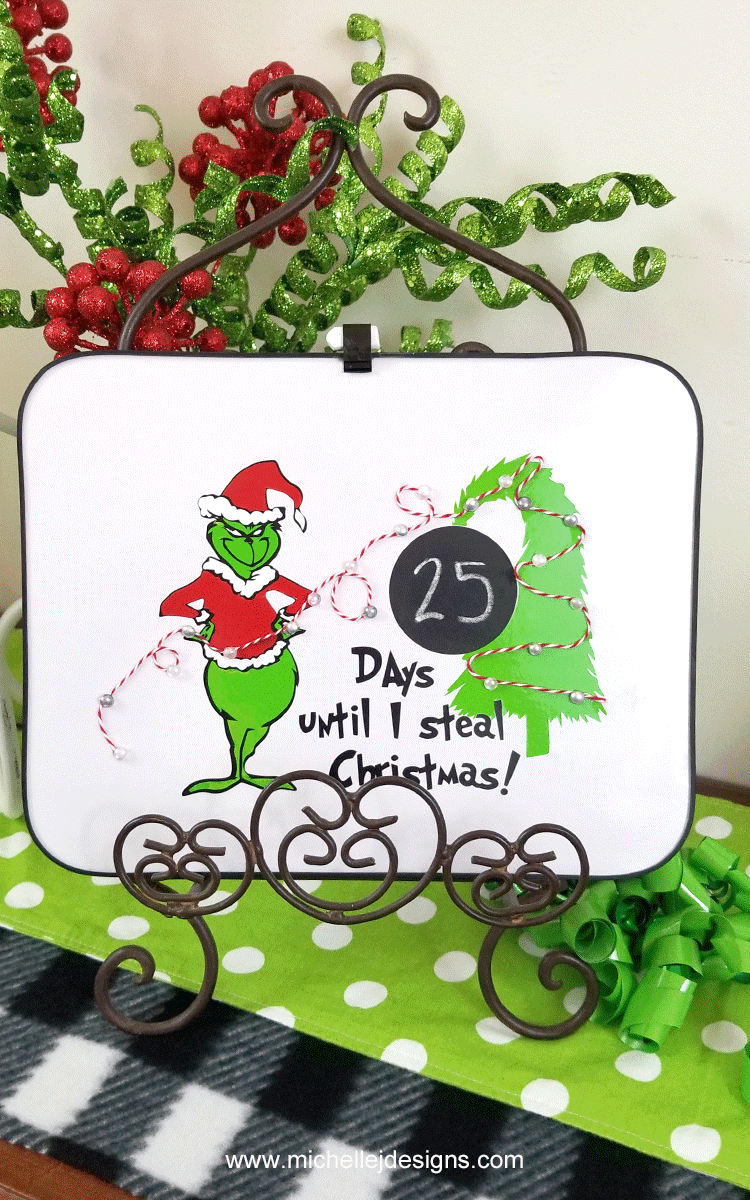
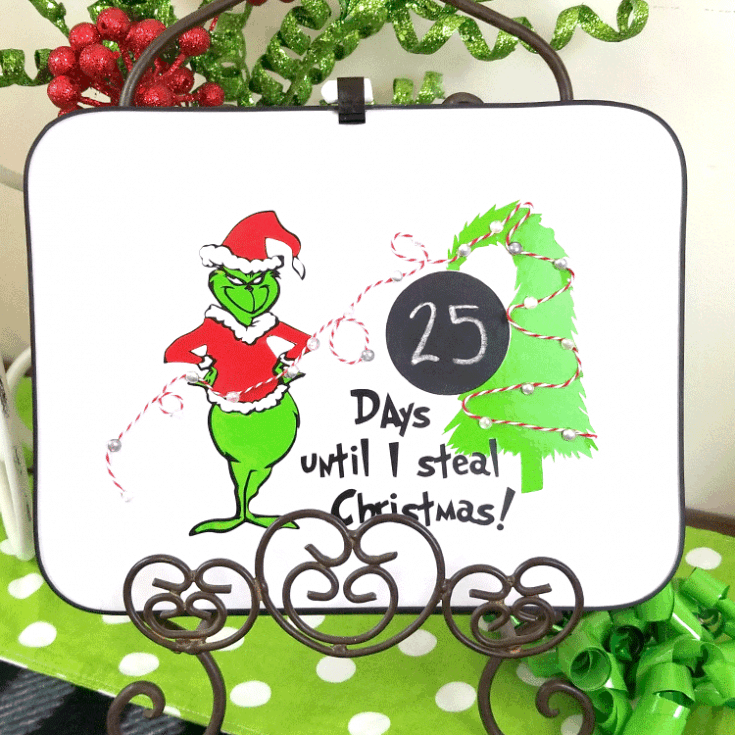
Here is the finished project and I am really excited to have it all done.

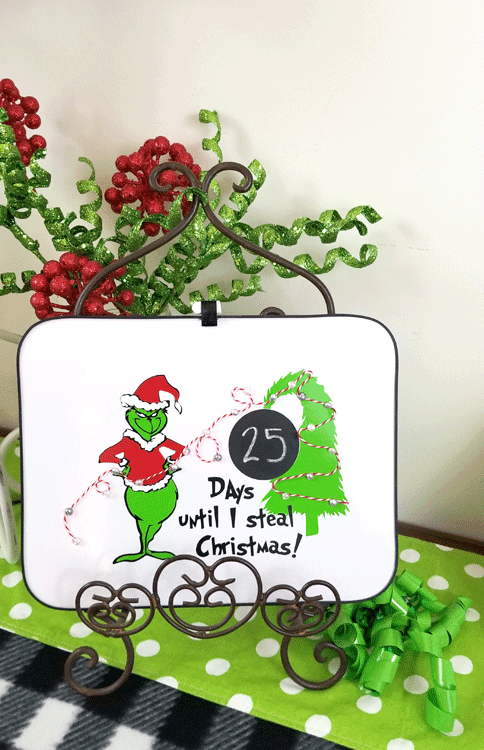
What do you think? I just love the layering of the vinyl. It ends up looking so professional and polished. As I mentioned before this vinyl is so easy to work with. Especially the glossy and matte.
In this project the green and red vinyls are glossy, the black text and the black on the Grinch are matte and the circle is the chalkboard vinyl. I will add some links below to these in the materials list.
Please check out StyleTechCraft and use their vinyl for yourself. It is Ah-mazing!
You can follow them on Facebook too! Just click this link – StyleTechCraft
Materials Needed:
I have added some affiliate links for your convenience. You can read my full disclosure here.
Grinch Countdown to Christmas

This cute Grinch countdown to Christmas sign is created by layering different colors of vinyl. It is perfect for a humorous take on the traditional countdown to Christmas signs.
Materials
Tools
- Cricut
- Scissors
- Exacto Knife
Instructions
- Create Design using SVG files and Grinched font.
- Cut the colors separately and use the chalkboard vinyl for the circle
- Start with the black layer (excluding the circle) and place onto the dry erase board.
- Next add the green layer
- Then the red layer
- The white layer is last
- Then place the circle down.
- Using the Elmer's Glue-All and the red baker's twine create a light string on the tree, continue the string over to the hands of the Grinch.
- Add the dew drops with glue dots in random places on the twine to look like lights
- Use chalk to write in the days until Christmas.
- Use an easel from the Dollar Tree to stand it up (optional)
This was such a fun project and didn’t take me too long to make! I hope you will give it a try if you have a Grinch theme in your holiday decor.

As always, thank you so much for dropping by!
Michelle


Courtney Esannason
Monday 9th of November 2020
Hello do you still have the grinch svg? The shop is no longer available.
Michelle
Tuesday 10th of November 2020
Thanks Courtney. I will need to change up that link. I do have it but cannot give it away since I bought it. I see them a lot on Etsy. I think if you searched for Grinch Hand and Grinch Tree you will find some for a good price.
Marie Leslie
Tuesday 19th of November 2019
The Grinch design is no longer available, can you recommend another place to find and SVG?
Michelle
Tuesday 19th of November 2019
Hi Marie. Thank you for pointing that out to me. Wow! I updated the link in the Marterials box but here it is for you! https://www.etsy.com/listing/737195882/grinchmas-svg-christmas-svg-dr-seuss?ref=search_recently_viewed-2
Marie
Wednesday 13th of November 2019
So cute! What color are the dew drops?
Michelle
Wednesday 13th of November 2019
They are are package of white and silver dew drops. I am so glad you like it!
Beverly
Monday 11th of November 2019
This is adorable, Michelle! I love it! What a fun way to countdown to Christmas!
Michelle
Monday 11th of November 2019
Thank you Beverly. I think it is so fun.
Nancy Lou
Wednesday 6th of November 2019
Oh, Michelle! The "lights" really upped the adorable factor of this project. Love it!
Michelle
Thursday 7th of November 2019
Thank you Nancy. I thought so too! I am glad you like it. The Grinch is very popular at our house.