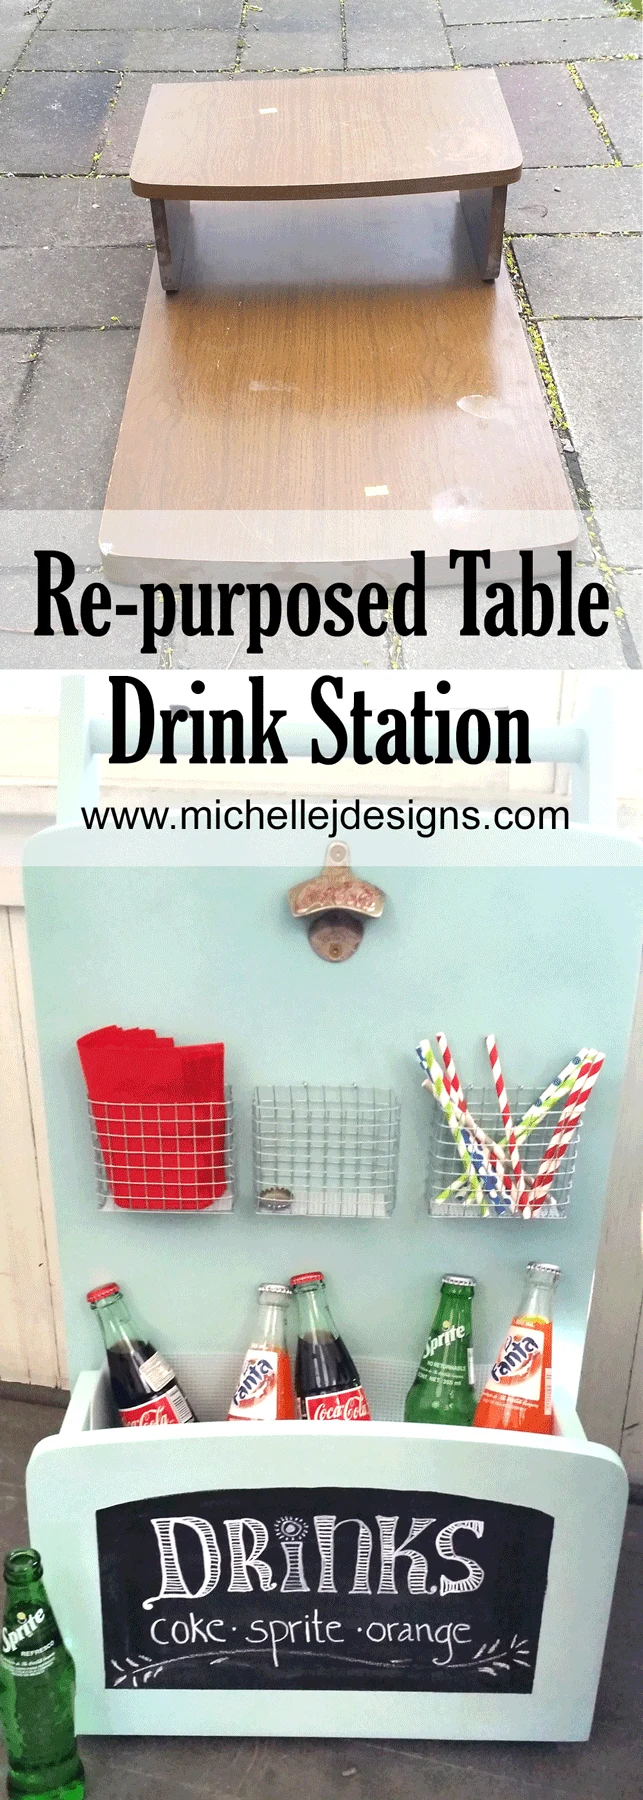
I had an old table top lying around in my garage. I was determined to use it. This is how I transformed it into a portable drink station!
Hi there! I am back today with my usual, awesome DIY post! LOL.
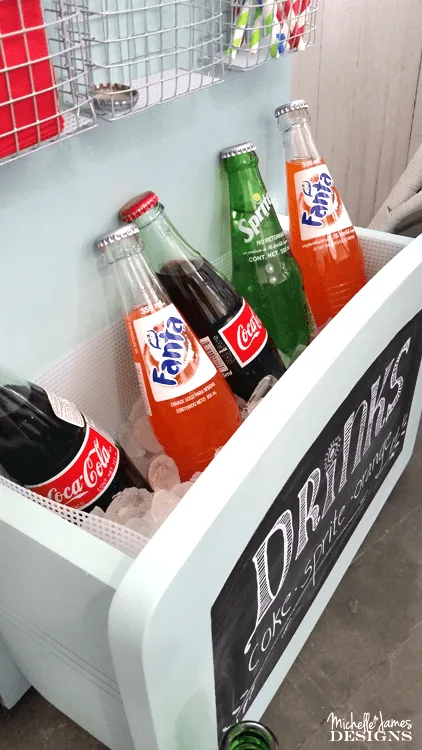
This time I am going to show you how I created a portable drink station out of a table without legs. Or, how I took this lemon of a table and created some great lemonade. Or at least a drink station that can serve some lemonade!

Create Your Own Portable Drink Station
This was a most fun project and I know I say that a lot but they are like my little babies. Each one is equal to the next.
This is my fourth month participating in the Furniture Refresh Challenge and the theme this month is Chalkboard paint. This time only two of us participated. That is ok. We had fun!
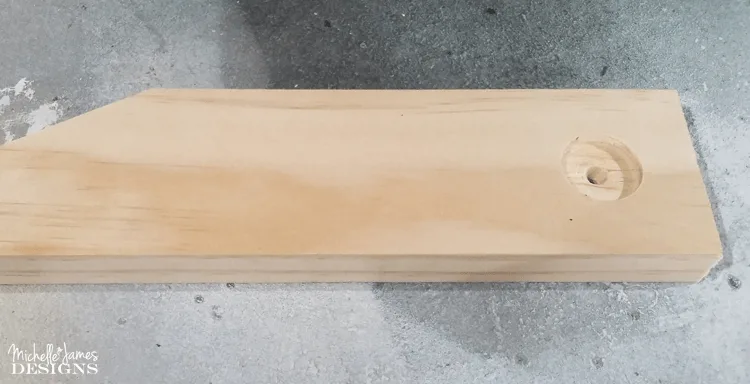
This portable drink station started out as a table. But this table had no legs.

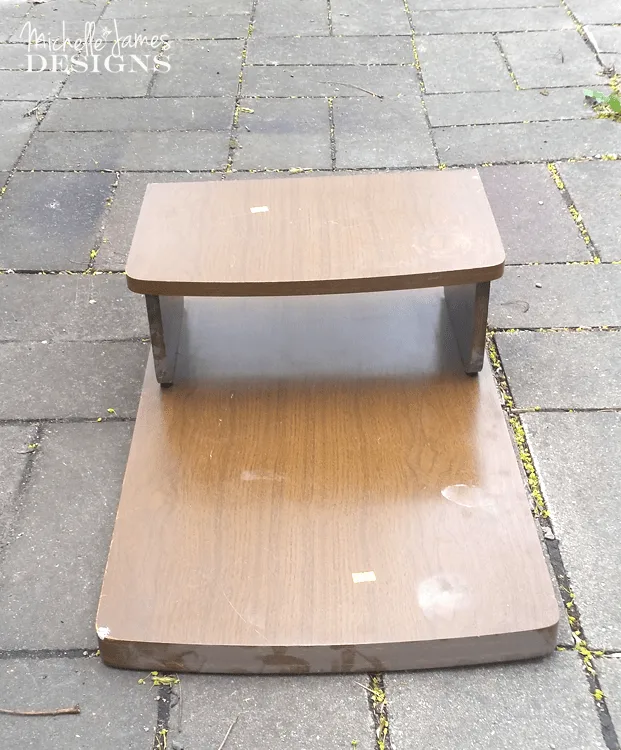
We bought the table for $5 at a thrift store just for the legs.
I really wanted the modern, tapered legs for this bench we made for Ian and Hailey but each leg was about the cost of this table. So, I bought this table to use the legs. This poor table has been in the garage for a while.
I contemplated what to do with it. One of the ideas I found was a table with the legs that had the top shelf part open for drinks. I thought it was very clever so I started thinking about that.
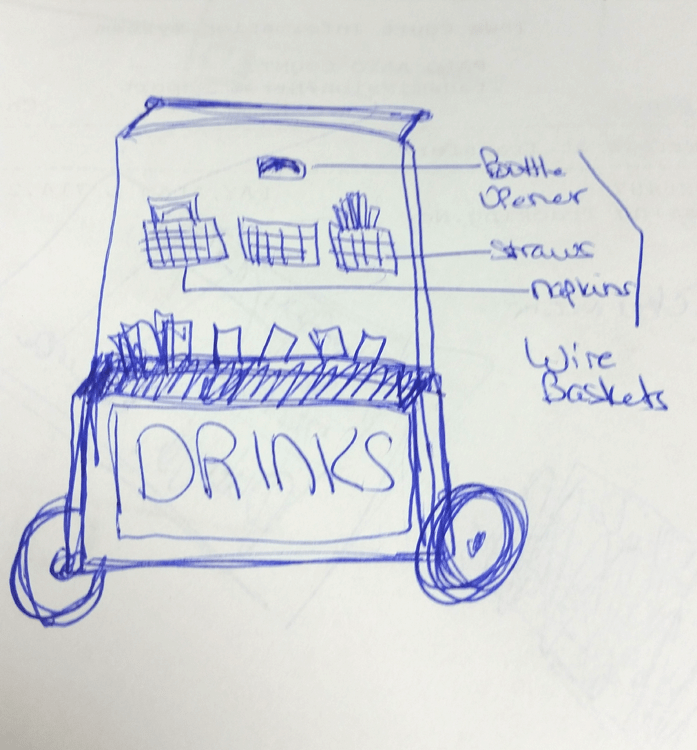
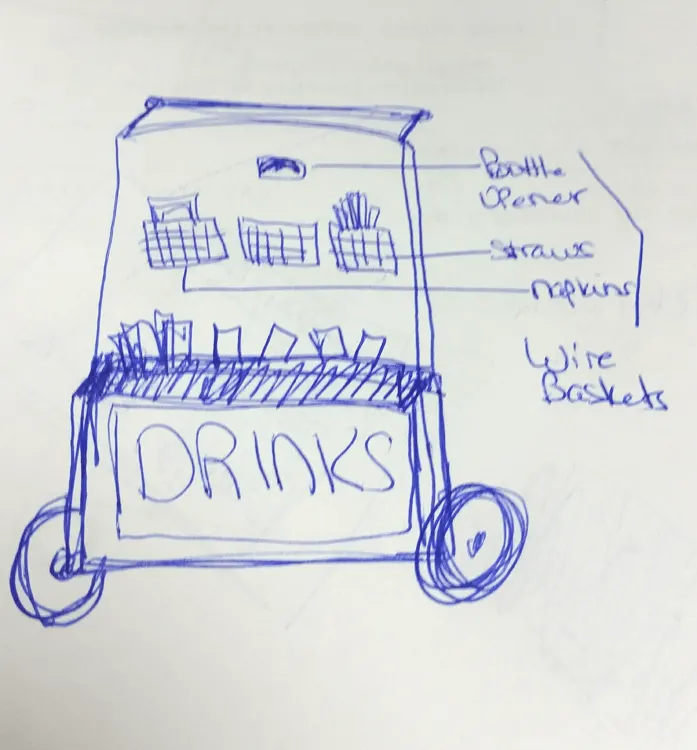
I came up with this little sketch and texted it to Jeff. He loves it when I do that. LOL! But, he thought it was doable. Yay!
Supplies Needed:
I am including some affiliate links for your convenience. You can read my full disclosure here.
This seems like a ton of supplies for this portable drink station.
Most of it we already had in the form of scrap wood, etc. We just like to use what we have instead of purchasing whenever possible. Plus there was a lot to be done to this bare bones table top.
- Two Tiered Table (with or without legs) – I see these all of the time at garage sales and thrift stores. Grab one and if it has legs…BONUS you can save them for another project later.
- Some sort of handle – we used a 1 inch dowel and scrap 1×3 pieces.
- Scrap wood for holding in the ice caddy – we used square pieces of basswood that measured about 6 inches in length
- 2×4 wood scrap
- Lath wood pieces
- Wheels – we had some already
- Round wooden pieces for small feet
- Drill
- Screws
- Tiny eyelets or cup hangers
- Bottle opener
- Rustoleum white flat paint/primer
- Rustoleum Serenity Blue Chalked Paint
- Paint Sprayer (optional)
- Rustoleum NeverWet
- Chalkboard Paint
- Chalk/Chalboard Markers – I used white but I want some fun colors for next time
- Hardware Cloth or small square/rectangle baskets
- Fishing line/filiament
- Plastic Canvas
Let’s Get Started
Jeff did a lot of work to this to get this drink station into shape.
We got the handle ready first. He used two pieces of scrap 1×3 and cut them at the perfect angle to get the handle in the right spot. This really was a trial and error process until it was where we wanted it to be.
These were placed on the back/bottom of the table. He bore holes 1 inch around part way into the wood on the inside of each piece so the dowel would fit in.

He clamped the angled pieces onto the back so he could get the dowel screwed in.

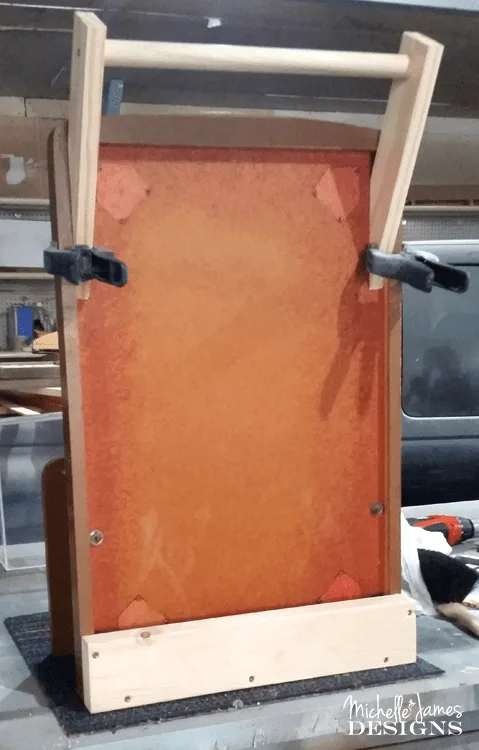
Then he permanently attached the angled pieces to the back. He added this 2×4 to the bottom so the wheels could be attached to something a little more sturdy than the side of the table.
He used pieces of lath all up the back to hide the ugliness of the back/bottom of the table.

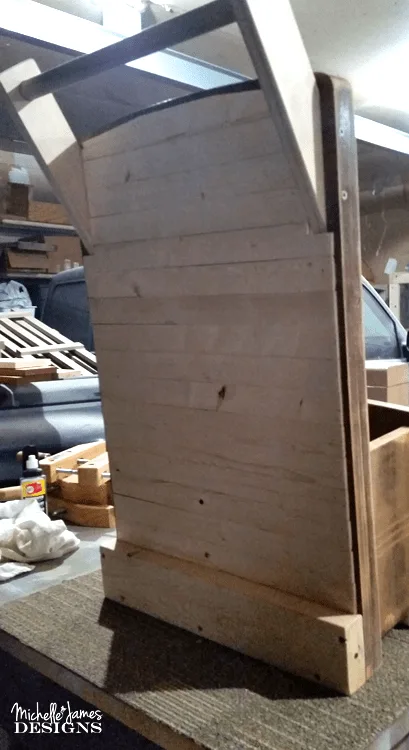
It looks so much better already.
Then he added some small feet to the to the bottom so the entire bottom of the piece would not be sitting on the ground.

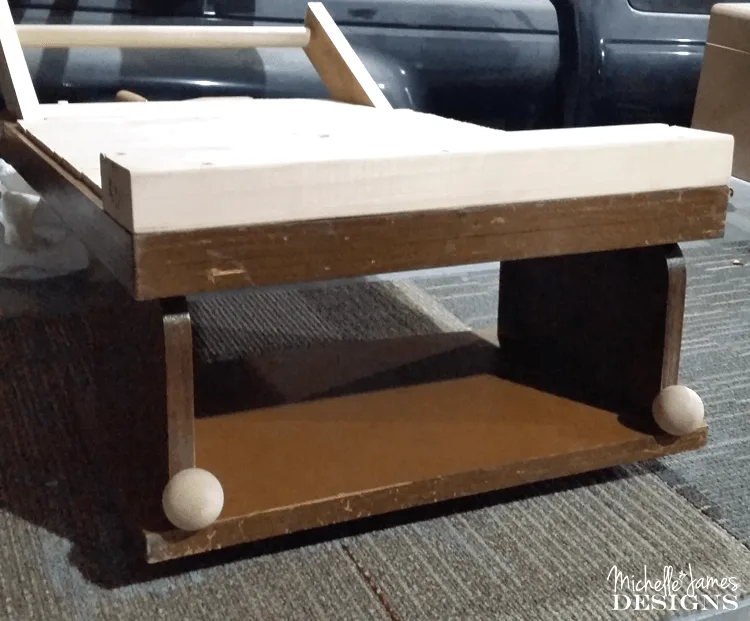
These wooden knobs have a flat area on one side. We ended up screwing them in so they would hold up longer and be much stronger then if they were just glued on.

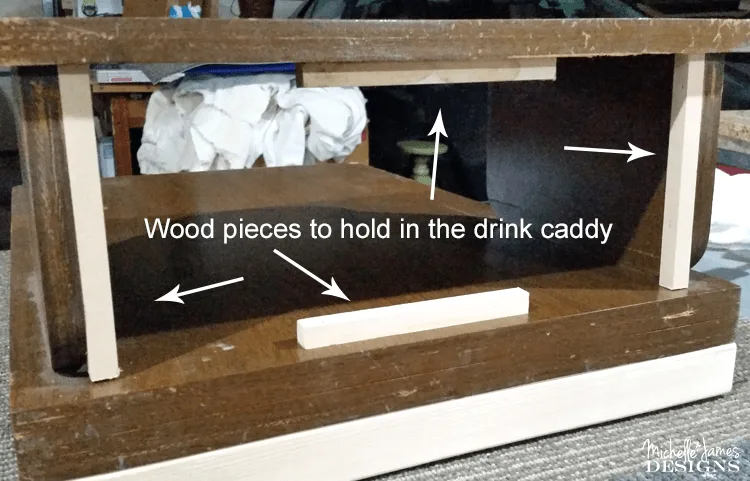
This little area is where the ice will be so I wanted something to hold in the ice caddy insert I will be making. Jeff added these scrap pieces of basswood to the bottom.
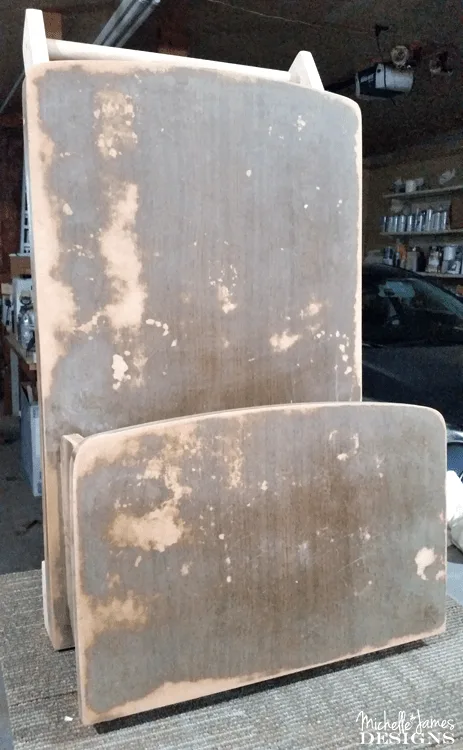
Let The Sanding Begin
When Jeff got done with his part I sanded and sanded…then I wiped it off and sanded and sanded again.
The table top was slick wood veneer and I did not want to have issues with the paint scratching or not bonding well.

I also sanded the wood arms for the handle really well. They had some pretty sharp corners so I softened them up a lot.
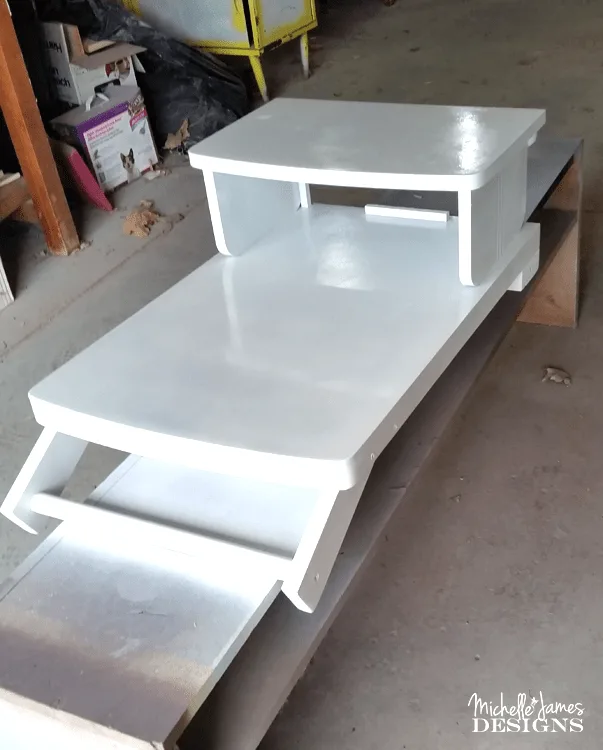
After the sanding was all done it was ready to prime. I used my “go to” primer, Rustoleum flat white paint/primer. I sprayed the entire piece.

The Pretty Stuff
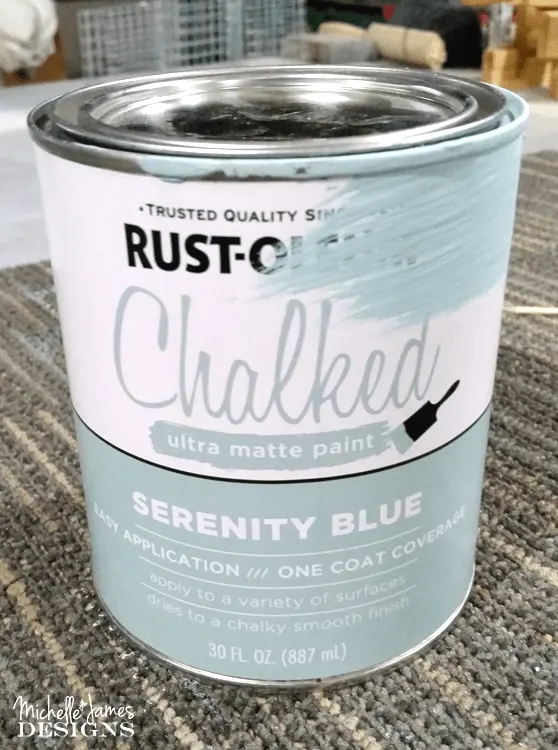
Once the primer was dry I was all set for the pretty paint. The nice people at Rustoleum sent me some of their Chalked paint to try.
The Serenity Blue is my favorite. I used it on my herb planter last week and couldn’t wait to get it out again.
My HomeRight paint sprayer was perfect for painting this portable drink station.
I thinned out the paint and it turned out to be a nice, smooth finish.

Then I got to use the special Rustoleum NeverWet. If you guys haven’t seen this you must check it out.
It makes things water repellent. I am serious the water just beads up and rolls off.

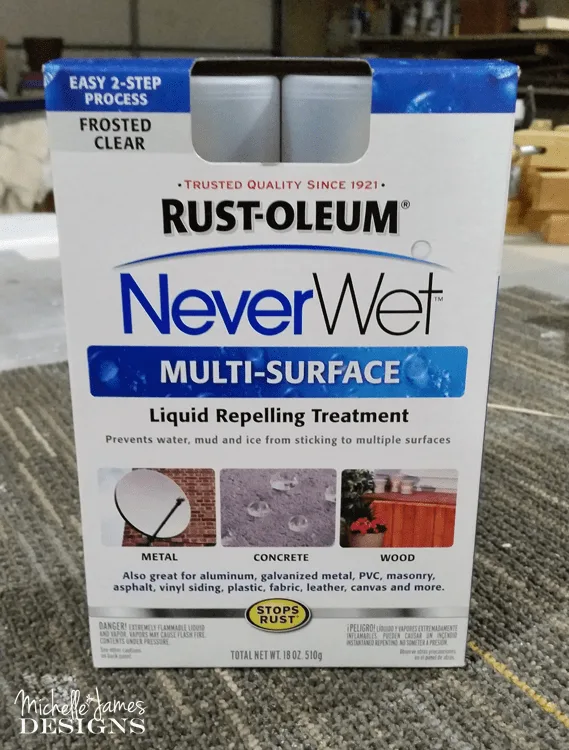
So this is a 2 step process. There are 2 cans in the box and they are clearly labelled step 1 and step 2.
You just spray the first product, let it dry for at least 30 minutes then spray the second product. After 30 minutes it should be water repellent. Pretty sweet, right?
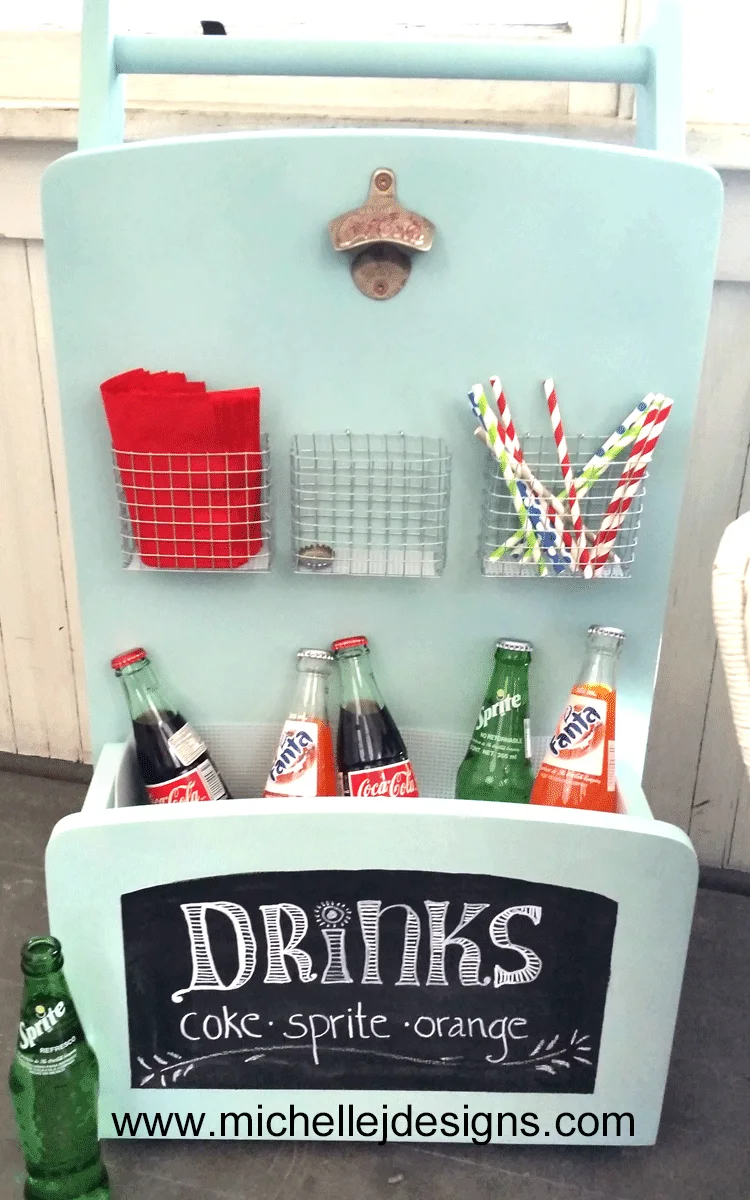
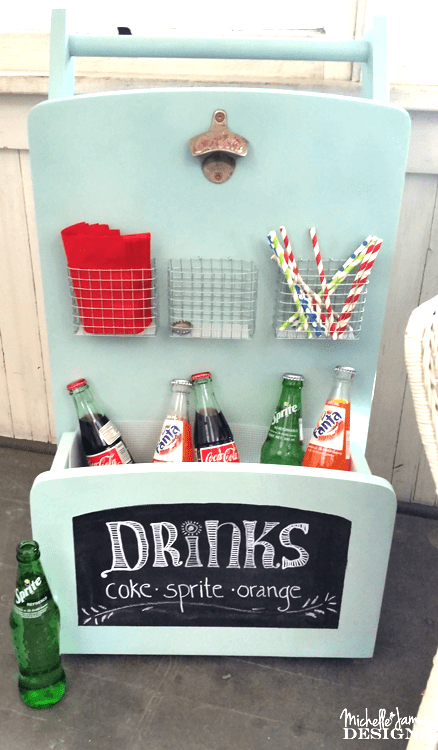
I sprayed the entire piece because I knew there would be ice inside the drink caddy part. And since the bottle opener is at the top, if some spilled it would just bead up and roll off.
The only thing I don’t like about it is the weird feel of it when it is dry. It seems like it is getting on your hands but it’s not.
You just have to trust me on this. I ended up sanding some of it off the handle so it wouldn’t be so weird. LOL!
More Pretty Stuff
When the base painting was done we started adding all of the things. I have already sold this piece to a friend. I had texted her a picture of my silly sketch and she loved it. Haha!
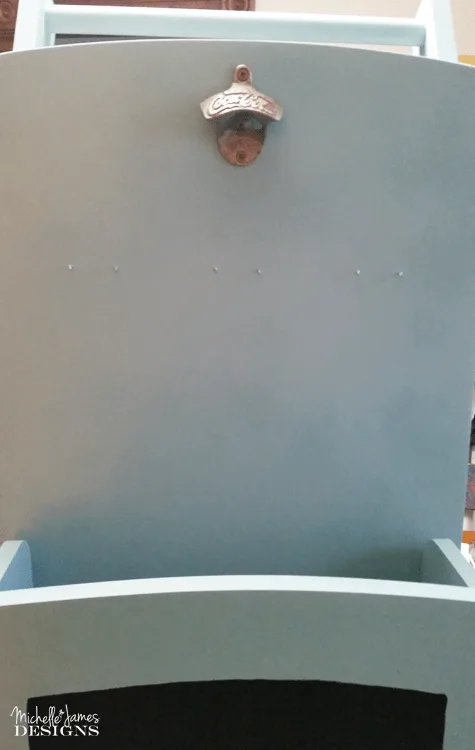
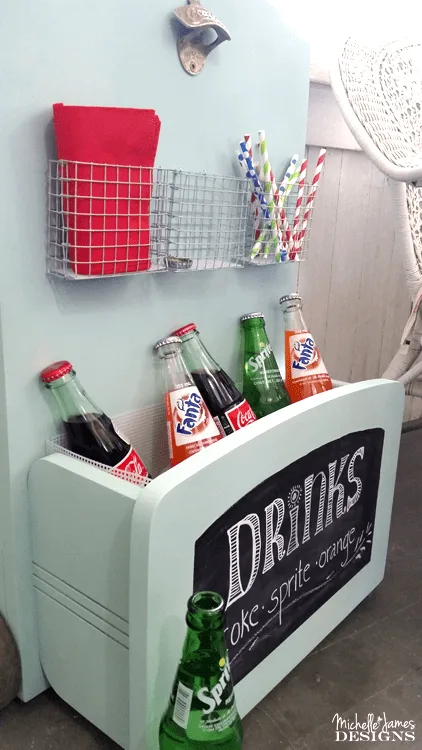
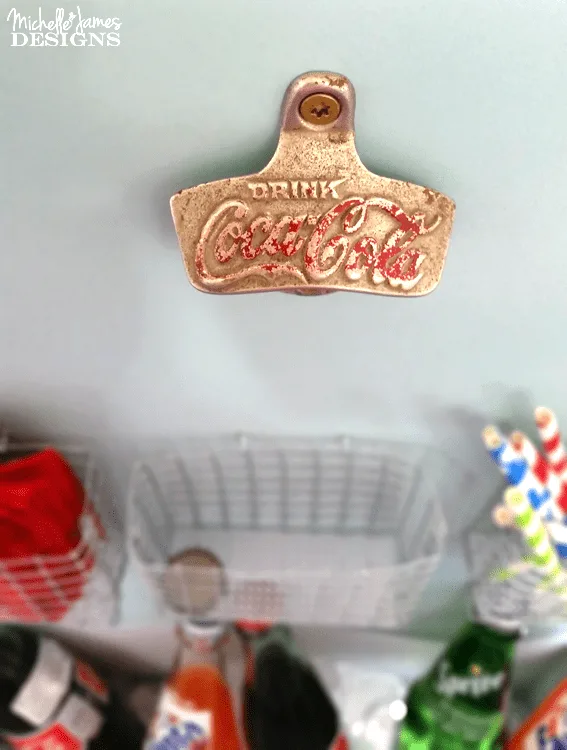
She had a Coca-Cola bottle opener from her grandmother that she wanted to incorporate into the drink station. It was really fun to add a personal touch.
I made some wire baskets to hold things like napkins, straws and one to catch the bottle caps. I used hardware cloth for these. You can see my tutorial here.
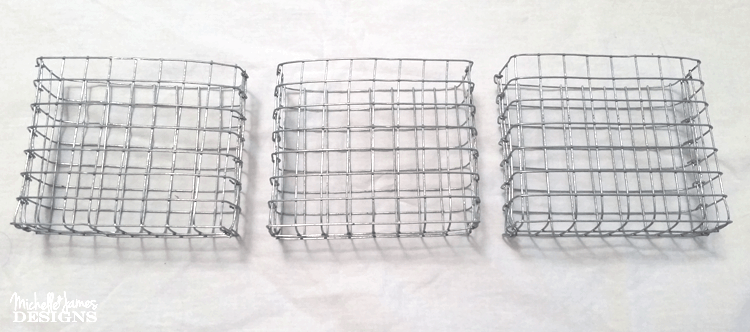
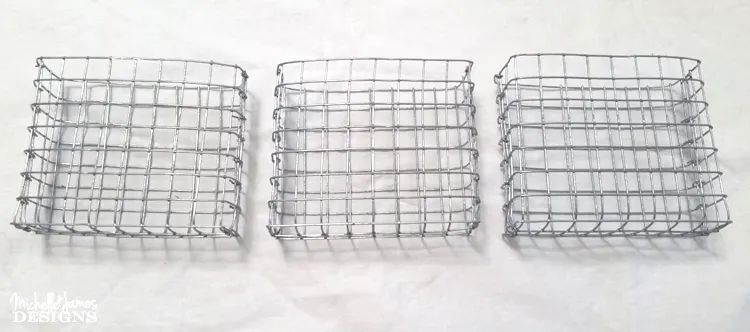
The baskets will be hanging on the little eyelets. I really wanted cup hangers but the smaller ones only come in brass. I did not want brass for this project.
Normally I would just paint them but I knew that the metal baskets would end up scratching the paint and they would look terrible. So we picked up tiny eyelets that screw in just like the cup hangers.
The only problem is that they are not a hook. they are an eyelet. We fixed that problem with wire cutters. Just cut off a bit of the eyelet to create your own hanger.
They are a little hard to see but they are there. I used two for each basket.

Jeff added the wheels on. That was fun!
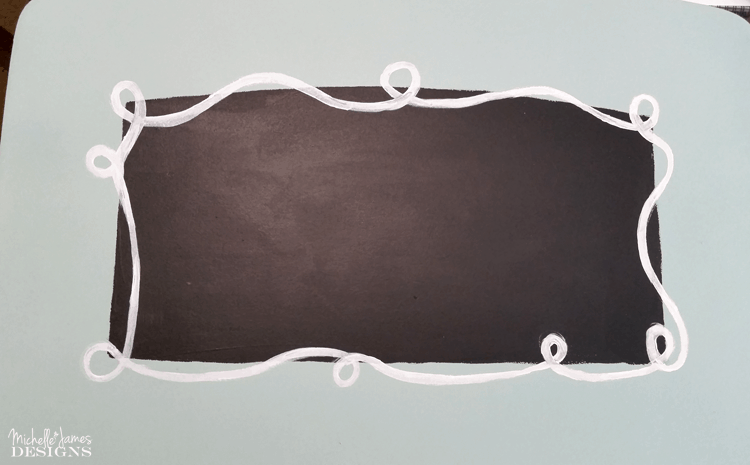
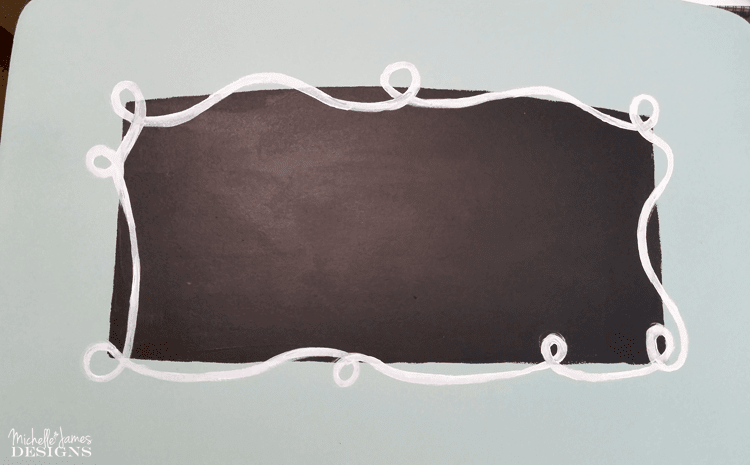
And as you can see in the photo above I painted the chalkboard paint on the front of the table. It looked great…and then I ruined it.
I added too much crap and made it look awful.
Isn’t it terrible? The thing is I didn’t even stop there. I thought I could fix it by adding even more. OMG! What was I thinking?
Needless to say I sanded, re-primed, re-painted, repeated the NeverWet process and re-painted the chalkboard paint all over again in this area. Sheesh! What a time-suck!
When the chalkboard paint dried I used the side of a piece of chalk to season the board, wiped it off with a slightly damp cloth and used my chalkboard marker to make my Drinks design. This was super fun!
Ice Caddy Insert
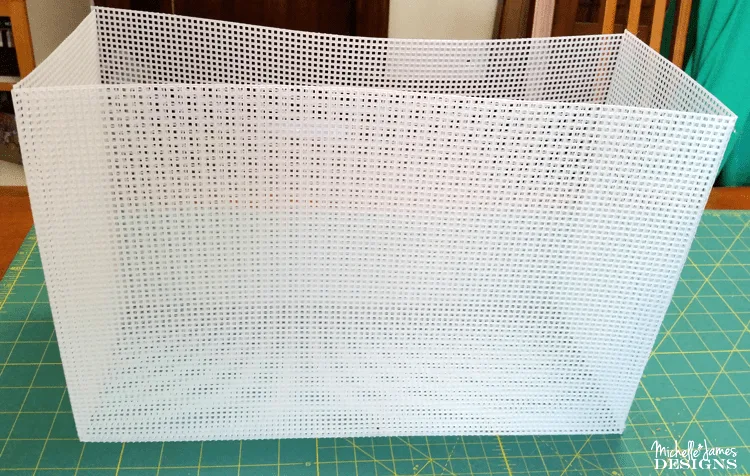
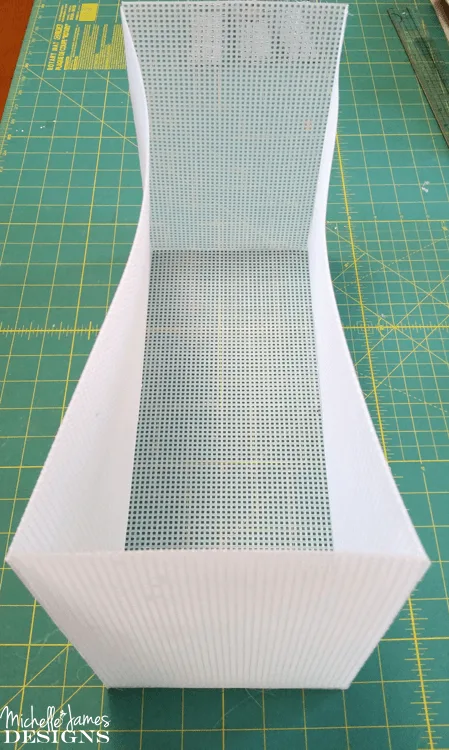
I wanted something for the ice and I wanted it to fit perfectly in the space from the table. Well, of course I couldn’t find anything. Jeff had the brilliant idea to use the plastic canvas.
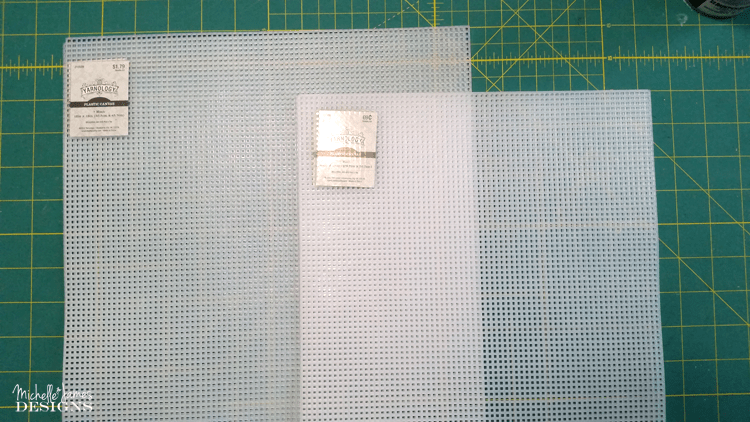
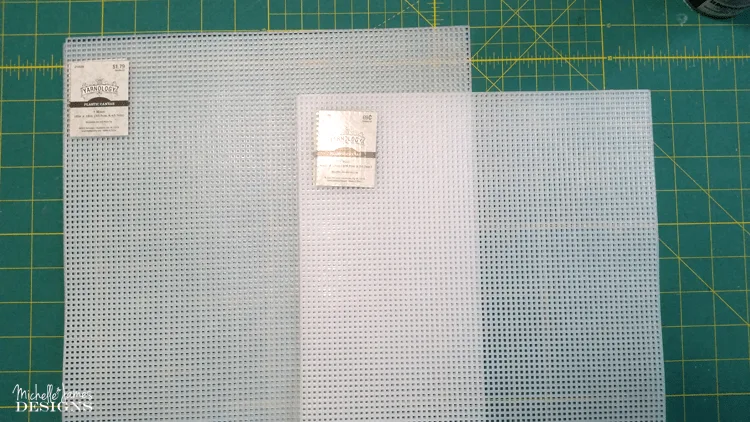
I cut the pieces to size and sewed them together on the sides and the bottom with the fishing line/filament.
Jeff is going to cut a piece of 1/8 inch polystyrene to fit in the bottom to keep it nice and sturdy for the heavy ice. And the best part is that it is all water proof.


I was done!!!
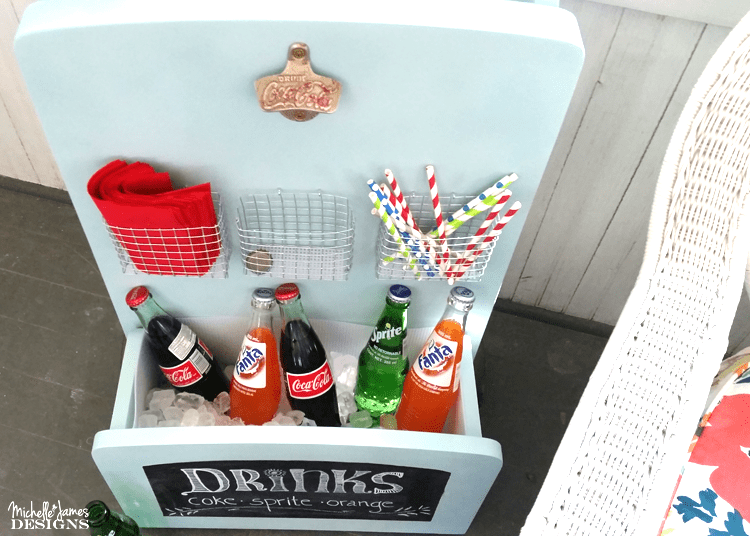
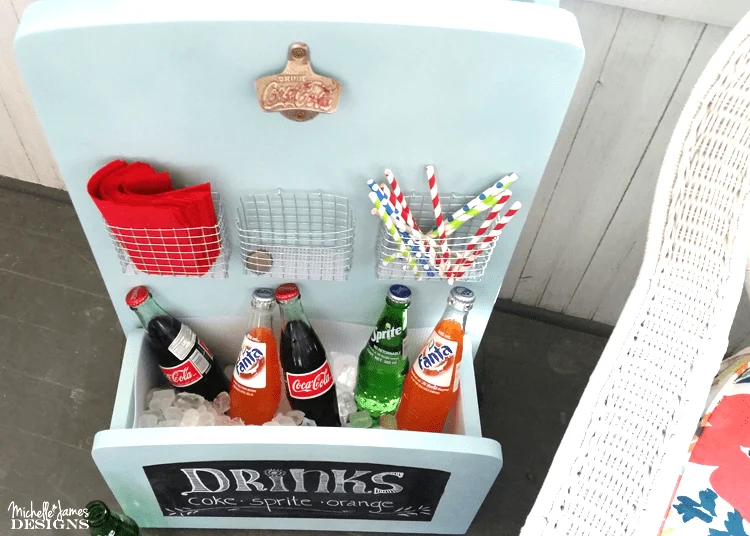
The Final Result
You guys I couldn’t be any happier.
It works and it works well. The only thing I may add for Jill is fabric liners for the baskets. I added a small piece of the plastic canvas to the bottom of each but the straws are still a problem.
They like to make their way to an opening and fall through. At least that is an easy fix!
What do you think?
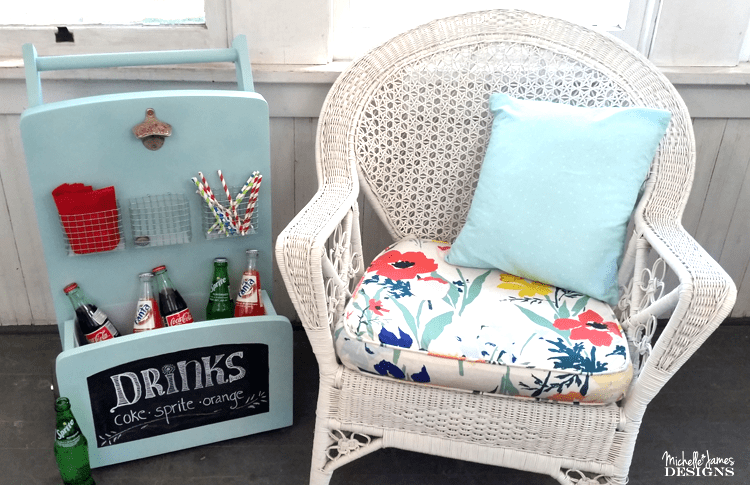


I just love the way it turned out!
Don’t forget to pin it!

Thanks so much for stopping by!
Michelle
Pam D
Wednesday 12th of July 2017
Amazing creativity! Awesome finished piece.
Michelle
Wednesday 12th of July 2017
Thank you Pam. I really loved this project!
peggy
Tuesday 11th of July 2017
This is the best flip of an old side table i've seen! not the usual repaint and done. guess i'll have to go garage sale-ing and be on the look-out for a similar table.
Michelle
Tuesday 11th of July 2017
Hi Peggy! Thank you so much. That was my favorite comment! I appreciate it very much. Every once in a while I try to step outside of the box!
Diane
Tuesday 11th of July 2017
Very cute idea! I love that you share yoUr "oops I over did it" moments also.
Michelle
Tuesday 11th of July 2017
Hi Diane! Thanks. Yes, I like to share some of my terrible ideas every once in a while. Thank you for the comment. I appreciate it very much!
Judith Sudulic
Wednesday 24th of May 2017
I absolutely Love this Drink stand. It is such a very clever and unique idea. Well done thank you for sharing your awesomeness.
Regards From Judith Www.curvyandcontent.com
Michelle
Wednesday 24th of May 2017
Hi Judith! Thanks so much. It was fun to make and I think t turned out super cute!
Sue
Friday 5th of May 2017
The whole drink station the way you and Jeff designed it is just so perfect. I want it and it would look very nice on my patio for parties too. I think Hobby Lobby will want to clone you so hide it from them. Thank you for the tip on the paint to waterproof too.
Michelle
Friday 5th of May 2017
Thank you Sue. Yes that NeverWet stuff is the best! It just feels weird but it works really well! You should try some. I think the color I painted it would look very nice with your newly painted patio furniture!