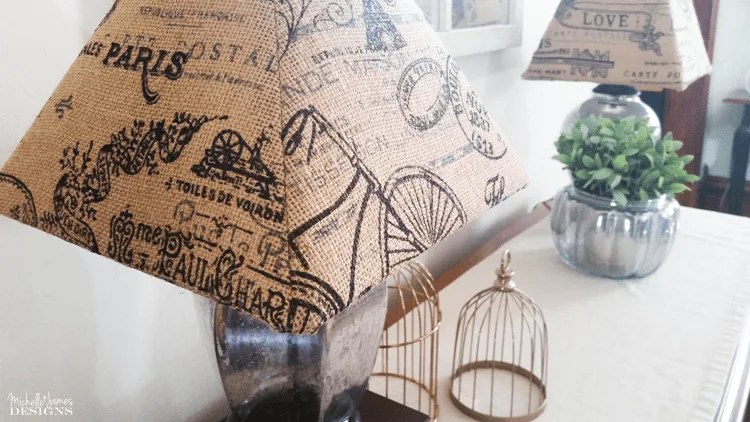
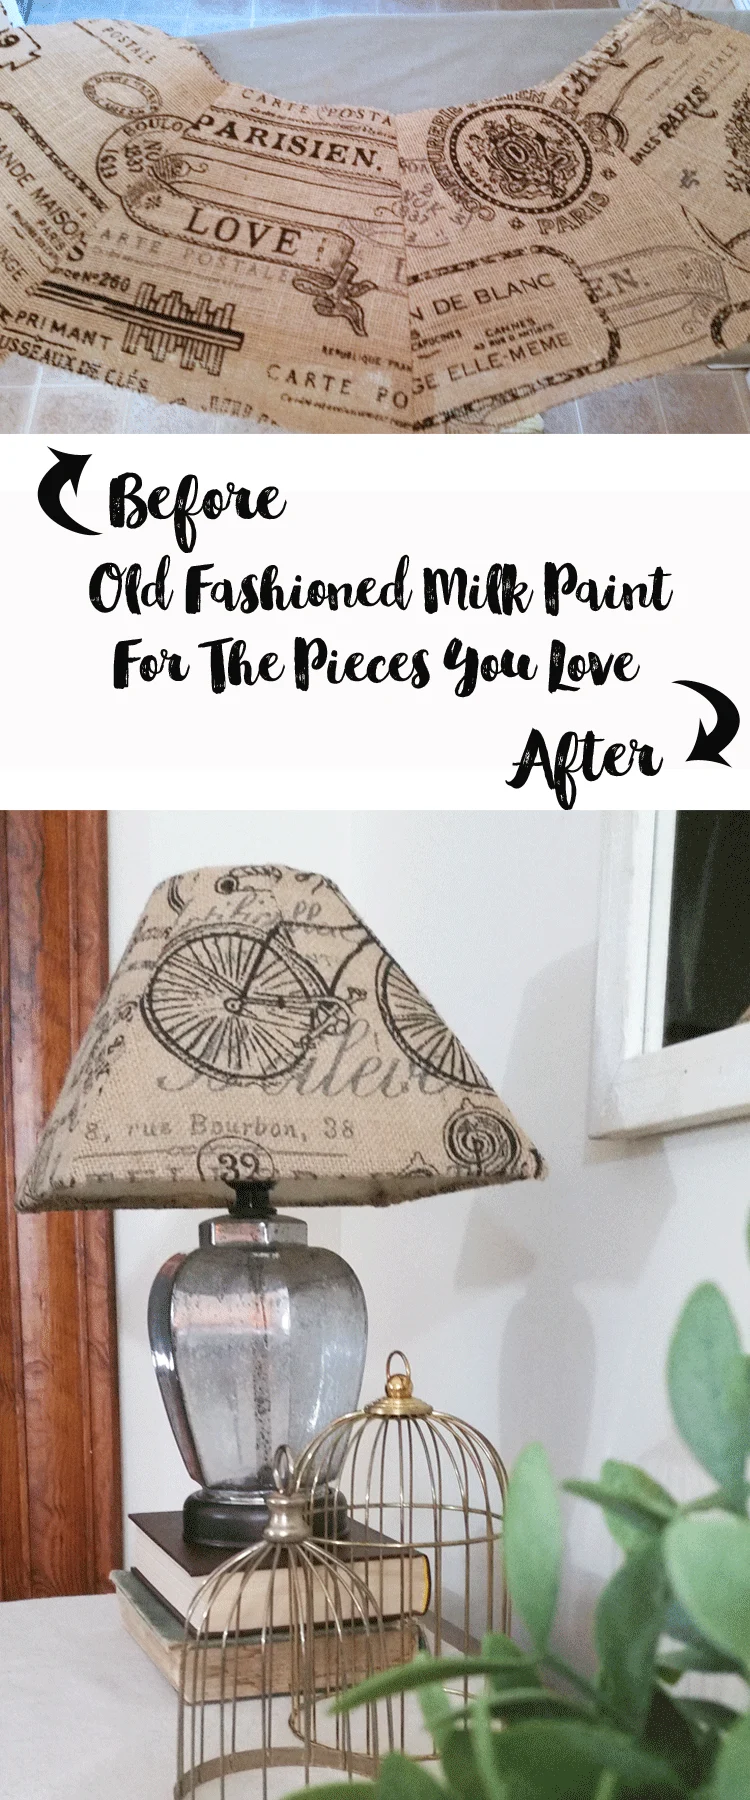
My husband tells me I have a lamp fetish. Ever since I created this little farmhouse lamp I have been on sort of a lamp roll! Today I am showing you how to make old lampshades new with burlap!
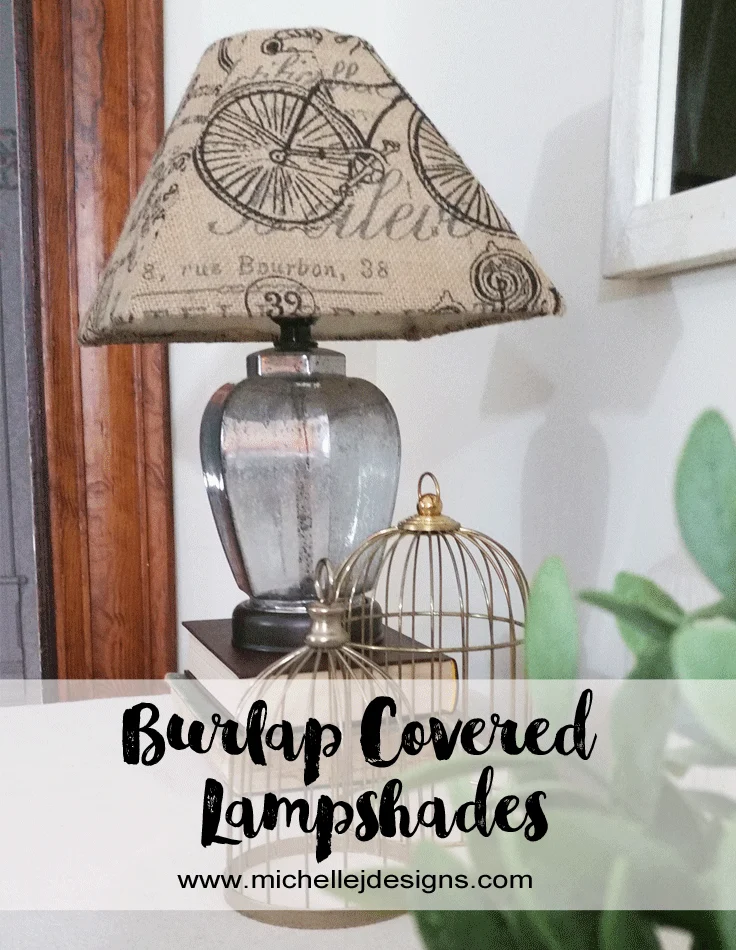
Make Old Lampshades New With Burlap
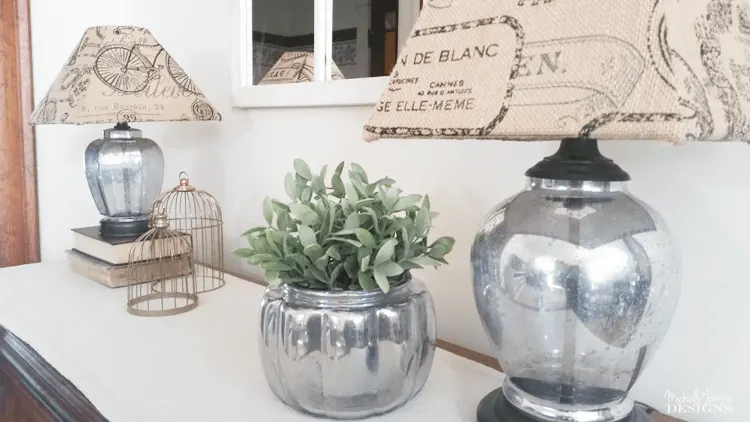
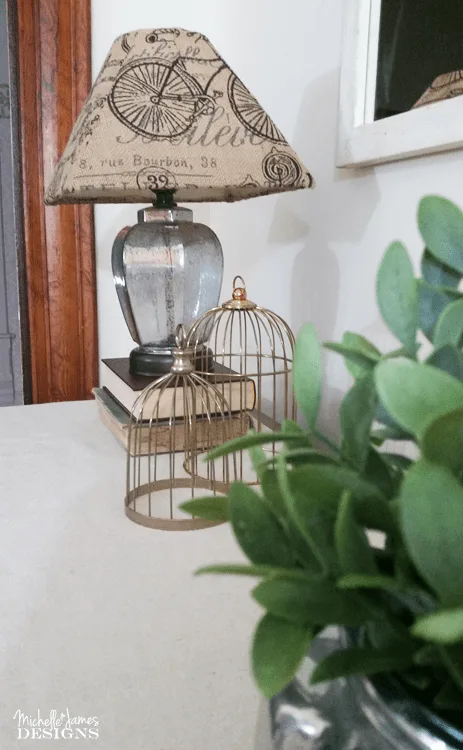
I am always purchasing lamps at garage sales and thrift stores. Sometimes they come with a lampshade and sometimes they don’t. But I don’t usually keep that lampshade with that lamp. I am constantly mixing and matching. The two lamps in this post were glass lamps that I painted with the Faux Mercury Glass Technique I have used before. The brass hardware was painted with my favorite Oil Rubbed Bronze paint.
I love the way the lamps turned out but this post is all about the shades.
The smaller of the two shades looked like this…full of dust and everything. Gross!
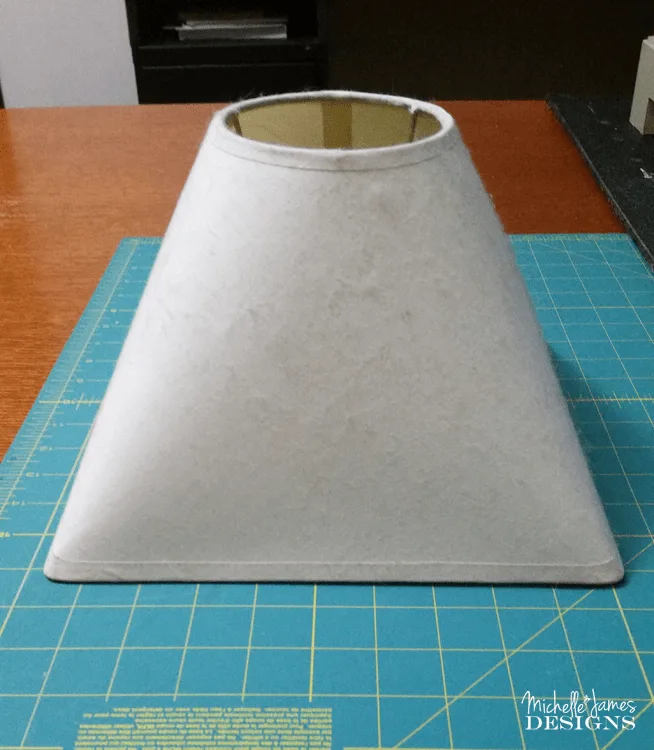
I have had these for a while. They came from the old lamps we had in our bedroom before I made the new sconces. The larger shade is the same shape as this and it even had some dangly beads but it is a bit smaller than this one. Not sure why I don’t have the exact photo. I think I was too excited to rip off the beads and the ribbons and get started. Oops! But this is a great substitute photo.
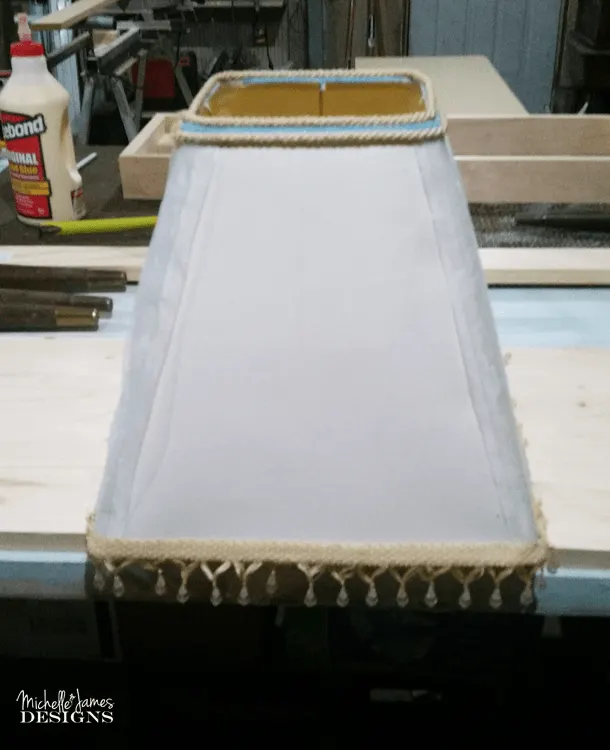
I used the same tutorial on both lampshades. I just adjusted the measurements for their sizes. And the smaller lampshade has a rounded top. I added two darts at the top to adjust for that as well.
I am including some affiliate links for your convenience. You can read my full disclosure here.
Supplies Needed:
Burlap – There are so many fun choices these days.
Scissors
Tape Measure
Fabri-Tac Glue- This is my all time favorite liquid glue. i use it for a million things.
Sewing Machine
Iron
Lampshade
This tutorial is for this shape of lampshade. If yours is a drum shade or a tapered round shade there are many tutorials on Pinterest and You Tube you can find to get the burlap cut out. Then follow my instructions to get it adhered to the shade.
Start by measuring the bottom, the top and the length of the sides. I wanted seams on each corner so I added an inch to allow for seams and cut out four pieces for each shade. They looked like this.
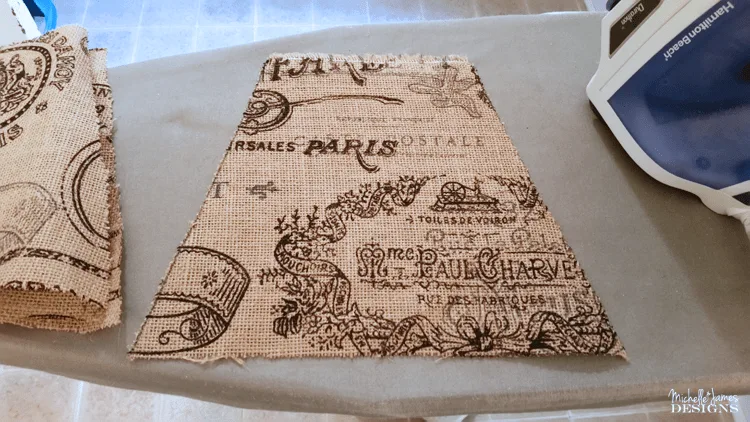
I stitched the pieces with right sides together and pressed the seams.
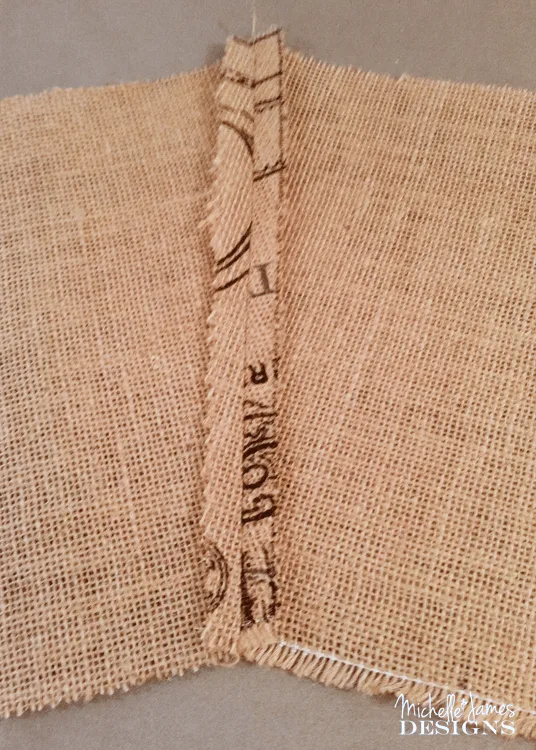
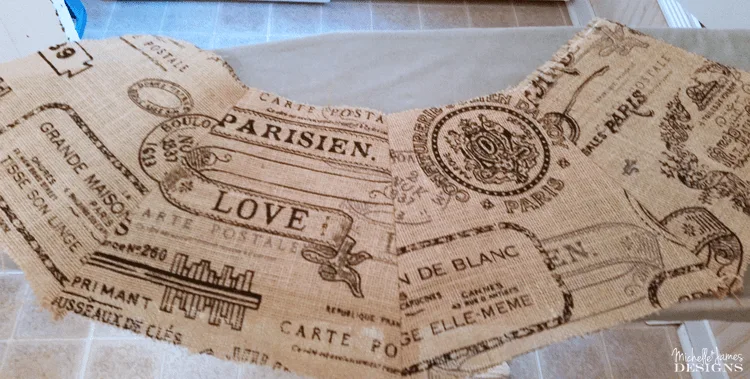
When the last seam was sewn I had a tube-like cover.
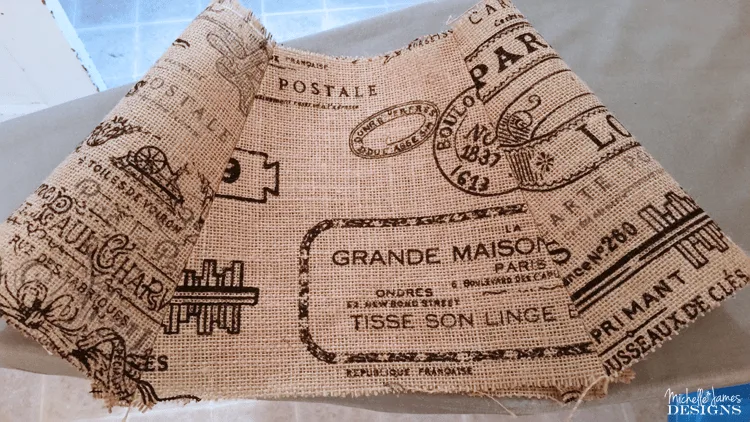
Then I fit it over the shade. The first cover had some issues. It was too small at the bottom of the shade and it kept popping off and sliding up. So I ripped out the last seam and ended up gluing the last two edges together on the shade itself. But the largest part did come together and I was able to salvage it. Needless to say I now knew where the back of the lampshade would be. LOL!
Then I just turned the top and bottom edges to the inside of the lampshades and glued them really well. I trimmed any long, loose pieces of the burlap to make sure I had a nice finished look to the inside as well as the outside.
It was a much easier project than I thought it would be despite my one little mishap.
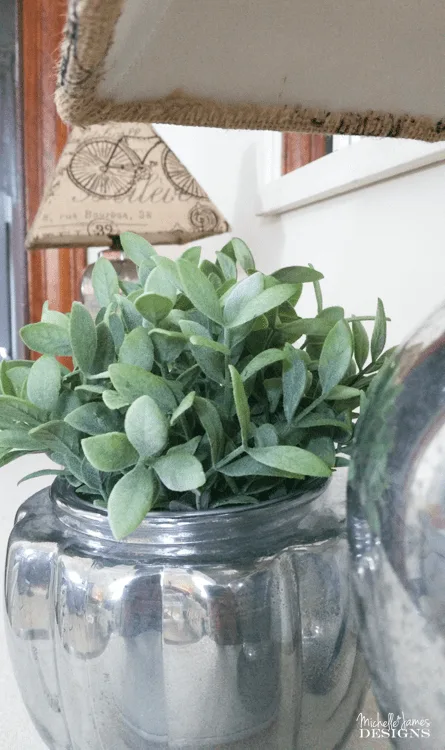
The smaller shade fit like a glove and worked really well. As I mentioned above I just had to add two darts to the top to compensate for the rounded top. You can see those in the photo below. You can also see the inside of the top of the shade.
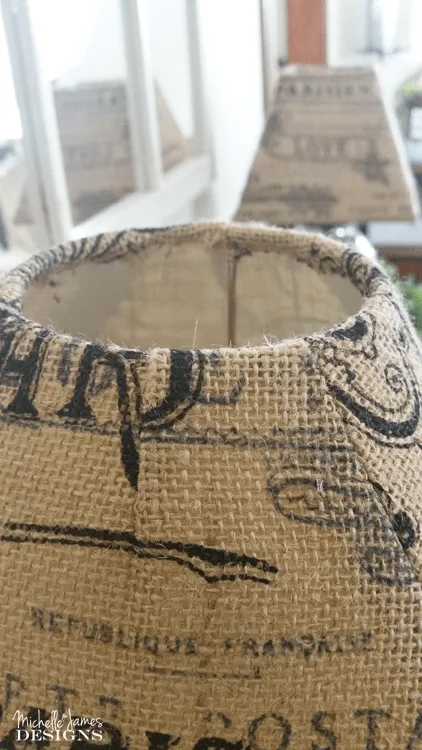
What do you think? I am going to save them to go in our second guest room if we ever get it going!
I hope you like this post! If so…give it a pin! I love to see my stuff on Pinterest. It makes me smile.
And If you love lamps and lampshades like I do….

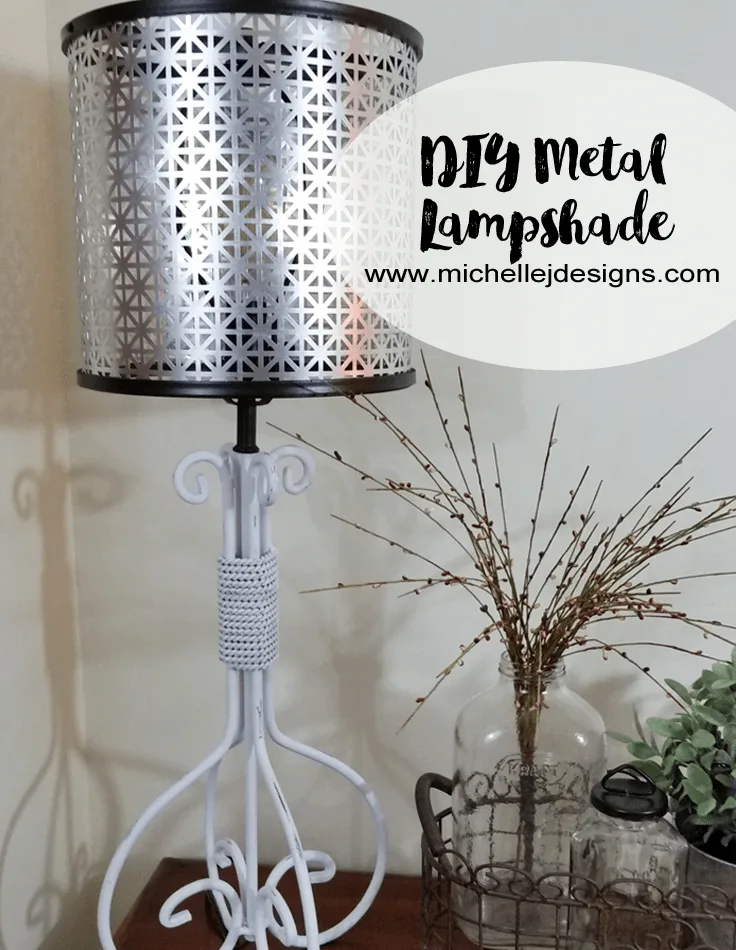
DIY Metal Lampshade
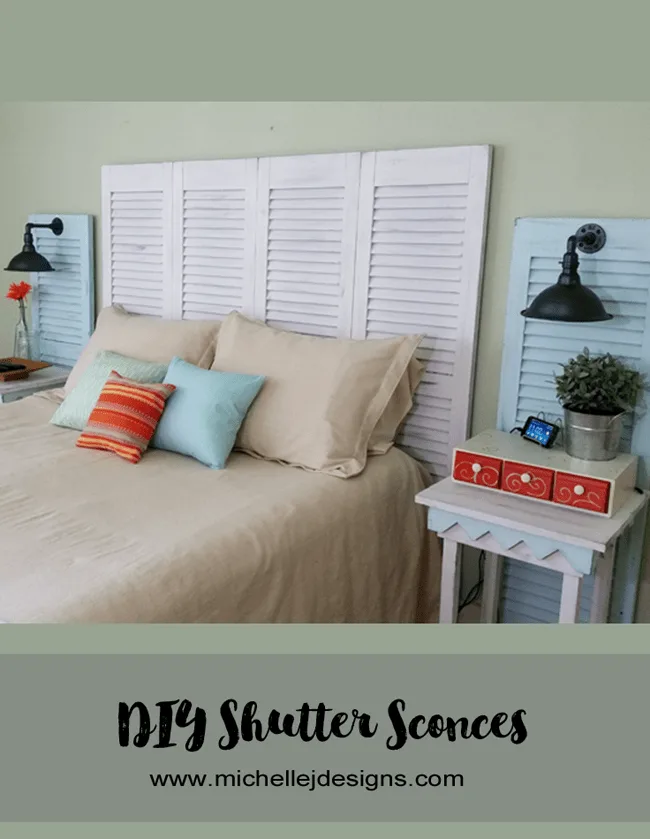
Shutter Sconces
Thanks so much for stopping by!
Michelle

Mineault Carolle
Friday 8th of April 2022
Hi Michelle,
Great job i must say!! Love it, is their any chance you remember where you got that French script burlap??
Thanks Carolle
Michelle
Sunday 10th of April 2022
Hi Carolle. Thanks so much. I am pretty sure I got it at Joann's Fabrics. I hope you can find it.
Bobby Saint
Friday 24th of November 2017
Wow! That's a fine looking lampshade with a very nice burlap design. It's amazing how an old lampshade can look brand new again just by putting a creative burlap design on it. I appreciate you providing the step by step instructions on how to make one, and it really looks quite simple to make. I will probably try this one during my free time. Thanks.
Michelle
Friday 24th of November 2017
Thank you Bobby! These were a lot of fun to make.
Carolann
Sunday 9th of October 2016
So very cute Michelle! The burlap really adds such a charming touch. Love it!
Michelle
Wednesday 12th of October 2016
Thank you Carolann. I love burlap and drop cloths. Seems like everything I make includes one or the other. LOL!
Susie from The Chelsea Project
Thursday 6th of October 2016
Hi Michelle. Your burlap lampshades are beautiful. You always do such lovely work. Your guest room will really rock with these lamps. Susie from The Chelsea Project
Michelle
Thursday 6th of October 2016
Why thank you Susie! I can't wait to get this guest room started. It is fun to do a new room. LOL! Thanks for stopping by.