I know, you looked at the title and you said…What? Trust me these boxes are the best things ever. They are a great size to actually hold items and they are sturdy. After you get rid of the purple, bright colors, they make amazing organization boxes.
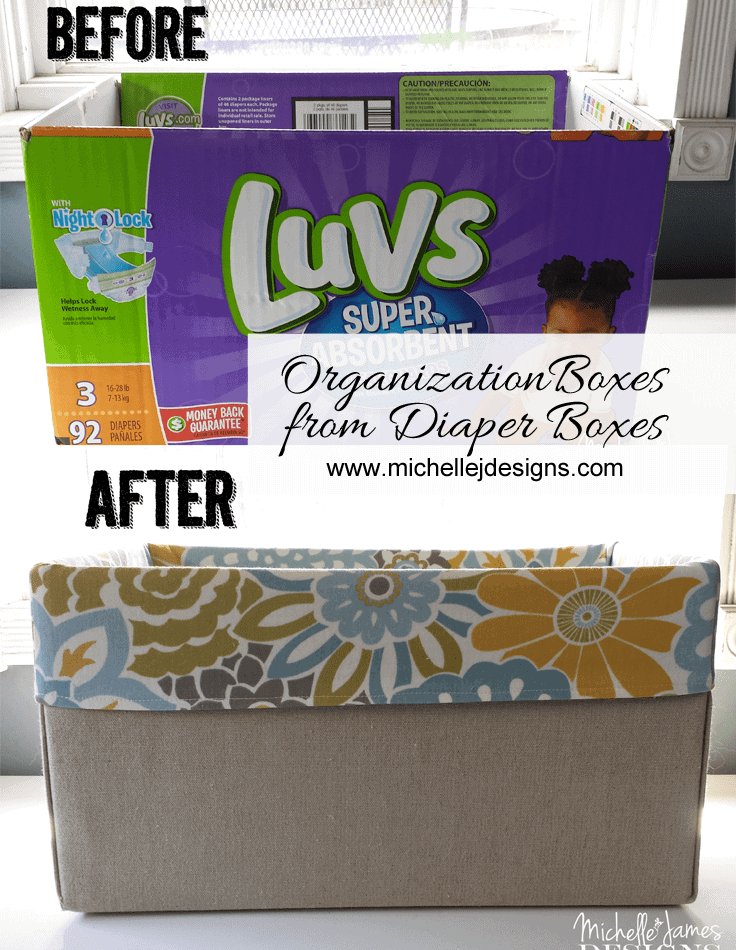
Organization Boxes from Diaper Boxes
I saw a post one day of a pantry re-organization. She had covered diaper boxes and I thought it looked fantastic. I had already covered some boxes with fabric. And since then I have covered some in contact paper for my own pantry. But I wanted to make some more using these because they were a perfect fit for the shelf under the buffet we moved into the kitchen as our drop zone.
Now keep in mind when looking at these photos, the kitchen is not finished yet. The walls are not finished and the floors need some thresholds but I am doing what I can with the extra details until the budget allows more major work. And this project cost 1/3 or a drop cloth (Menards $19.00), some spray paint which we already had, and the lining fabric. (JoAnn’s $15.00) And I still have a little of the lining fabric left that I can do something with later. I love that.
Covering The Boxes
I found this tutorial from Live A Little Wilder that I really liked for covering the boxes and it thought it would look better than my original design. I wanted to make a pattern so cutting from the drop cloth would be a little easier so I used a roll of paper.
I have included some affiliate links for your convenience. You can read my full disclosure here.
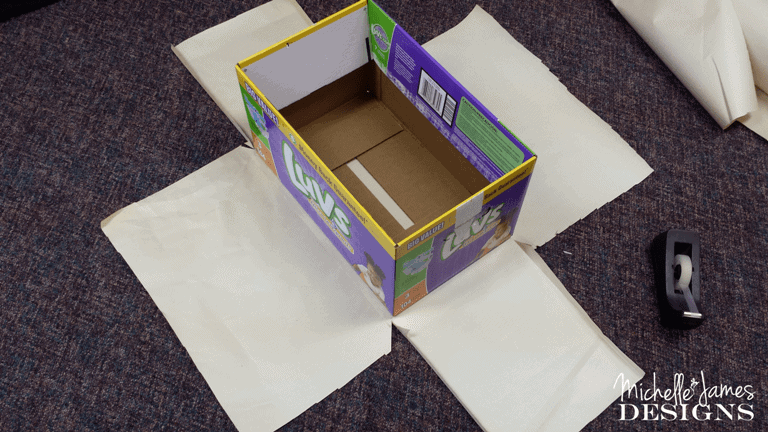
Once I had the pattern I cut from the fabric drop cloth. Then I followed the tutorial from Monkey Business. I thought I can out much nicer than before.
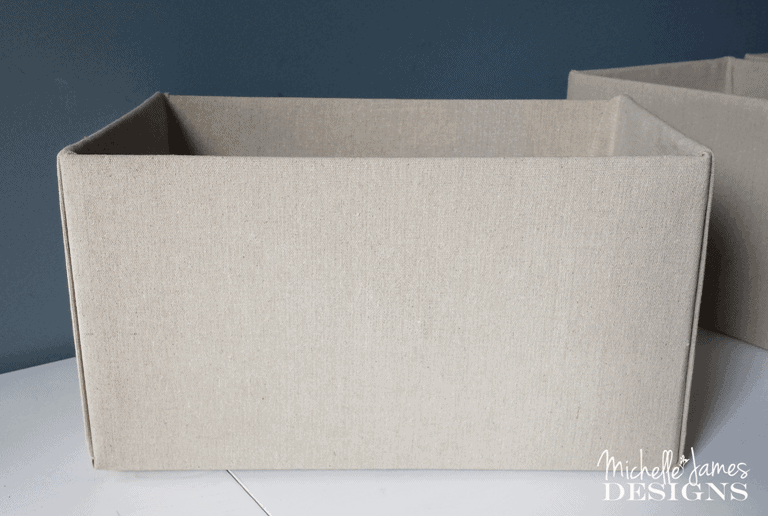
They came out with a very tailored look which I love.
Liners
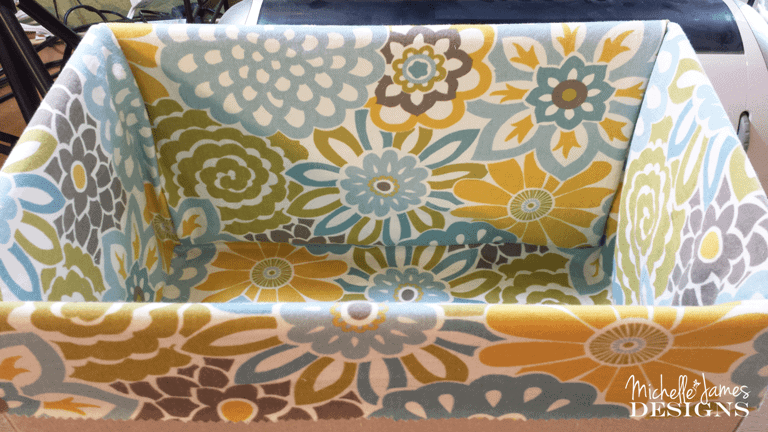
Then I got started on the liners. I love this fabric. It is called Button Blooms Spa and I purchased it at JoAnn’s.
First I measured the sides and the bottom and added 1/2 for seam allowances and 3 inches to the height of the sides for the fold-over. I cut was making three boxes so I cut 3 each of the bottom pieces and 6 each of the side pieces.
I stitched the smaller side pieces to the bottom (shorter) edges with right sides together. Then I opened that piece up and placed the longer side pieces on top. Again with right sides together. You can see in the photo below the side pieces are sticking out. I only stitched from pin to pin. I really wasn’t sure how this would turn out but it looked and fine. These corners are not seen so I wasn’t too worried about it.

After all of the side pieces were sewn to the bottom I stitched up each corner seam to form the “box” shape. Then, the moment of truth. This was the test fit.
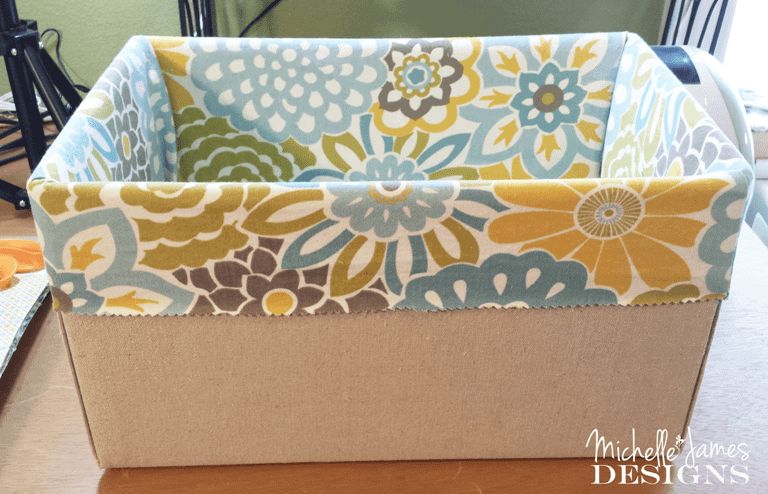
I thought it looked pretty good so I moved on. The next step was to finish off that outside edge. I pressed open the seams.
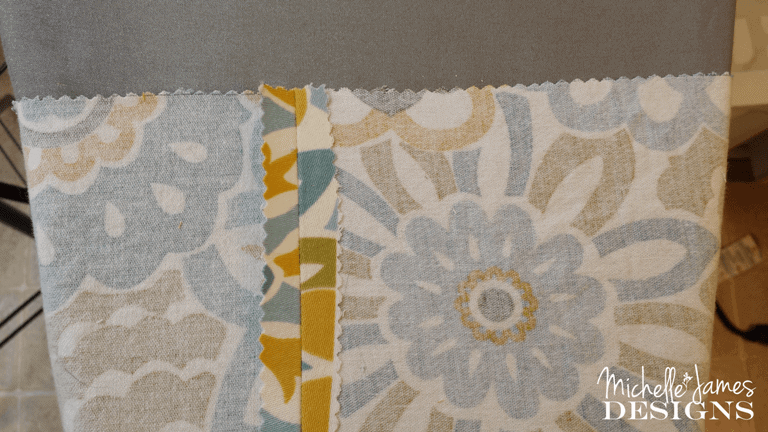
Then turned the edge inside and pressed it all the way around. This makes it much easier for me to sew.

I stitched that down and I was done with my liner. I was so excited to get them into the boxes and onto the drop zone in the kitchen.
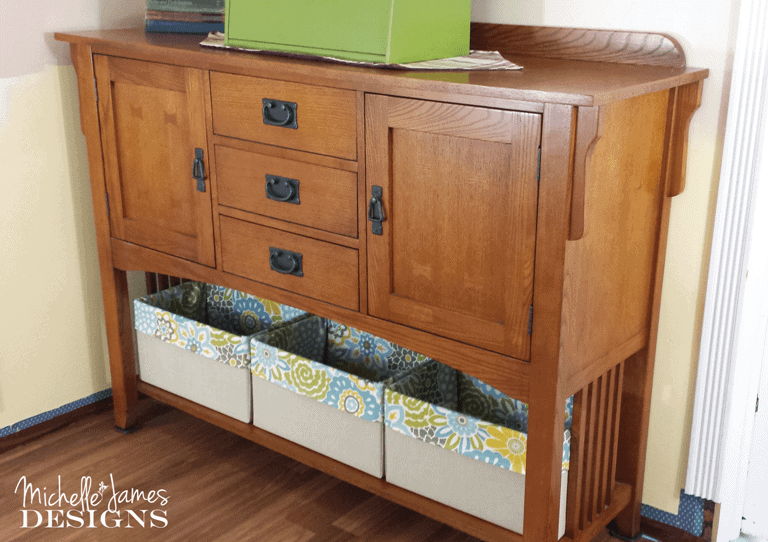
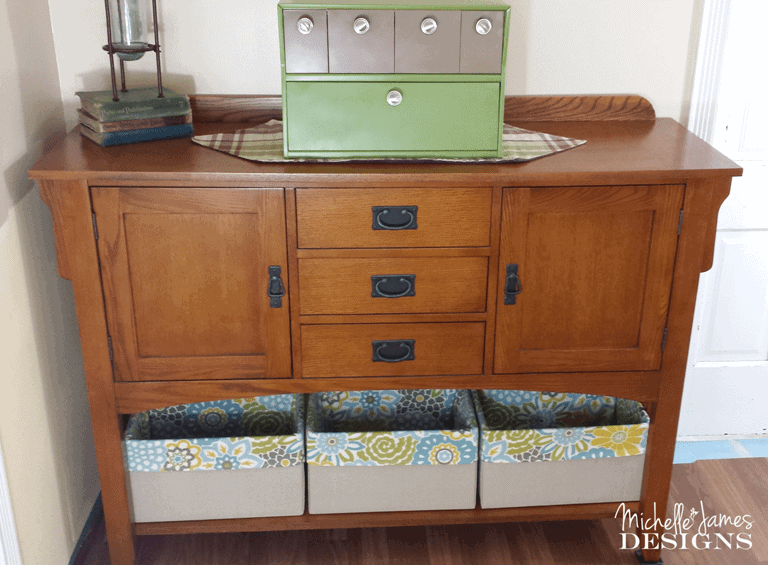
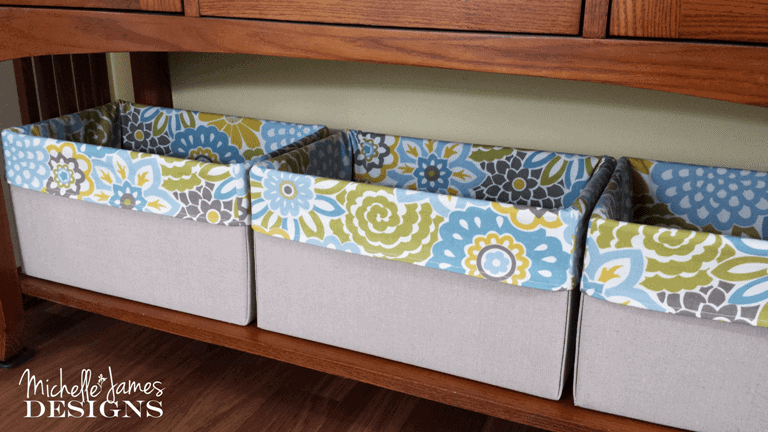
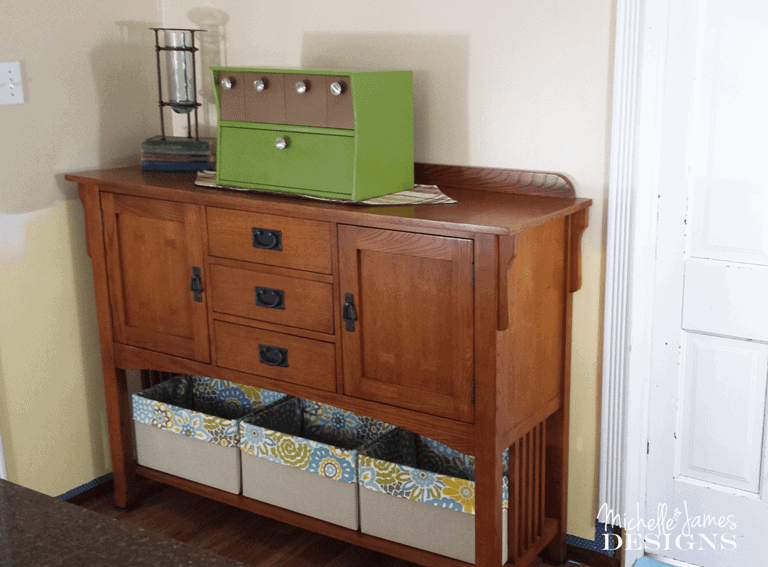
What do you think? I love them and they are perfect in the space and for throwing my purse in and other things when we come home.
My friend Jill is the new mommy providing me with the boxes. I still have more that I plan to cover with pretty contact paper for my pantry organization including mason jar boxes. Have you guys seen how nice they are? I can’t wait.
If you like this post please share on your social media and fee free to follow me on Facebook, Twitter, and/or Pinterest! Or sign up for my email/newsletter so you don’t ever miss a post. You will also receive a free download to make a great gift for a friend. Check it out!
Thanks so much for stopping by!
Michelle


Laurie
Tuesday 20th of February 2018
Thank you for the best explanatiom of joq to make liners!
Michelle
Tuesday 20th of February 2018
Hi Laurie! Thanks so much!
Bre Grice
Monday 16th of January 2017
What a great idea.
Michelle
Tuesday 17th of January 2017
Thank you Bre!
Barb
Sunday 23rd of October 2016
They look great! They are very well done - tailored even! They will probably last for a yr or two. You've done a fantastic upcycle!
Michelle
Tuesday 25th of October 2016
Thank you Barb. They still look really great and I did them about a year ago or so. I actually cannot remember. LOL! The time and posts all blend together now. Thanks so much for your kind words.
Cindy
Sunday 16th of October 2016
Michelle, when I went to monkey business to see the layout of your paper template there is t anything available to look at. Can you direct me to a sight so I can see how you did this.
Michelle
Tuesday 18th of October 2016
Hi Cindy! I am going to change that link to Monkey Business. Thank you for pointing that out. I did find another site that did it a little differently but is a great tutorial. http://www.livealittlewilderblog.com/2013/01/covered-diaper-boxes-tutorial.html I hope this helps.
Samantha Hartman
Sunday 16th of October 2016
I have taken an empty box that had copy paper in it, sealed it with Modge Podge. Then sprayed it with a favorite color, let dry, seal again with Modge Podge, let dry. Now you can go wild. You can decorate any way you want. I took an old calendar with great pictures, burned the edges to get that worn look glued my pictures where I wanted them, I used a spray glue. Let dry. I used a decoupaged on the pictures, let dry. Then resealed with Modge Podge. I did the same for the top. Makes for attractive storage and a special gift.
Donna
Tuesday 23rd of February 2021
@Samantha Good idea. I love thre look, but having lived in warm, humid environments I’ve learned that roaches absolutely love, love, love, cardboard. I save the stuf for my worm castings but not inside my house. Sealing with mod podge might be the perfect solution. I don’t raise enough worms to consume all the cardboard so I end up tossing some maybe the sealing ide will revers that issue
Thanks
Michelle
Tuesday 18th of October 2016
Wow Samantha that sounds awesome. I would love to see it. The boxes that are really sturdy like the copy paper boxes are so great for this and make for some really nice storage pieces. Thanks so much for sharing your idea and thanks for stopping by.