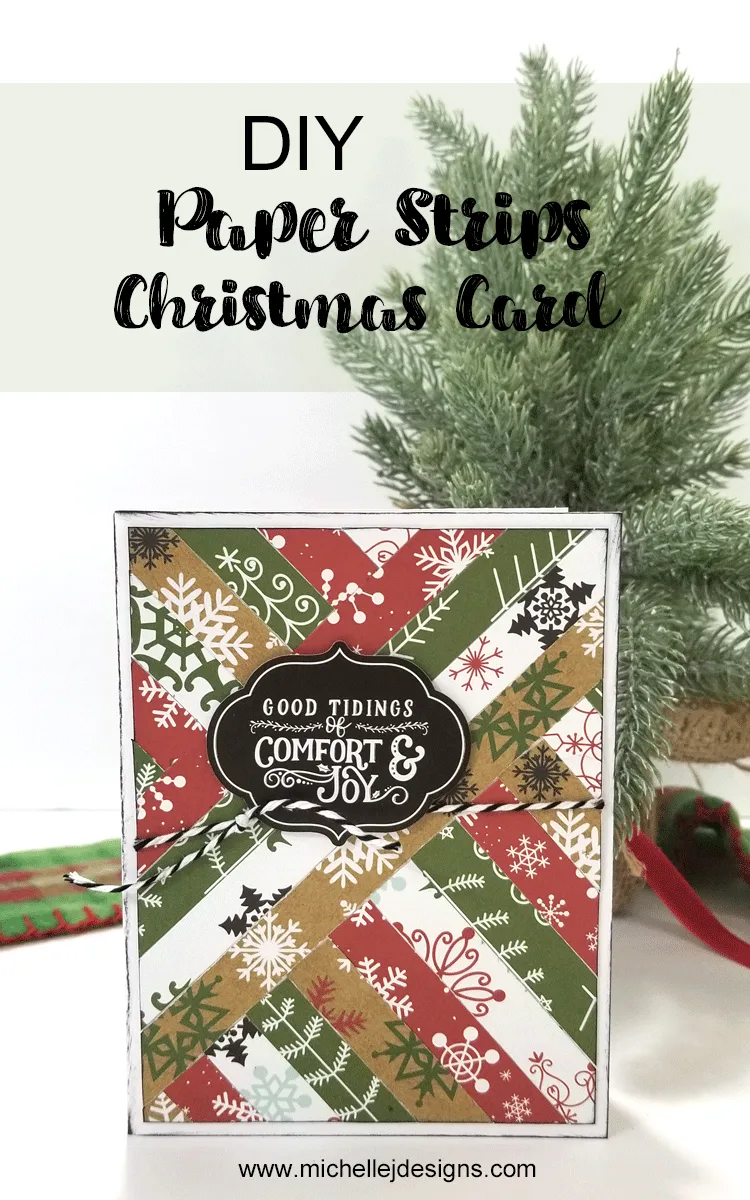
Have you ever created a card from strips of paper pieces? It is fun, relaxing and makes a stunning card. This is the sixth card I have made from the Celebrate Christmas scrapbook kit from Echo Park. I can’t wait to show you my paper strips Christmas card.

DIY Paper Strips Christmas Card
As I mentioned above this is the sixth card I have made from this one kit of paper and stickers. You can click on the following names/links to see the previous cards. Ornament Card, Glitter Christmas Card, Farmhouse Style Christmas Card, Christmas Reindeer Card, Colored Christmas Tree Card. This has really been a fun kit and I still have a bunch of paper left to keep making cards.
What I love about this is you only buy one kit but your family and friends all get a different card and you don’t get bored or tired of making the same card over and over again.
The supplies list for this paper strips Christmas card is just about identical as the previous cards but here it is. I have included some affiliate links for your convenience and you can also find these supplies in my Amazon Store! You can read my full disclosure here!
Materials needed:
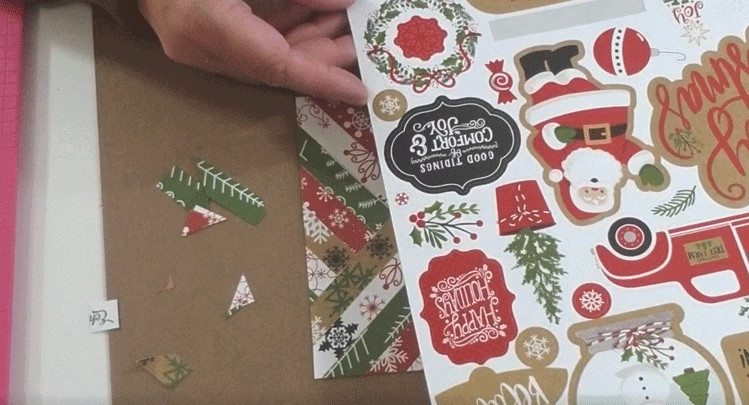
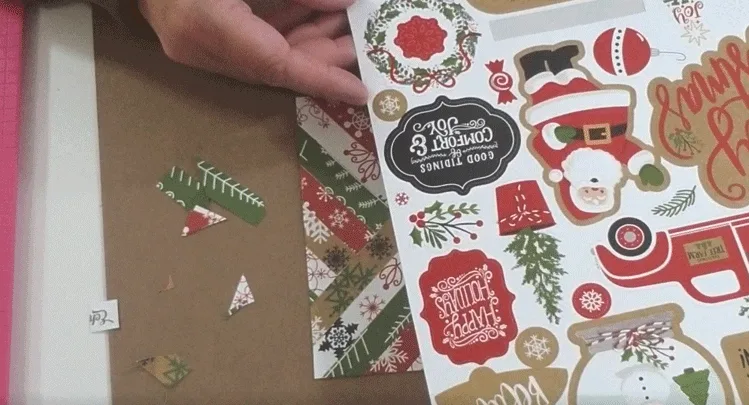
Celebrate Christmas paper kit by Echo Park
Scissors
White Cardstock
Scotch Tape
I have created a video tutorial for you if you like to watch how these cards are made but if you would like to see step by step written instructions you can see the steps with action shots from the video below the video!
Subscribe To My You Tube Channel
If you like the video please comment, give it a like and share!
Here are the step by step instructions I promised!
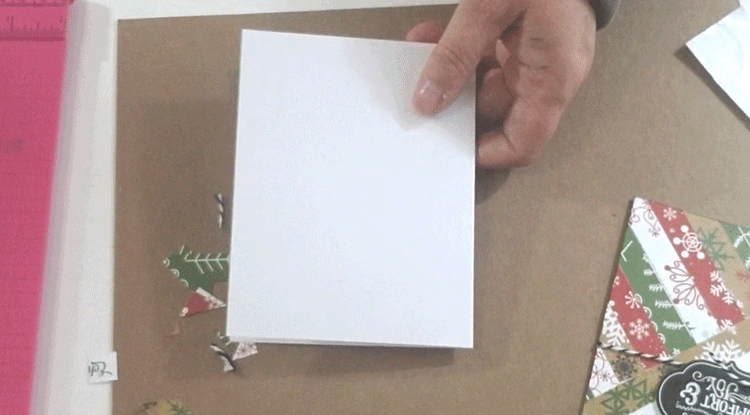
Step 1:
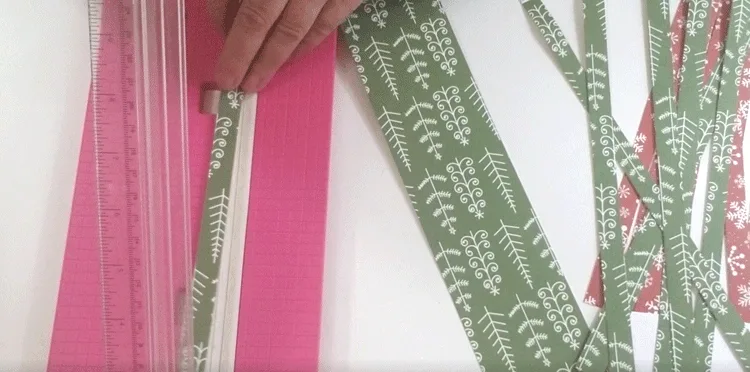
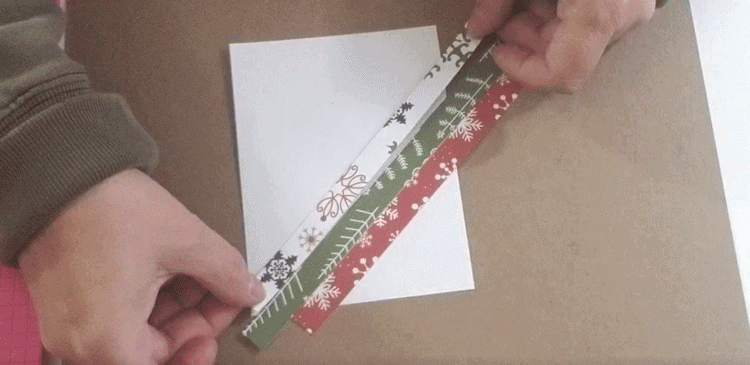
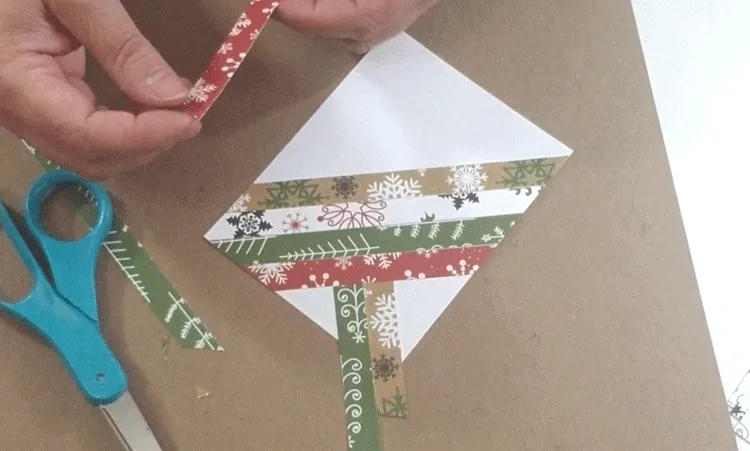
Cut at 5.25 x 4 inch piece of white card stock for your background piece. Then start cutting half inch strips of different patterned papers. I used the red snowflakes, white snowflakes, green trees and the different colored snowflakes with a kraft background. The beauty of these kits is that all of the papers coordinate so you don’t have to worry if things match.


Step 2:
Start placing the strips of paper onto the white background piece. Start on the diagonal and place each piece right next to the last.

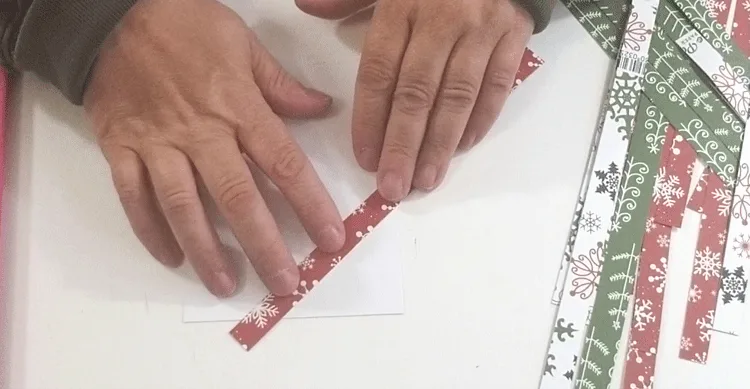

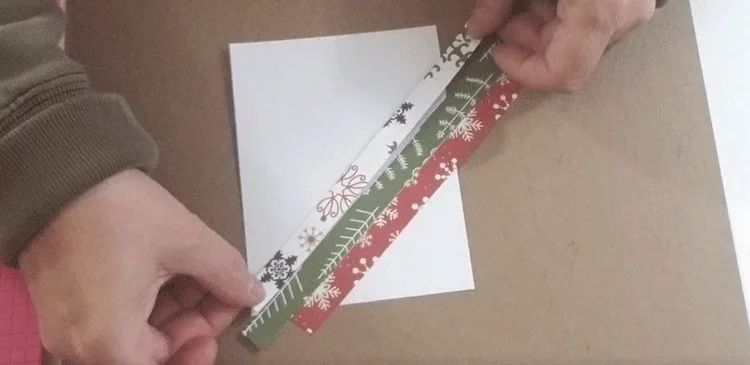

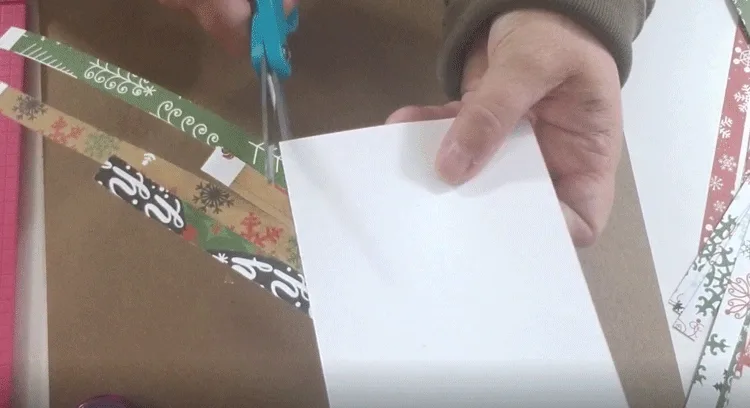
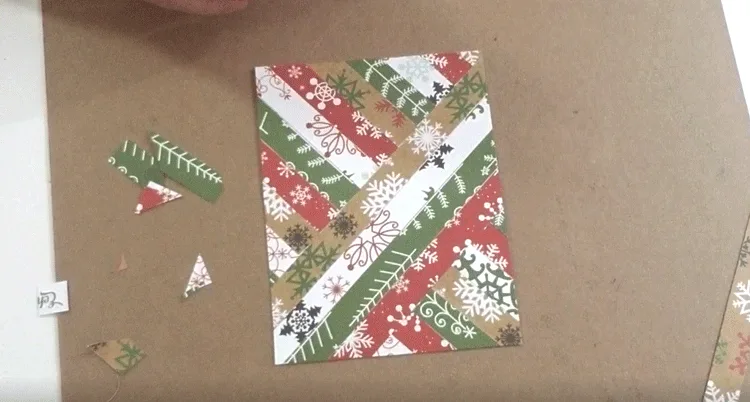
Once these are all adhered to the white background piece, turn the entire thing over and trim off the excess.

Step 3:
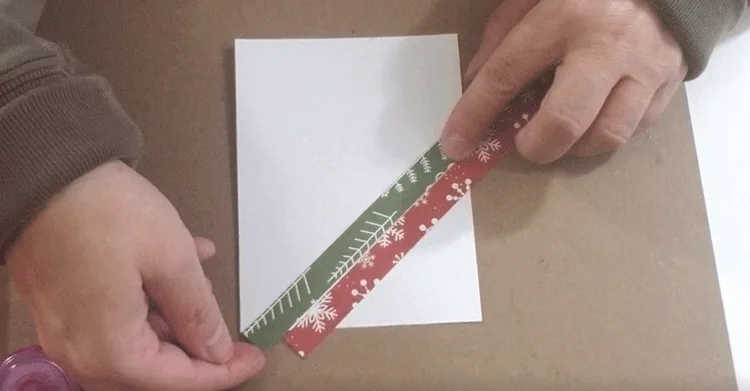
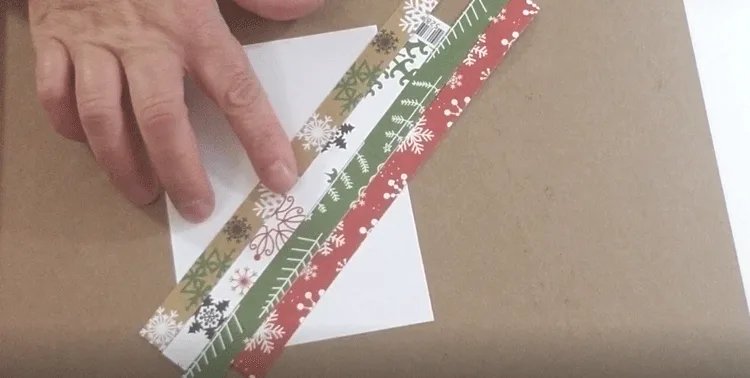
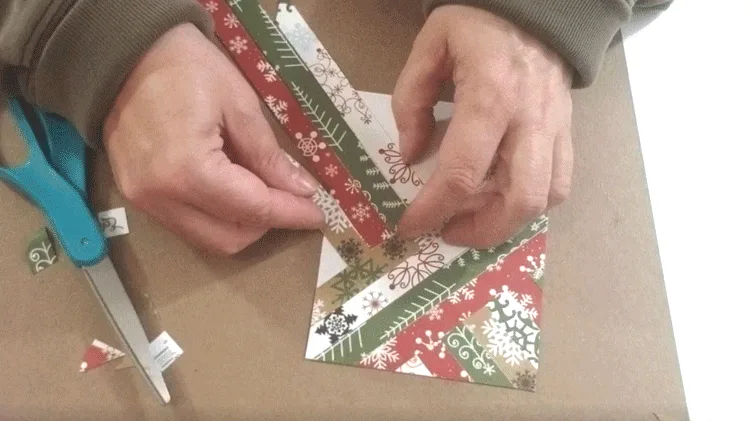
Repeat this process above and below these four pieces but lay your strips going the other way.


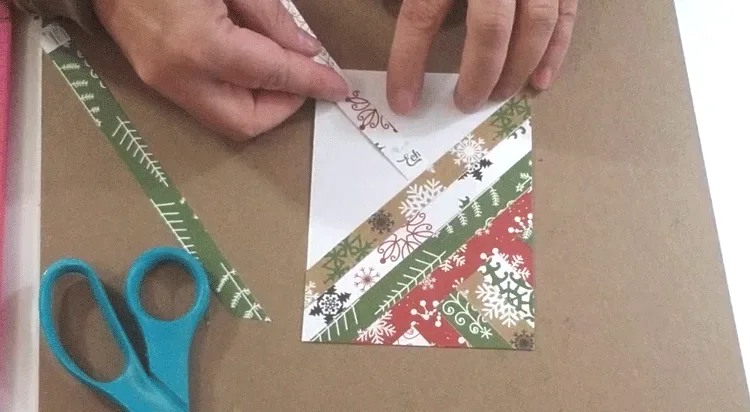
Keep going until the entire white piece is covered with the patterned strips.


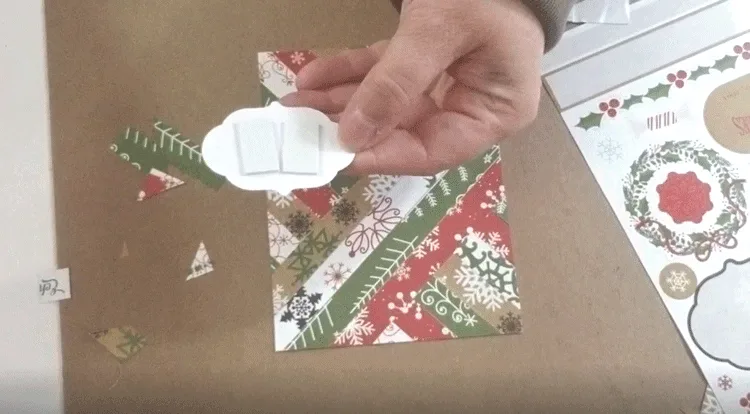
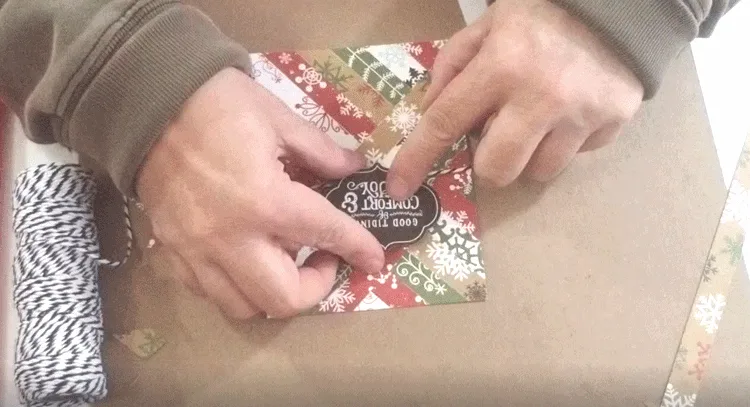
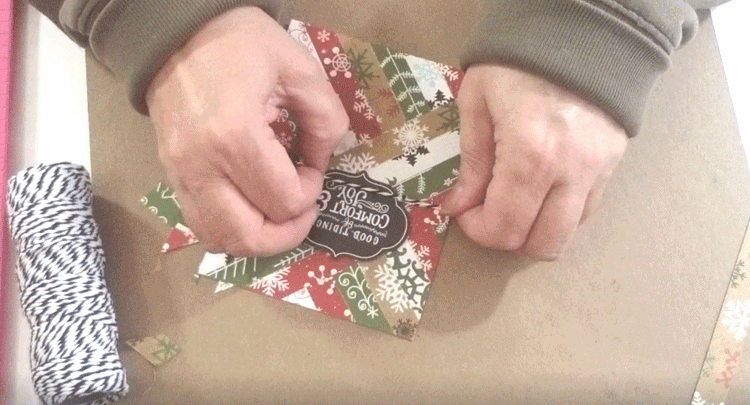
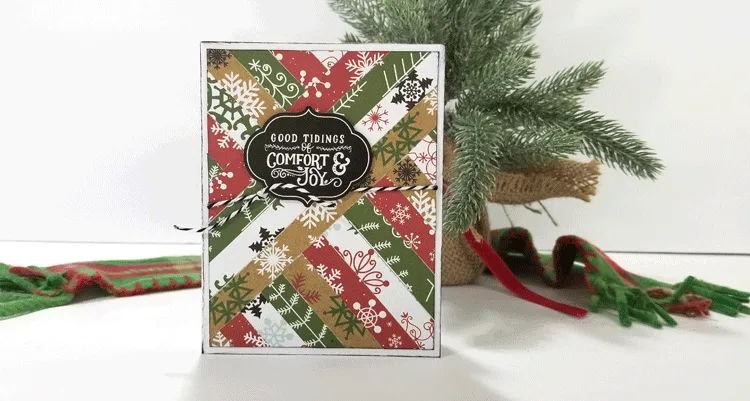
Step 4:
Add a sticker with mounting tape and a “faux bow” with the baker’s twine. Ink the edges of this piece.


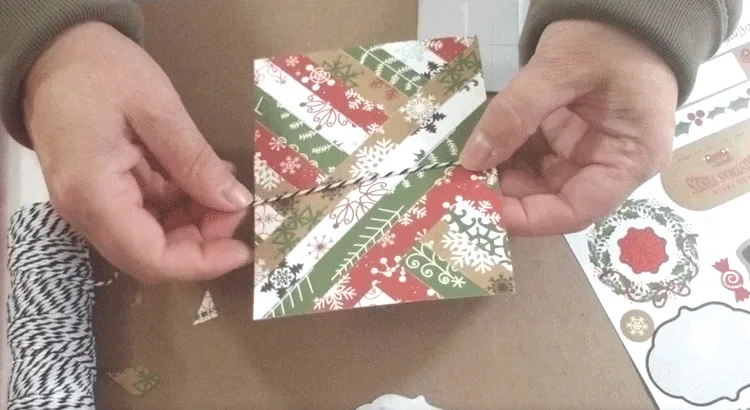

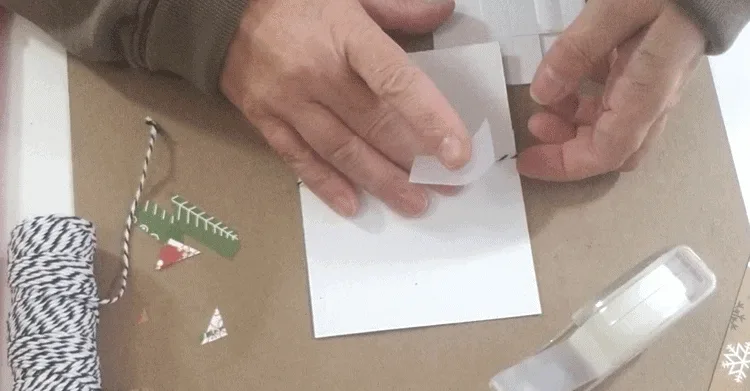


Fold a piece of 5.5 x 8.5 white card stock in half for a card base. Ink the edges.
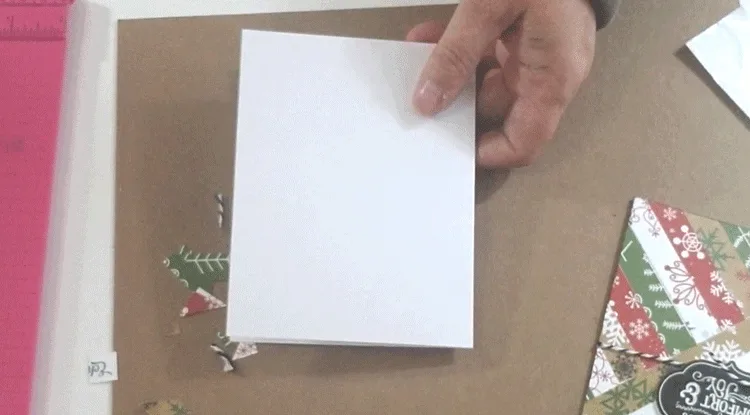
Attach the background piece to the card base.
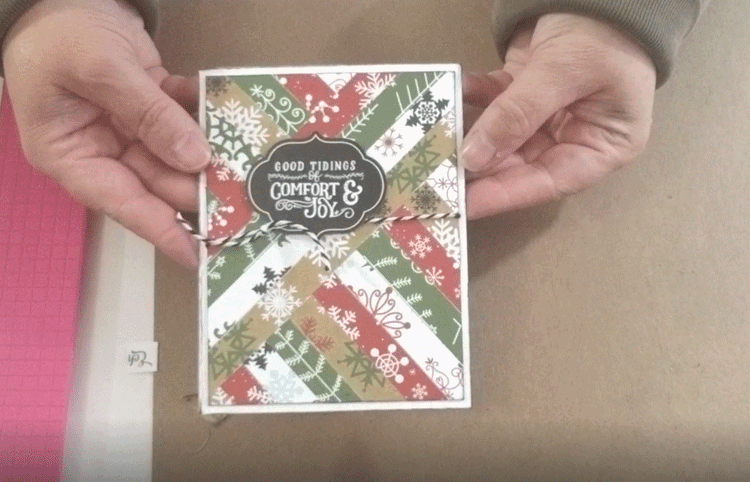
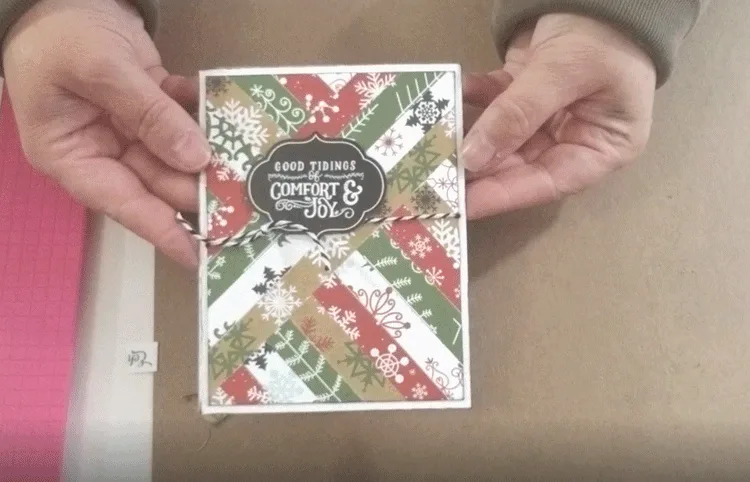
Now you have an amazing card to send.

Thanks for stopping by and don’t forget to pin if if you like it!
Michelle


Nancy Lou
Monday 12th of November 2018
Very pretty, Michelle! It's also a great way to use up scraps.
Michelle
Monday 12th of November 2018
Hi Nancy! It is a great way to use up scraps. I love these cards.