I love to DIY and small woodworking projects can be really fun and come out looking amazing if you have the right products to help you along the way.
I like to find budget friendly products. Some of the products on my list may be a tiny bit more expensive at first but can be used over and over again making them a great bargain in the long run.

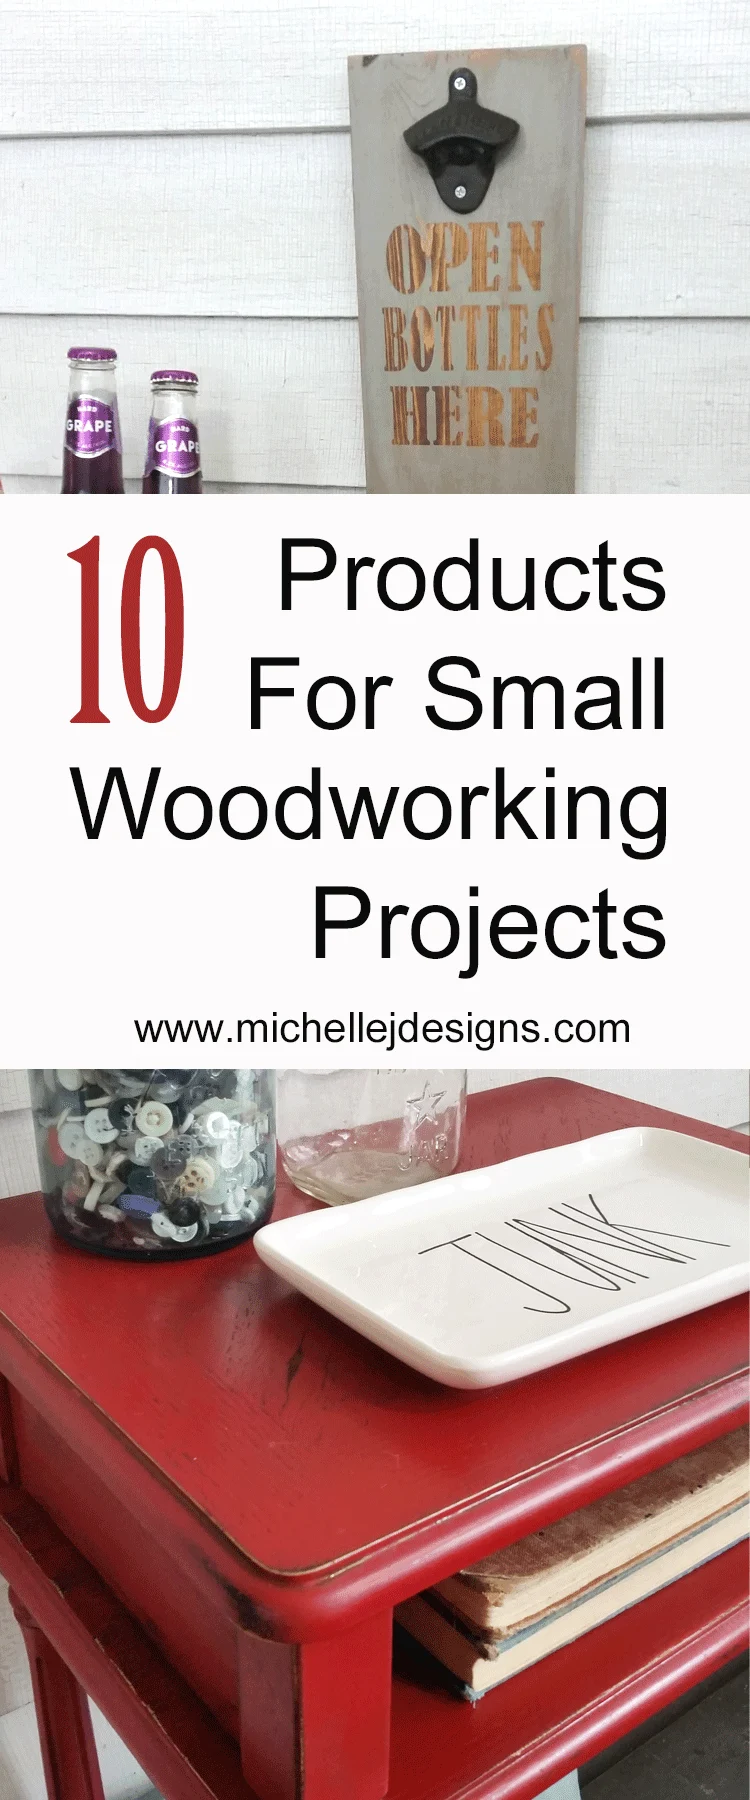
10 Products For Perfect DIY Small Woodworking Projects
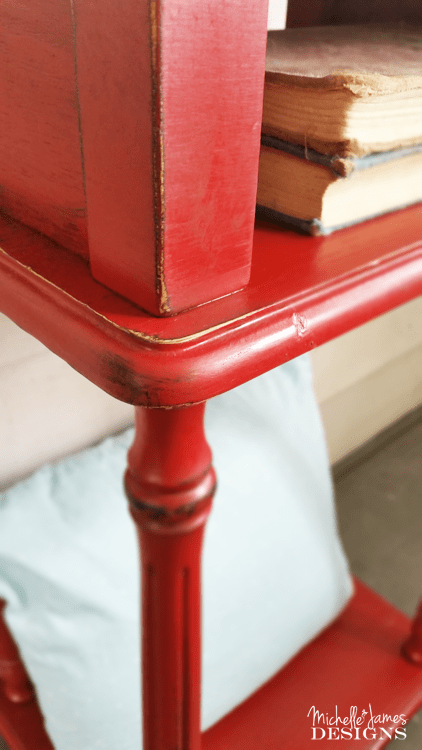
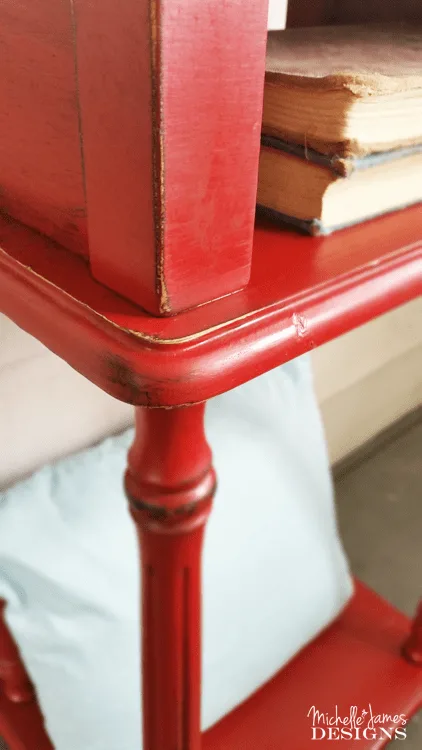
When I say small woodworking projects I am talking about a small table, like this cute red table I made over for a friend, or wood signs that make the perfect home decor if you love the farmhouse look like I do. I am talking about things that are relatively small in size but also small when it comes to the amount of work involved.
The post contains affiliate links for your convenience. You can read my full disclosure here.
Here we go!
No. 1 – HomeRight Finish Max Paint Sprayer
The HomeRight Finish Max Paint Sprayer is, hands down, my favorite painting tool even for some smaller projects. I like to use it on smaller tables and chairs because I am done in no time.
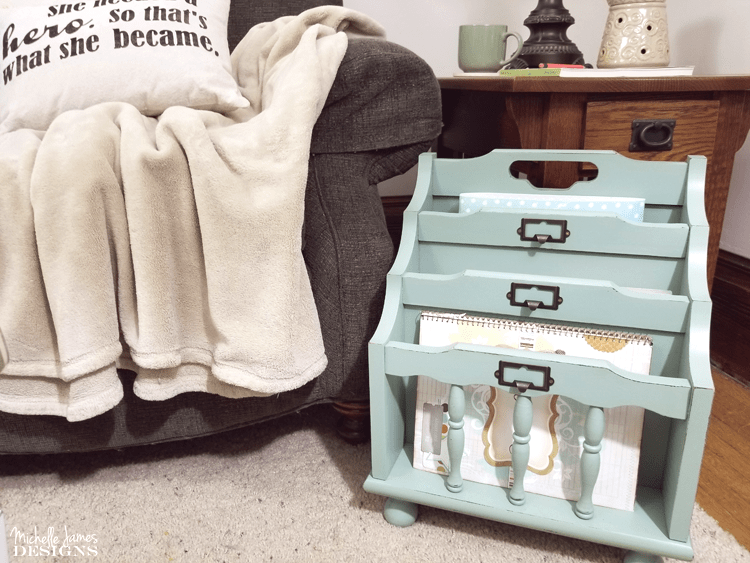
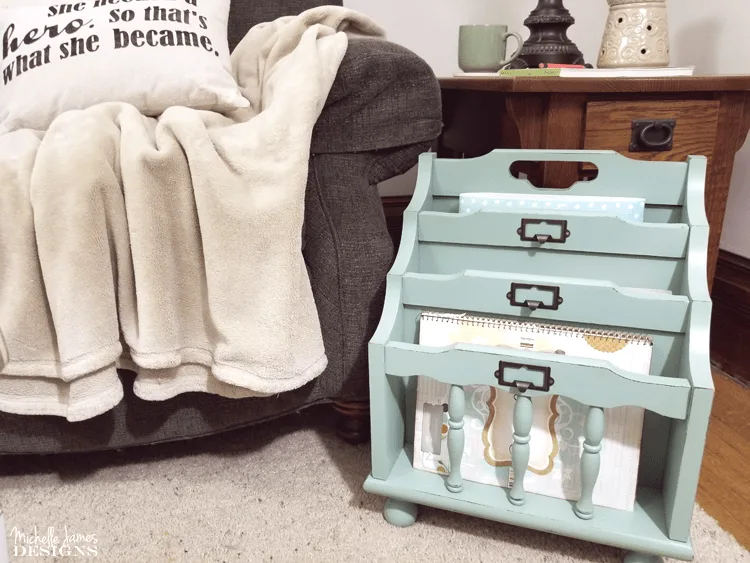
If there are spindles or any detail work as in the above photo, the sprayer works like a dream. You can watch a Facebook live video and see this sprayer in action. Click here and scroll down to the HomeRight Sprayer Vid! I did have some “running” that day with the paint but I don’t usually have those issues. (Gotta love live Facebook) LOL!
I like to have multiple projects ready to paint that are all going to be the same color and set up a little area where I can do them all at the same time with a couple of coats.
If I do get some runs in the paint I just take a brush and smooth them out as I go. The finish is smooth and there are no brush marks and that makes me happy.
Cleaning is a breeze too. I mean…you have to take the time to do it but I would say it doesn’t take much longer than cleaning out brushes. If you do a good job each time your sprayer will work for you each and every time without any problems.
These sprayers run between $65 – $79 on Amazon. The price just goes up and down so be sure to check them out and really think about one if you are going to be painting. They are well worth the price!
No. 2 – Spray Paint
My favorite spray paint is the 2X paint/primer from Rustoleum in the satin finish. The colors are beautiful and it sprays so nicely. The trick to spray paint is to apply several lighter coats instead of one heavy coat. The lighter coats can be sanded in between coats and it comes out looking almost professional. The primer in it helps it to bond nicely to almost any surface. If it is a smooth finish just sand it a little bit to rough it up.
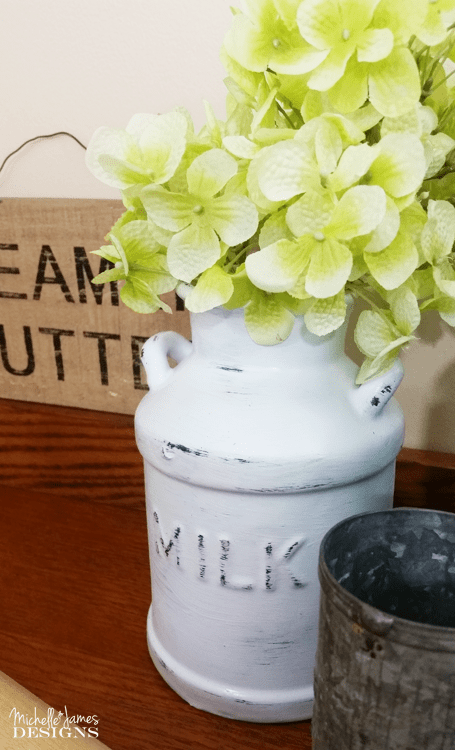
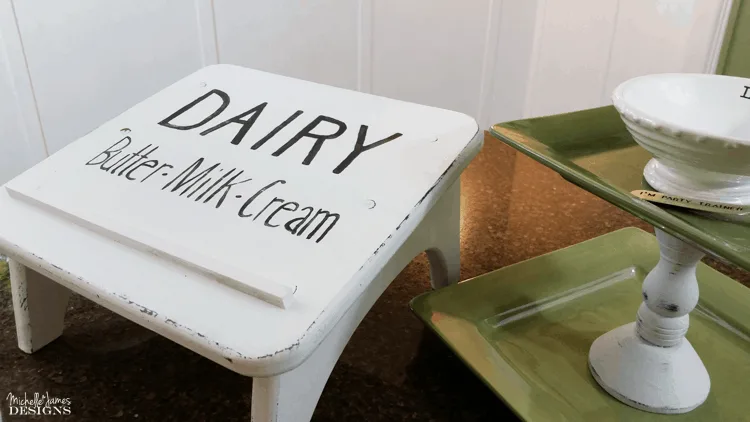
These paints are great for applying different colors. Then you can sand lightly to reveal the color underneath. It works on many other finishes besides wood as well. I used this techinique with these ceramic milk cans. They ended up looking so cute.

And on a little bit larger scale, I used black then red on this Telephone Table.
No. 3 – Palm Sander
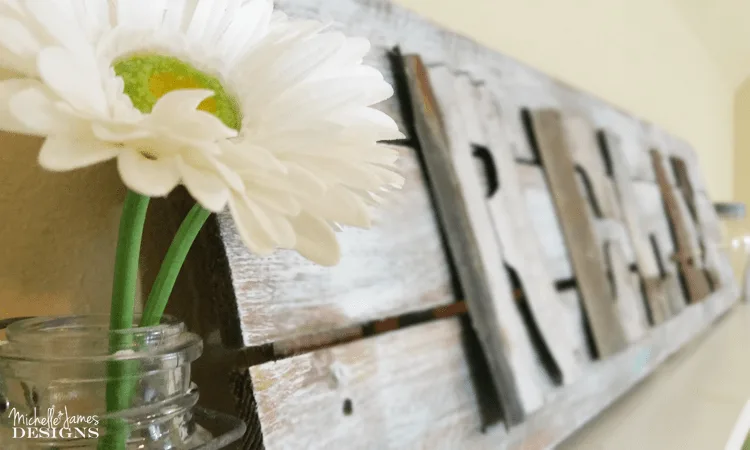
The palm sander really is a “must have” for wood projects. Jeff and I like to purchase wood for fencing because it is very budget friendly and perfect for rustic, farmhouse decor. But it is rough. A sander is a life saver and a time saver. It would take forever to sand some things with sandpaper. The sander will have it done super fast.
The boards on this Rustic Relax sign in our guest bedroom were very rough. The palm sander was the perfect tool.

No. 4 – Sanding Blocks
These can be purchased at any hardware store. They vary in price depending upon what you buy but I would say an average of $5 or $6.
I always have a fine grit on hand and a medium to rough grit as well. I use the fine grit in between coats of paint and after my last coat of paint to create a nice, smooth finish. The rough grit sanding blocks are used to distress and to sand before painting.
Some of them come with a nice angled edge so you can get into tight areas. These are really nice and I prefer them over regular sandpaper any day!
No. 5 – Brad Nailer
A brad nailer is one of those products that is not essential but makes life A LOT easier. Regular nails and a hammer would be your least expensive option and would work just as well, or an electric drill and some screws. But we use our brad nailer All. Of. The. Time! It is perfect for smaller projects as well as large projects.
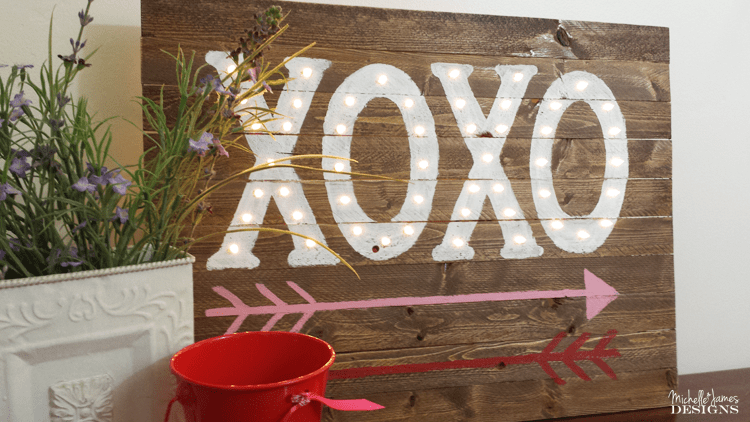
We recently purchased a smaller air compressor and now it is much more mobile and much less noisy. We brought this into the kitchen when we were hanging up the board and batten and we use it on small wood signs like this Valentine Marquee sign too.

No. 6 – Primer
Primer was a real game changer for me. I have started using it almost religiously under every coat of paint. There is nothing worse than adding beautiful white paint to a project and having it turn yellow. UGH! I had it happen twice and I decided primer was a must. I like to use it when painting unfinished wood as well. It soaks up the paint so much. I would rather it be the primer it is soaking up instead of the paint. It saves me time and money.
When I am brushing or using the sprayer I usually use Zinsser or Kilz. Both are great products. If I am spray painting then I use the paint/primer together. It is such a time saver.
No. 7 – Paint
There are so many different kinds of paints and stains out there it is hard to know which one is right for your project. These are just a few of my favorite things…I mean paints!
Latex Paint – Satin Finish – I love latex paint for just any project. If you properly prime the piece then the latex paint always produces great results. And it has worked the best for me in the paint sprayer as well. The satin finish is a personal preference for me. I like a little bit of sheen to my final finish.
Chalk Paint
Spray Paint – As I mentioned above in the spray paint section this is a great option for these smaller wood projects. Most of the time it is my “go-to” paint. And now the chalk paint comes in a spray option! Yay!
Acrylic Paint
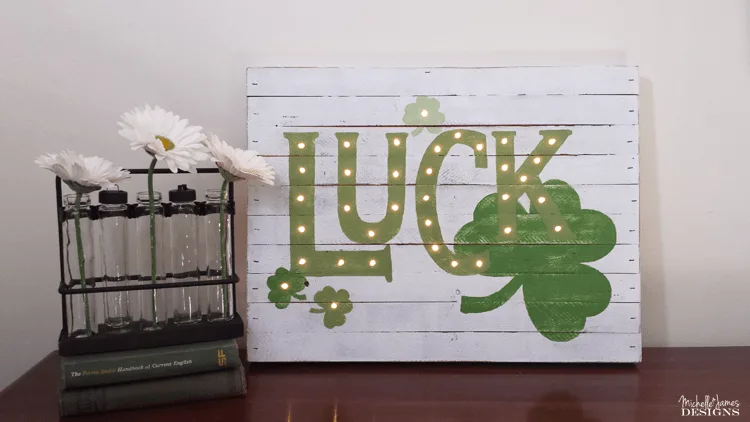
This Luck sign was a project I did for a guest post on another blog but it is a great example of how I use different paints. The white paint is a latex paint, watered down to create a rustic, stain look. The greens are acrylic paints.

No. 8 – Brushes
If you are going to paint you really need a good brush and you need to take care of it. My favorite brush is a Purdy angle brush. I grab it first before any of my other brushes. It brushes on nicely with minimal brush marks and cleans up easily. I love the angle for getting into corners too. It is just a great brush.
The other brushes I use a lot are foam brushes, chip brushes and a stencil brush
Foam Brushes – I love foam brushes for applying stain and for painting small crafting projects.
Chip Brushes – I like the chip brushes when I am painting or staining wood that is very rustic and still pretty rough. They are cheap and it doesn’t really matter if they get ruined. I will clean them and re-use them if they are still in good shape.
Stencil Brush – Stenciling doesn’t have to be done with a stencil brush but it makes the project a lot easier.
I always clean my brushes right away to keep them nice. The paint I use is requires soap and warm water clean up so it is easy to do.
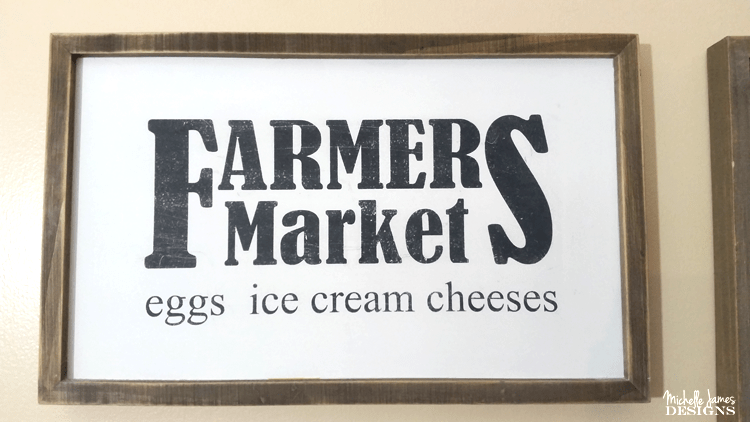
This Farmers Market sign was a project using the stencil brush.

No. 9 – Wood Glue
If you are building or attaching wood to other pieces of wood then wood glue is must even if you are using a brad nailer. Farmhouse signs are the perfect example of this. We are usually attaching several wood slat pieces to a cross piece on the back. Wood glue gives the sign the extra strength it needs.
No. 10 – Clear Coat/Finish Product
After my last coat of paint I like to give it one more sanding with a fine grit sanding block then finish up with a protective clear coat. My favorite is the satin clear spray from Rustoleum. For small wood projects it works great and only takes a few minutes.
If I have used chalk paint I tend to lean toward the cream wax as the protective coat. This is a product that you brush on and then buff to a nice sheen when it is dry. This ipad/recipe holder has a cream wax finish.

Bonus – No. 11 – Silhouette Cameo or Cricut Cutting Machine (optional, but awesome)
I use the Silhouette Cameo machine and I love it but the Cricut has come along way since I had one and people rave about it. I don’t think you could go wrong with either one.
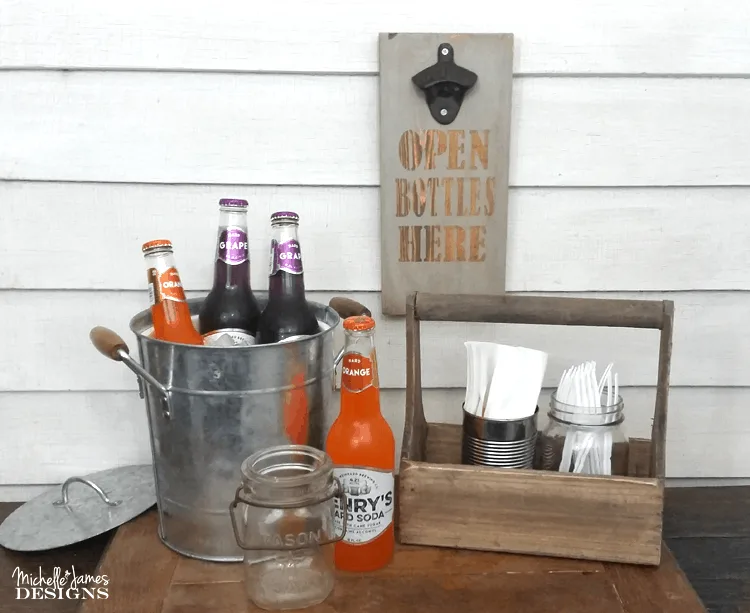
Obviously these are spendy machines but if you are a frequent diy’er you may be able to justify the cost. I use mine to make stencils for the small wood projects like this bottle opener and I don’t think I could ever go without it now. It is so easy to cut out the stencil with vinyl and use any font that you have on your computer.

If you can swing the price….definitely invest in one!
So that is my list of the top 10 products (and one bonus product) that I use all of them time for small wood projects. These, to me, are essential! If you have questions about any of these products please feel free to email me or leave your question in the comments.
If you would like to see more of my projects check out:
Have a great day and thanks for stopping by.
Michelle


Barb M.
Sunday 26th of May 2019
Love your projects! I couldn't find a link to email you a question and am not sure when this post was published. I saw a different post talking about paint sprayers about a year ago but can't find that one right now. I'm wondering if you're still happy with this paint sprayer and if it's still going strong? I'm getting ready to order one, actually the one step up model from yours and just wanted to check. I looked at stores locally but the big name sprayer that had interior sprayers for walls and ceilings many, many years back is the only thing offered in my area and I've had two of those old ones which were absolute junk. Only others available around here are commercial and/or air operated ones for $300+. When I order, I'll do it through your link. Thanks for your help and project ideas!
Michelle
Sunday 26th of May 2019
Hi Barb. I am sorry you couldn't fine my email address. I better fix that right away. Just in case you have more questions it is [email protected]. This is my absolute favorite paint sprayer ever! I have the next step up as well and love it too. Every once in a while they get clogged but all I do is remove the nozzle and re-clean it with water and put it back. Then it is usually good to go. But really, it doesn't happen very often. If your paint is pretty thick you will probably want to thin it down with some water but once you do that it should run like a dream.
I let my friend borrow one of mine before and they actually had it for about a year because they were re-modeling an entire house. Her hubby didn't want to give it back and they ended up paying me for it. LOL! I do love it and feel free to email if you have more questions!
leanna
Sunday 25th of March 2018
This is a very good practical list for the starting DIYer. It's a great way to get started for sure.
Michelle
Tuesday 27th of March 2018
Hi Leanna! We use these all of the time. I think some just starting would want/need most of these. I am glad you agree!
theweekendsew
Friday 23rd of March 2018
Thank you for this post. Its very inspiring.
Michelle
Friday 23rd of March 2018
Thank you. I am glad you like it. We use all of the products a lot.
Nancy lou
Thursday 22nd of March 2018
Thanks, Michelle! I'll look for it. I don't have a problem with reapplying it periodically and they'll be in relatively protected areas. Fingers crossed!
Michelle
Thursday 22nd of March 2018
Oh good. I hope it works for you. I couldn't find it locally when I needed it but that was last summer they may have it in town now.
MicHelle james
Wednesday 21st of March 2018
Great product ideas. I need a brad nailer big time. I am trying to slowly add things. I really want a cordless drill too. Maybe for my birthday lol.
Michelle
Wednesday 21st of March 2018
Thank you Michelle. These are great birthday presents. We LOVE the braid nailer. We use that and the cordless drill a lot. I can see you totally using both of these and making awesome wood projects!